


一.配置
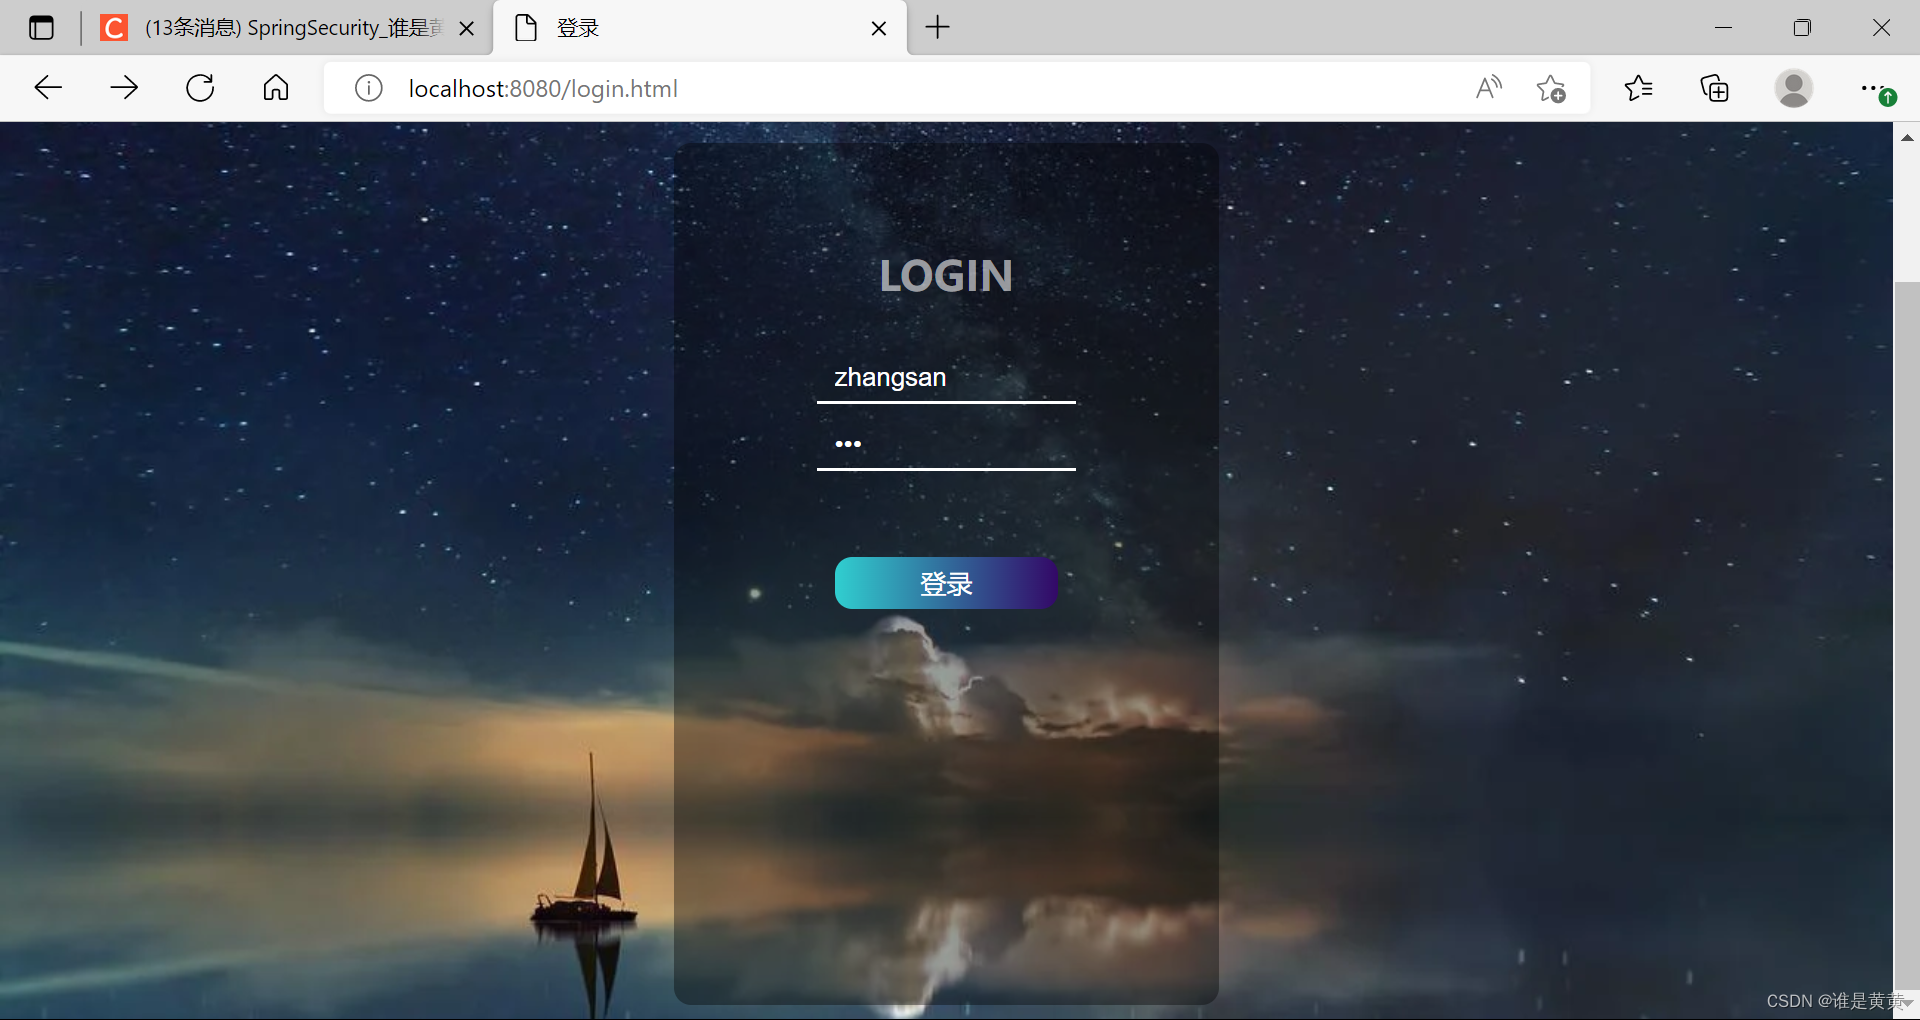
二.static加入登录界面

<!DOCTYPE html>
<html lang="en">

<head>
    <meta charset="UTF-8">
    <meta name="viewport" content="width=device-width, initial-scale=1.0">
    <title>登录</title>
    <style>
        body {
            background: url('https://cdn.pixabay.com/photo/2018/08/14/13/23/ocean-3605547_1280.jpg') no-repeat;
            background-size: 100% 130%;
        }

        #login_box {
            width: 20%;
            height: 400px;
            background-color: #00000060;
            margin: auto;
            margin-top: 10%;
            text-align: center;
            border-radius: 10px;
            padding: 50px 50px;
        }

        h2 {
            color: #ffffff90;
            margin-top: 5%;
        }

        #input-box {
            margin-top: 5%;
        }

        span {
            color: #fff;
        }

        input {
            border: 0;
            width: 60%;
            font-size: 15px;
            color: #fff;
            background: transparent;
            border-bottom: 2px solid #fff;
            padding: 5px 10px;
            outline: none;
            margin-top: 10px;
        }

        button {
            margin-top: 50px;
            width: 60%;
            height: 30px;
            border-radius: 10px;
            border: 0;
            color: #fff;
            text-align: center;
            line-height: 30px;
            font-size: 15px;
            background-image: linear-gradient(to right, #30cfd0, #330867);
        }

        #sign_up {
            margin-top: 45%;
            margin-left: 60%;
        }

        a {
            color: #b94648;
        }
    </style>
</head>

<body>
<form action="/doLogin" method="post">
    <div id="login_box">
        <h2>LOGIN</h2>
        <div id="input_box">
            <input type="text" value="zhangsan" name="username" placeholder="请输入用户名">
        </div>
        <div class="input_box">
            <input type="password" value="123" name="password" placeholder="请输入密码">
        </div>
        <button type="submit">登录</button>
        <br>
    </div>
</form>
</body>
</html>
三.配置SecurityConfig
注意,这里是springBoot 2.7的写法,与之前的是有区别的
SpringBoot2.7之前的写法与对springSecurity的差异-看看江南大佬怎么描述的吧
这个配置类的作用:
内容一:WebSecurityCustomizer 放行配置
给登录页面放行
放行方式一:
被放行的资源,不需要经过 Spring Security 过滤器链(静态资源一般使用这种)。
放行方式二:
2. 经过 Spring Security 过滤器链,但是不拦截(如果是一个接口想要匿名访问,一般使用这种)
内容二:安全过滤器链:SecurityFilterChain
类似Shiro中xml中配置的过滤器的作用
注意:这个配置类很重要要自己能写出来。
package com.huang.springsecurity.config;

import org.springframework.context.annotation.Bean;
import org.springframework.context.annotation.Configuration;
import org.springframework.security.config.annotation.web.builders.HttpSecurity;
import org.springframework.security.config.annotation.web.builders.WebSecurity;
import org.springframework.security.config.annotation.web.configuration.WebSecurityCustomizer;
import org.springframework.security.web.SecurityFilterChain;

@Configuration
public class SecurityConfig {

    /**
     * 给登录页面放行
     * Spring Security 给一个地址放行,有两种方式:
     * 1. 被放行的资源,不需要经过 Spring Security 过滤器链(静态资源一般使用这种)。
     * 2. 经过 Spring Security 过滤器链,但是不拦截(如果是一个接口想要匿名访问,一般使用这种)。
     * <p>
     * 很明显下面这种方形方式是第一种
     *
     * @return
     */
    @Bean
    WebSecurityCustomizer securityCustomizer() {
        return new WebSecurityCustomizer() {
            @Override
            public void customize(WebSecurity web) {
                web.ignoring().antMatchers("/login.html");
            }
        };
    }

    /**
     * 自己手动配置安全过滤器链
     *
     * @return
     */
    @Bean
    SecurityFilterChain securityFilterChain(HttpSecurity http) throws Exception {
        //开始认证
        http.authorizeRequests()
                //请求路径如果是 /login.html,则这个请求可以匿名通过
                .antMatchers("/login.html").anonymous()
                //所有的请求,类似于 shiro 中的 /**
                .anyRequest()
                //必须要认证之后才能访问,类似于 shiro 中的 authc
                .authenticated()
                .and()
                //开始配置登录表单
                .formLogin()
                //配置登录页面,如果访问了一个需要认证之后才能访问的页面,那么就会自动跳转到这个页面上来
                .loginPage("/login.html")
                //配置处理登录请求的接口,本质上其实就是配置过滤器的拦截规则,将来的登录请求就会在过滤器中被处理
                .loginProcessingUrl("/doLogin")
                //配置登录表单中用户名的 key
                .usernameParameter("username")
                //配置登录表单中用户密码
                .passwordParameter("password")
                //配置登录成功后的跳转地址
                .defaultSuccessUrl("/hello")
                .failureUrl("/login.html")
                .and()
                //关闭 csrf 防御机制,这个 disable 方法本质上就是从 Spring Security 的过滤器链上移除掉 csrf 过滤器
                .csrf().disable();

        return http.build();
    }
}
四.登录成功展示


 1750
1750


 被折叠的 条评论
为什么被折叠?
被折叠的 条评论
为什么被折叠?
 到【灌水乐园】发言


