


 演示或 Web 应用程序。然后,您可以使用 Gradio 的内置共享功能在短短几秒钟内共享演示或 Web 应用程序的链接。Gradio 是一个开源 Python 包,可让快速为机器学习模型、API 或任何任意 Python 函数。无需 JavaScript、CSS 或网络托管能力!主题:本篇即为入门,后续将会从函数和使用场景介绍。
主题:本篇即为入门,后续将会从函数和使用场景介绍。
Gradio 是一个开源 Python 包,可让快速为机器学习模型、API 或任何任意 Python 函数构建演示或 Web 应用程序。然后,您可以使用 Gradio 的内置共享功能在短短几秒钟内共享演示或 Web 应用程序的链接。无需 JavaScript、CSS 或网络托管能力!
准备:
1. python 3.8+
2.安装:
pip install gradio示例1:
import gradio as gr

def greet(name, intensity):
    return "Hello, " + name + "!" * int(intensity)

demo = gr.Interface(
    fn=greet,
    inputs=["text", "slider"],
    outputs=["text"],
)

demo.launch()
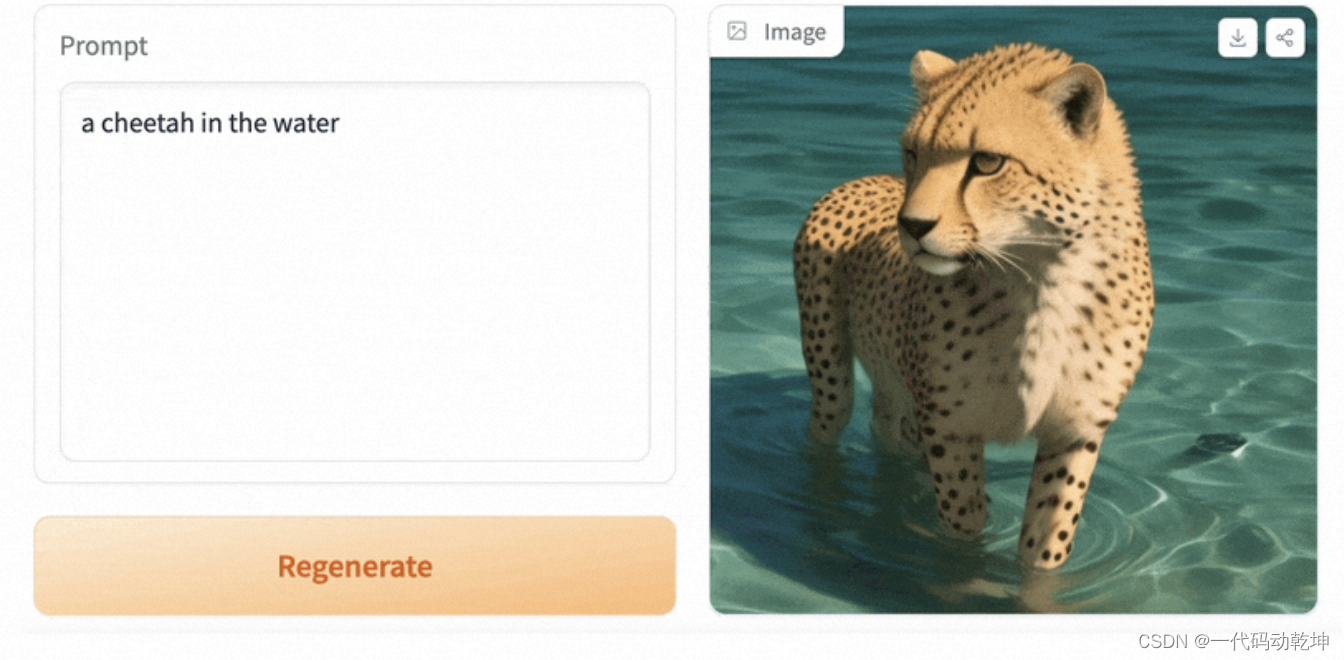
运行如下:

 最低0.47元/天 解锁文章


 502
502


 被折叠的 条评论
为什么被折叠?
被折叠的 条评论
为什么被折叠?
 到【灌水乐园】发言


