


letnet图片分类 python实现-详细讲解
最近发现很多人对这个图片分类的这个代码还是很感兴趣的,所以,今天,我们再将一个letne对图片进行分类的代码
数据集,我已上传到我的资源中,想要的,也可以直接找我
首先给出我们的文件夹结构:
下面两个是存放日志给模型的两个文件夹,

下面这个是:
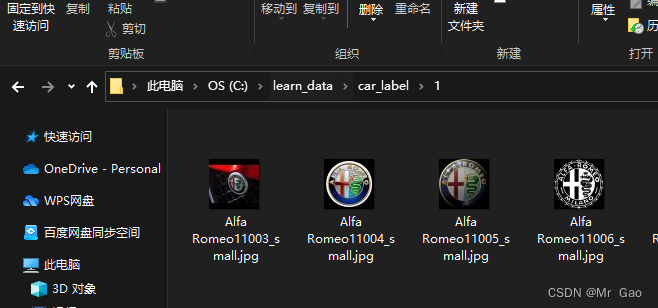
数据集文件夹结构,每个文件夹下存储的是我们的训练数据集
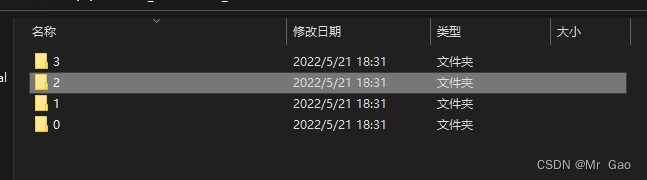
每个文件夹里都是图片
letnet代码有些特殊,训练集的文件夹得名字需要是数字
模型训练代码如下,有备注
import os
import tensorflow as tf
import numpy as np
import model

LOG_DIR='C:/learn_data/train_modle/'#训练日志存放文件夹

CHECK_POINT_DIR = 'C:/learn_data/modle/'#训练完之后的模型存放文件夹

def get_files(file_path):
	class_train = []
	label_train = []
	for train_class in os.listdir(file_path):
		for pic_name in os.listdir(file_path + train_class):
			class_train.append(file_path + train_class + '/' + pic_name)
			label_train.append(train_class)
	temp = np.array([class_train, label_train])
	temp = temp.transpose()
	np.random.shuffle(temp)

	image_list = list(temp[:,0])
	label_list = list(temp[:,1])
	# class is 1 2 3 4
	label_list = [int(i) for i in label_list]
	return image_list, label_list

def get_batches(image, label, resize_w, resize_h, batch_size, capacity):
	image = tf.cast(image, tf.string)
	label = tf.cast(label, tf.int64)
	queue = tf.train.slice_input_producer([image, label])
	label = queue[1]
	image_temp = tf.read_file(queue[0])
	image = tf.image.decode_jpeg(image_temp, channels = 3)
	#resize image
	image = tf.image.resize_image_with_crop_or_pad(image, resize_w, resize_h)

	image = tf.image.per_image_standardization(image)

	image_batch, label_batch = tf.train.batch([image, label], batch_size = batch_size,
		num_threads = 64,
		capacity = capacity)
	images_batch = tf.cast(image_batch, tf.float32)
	labels_batch = tf.reshape(label_batch, [batch_size])
	return images_batch, labels_batch


train,train_label = get_files('C:/learn_data/car_label/')

train_batch, train_label_batch = get_batches(train, train_label, 64, 64, 40, 50)#64, 64图片resize大小 40是batch_size
###batch_size大小,可以随数据集的大小进行调整。数据量大,就调大一点

train_logits = model.inference(train_batch, 40, 4)
#4是我们的分类数目

train_loss = model.losses(train_logits, train_label_batch)

train_op = model.trainning(train_loss, 0.001)#0.001学习率

train_acc = model.evaluation(train_logits, train_label_batch)

summary_op = tf.summary.merge_all()

sess = tf.Session()
train_writer = tf.summary.FileWriter(LOG_DIR, sess.graph)
saver = tf.train.Saver()

sess.run(tf.global_variables_initializer())

coord = tf.train.Coordinator()

threads = tf.train.start_queue_runners(sess=sess, coord=coord)

try:
	for step in np.arange(700):
		if coord.should_stop():
			break
		_, tra_loss, tra_acc = sess.run([train_op, train_loss, train_acc])

		if step % 10 == 0:
			print('Step %d, train loss=%.2f, train accuracy = %.2f' %(step, tra_loss, tra_acc))
			summary_str = sess.run(summary_op)
			train_writer.add_summary(summary_str, step)
		#训练到700个bacth时才会保存模型
		if (step + 1) == 700:
			checkpoint_path = os.path.join(CHECK_POINT_DIR, 'model_ckpt')
			saver.save(sess, checkpoint_path, global_step=step)
except tf.errors.OutOfRangeError:
	print ('Done training')
finally:
	coord.request_stop()

coord.join(threads)
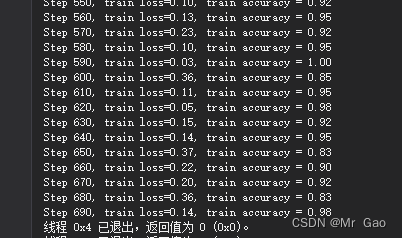
下图使我们的一个训练结果
下面时模型加载和调用代码:
import os
import tensorflow as tf
import numpy as np

import model

import matplotlib.pyplot as plt
import cv2
CHECK_POINT_DIR = 'C:/learn_data/modle/'
def evaluate_one_image(image_array):
 with tf.Graph().as_default():
   image = tf.cast(image_array, tf.float32)
   image = tf.image.per_image_standardization(image)
   image = tf.reshape(image, [1, 64,64,3])#64x64必须和训练代码对齐
   logit = model.inference(image, 1, 4)#56必须和训练代码的对齐
   logit = tf.nn.softmax(logit)
   x = tf.placeholder(tf.float32, shape=[64,64,3])
   saver = tf.train.Saver()
   with tf.Session() as sess:
       print ('Reading checkpoints...')
       ckpt = tf.train.get_checkpoint_state(CHECK_POINT_DIR)
       if ckpt and ckpt.model_checkpoint_path:
           global_step = ckpt.model_checkpoint_path.split('/')[-1].split('-')[-1]
           saver.restore(sess, ckpt.model_checkpoint_path)
           print('Loading success, global_step is %s' %global_step)
       else:
           print ('No checkpoint file found')
       prediction = sess.run(logit, feed_dict = {x:image_array})

       max_index = np.argmax(prediction)
       print (prediction)
       if max_index == 1:
           result = ('this is Alfa rate: %.6f, result prediction is [%s]' %(prediction[:,0],','.join(str(i) for i in prediction[0])))
       elif max_index == 2:
           result = ('this is Audi rate: %.6f, result prediction is [%s]' %(prediction[:,1],','.join(str(i) for i in prediction[0])))
       elif max_index == 3:
           result = ('this is BMW rate: %.6f, result prediction is [%s]' %(prediction[:,2],','.join(str(i) for i in prediction[0])))
       else:
            result = ('this is chev rate: %.6f, result prediction is [%s]' %(prediction[:,2],','.join(str(i) for i in prediction[0])))

       return result


image = cv2.imread('C:/learn_data/car_label/1/Alfa Romeo11003_small.jpg')
#plt.imshow(image)
#plt.show()
image = cv2.resize(image,(64,64))
print(image)
image = np.array(image)
print(evaluate_one_image(image))


os.system("pause")
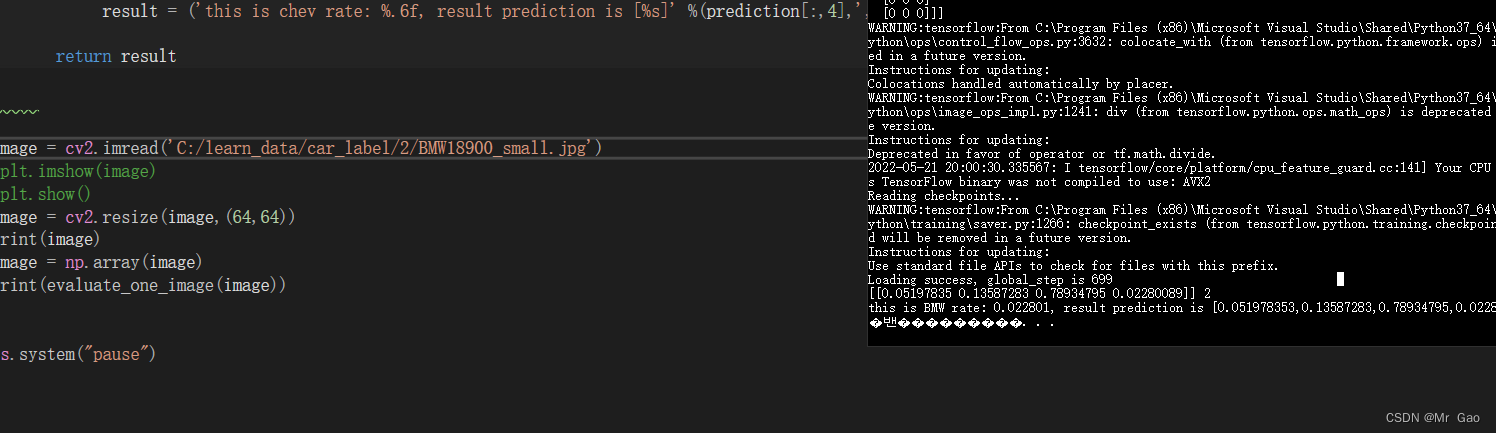
测试结果如下:
我们这里是随机挑了一张测试,结果正确


 586
586


 被折叠的 条评论
为什么被折叠?
被折叠的 条评论
为什么被折叠?
 到【灌水乐园】发言


