


由于开发过程中使用到了kafka,又不想自己部署kafka,索性采用k8s 部署kafka集群,以求做到随时插拔。
- 创建命名空间
apiVersion: v1
kind: Namespace
metadata:
  name: "kafka"
  labels:
    name: "kafka"
sudo kubectl apply -f namespace.yaml
- 安装Strimzi
apply the Strimzi install files, which include among other things, the CRDs (CustomerResourceDefinition) to use for declarative management of the Kafka cluster, Kafka topics, and users.
sudo kubectl create -f 'https://strimzi.io/install/latest?namespace=kafka' -n kafka
检查安装
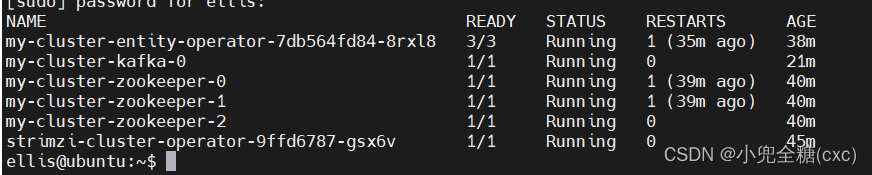
sudo kubectl get pods -n kafka
- 创建Kafka Cluster
其中version 根据错误提示进行更改
apiVersion: kafka.strimzi.io/v1beta2
kind: Kafka
metadata:
 name: my-cluster
 namespace: kafka
spec:
 kafka:
   version: 3.5.0
   replicas: 1
   listeners:
     - name: plain
       port: 9092
       type: internal
       tls: false
     - name: tls
       port: 9093
       type: internal
       tls: true
     - name: external
       port: 9094
       type: nodeport
       tls: false
   config:
     offsets.topic.replication.factor: 1
     transaction.state.log.replication.factor: 1
     transaction.state.log.min.isr: 1
     default.replication.factor: 1
     min.insync.replicas: 1
     inter.broker.protocol.version: "3.2"
   storage:
     type: ephemeral
 zookeeper:
   replicas: 3
   storage:
     type: ephemeral
 entityOperator:
   topicOperator: {}
   userOperator: {}
注意9094那个端口,我们设置为nodeport 可以外部访问
sudo kubectl create -f kafka.yaml
sudo kubectl get pods -n kafka
sudo kubectl get services -n kafka
kafka集群最重要的服务是my-cluster-kafka-bootstrap service, 这个暴露了9092端口.

此时可以通过32546访问kafka了
- 使用yaml创建topic
apiVersion: kafka.strimzi.io/v1beta2
kind: KafkaTopic
metadata:
 name: movies
 namespace: kafka
 labels:
   strimzi.io/cluster: my-cluster
spec:
 partitions: 1
 replicas: 1
 config:
   retention.ms: 7200000
   segment.bytes: 1073741824
- 使用python创建topic
from confluent_kafka.admin import AdminClient, NewTopic


class Topic:

    def __init__(self) -> None:
        self.conf = {'bootstrap.servers': f'192.168.214.133:32546'}
        self.admin = AdminClient(self.conf)

    def topicExist(self,topicname):
        topic_metadata = self.admin.list_topics()
        if topic_metadata.topics.get(topicname) is None:
            self.creataTopic(topicname)


    def creataTopic(self,topic):
        new_topics = [NewTopic(topic,num_partitions=3, replication_factor=1)]

        fs = self.admin.create_topics(new_topics)

        for topic, f in fs.items():
            try:
                f.result()  # The result itself is None
                print("Topic {} created".format(topic))
                return True
            except Exception as e:
                print("Failed to create topic {}: {}".format(topic, e))
                return False
Topic().creataTopic('ellis1')
- 查看topic
sudo kubectl get kafkatopic -n kafka
- 命令行查看topic
sudo kubectl exec -it my-cluster-kafka-0 -n kafka -- bin/kafka-topics.sh --bootstrap-server my-cluster-kafka-bootstrap:9092 --list
- 命令行查看topic数据
sudo kubectl exec -it my-cluster-kafka-0 -n kafka -- bin/kafka-console-consumer.sh --bootstrap-server my-cluster-kafka-bootstrap:9092 --topic ellis_test_tbl1 --from-beginning
https://www.infoq.com/articles/strimzi-the-gitops-way/


 1889
1889


 被折叠的 条评论
为什么被折叠?
被折叠的 条评论
为什么被折叠?
 到【灌水乐园】发言


