


🎉使用Tauri+vite+koa2+mysql开发了一款待办效率应用
📝项目概述
这是一个基于tauri+vite的应用,它采用了一些最新的前端技术,包括 Tauri、Vue3、Vite5、koa2 和 mysql。它提供了丰富的效率管理工具。
喜欢的可以试试哦,🙏🙏🙏
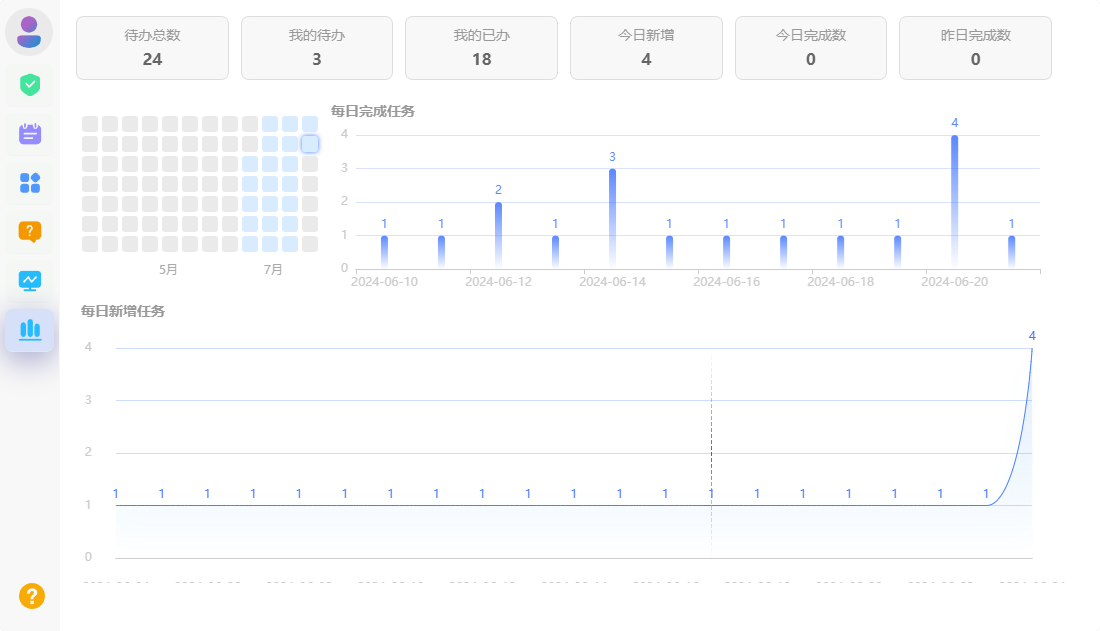
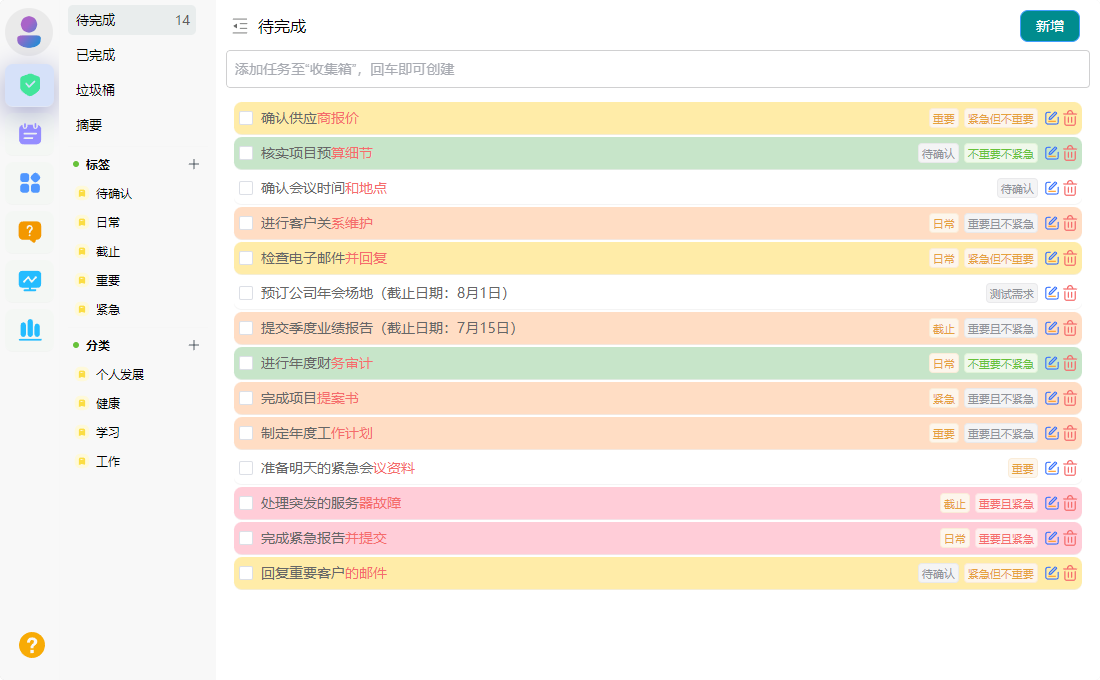
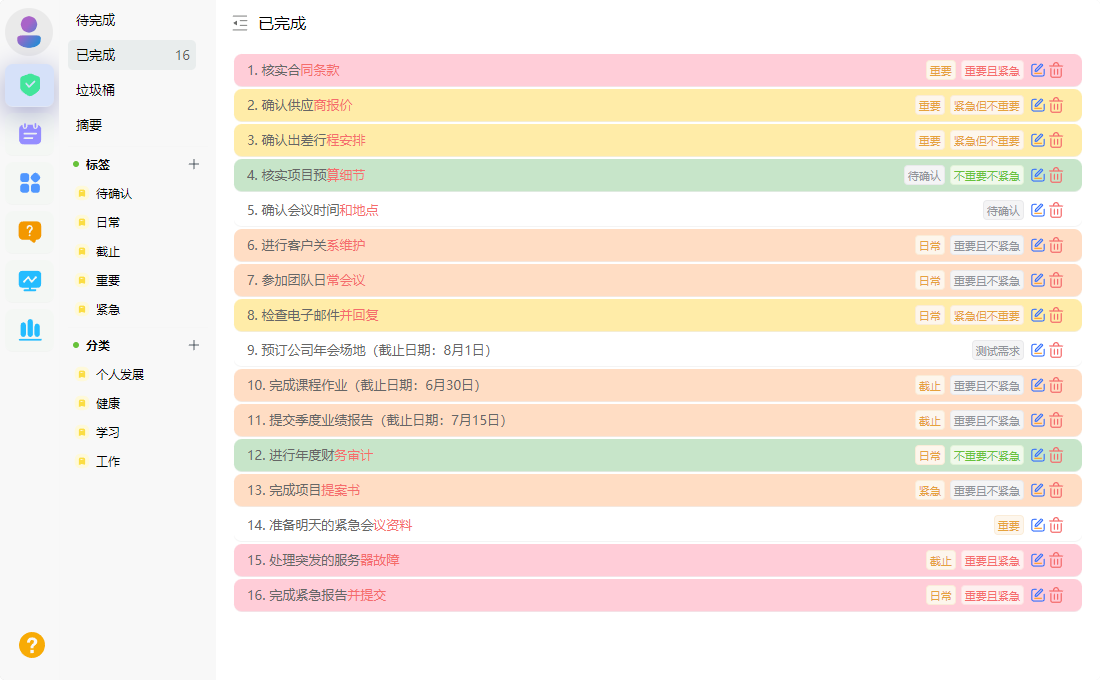
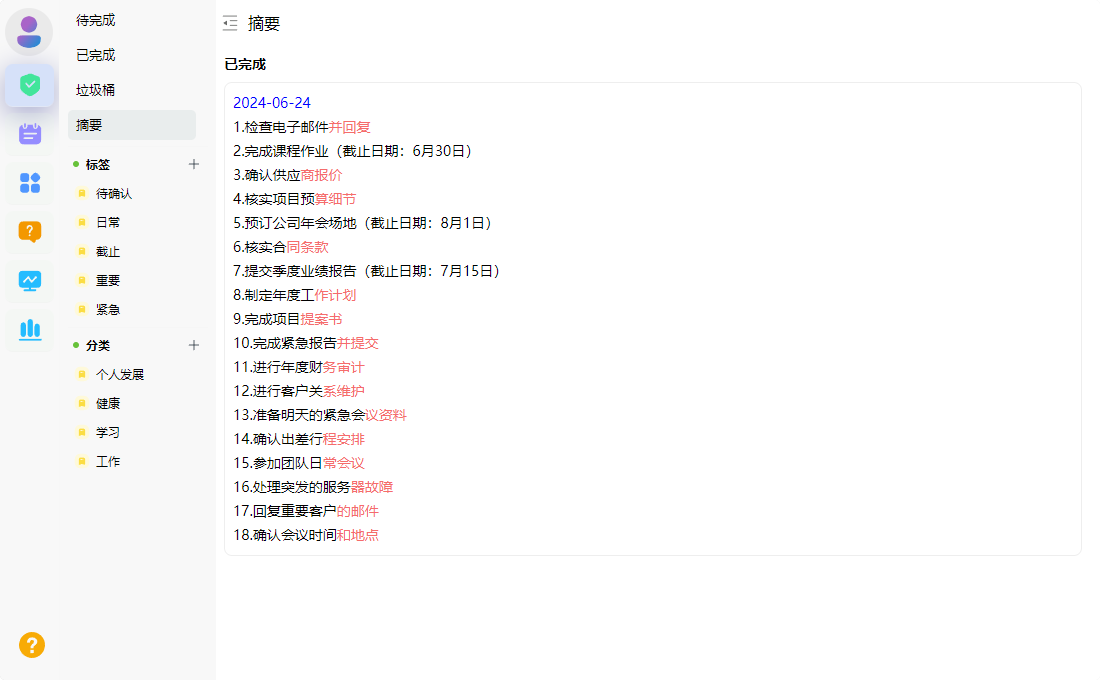
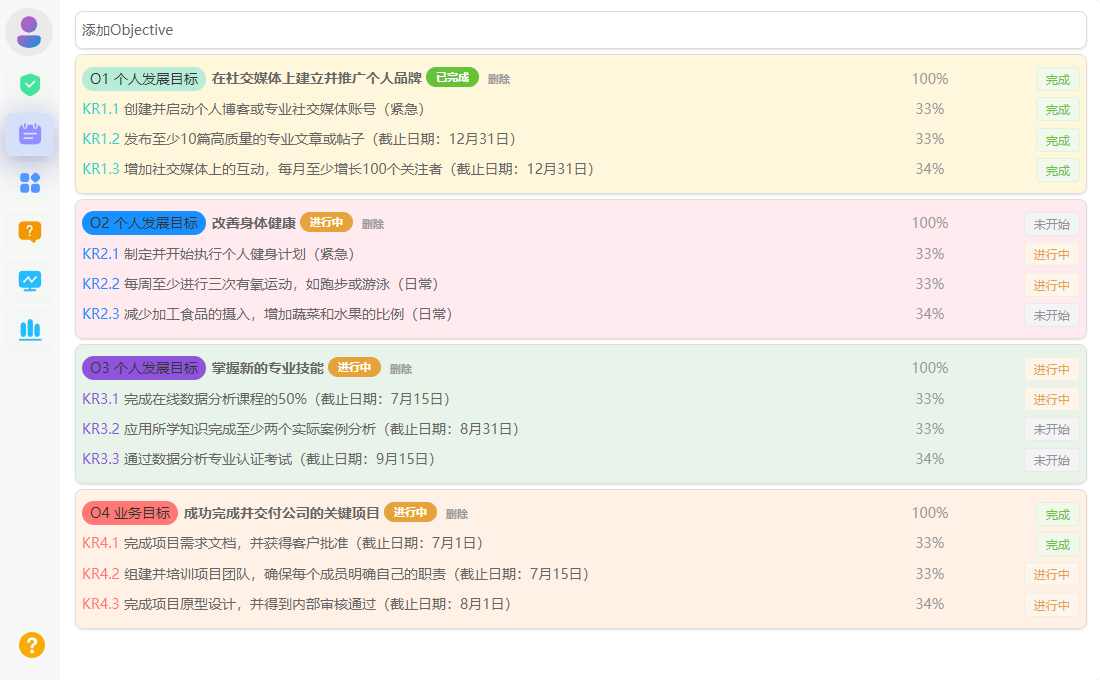
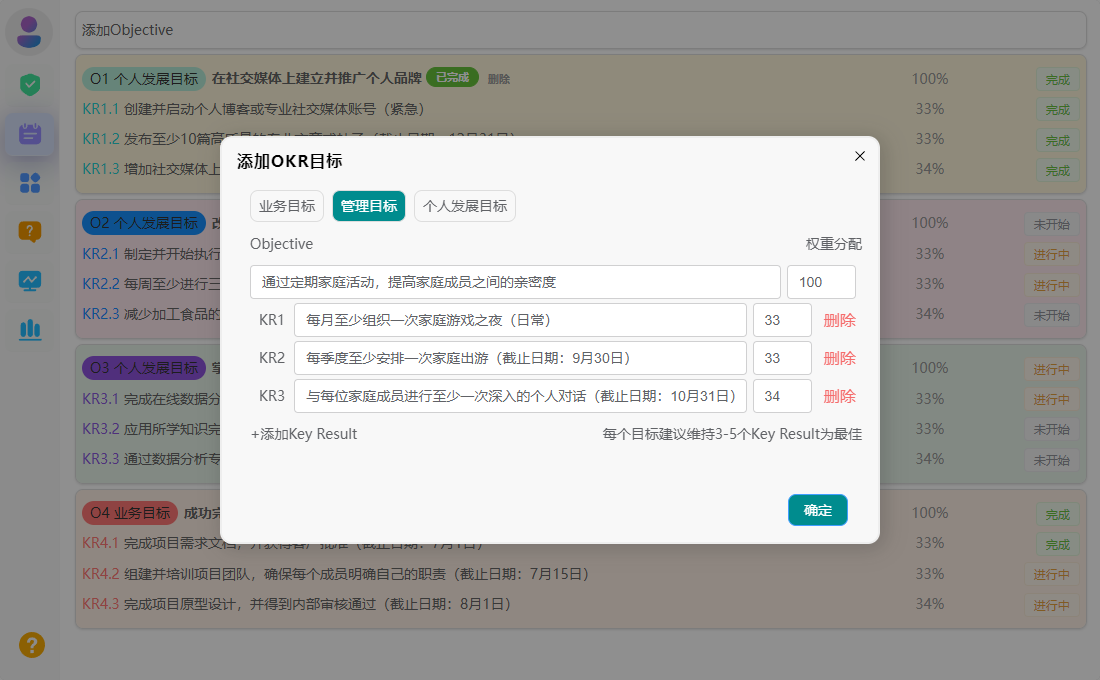
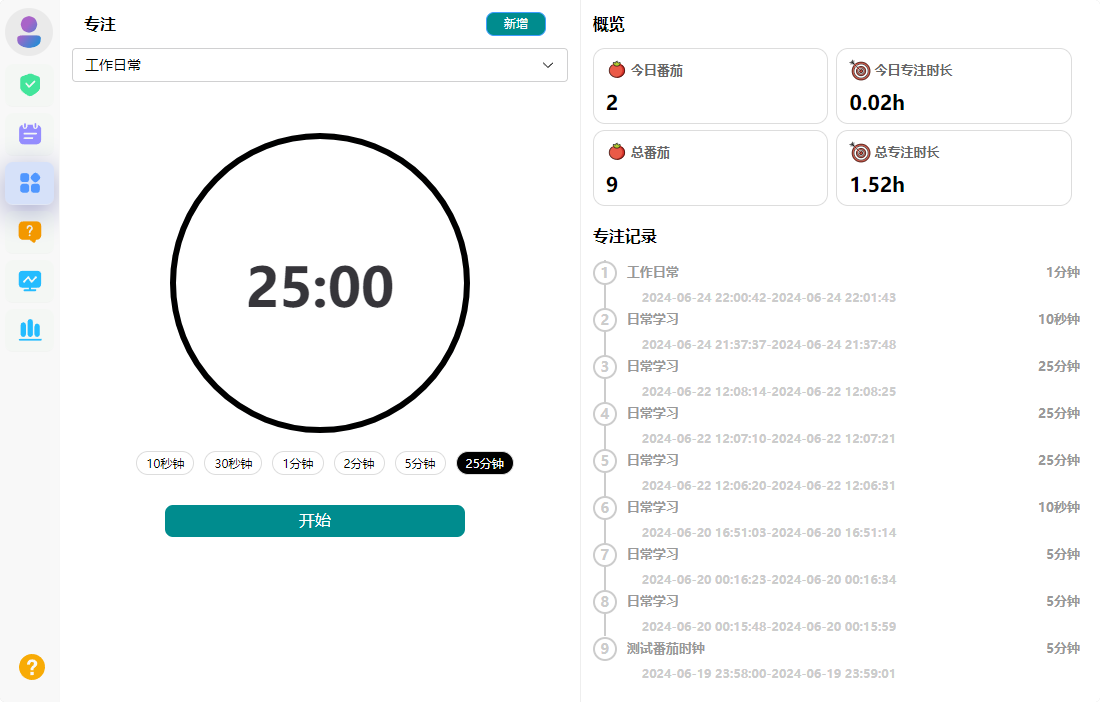
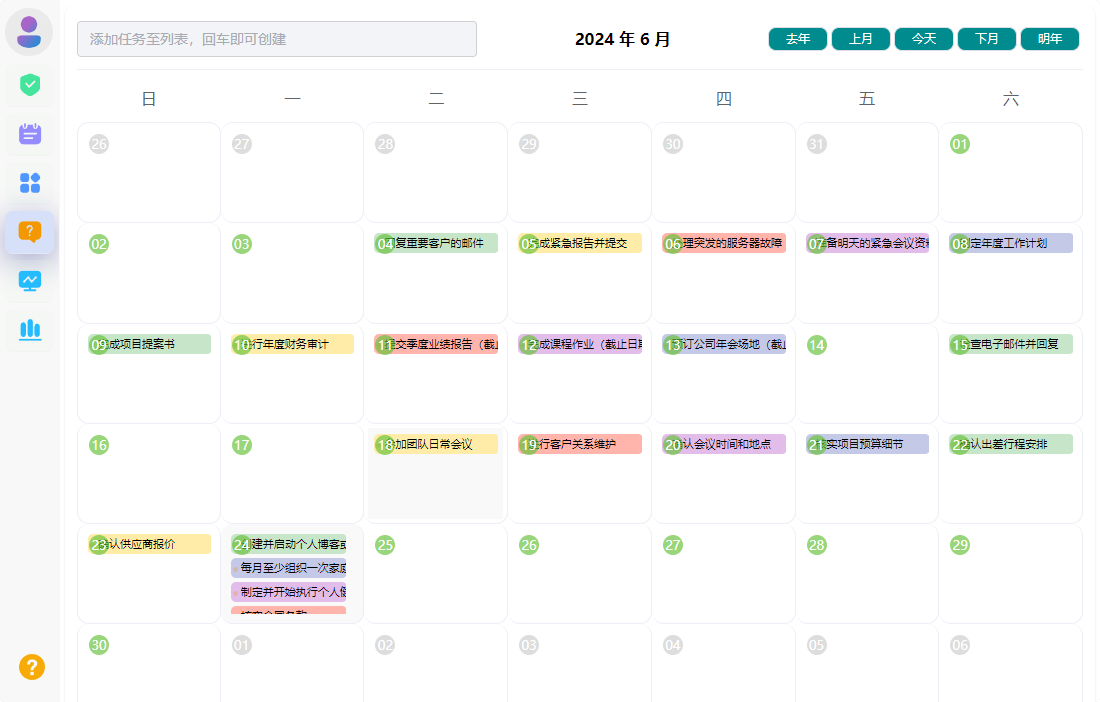
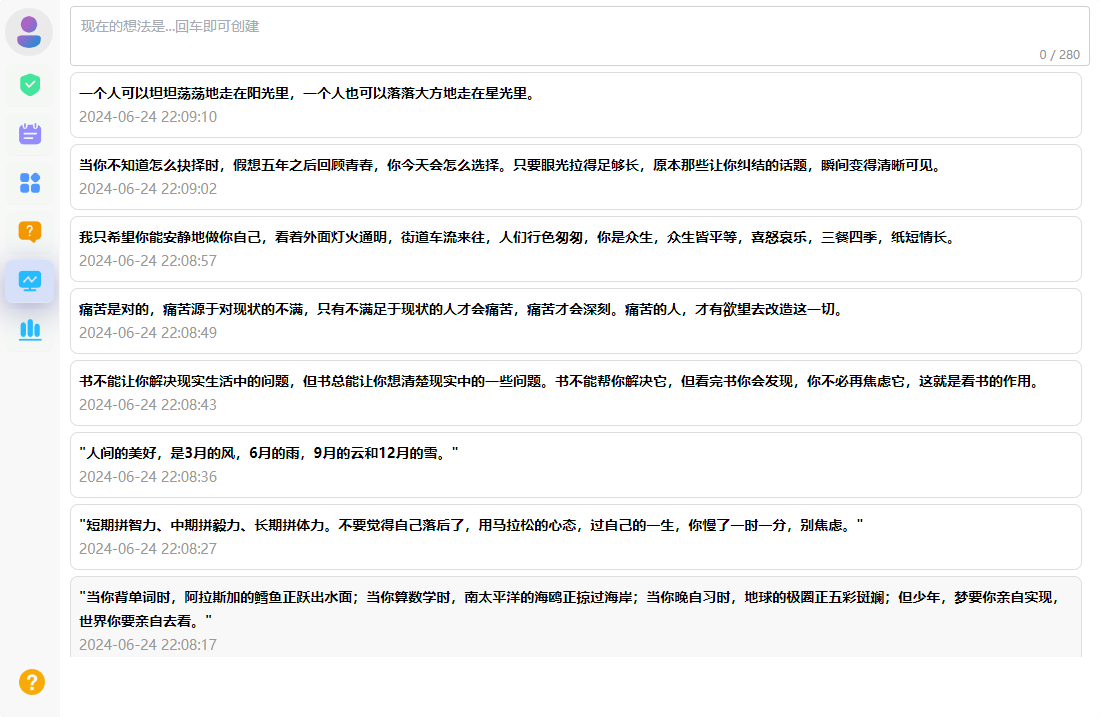
🏆项目预览
💻技术栈
- Tauri: Tauri是一个用于构建现代桌面应用程序的工具,结合了Rust、Vue.js和Web技术,提供了强大的跨平台能力。
- Vue3: Vue3是流行的JavaScript框架Vue.js的最新版本,具有更好的性能、更好的TypeScript支持和更多的特性。
- Vite5: Vite是一个现代化的构建工具,Vite5是其最新版本,具有快速的冷启动、热模块替换和原生ES模块支持。
- Koa2: Koa2是一个基于Node.js的轻量级Web框架,使用异步函数处理中间件,提供了简洁而强大的Web开发体验。
- MySQL: MySQL是一个流行的关系型数据库管理系统,具有高性能、可靠性和广泛的应用领域,适用于各种规模的应用程序。
主要包括的功能点实现
🔔图标生成
在项目根目录,放上图片为 app-icon.png的图片
然后执行。就能看到图标已经生成了。
npm run tauri icon
📢配置应用系统托盘
新建tray.rs,编写托盘事件。内容如下。
use tauri::{
    AppHandle, CustomMenuItem, SystemTray, SystemTrayEvent, SystemTrayMenu, SystemTrayMenuItem
};
use tauri::Manager;

// 托盘菜单
pub fn menu() -> SystemTray {
    let quit = CustomMenuItem::new("quit".to_string(), "退出");
    let show = CustomMenuItem::new("show".to_string(), "显示");
    let hide = CustomMenuItem::new("hide".to_string(), "隐藏");
    let tray_menu = SystemTrayMenu::new()
        .add_native_item(SystemTrayMenuItem::Separator)
        .add_item(hide)
        .add_item(show)
        .add_native_item(SystemTrayMenuItem::Separator)
        .add_item(quit);

    SystemTray::new().with_menu(tray_menu)
}

// 托盘事件
pub fn handler(app: &AppHandle, event: SystemTrayEvent) {
    let window = app.get_window("main").unwrap();
    match event {
        SystemTrayEvent::MenuItemClick { id, .. } => match id.as_str() {
            "quit" => {
                std::process::exit(0);
            }
            "show" => {
                window.show().unwrap();
            }
            "hide" => {
                window.hide().unwrap();
            }
            _ => {}
        },
        _ => {}
    }
}
在main.rs中使用
use std::{thread,time};
mod tray;

fn main() {
    let context = tauri::generate_context!();
    tauri::Builder::default()
        // .menu(tauri::Menu::os_default(&context.package_info().name)) //配置界面菜单
        .system_tray(tray::menu()) // ✅ 将 `tauri.conf.json` 上配置的图标添加到系统托盘
        .on_system_tray_event(tray::handler) // ✅ 注册系统托盘事件处理程序
        .invoke_handler(tauri::generate_handler![my_custom_command, init_process,close_splashscreen])
        .run(context)
        .expect("error while running tauri application");
}
🎛️ 接口封装请求
Tauri 是一个框架,它允许开发者使用 Rust 语言来构建轻量级的桌面应用程序,Tauri 提供了一套 API,其中包括了用于处理 HTTP 请求的 http 模块。
tauri.conf.json 文件中进行配置:
{
  "tauri": {
    "allowlist": {
      "http": {
        "all": true,
        "request": true,
        "scope":[
          "http://**",
          "https://**"
        ]
      }
    }
  }
}
🎵基于API的封装
// http.js

import { fetch, ResponseType, Body } from '@tauri-apps/api/http'

// https://tauri.app/zh-cn/v1/api/js/http#fetch
export const http = (opts = {}) => {
  return new Promise((resolve, reject) => {
    const { url, method, query, data, headers, callback } = opts
    fetch(url, {
      method: method || 'GET',
      headers: {
        'content-type': 'application/json',
        ...headers,
      },
      responseType: ResponseType.JSON,
      timeout: 60000,
      query: query,
      body: Body.json({
        ...data,
      }),
    })
    .then((res) => {
      callback && callback(res)
      resolve(res)
    })
    .catch((e) => {
      reject(e)
    })
  })
}
😄获取版本号
这个函数通常用于获取应用程序的版本信息
import { getVersion } from '@tauri-apps/api/app'
onMounted(async () => {
  appVersion.value = await getVersion()
  getNewVersions()
})
🙂检查版本更新
这段代码的作用是导入 Tauri 中的更新模块 @tauri-apps/api/updater 中的 checkUpdate 和 installUpdate 函数。checkUpdate 用于检查是否有可用的应用程序更新,而 installUpdate 用于安装应用程序更新。

import { checkUpdate, installUpdate } from '@tauri-apps/api/updater'
  checkUpdate().then(async (res) => {
    const { shouldUpdate, manifest } = res
    if (shouldUpdate) {
      confirm(`发现新版本:${manifest?.version},是否升级?`, { title: '版本更新', type: 'success' }).then(async (res) => {
        try {
          ElMessage.success({
            message: '正在下载更新...',
            duration: 3000,
          })
          installUpdate()
            .then(async (res) => {
              await relaunch()
            })
            .catch((e) => {
            })
        } catch (e) {
          ElMessage.error({
            message: '下载更新失败',
            description: e.toString() || '',
          })
        }
      })
    } else {
     await confirm(`当前版本,已经是最新版本`, { title: '检查更新', type: 'success' ,okLabel: '确定',cancelLabel: '取消'})
    }
  })
🙃窗口操作
窗口禁用最大化和最小化功能
import { appWindow } from '@tauri-apps/api/window';
🥰禁用最大化和取消禁用

appWindow.setMaximizable(true) //禁用
appWindow.setMaximizable(false) //取消禁用
appWindow.setMinimized(true) //禁用
appWindow.setMinimized(false) //取消禁用
🥰消息提示
Ask弹窗
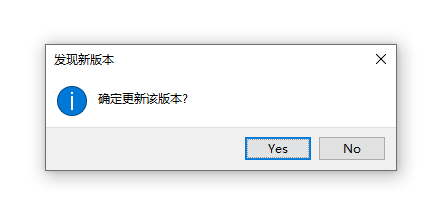
import { ask } from '@tauri-apps/api/dialog';
const yes = await ask('确定更新该版本?', '发现新版本');
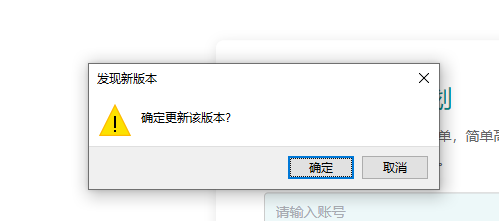
const yes2 = await ask('确定更新该版本?', { title: '发现新版本', type: 'warning' });
如果想要修改按钮的文本,可以使用,okLabel: ‘确定’,cancelLabel: ‘取消’。
😊confirm弹窗
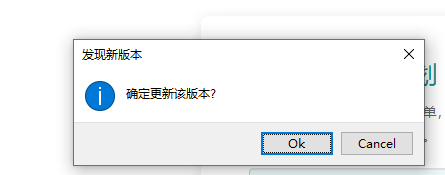
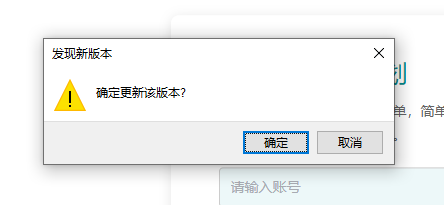
import { confirm } from '@tauri-apps/api/dialog';
const confirmed = await confirm('确定更新该版本?', '发现新版本');
const confirmed2 = await confirm('确定更新该版本?', { title: '发现新版本', type: 'warning',okLabel: '确定',cancelLabel: '取消' });
😝message提示框

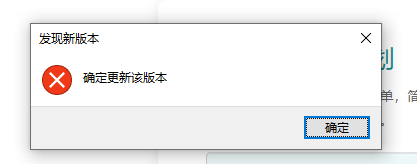
import { message } from '@tauri-apps/api/dialog';
await message('确定更新该版本', '发现新版本');
await message('确定更新该版本', { title: '发现新版本', type: 'error',okLabel: '确定',cancelLabel: '取消' });
🤗open 选择文件弹窗
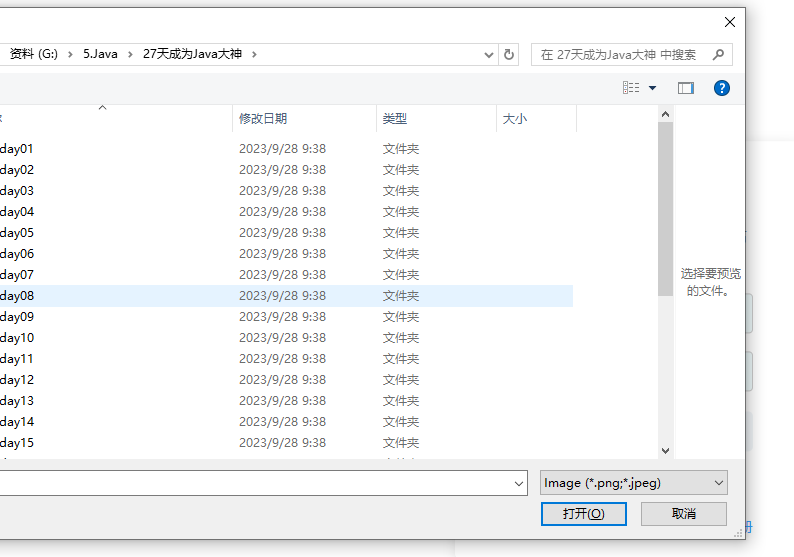
import { open } from '@tauri-apps/api/dialog';
// Open a selection dialog for image files
const selected = await open({
  multiple: true,
  filters: [{
    name: 'Image',
    extensions: ['png', 'jpeg']
  }]
});
if (Array.isArray(selected)) {
  // user selected multiple files
} else if (selected === null) {
  // user cancelled the selection
} else {
  // user selected a single file
}
😐save文件保存弹窗
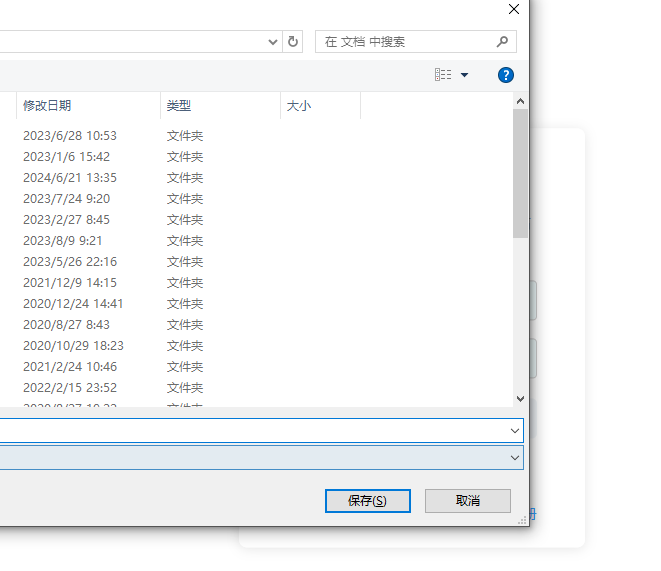
import { save } from '@tauri-apps/api/dialog';
const filePath = await save({
  filters: [{
    name: 'Image',
    extensions: ['png', 'jpeg']
  }]
});
😁splashscreen页设置
为什么要设置这个呢,因为splashscreen 页面通常用于在应用程序启动时显示一个启动画面或加载动画,以提供用户友好的界面体验。这个页面可以包含应用程序的标志、名称或其他相关信息,帮助用户确认应用程序正在加载。一旦应用程序加载完成,通常会自动关闭 splashscreen 页面并显示应用程序的主界面。
🫠tauri.conf.json配置
    "windows": [
      {
        "fullscreen": false,
        "resizable": true,
        "title": "微芒计划",
        "width": 1100,
        "height": 680,
        "minHeight": 600,
        "minWidth": 900,
        "visible": false
      },
      {
        "width": 800,
        "height": 500,
        "minHeight": 500,
        "minWidth": 800,
        "decorations": false,
        "url": "splashscreen.html",
        "label": "splashscreen",
        "resizable": true,
        "fullscreen": false
      }
    ]
splashscreen.html要放到public下面,为一个html文件,里面可以写开屏的图片动画或者界面。
🙂main.rs编写关闭splashscreen 页面的功能
// Create the command:
// This command must be async so that it doesn't run on the main thread.
#[tauri::command]
async fn close_splashscreen(window: Window) {
  // Close splashscreen
  window.get_window("splashscreen").expect("no window labeled 'splashscreen' found").close().unwrap();
  // Show main window
  window.get_window("main").expect("no window labeled 'main' found").show().unwrap();
}
🙃main入口提供给前端使用
fn main() {
    let context = tauri::generate_context!();
    tauri::Builder::default()
        // .menu(tauri::Menu::os_default(&context.package_info().name)) //配置界面菜单
        .system_tray(tray::menu()) // ✅ 将 `tauri.conf.json` 上配置的图标添加到系统托盘
        .on_system_tray_event(tray::handler) // ✅ 注册系统托盘事件处理程序
        .invoke_handler(tauri::generate_handler![my_custom_command, init_process,close_splashscreen])
        .run(context)
        .expect("error while running tauri application");
}
🙃在前端调用splashscreen页面
界面加载完成后,关掉
import { onMounted } from 'vue'
import { invoke } from '@tauri-apps/api/tauri'
onMounted(() => {
  // window.addEventListener('contextmenu', (e) => e.preventDefault(), false)
  document.addEventListener('DOMContentLoaded', () => {
    // This will wait for the window to load, but you could
    // run this function on whatever trigger you want
    setTimeout(() => {
      invoke('close_splashscreen')
    }, 1000)
  })
})
🎉结语
感兴趣的可以试试,有不清楚的问题,关于tauri开发方面的问题,也可以一起交流。欢迎加我:zhan_1337608148。一起成长,一起进步。


 436
436


 被折叠的 条评论
为什么被折叠?
被折叠的 条评论
为什么被折叠?
 到【灌水乐园】发言


