


家人们啦!,上篇文章了,我们讲了如何使用docker-compose快速部署fastdfs,在今天的文章中,我将向大家介绍如何将Spring Boot与FastDFS进行无缝整合,以便高效地管理和操作文件存储。通过这个整合,你将能够轻松地在Spring Boot应用程序中实现文件的上传和下载等功能。让我们开始吧
添加FastDFS依赖
首先,我们需要在Spring Boot项目的pom.xml文件中添加FastDFS的依赖。在这个例子中,我们使用com.github.tobato.fastdfs:fastdfs-client作为FastDFS客户端的依赖。请确保你已经在pom.xml文件中添加以下依赖:
  <!-- fastdfs -->
  <dependency>
      <groupId>com.github.tobato</groupId>
      <artifactId>fastdfs-client</artifactId>
      <version>1.27.2</version>
  </dependency>
配置FastDFS连接信息
接下来,我们需要在Spring Boot项目的配置文件中添加FastDFS的连接信息。在application.yml文件中添加以下配置:
fdfs:
  outurl: http://192.168.10.106:8088/
  # 读取时间
  soTimeout: 1500
  # 连接超时时间
  connectTimeout: 691
  # 缩略图
  thumbImage:
    # 宽
    width: 150
    # 高
    height: 150
  # tracker列表
  trackerList:
    - 192.168.10.106:22122
实现FastDFS文件操作服务
代码如下:
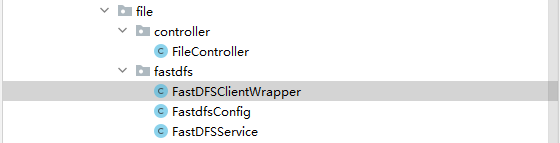
FastDFSClientWrapper
import com.github.tobato.fastdfs.domain.fdfs.StorePath;
import com.github.tobato.fastdfs.domain.proto.storage.DownloadByteArray;
import com.github.tobato.fastdfs.service.FastFileStorageClient;
import org.slf4j.Logger;
import org.slf4j.LoggerFactory;
import org.springframework.stereotype.Component;

import javax.annotation.Resource;
import java.io.ByteArrayInputStream;
import java.io.IOException;

@Component
public class FastDFSClientWrapper {
    private final Logger logger = LoggerFactory.getLogger(FastDFSClientWrapper.class);
    @Resource
    private FastFileStorageClient fastFileStorageClient;

    /**
     * 文件上传
     *
     * @param bytes     文件字节
     * @param fileSize  文件大小
     * @param extension 文件扩展名
     * @return fastDfs路径
     */
    public String uploadFile(byte[] bytes, long fileSize, String extension) {
        ByteArrayInputStream byteArrayInputStream = new ByteArrayInputStream(bytes);
        StorePath storePath = fastFileStorageClient.uploadFile(byteArrayInputStream, fileSize, extension, null);
        System.out.println(storePath.getGroup() + "===" + storePath.getPath() + "======" + storePath.getFullPath());
        return storePath.getFullPath();
    }

    /**
     * 下载文件
     *
     * @param fileUrl 文件URL
     * @return 文件字节
     * @throws IOException
     */
    public byte[] downloadFile(String fileUrl) throws IOException {
        String group = fileUrl.substring(0, fileUrl.indexOf("/"));
        String path = fileUrl.substring(fileUrl.indexOf("/") + 1);
        DownloadByteArray downloadByteArray = new DownloadByteArray();
        byte[] bytes = fastFileStorageClient.downloadFile(group, path, downloadByteArray);
        return bytes;
    }

    /**
     * 删除文件
     *
     * @param fileUrl 文件URL
     * @return 文件字节
     * @throws IOException
     */
    public void  deleteFile(String fileUrl) throws IOException {
        fastFileStorageClient.deleteFile( fileUrl);
    }
}
FastdfsConfig
import lombok.Data;
import org.springframework.boot.context.properties.ConfigurationProperties;

import org.springframework.stereotype.Component;


@Data
@Component
@ConfigurationProperties(prefix = "fdfs")
public class FastdfsConfig
{
    /**
     * fastdfs对外域名
     */
    private String outurl;


}
FastDFSService
import lombok.extern.slf4j.Slf4j;
import org.springframework.stereotype.Service;
import org.springframework.web.multipart.MultipartFile;

import javax.annotation.Resource;
import java.io.IOException;

@Slf4j
@Service
public class FastDFSService {

    @Resource
    private FastDFSClientWrapper fastDFSClientWrapper ;
    @Resource
    private FastdfsConfig fastdfsConfig ;

    public  String uploadFile(MultipartFile file){
        try {
            byte[] bytes = file.getBytes();
            String originalFileName = file.getOriginalFilename();
            String extension = originalFileName.substring(originalFileName.lastIndexOf(".") + 1);
            String fileName = file.getName();
            long fileSize = file.getSize();
            log.info("文件上传文件属性[originalFileName:{},fileName:{},fileSize:{},extension:{}, bytes.lengt:{}]",originalFileName,fileName,fileSize,extension,bytes.length);

            String url =  fastDFSClientWrapper.uploadFile(bytes, fileSize, extension);
            String resultUrl = fastdfsConfig.getOuturl() + url;

            log.info("文件地址:{}",resultUrl);
            return resultUrl;
        } catch (IOException e) {
            log.error("fastdfs上传文件失败,{}",e);
        }
        return null;
    }

    /**
     * 下载文件
     *
     * @param fileUrl 文件URL
     * @return 文件字节
     * @throws IOException
     */
    public  byte[] downloadFile(String fileUrl) throws IOException {
        byte[] bytes = fastDFSClientWrapper.downloadFile(fileUrl);
        return bytes;
    }

    /**
     * 下载文件
     *
     * @param fileUrl 文件URL
     * @return 文件字节
     * @throws IOException
     */
    public  void deleteFile(String fileUrl) throws IOException {
        fastDFSClientWrapper.deleteFile(fileUrl);
    }
}
FileController
import cn.xj.file.fastdfs.FastDFSService;
import org.springframework.web.bind.annotation.PostMapping;
import org.springframework.web.bind.annotation.RestController;
import org.springframework.web.multipart.MultipartFile;

import javax.annotation.Resource;

@RestController
public class FileController {


    @Resource
    private FastDFSService fastDFSService;


    @PostMapping("/file/upload")
    public String upload(MultipartFile file){
        return fastDFSService.uploadFile(file);
    }
}
测试文件上传查看
图片上传

复制地址到浏览器查看:

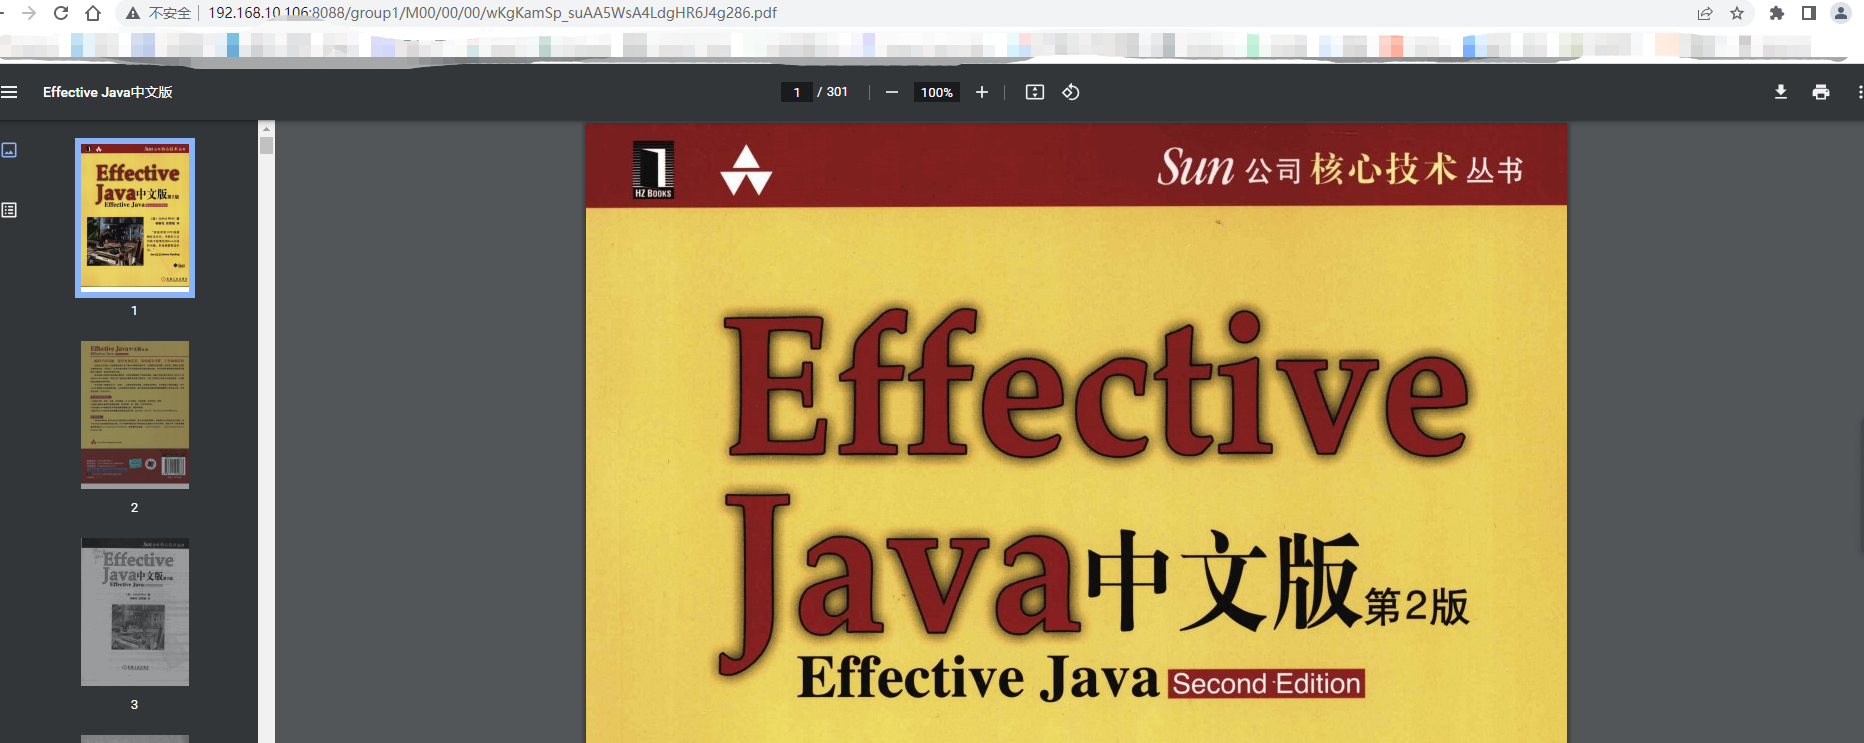
pdf上传

复制地址到浏览器查看:
文件上传:
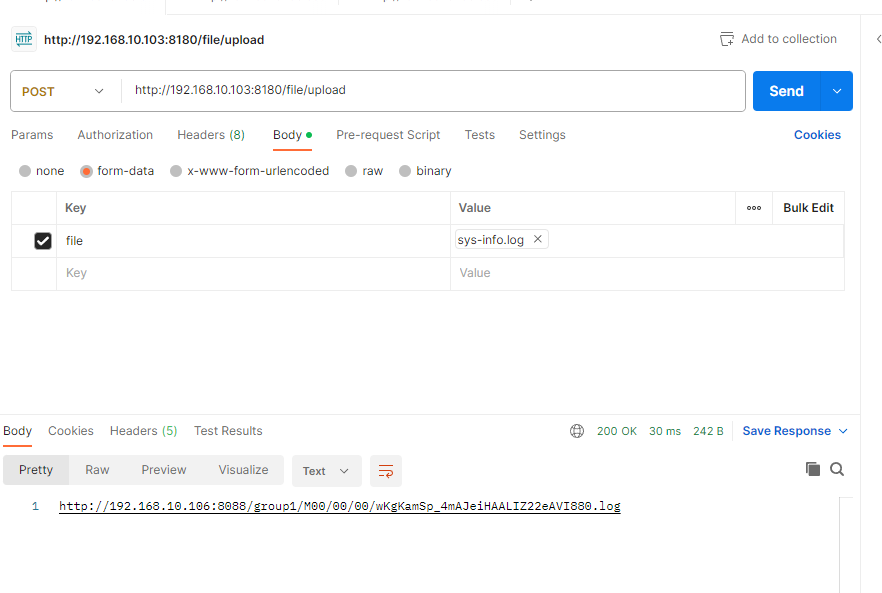
复制地址到浏览器下载:

结语
在本文中,我们介绍了如何使用Spring Boot整合FastDFS,实现了文件的上传、下载和删除等操作。通过这个整合,你可以方便地在Spring Boot应用程序中管理和操作文件存储。希望这篇文章对你有所帮助,如果有任何问题或疑问,欢迎留言交流


 1620
1620


 被折叠的 条评论
为什么被折叠?
被折叠的 条评论
为什么被折叠?
 到【灌水乐园】发言


