


 本文详细介绍MSCOCO数据集的下载与使用方法,涵盖数据集结构、目标检测标注文件解析及COCO API的安装配置等内容。
MS COCO
博主最近一直都在潜心研究YOLOv5,先用的VOC数据集做了训练,发现性能还不错,现在打算利用MS COCO对于模型进行复现。
博主看的第一篇论文所用的数据集就是有20个类别的Pascal VOC数据集和80个物体类别的MS COCO,这些数据集在时间的推移下都变得越来越大(比如Pascal VOC 从2007的400M到后来的VOC2012快2个G)
今天,我们就来学一学MS COCO数据集的使用方法。
下载数据集
微软发布的 COCO 数据库是一个大型图像数据集, 专为目标检测、分割、人体关键点检测、语义分割和字幕生成而设计,用于Object Detection + Segmentation + Localization + Captioning。
下载链接如下,数据包括了物体检测和keypoints身体关键点的检测:
- train数据
http://images.cocodataset.org/zips/train2017.zip
http://images.cocodataset.org/annotations/annotations_trainval2017.zip - val验证数据集
http://images.cocodataset.org/zips/val2017.zip
http://images.cocodataset.org/annotations/stuff_annotations_trainval2017.zip - test验证数据集
http://images.cocodataset.org/zips/test2017.zip
http://images.cocodataset.org/annotations/image_info_test2017.zip
直接用迅雷下载的,感觉速度还行。
数据集介绍
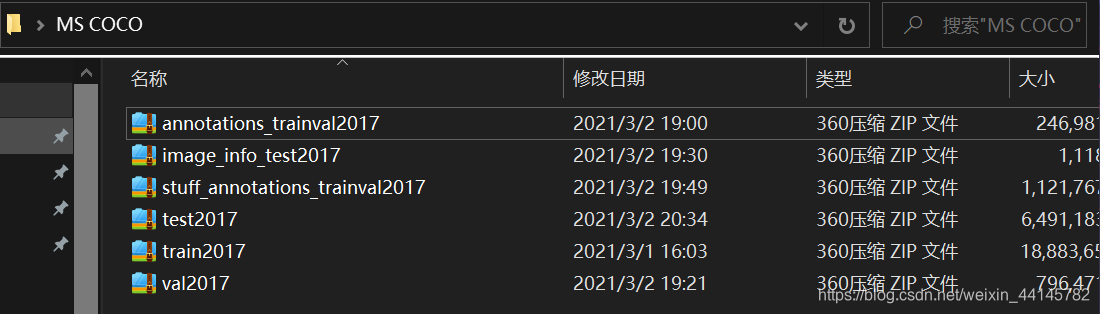
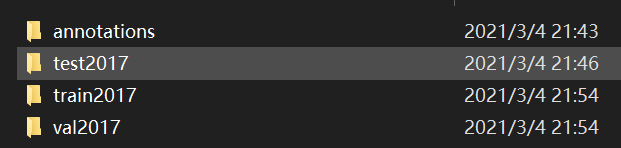
下载并解压之后发现annotation全部都合并了,然后还有test2017、train2017、val2017分别对应测试集、训练集和验证集。
- test2017:40670张图片
- train2017:118287张图片
- val2017:5000张图片
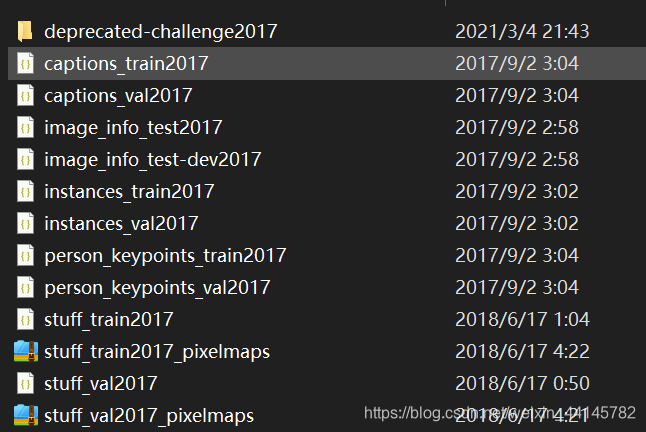
在annotation中,有很多分类的json格式文件,其中文件对应的任务如下:
instances:目标检测captions:字幕生成,图片描述person_keypoints:关键点检测stuff_train/val:素材分割(Stuff Segmentation)
在官网给出的五大任务中,还有一个任务叫做panoptic segmentation全景分割,是和图像分割有关的。官网的data format介绍
deprecated-challenge2017文件夹下的数据没有annotations,简单的对数据集进行训练集和验证集的划分。
image_info:图片信息,应该是比赛中用到的吧
目标检测标注文件
这里只详细介绍目标检测任务的json文件。
打开json文件已经把我的眼睛看花了,还是看一下官网介绍
annotation{

    "id": int,
    "image_id": int,
    "category_id": int,
    "segmentation": RLE or [polygon],
    "area": float,
    "bbox": [x,y,width,height],
    "iscrowd":
最低0.47元/天 解锁文章


 2998
2998

 被折叠的 条评论
为什么被折叠?
被折叠的 条评论
为什么被折叠?
 到【灌水乐园】发言


