


1.准备工作
##安装包
https://downloads.lightbend.com/scala/2.12.12/scala-2.12.12.zip
https://mirror.bit.edu.cn/apache/flink/flink-1.11.1/flink-1.11.1-bin-scala_2.12.tgz
2.安装步骤
##解压安装包
unzip scala-2.12.12.zip
##配置环境变量
export SCALA_HOME=/opt/scala-2.12.12
export PATH=${SCALA_HOME}/bin:$PATH
##查看版本号
[root@jxq-100-73-13-37 bin]# scala -version
Scala code runner version 2.12.12 -- Copyright 2002-2020, LAMP/EPFL and Lightbend, Inc.
##进入scala
[root@jxq-100-73-13-37 bin]# scala
Welcome to Scala 2.12.12 (Java HotSpot(TM) 64-Bit Server VM, Java 1.8.0_141).
Type in expressions for evaluation. Or try :help.

scala>
##解压安装包
tar -zxvf flink-1.11.1-bin-scala_2.12.tgz
##配置环境变量
export FLINK_HOME=/data/lilin/flink-1.11.1
export PATH=${FLINK_HOME}/bin:$PATH
##启动服务
[root@jxq-100-73-13-37 bin]# pwd
/data/lilin/flink-1.11.1/bin
[root@jxq-100-73-13-37 bin]# ./start-cluster.sh
[root@jxq-100-73-13-37 bin]# jps
29832 TaskManagerRunner
29529 StandaloneSessionClusterEntrypoint
3.本地测试
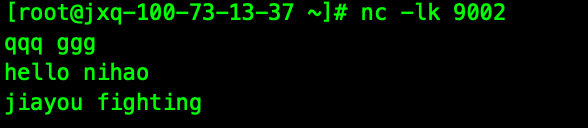
- session1–指定一个端口启动,可使用netstat -alnp|grep 9002验证
- session2–使用官方自带的jar及端口启动

- session3–查看测试结果

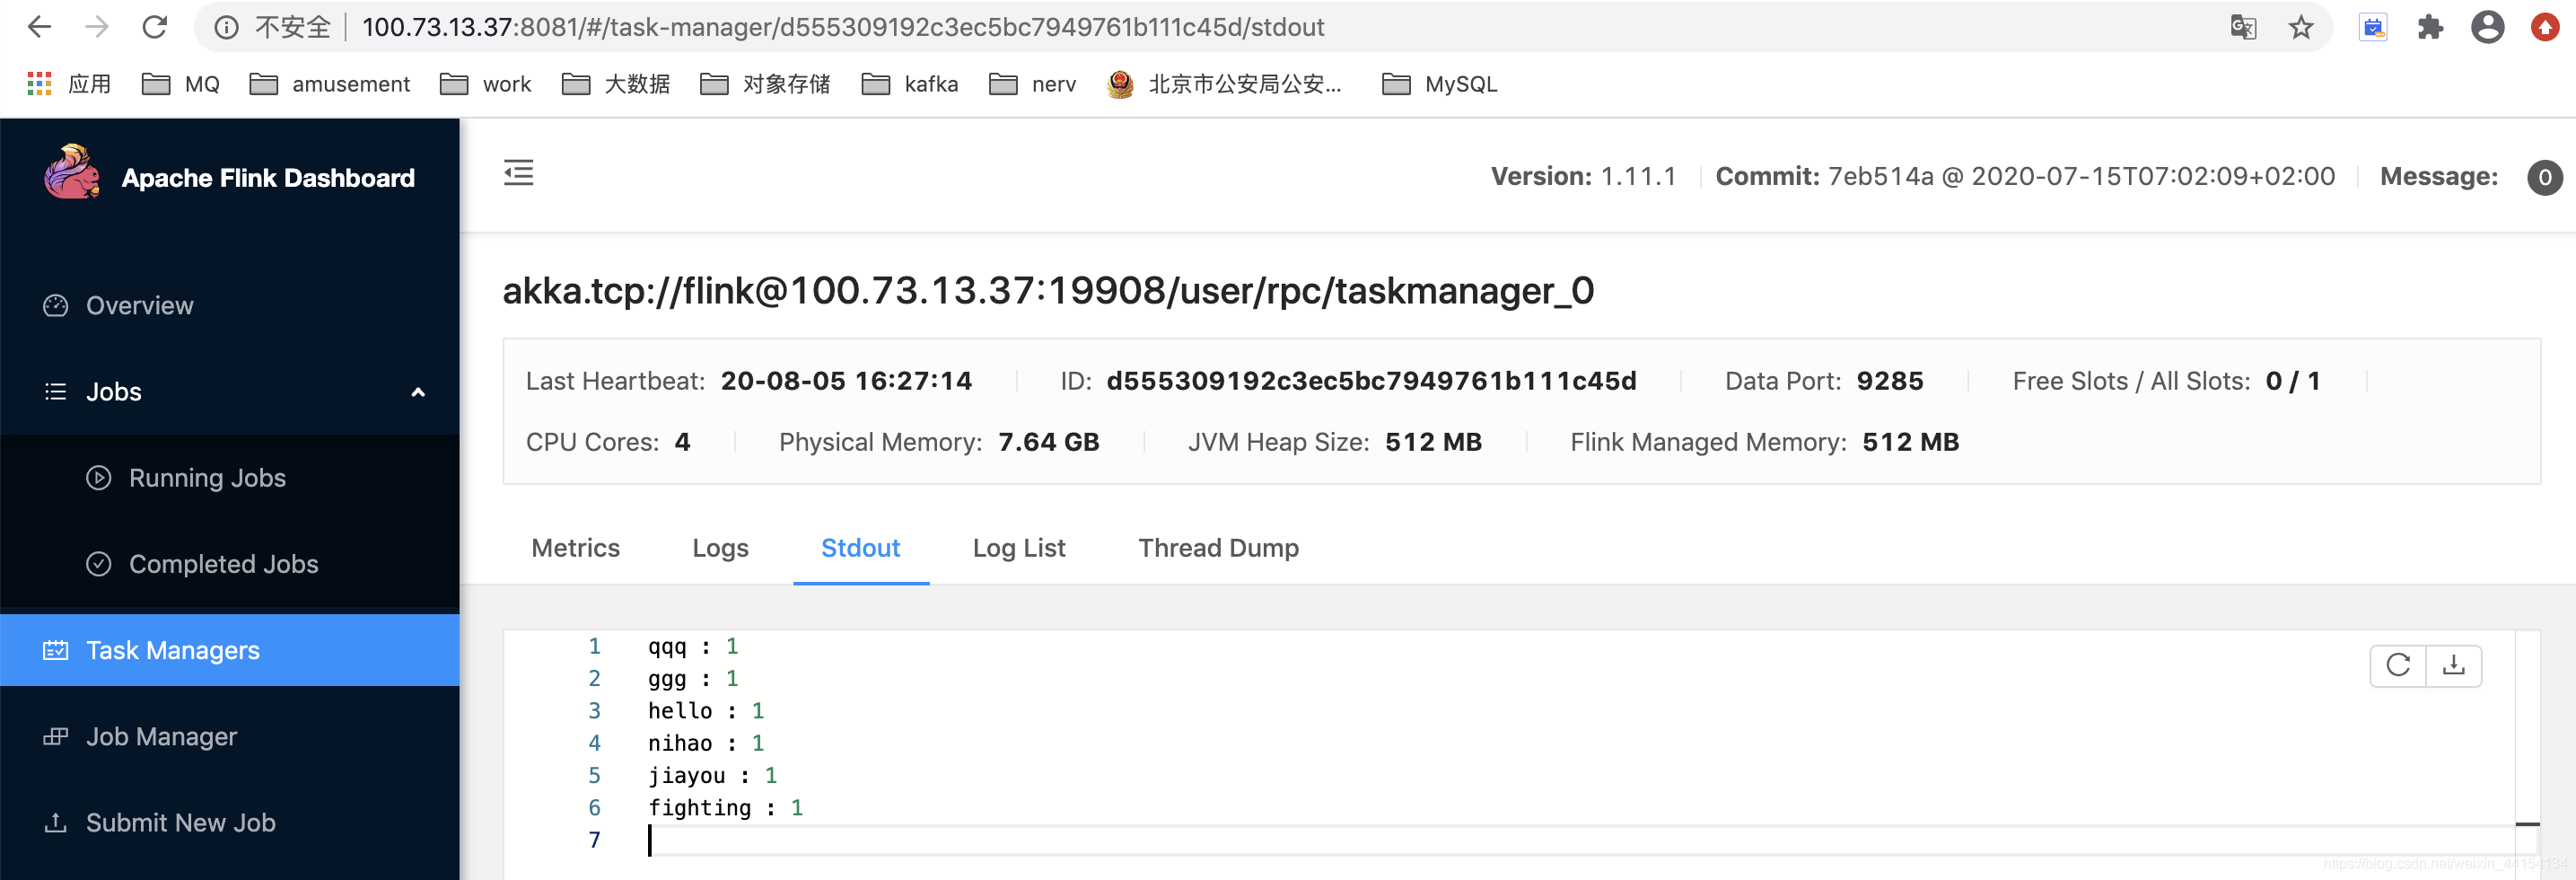
通过WEB查看结果-
http://100.73.13.37:8081
IDEA测试
package com;
import org.apache.flink.api.common.functions.FlatMapFunction;
import org.apache.flink.api.java.utils.ParameterTool;
import org.apache.flink.streaming.api.datastream.DataStream;
import org.apache.flink.streaming.api.datastream.DataStreamSource;
import org.apache.flink.streaming.api.environment.StreamExecutionEnvironment;
import org.apache.flink.streaming.api.windowing.time.Time;
import org.apache.flink.util.Collector;
/**
* Author: Mr.Deng
* Date: 2018/10/15
* Desc: 使用flink对指定窗口内的数据进行实时统计,最终把结果打印出来
* 先在node21机器上执行nc -l 9000
*/
public class demo {
public static void main(String[] args) throws Exception {
//定义socket的端口号
int port = 9002;
try{
ParameterTool parameterTool = ParameterTool.fromArgs(args);
port = parameterTool.getInt("port");
}catch (Exception e){
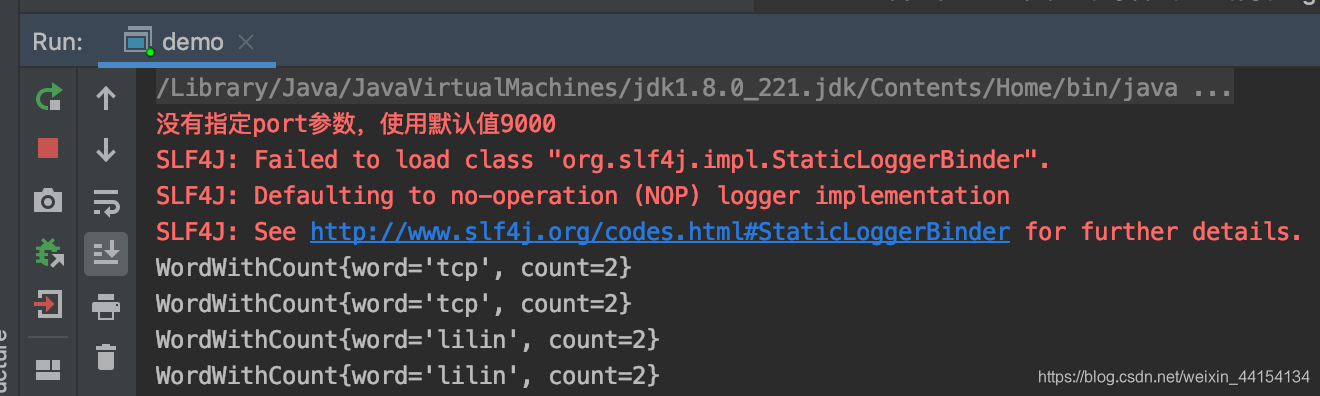
System.err.println("没有指定port参数,使用默认值9000");
port = 9002;
}
//获取运行环境
StreamExecutionEnvironment env = StreamExecutionEnvironment.getExecutionEnvironment();
//连接socket获取输入的数据
DataStreamSource<String> text = env.socketTextStream("jxq-100-73-13-37", port, "\n");
//计算数据
DataStream<WordWithCount> windowCount = text.flatMap(new FlatMapFunction<String, WordWithCount>() {
public void flatMap(String value, Collector<WordWithCount> out) throws Exception {
String[] splits = value.split("\\s");
for (String word:splits) {
out.collect(new WordWithCount(word,1L));
}
}
})//打平操作,把每行的单词转为<word,count>类型的数据
//针对相同的word数据进行分组
.keyBy("word")
//指定计算数据的窗口大小和滑动窗口大小
.timeWindow(Time.seconds(2),Time.seconds(1))
.sum("count");
//把数据打印到控制台,使用一个并行度
windowCount.print().setParallelism(1);
//注意:因为flink是懒加载的,所以必须调用execute方法,上面的代码才会执行
env.execute("streaming word count");
}
/**
* 主要为了存储单词以及单词出现的次数
*/
public static class WordWithCount{
public String word;
public long count;
public WordWithCount(){}
public WordWithCount(String word, long count) {
this.word = word;
this.count = count;
}
@Override
public String toString() {
return "WordWithCount{" +
"word='" + word + '\'' +
", count=" + count +
'}';
}
}
}
- session1-以9002端口启动服务

- 控制台输出:


 806
806


 被折叠的 条评论
为什么被折叠?
被折叠的 条评论
为什么被折叠?
 到【灌水乐园】发言


