


 本文详细介绍了如何从零开始搭建一个Hexo博客,包括安装Node.js和cnpm,安装Hexo,初始化博客,本地运行,发布文章,以及将博客部署到GitHub。此外,还涉及了更换博客主题和常用命令。最后,通过修改_config.yml和使用hexo-deployer-git将博客发布到指定GitHub仓库,并访问验证。
hexo博客搭建
1.安装node.js
官网下载地址:https://nodejs.org/en/
![[外链图片转存失败,源站可能有防盗链机制,建议将图片保存下来直接上传(img-QQu1hM9Y-1656331719812)(C:\Users\Administrator.SC-201902031211\AppData\Roaming\Typora\typora-user-images\image-20220626211032683.png)]](https://i-blog.csdnimg.cn/blog_migrate/bf9b13570439c092bdebb4fc1b024cf0.png)
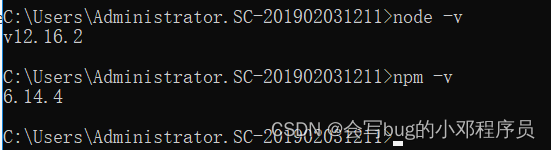
win+r 输入 cmd进入命令行,查看node版本
node -v
npm -v
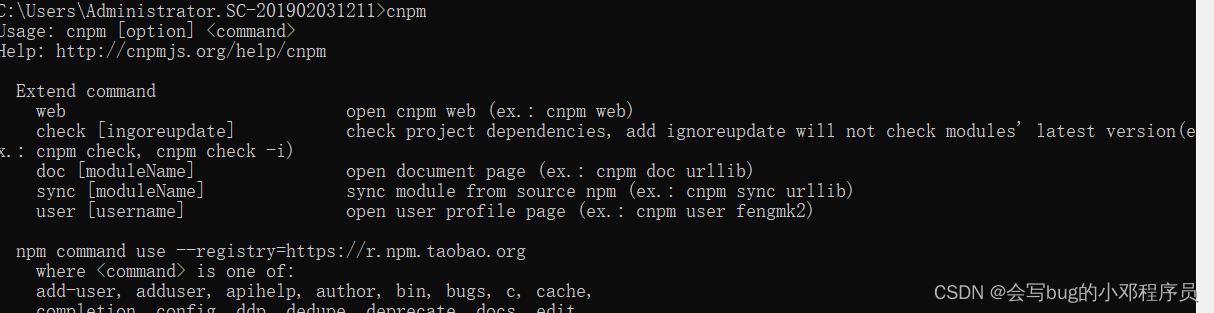
安装cnpm,使用国内镜像淘宝
npm install -g cnpm --registry=https://registry.npm.taobao.org
查看是否安装成功
2.安装hexo-cli
cnpm install -g hexo-cli
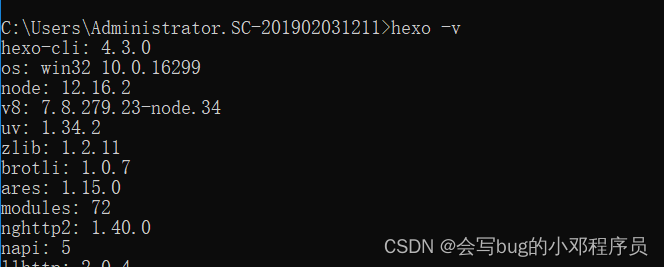
验证是否安装成功
hexo -v
3.搭建博客
创建blog文件夹(也可直接右键新建文件夹),并进入这个目录
mkdir blog
cd blog
初始化博客
hexo init

启动博客(hexo sever)
hexo s

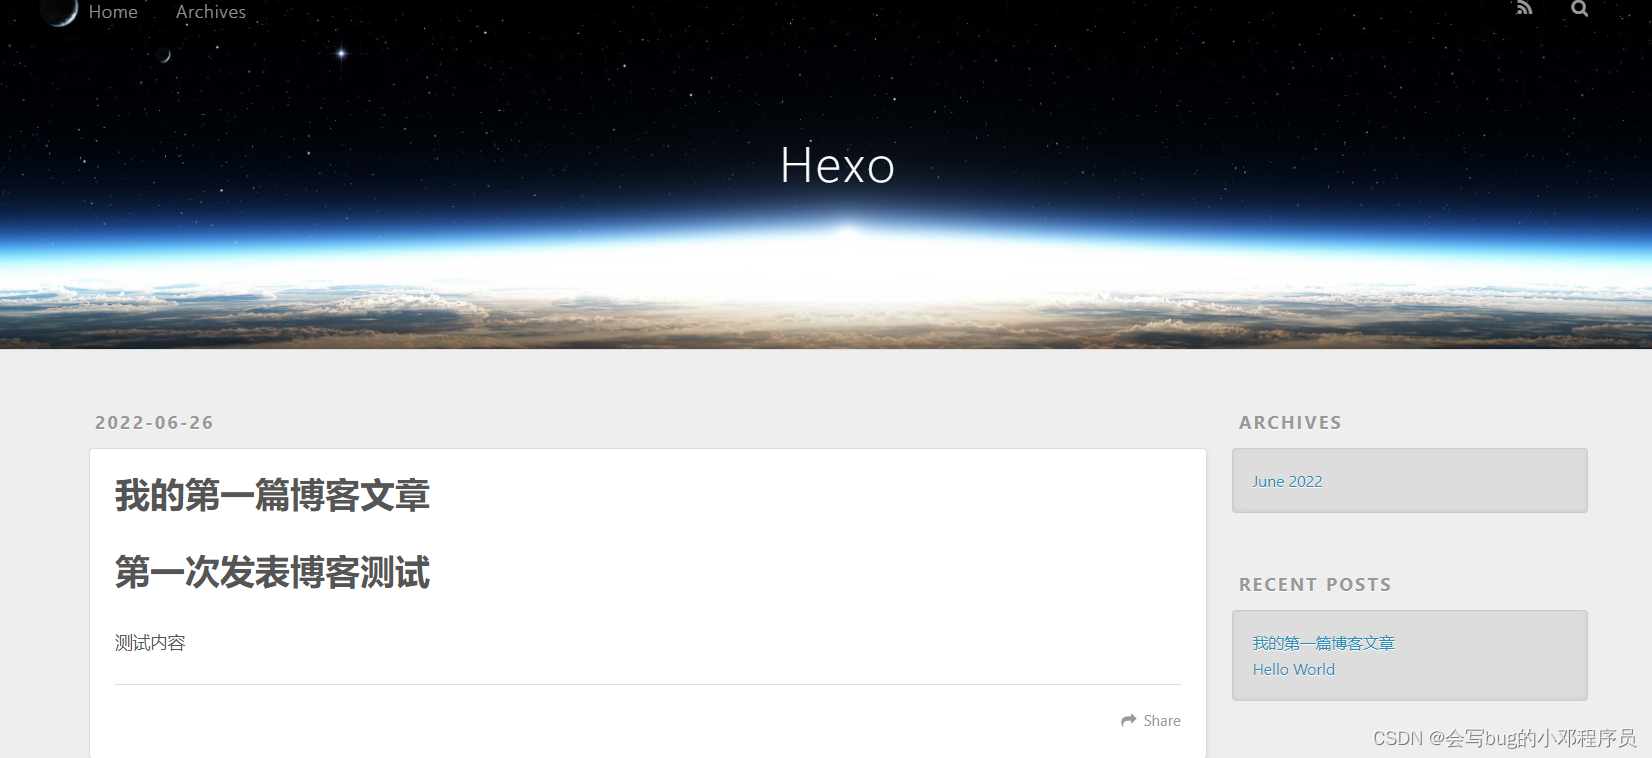
访问地址:http://localhost:4000/
发表文章
hexo n "我的第一篇博客文章"

对source_posts\我的第一篇博客文章.md进行修改
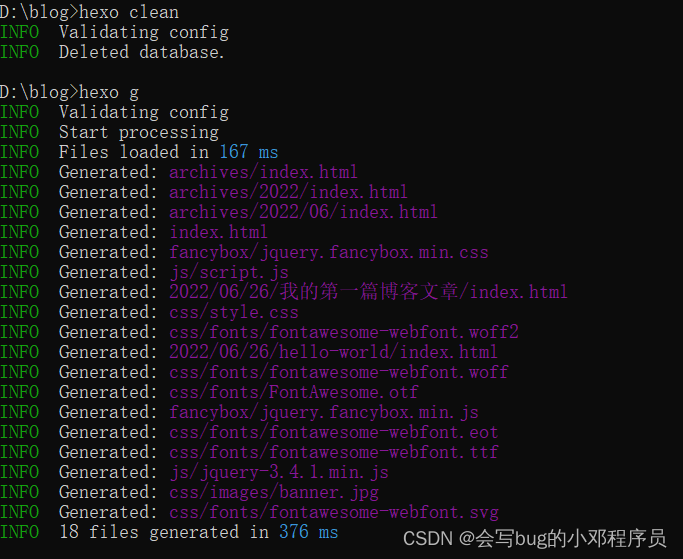
清理
hexo clean
生成文章(hex generate)
hexo g
重新开启服务器,输入网址就可以看到发表的文章
hexo s
4.博客部署到github
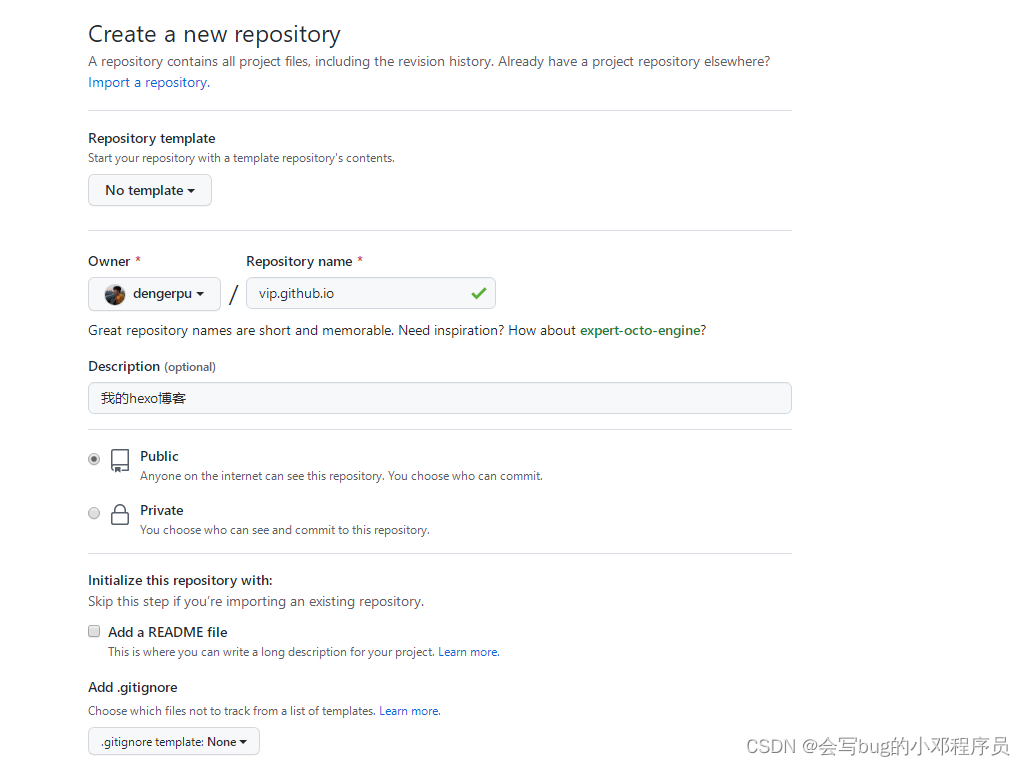
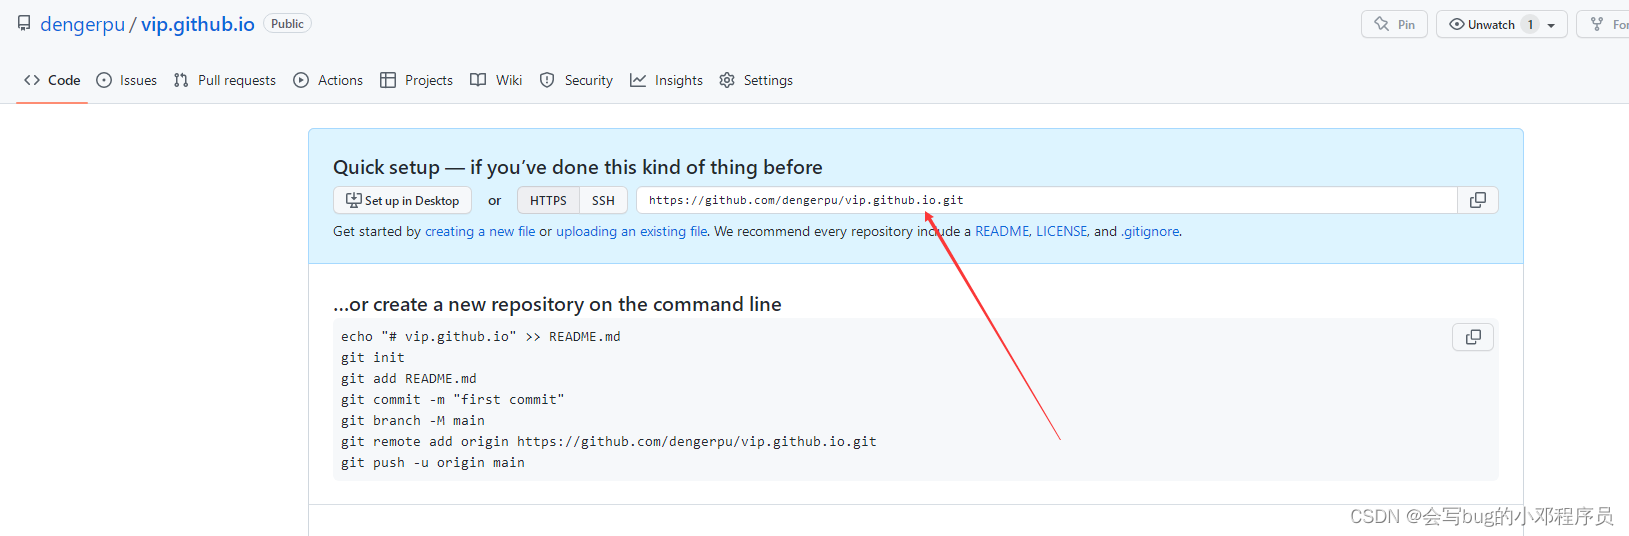
1.登陆github创建一个新仓库
注意:仓库名字:域名.github.io
2.创建成之后,安装hexo-deployer-git
cnpm install --save hexo-deployer-git

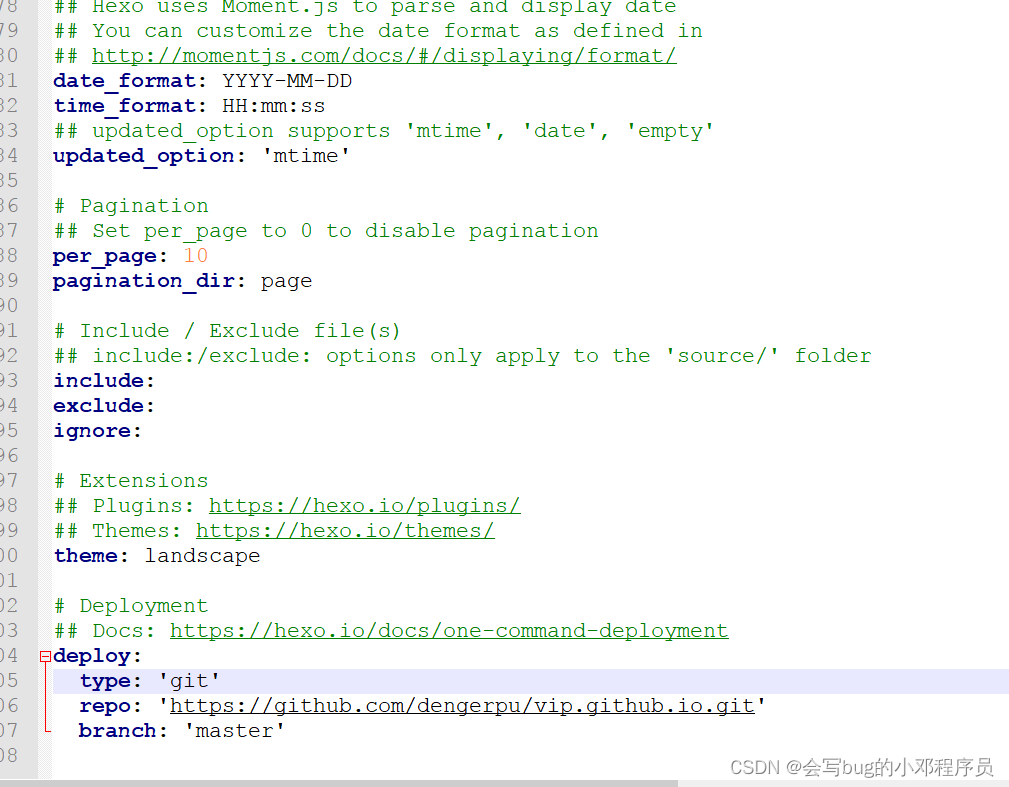
3.在blog文件夹下修改_config.yml
修改_config.yml文件末尾的内容
repo里面填写github仓库地址
branch 填写分支
deploy:
  type: 'git'
  repo: 'https://github.com/dengerpu/vip.github.io.git'
  branch: 'master'
4.部署到远端
hexo d
5.访问
地址:https://vip.github.io
更改后的地址:https://dengerpu.github.io
域名一定要和仓库名字一样,否则无法访问
最后发现vip域名被占用了,就换了个域名重新部署到远端(更改下仓库名,和_config.yml里面的配置,再次部署到远端即可 hexo d)
5更改博客主题
地址:https://github.com/litten/hexo-theme-yilia
1.下载主题
git clone https://github.com/litten/hexo-theme-yilia.git themes/yilia
2.修改_config.yml这个文件
theme: yilia

3.重新清理,生成
hexo clean
hexo g
4.重新开启博客服务器
hexo s
5.推到远端
hexo d
6.博客常用命令
Create a new post(发表文章)
hexo new "My New Post"
More info: Writing
Run server(运行服务器)
hexo server
More info: Server
Generate static files(发送到服务器)
hexo generate
More info: Generating
Deploy to remote sites(部署到远程站点)
hexo deploy
xo.io/docs/server.html)

### Generate static files(发送到服务器)

```shell
hexo generate
More info: Generating
Deploy to remote sites(部署到远程站点)
hexo deploy


 1092
1092

 被折叠的 条评论
为什么被折叠?
被折叠的 条评论
为什么被折叠?
 到【灌水乐园】发言


