


最近一直在写项目,兼职加本职工作,终于有时间整理一下内容了
创建小程序账号
- 登录微信公众平台并注册一个小程序账号。
- 完成认证和填写基本信息后,获取到小程序的 AppID。
下载并安装微信开发者工具
跳过
创建项目
- 在微信开发者工具中,选择“新建项目”。
- 输入小程序的 AppID,选择一个本地路径来存储你的项目文件。
选择“创建”来开始项目。 - 通过Taro创建项目, 因为自己更多时候是写React,以及部分AR需要微信原生开发语言,所以,采用了混合模式来提升开发速度
小程序内容
AR部分使用XR-Frame来实现一个glb模型以及动态视频功能
// wxml部分
	<xr-node wx:if="{{arReady}}">
		<xr-ar-tracker
		 id='tracker'
		 mode="Hand"
		 auto-sync="-1"
		 bind:ar-tracker-switch="handleTrackerSwitch"
		>
			<xr-node position="-0.2 -0.2 2">
				<!-- 旋转中心设置为葫芦中心 -->
				<xr-node position="0 0.5 0" rotation="0 0 0">
					<xr-node id="gltf-hulu" position="0 0 0" rotation="0 0 0">
						<xr-gltf
						 wx:if="{{loaded}}"
						 anim-autoplay
						 model="hulu"
						 position="0 -0.5 0"
						 scale="0.6 0.6 0.6"
						 rotation="10 -190 0"
						/>
					</xr-node>
				</xr-node>
				<!-- 祥云 -->
				<xr-gltf
				 wx:if="{{loaded}}"
				 model="hulu_cloud"
				 bind:gltf-loaded="handleGLTFLoaded"
				 position="0 0 0"
				 scale="0.6 0.6 0.6"
				 rotation="10 -190 0"
				/>
			</xr-node>
		</xr-ar-tracker>
		<xr-camera
		 id="camera"
		 node-id="camera"
		 clear-color="1 1 1 1"
		 background="ar"
		 is-ar-camera
		/>
	</xr-node>

// javascript部分代码
    startModelShake() {
      const totalDuration = 800; // 总时长 1 秒
      const frameInterval = 40; // 每帧间隔ms
      const steps = totalDuration / frameInterval; // 总帧数
      let currentStep = 0; // 当前帧数

      this.shakeTimer && clearInterval(this.shakeTimer);
      // 定时器更新模型位置
      this.shakeTimer = setInterval(() => {
        currentStep++;
        // 计算位置 设定为葫芦摇滚
        const y = [0.02, -0.02][currentStep % 2];
        const ry = [0.2, 0, -0.2][currentStep % 3];
        const target = this.scene.getElementById("gltf-hulu");
        target._components.transform.position.y = y.toFixed(2);
        target._components.transform.rotation.z = ry.toFixed(2);
        // 判断是否结束
        if (currentStep >= steps) {
          this.resetModelShake();
        }
      }, frameInterval);
    },

    // 手势识别
    handleTrackerSwitch({ detail }) {
      this.triggerEvent("ar-tracker", detail);

      this.timer && clearTimeout(this.timer);
      this.timer = setTimeout(() => {
        this.triggerEvent("info", { gesture: detail.value });
      }, 500);
    },
    // 祥云模型加载完成
    handleGLTFLoaded({ detail }) {
      const el = detail.value.target;
      const animator = el.getComponent("animator");
      this.animator = animator; //获取动画组件
    },
前端部分整理完毕,现在整理后端部分
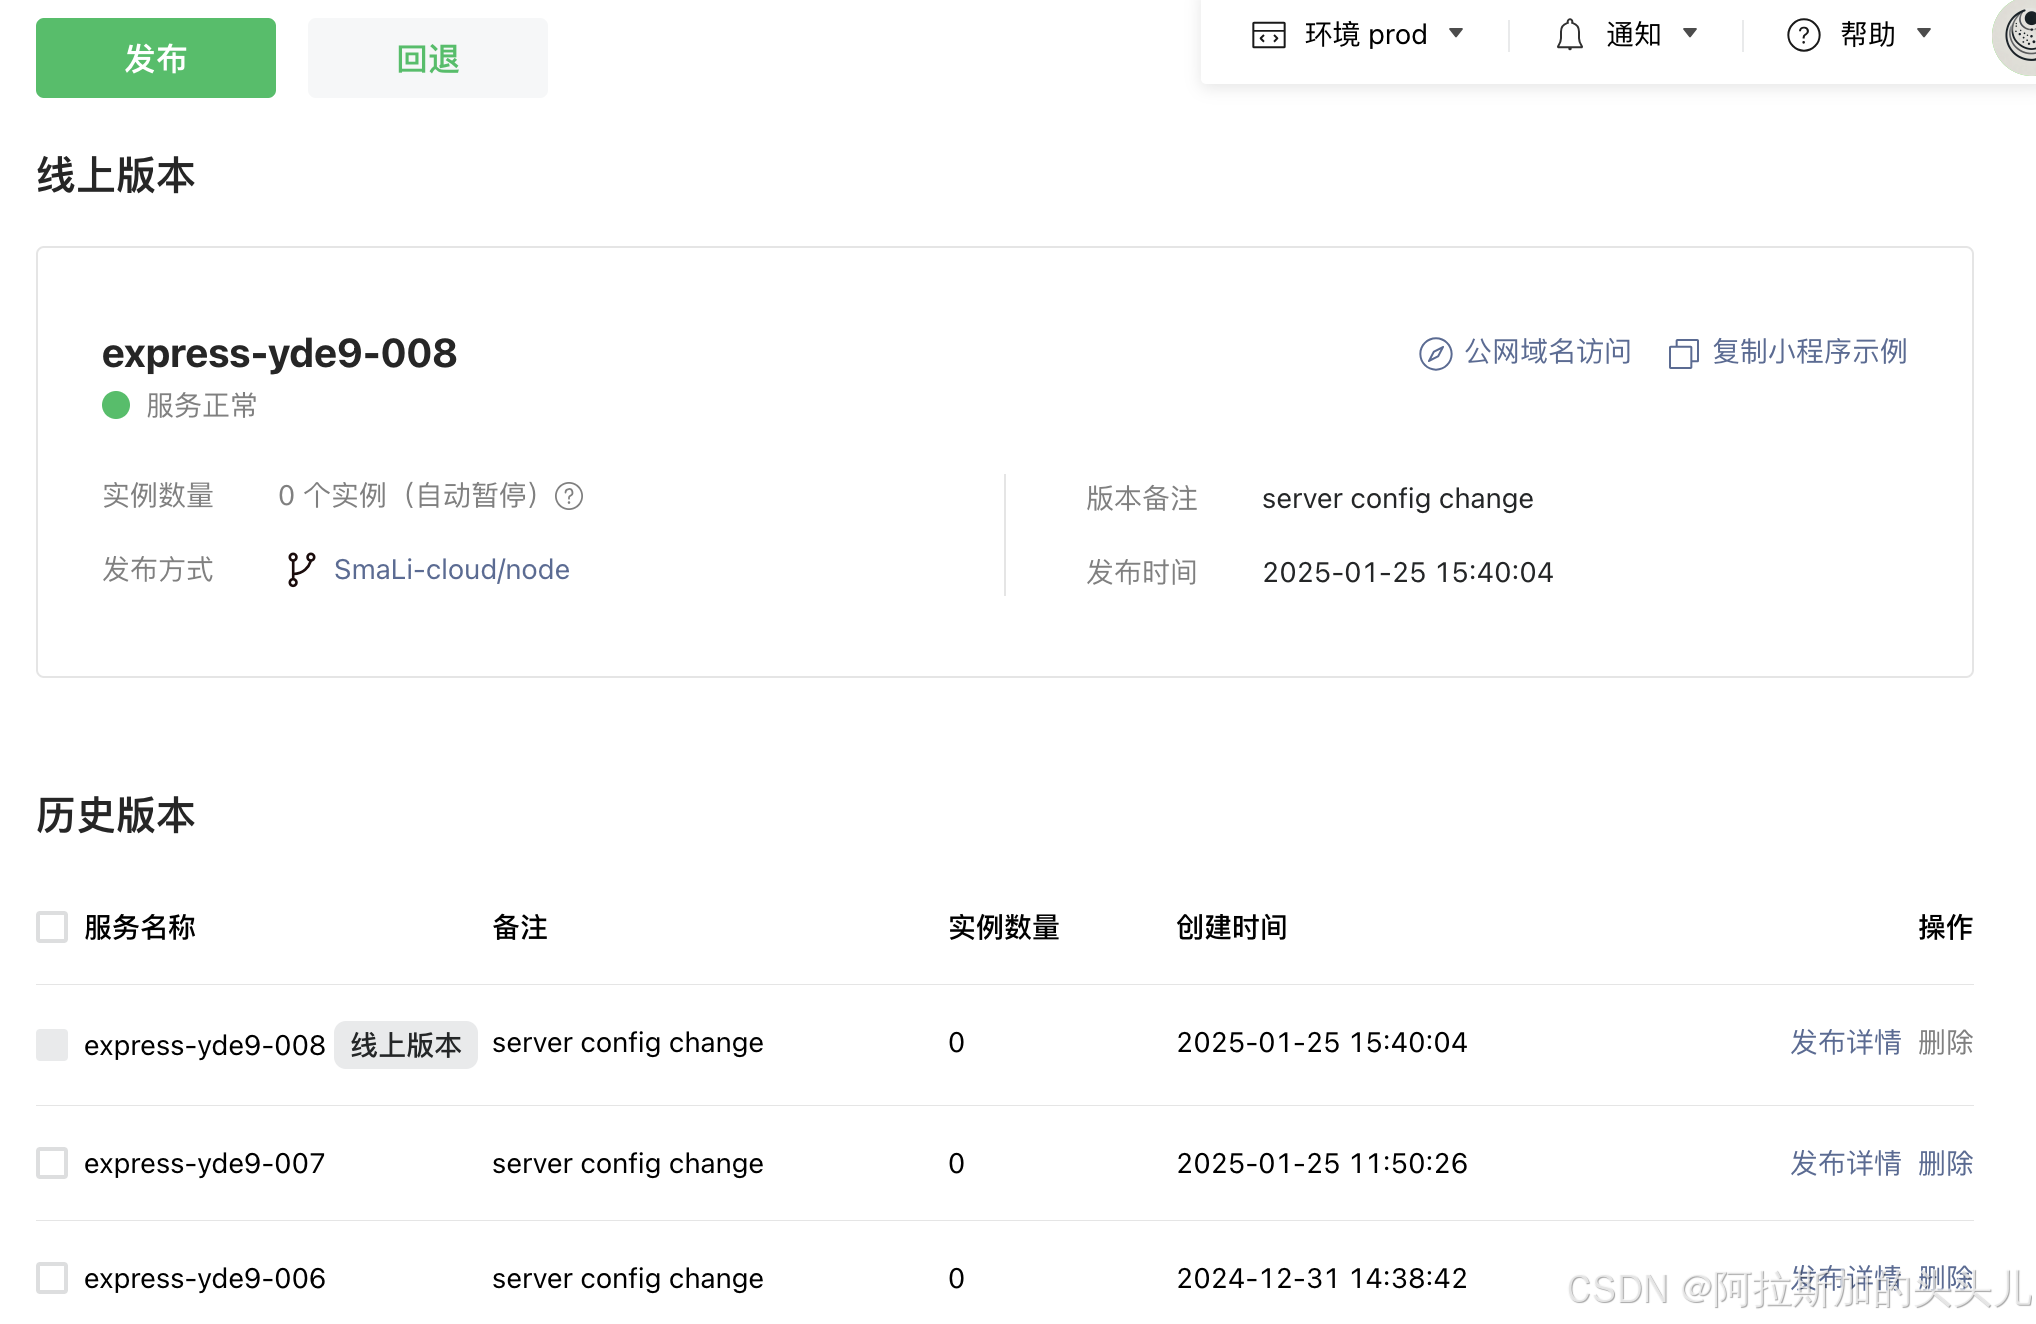
后端部署以及数据库采用腾讯云托管的模式
按量收费,非常适合自用app开发
数据库采用mysql

后端通过node+Express框架,进行开发,本想用PHP或者Java,奈何基础太弱,缺少太多实践经验,还是走老本行吧
贴出生成微信二维码的部分代码
router.get("/get-miniprogram-code", async (req, res) => {
  const { id, release } = req.query;
  try {
    // 获取 access_token
    const token = await getAccessToken();
    // 调用目标接口
    const apiUrl = `https://api.weixin.qq.com/wxa/getwxacodeunlimit?access_token=${token}`;
    const requestData = {
      scene: id,
      width: 720,
      check_path: false,
      page: "pages/dynamic-photo/tracker",
      env_version: release ? "release" : "trial",
    };
    const response = await axios.post(apiUrl, requestData, {
      responseType: "arraybuffer",
    });
    const tx = Buffer.from(response.data, "binary").toString("base64");
    res.send({ success: true, data: tx });
  } catch (err) {
    console.error("Error calling Mini Program API:", err.message);
    res.status(500).json({ success: false, message: err.message });
  }
});
只需要把代码部署到云托管即可
这样,一整个流程就打通了


 280
280

 被折叠的 条评论
为什么被折叠?
被折叠的 条评论
为什么被折叠?
 到【灌水乐园】发言


