


引言
本文使用"vue-cli-plugin-electron-builder"插件,将vue项目和electron结合,同样适用于已有的vue项目打包成electron项目。
包管理工具推荐使用yarn,使用体验优于npm,可查看文档 yarn使用
npm install -g yarn
注意设置代理
yarn config set registry https://registry.npm.taobao.org
一些基础工具的版本如下:
node: 16.15.0
yarn: 1.22.19
vue: 3.2.13
@vue/cli: 5.0.8
electron: 25.5.0
"ant-design-vue": "^4.0.1",
项目搭建
1.创建vue项目
首先下载vue脚手架:
// npm
npm i @vue/cli -g

// yarn
yarn add @vue/cli -g
创建项目:
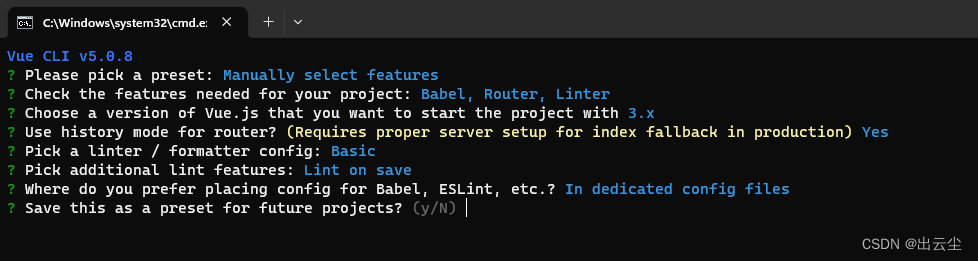
vue create projectName // projectName 替换为实际项目名称如vue-electron-demo之后会有很多选项供选择,按需选择即可,示例:
自动安装相关依赖后,按提示切换至项目目录,运行即可。
如使用yarn,可能需要重新构建node_modules包,运行yarn install
cd vue-electron-demo
yarn install
yarn serve
2.引入AntV
可根据AntV官网示例引入ant-design-vue,注意对应版本号,每个版本的引入方式略有差异。
以ant-design-vue@4.0.1为例:
yarn add ant-design-vue@4.0.1采用全局引入方式,修改根目录下main.js文件
// main.js
import { createApp } from "vue";
import App from "./App.vue";
import router from "./router";
import Antd from "ant-design-vue";
import "ant-design-vue/dist/reset.css";

createApp(App).use(router).use(Antd).mount("#app");
测试是否引入成功,修改src/views/HomeView.vue 组件
// HomeView.vue
<template>
  <div class="home">
    <img alt="Vue logo" src="../assets/logo.png" />
  </div>
  <a-button type="primary">测试AntV按钮</a-button>
</template>

<script></script>
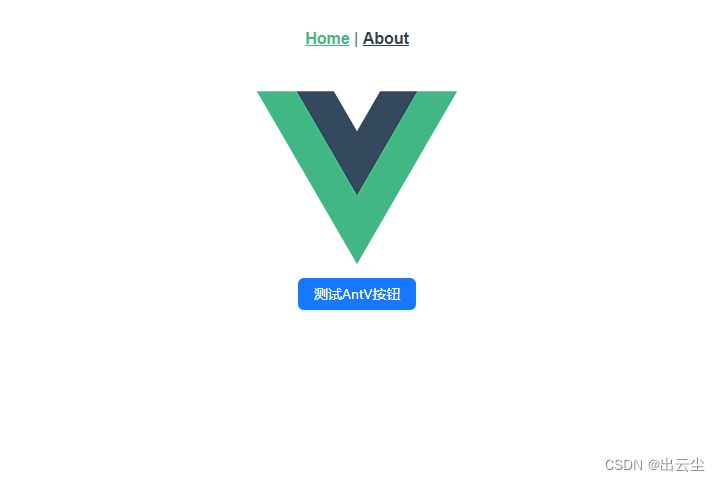
出现按钮即引入antV成功。
3.引入Electron
由于国内网络问题,最好针对electron设置镜像地址
yarn:
yarn config set electron_mirror "https://npm.taobao.org/mirrors/electron/"
npm:
npm config set electron_mirror "https://npm.taobao.org/mirrors/electron/"
yarn add vue-cli-plugin-electron-builder -D
yarn add electron -D
vue add electron-builder
运行vue add electron-builder后,会在package.json中自动生成一些配置项。
自动生成一个background.js文件(对应package.json的"main"),该文件为electron入口文件。
此时文件如下:
// package.json
{
  "name": "vue-electron-demo",
  "version": "0.1.0",
  "private": true,
  "author": "liuyuanfa",
  "description": "a demo project based on Vue+Electron",
  "scripts": {
    "serve": "vue-cli-service serve",
    "build": "vue-cli-service build",
    "lint": "vue-cli-service lint",
    "electron:build": "vue-cli-service electron:build",
    "electron:serve": "vue-cli-service electron:serve",
    "postinstall": "electron-builder install-app-deps",
    "postuninstall": "electron-builder install-app-deps"
  },
  "main": "background.js", // electron入口文件
  "dependencies": {
    "ant-design-vue": "4.0.1",
    "core-js": "^3.8.3",
    "vue": "^3.2.13",
    "vue-router": "^4.0.3"
  },
  "devDependencies": {
    "@babel/core": "^7.12.16",
    "@babel/eslint-parser": "^7.12.16",
    "@vue/cli-plugin-babel": "~5.0.0",
    "@vue/cli-plugin-eslint": "~5.0.0",
    "@vue/cli-plugin-router": "~5.0.0",
    "@vue/cli-service": "~5.0.0",
    "electron": "^26.1.0",
    "electron-devtools-installer": "^3.1.0",
    "eslint": "^7.32.0",
    "eslint-plugin-vue": "^8.0.3",
    "vue-cli-plugin-electron-builder": "~2.1.1"
  }
}
// background.js

"use strict";

import { app, protocol, BrowserWindow } from "electron";
import { createProtocol } from "vue-cli-plugin-electron-builder/lib";
import installExtension, { VUEJS3_DEVTOOLS } from "electron-devtools-installer";
const isDevelopment = process.env.NODE_ENV !== "production";

protocol.registerSchemesAsPrivileged([
  { scheme: "app", privileges: { secure: true, standard: true } },
]);

async function createWindow() {
  // 应用窗口配置
  const win = new BrowserWindow({
    width: 800,
    height: 600,
    webPreferences: {
      nodeIntegration: process.env.ELECTRON_NODE_INTEGRATION,
      contextIsolation: !process.env.ELECTRON_NODE_INTEGRATION,
    },
  });

  if (process.env.WEBPACK_DEV_SERVER_URL) {
    // 开发调试时
    await win.loadURL(process.env.WEBPACK_DEV_SERVER_URL);
    // 自动打开调试窗口,不需要可注释
    // if (!process.env.IS_TEST) win.webContents.openDevTools();
  } else {
    // 打包后文件路径
    createProtocol("app");
    win.loadURL("app://./index.html");
  }
}

app.on("window-all-closed", () => {
  if (process.platform !== "darwin") {
    app.quit();
  }
});

app.on("activate", () => {
  if (BrowserWindow.getAllWindows().length === 0) createWindow();
});

app.on("ready", async () => {
  // 调试工具,可注释
  // if (isDevelopment && !process.env.IS_TEST) {
  //   try {
  //     await installExtension(VUEJS3_DEVTOOLS);
  //   } catch (e) {
  //     console.error("Vue Devtools failed to install:", e.toString());
  //   }
  // }
  createWindow();
});

if (isDevelopment) {
  if (process.platform === "win32") {
    process.on("message", (data) => {
      if (data === "graceful-exit") {
        app.quit();
      }
    });
  } else {
    process.on("SIGTERM", () => {
      app.quit();
    });
  }
}
此时,直接运行即可
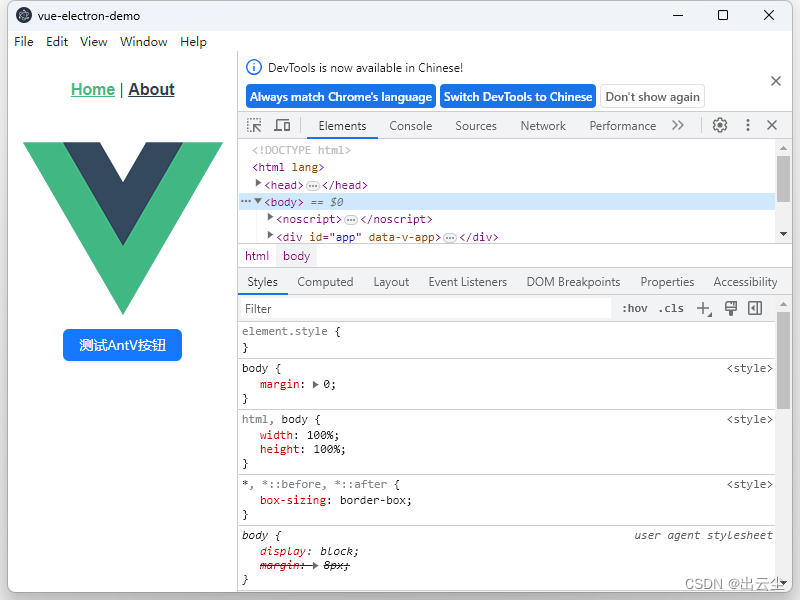
yarn electron:serve成功示例:

如需打开调试工具,点击应用窗口 View -- Toggle Developer Tools即可,与浏览器调试工具一致
至此,成功将vue项目与electron结合,代码更改也会在electron窗口同步热更新
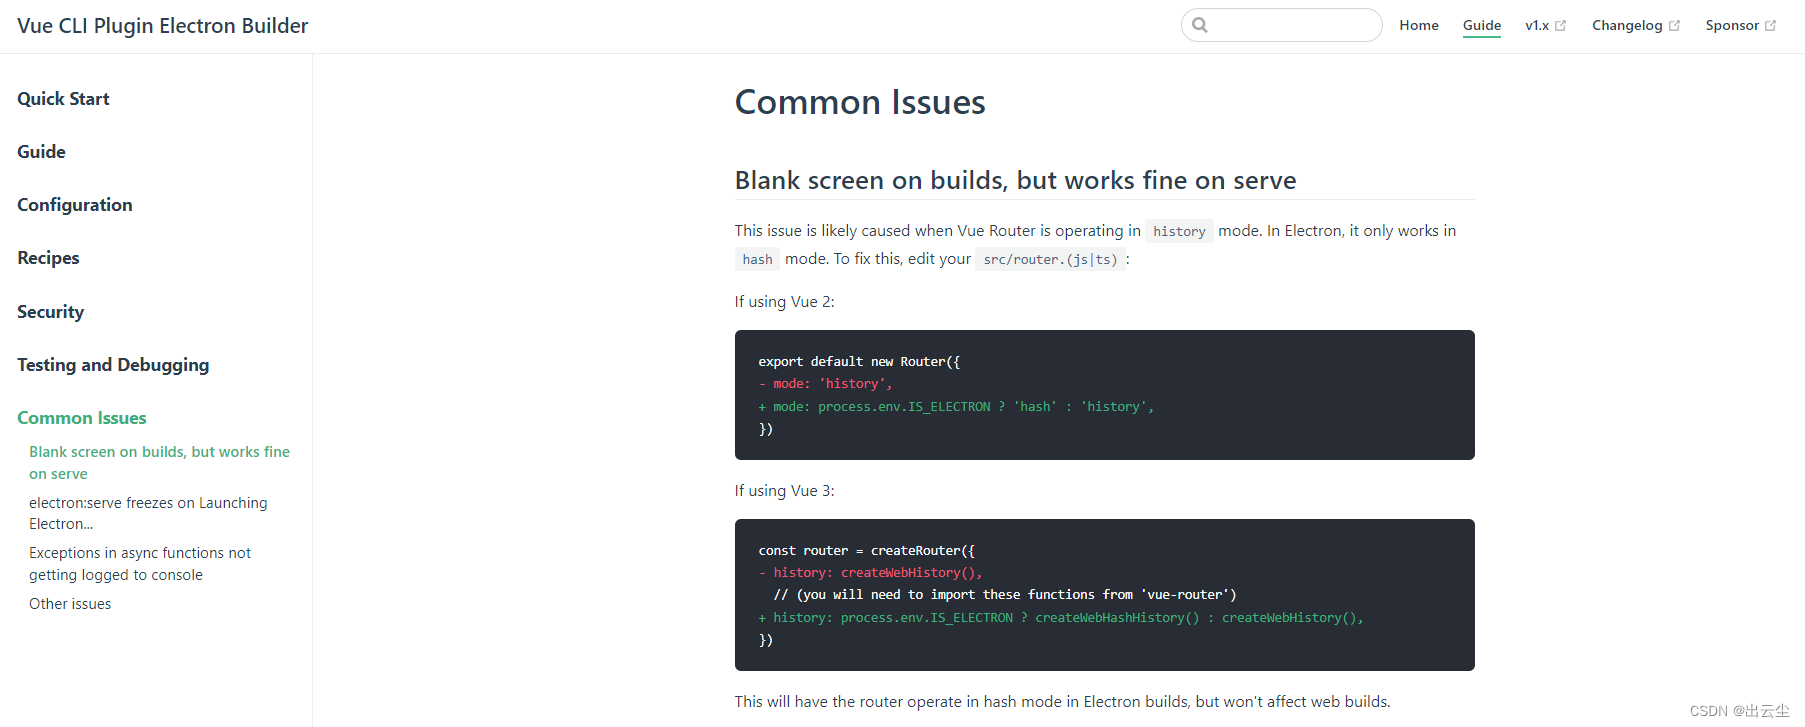
项目打包
打包有个需要注意的地方,electron不支持history路由,如果vue的路由设置成history模式,会导致打包后页面空白,因此需要修改路由文件
// src/router/index.js

import {
  createRouter,
  createWebHistory,
  createWebHashHistory,
} from "vue-router";
import HomeView from "../views/HomeView.vue";

const routes = [
  {
    path: "/",
    name: "home",
    component: HomeView,
  },
  {
    path: "/about",
    name: "about",
    component: () =>
      import(/* webpackChunkName: "about" */ "../views/AboutView.vue"),
  },
];

const router = createRouter({
  // history: createWebHistory(process.env.BASE_URL),
  history: process.env.IS_ELECTRON
    ? createWebHashHistory(process.env.BASE_URL)
    : createWebHistory(process.env.BASE_URL),
  routes,
});

export default router;
打包相关配置
electron打包配置写在vue.config.js中,此处设置的打包输出文件夹为output
// vue.config.js

const { defineConfig } = require("@vue/cli-service");
module.exports = defineConfig({
  transpileDependencies: true,
  pluginOptions: {
    electronBuilder: {
      builderOptions: {
        appId: "this.is.vue-electron-demo", // appId,自行设置
        productName: "vue-electron-demo", // 产品名称
        electronDownload: {
          mirror: "https://npm.taobao.org/mirrors/electron/",
        },
        directories: {
          output: "output", // 打包后的文件夹,自行设置
        },
        asar: true,
        mac: {
          target: "dmg",
          icon: "build/icons/icon.icns",
        },
        win: {
          // Windows平台的配置
          target: "nsis", // 打包的目标格式为NSIS安装程序
          icon: "build/icons/icon.ico", // Windows平台的图标路径
          publisherName: "liuyuanfa", // 发布者名称
        },
        linux: {
          target: ["AppImage", "deb"],
        },
        nsis: {
          oneClick: false, // 是否一键安装
          language: "2052", // 语言设为中文
          perMachine: true, // 安装程序将给电脑所有用户安装
          allowElevation: true, // 允许提升安装程序权限
          allowToChangeInstallationDirectory: true, // 允许用户选择安装目录
          createDesktopShortcut: true, // 创建桌面快捷方式
          createStartMenuShortcut: false, // 创建开始菜单快捷方式
          shortcutName: "vue-electron-demo", // 快捷方式的名称
        },
      },
    },
  },
});
这只是最基础的配置内容,其余复杂内容给自行配置,接下即可运行命令打包
yarn electron:build成功示例
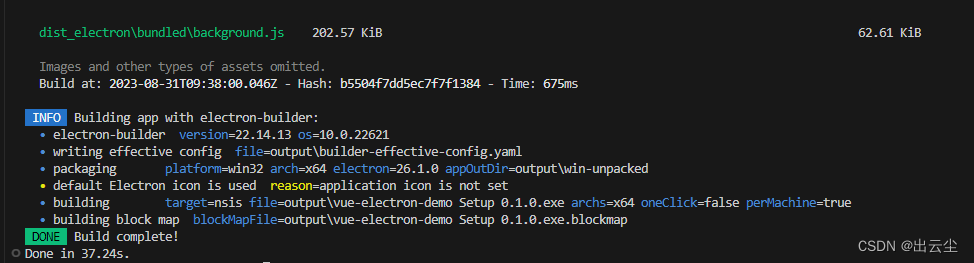
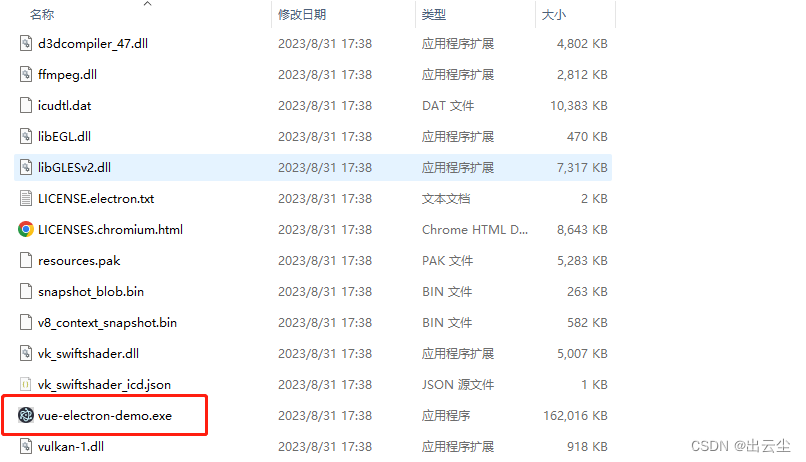
打开output文件夹可看到以下内容

vue-electron-demo Setup 0.1.0.exe 即为程序安装包,点击即可安装应用

win-unpacked为免安装版,打开后找到 .exe文件可直接运行
运行示例:

至此,一个vue+electron+antV 的demo项目就完成了。如果是已有的vue项目,从第三步引入Electron开始照做即可。
示例代码git地址


 688
688


 被折叠的 条评论
为什么被折叠?
被折叠的 条评论
为什么被折叠?
 到【灌水乐园】发言


