


python 如何绘制动图,举个例子:将300张SST月均数据绘制生成gif动画
最近,在绘制SST月均数据时,突然想看看近几十年sst的大致变化过程。说白了就是绘制一张gif动画,也算是学习过程啦。
大概思路就是:
首先生成你的图片,然后将生成的所有图片汇总为一个gif文件。
关于数据,我这里使用的是SST月平均数据,说白了就是每年12个月,应该绘制12个图片。
有多少年,就生成year*12张图片。
当然,部分年份可能没有完整的12月,但是咱这里不考虑太多,就是生成图片然后绘制gif动画而已。
代码主要如下,分为两个部分:部分细节大家感兴趣的可以再修整,或者私聊我进行讨论都可以~·
import cartopy.feature as cfeature
from cartopy.mpl.ticker import LongitudeFormatter, LatitudeFormatter
import matplotlib.pyplot as plt
import cartopy.crs as ccrs
import numpy as np
import xarray as xr
import os
data=xr.open_dataset('..\\sst.mnmean.nc')#读取数据
data = data.sortby("lat", ascending= True)#将纬度按照升序排列
sst=data.sel(lat=slice(-20.5,20.5),time=slice("1982", "2019"))#挑选想看的年份和经纬度范围
lon=sst.lon.data#读取lon数据
lat=sst.lat.data
plt.rcParams['font.family']='Times New Roman'
plt.rcParams['font.size']=15
day=np.arange(0,456)
#循环绘图
for i in day:
fig=plt.figure(figsize=(20,12))
proj=ccrs.PlateCarree(central_longitude=180)
ax = fig.add_subplot(1, 1, 1, projection=ccrs.PlateCarree(central_longitude =180))
cb=ax.contourf(lon,lat,sst.sst.data[i],transform= ccrs.PlateCarree(),\
cmap=('RdBu_r'),levels=np.arange(20,35))
ax.add_feature(cfeature.NaturalEarthFeature('physical', 'land', '50m', \
edgecolor='white', facecolor='white',zorder=2))
ax.set_xticks(np.arange(0, 361, 30),crs=ccrs.PlateCarree())
ax.set_yticks(np.arange(-20, 40, 20),crs=ccrs.PlateCarree())
ax.xaxis.set_major_formatter(LongitudeFormatter(zero_direction_label =False))#经度0不加标识
ax.yaxis.set_major_formatter(LatitudeFormatter())#加上经纬度°E、N
ax.tick_params(which='major', direction='inout', length=5, width=0.99,\
pad=12, bottom=True, left=True, right=False, top=False)
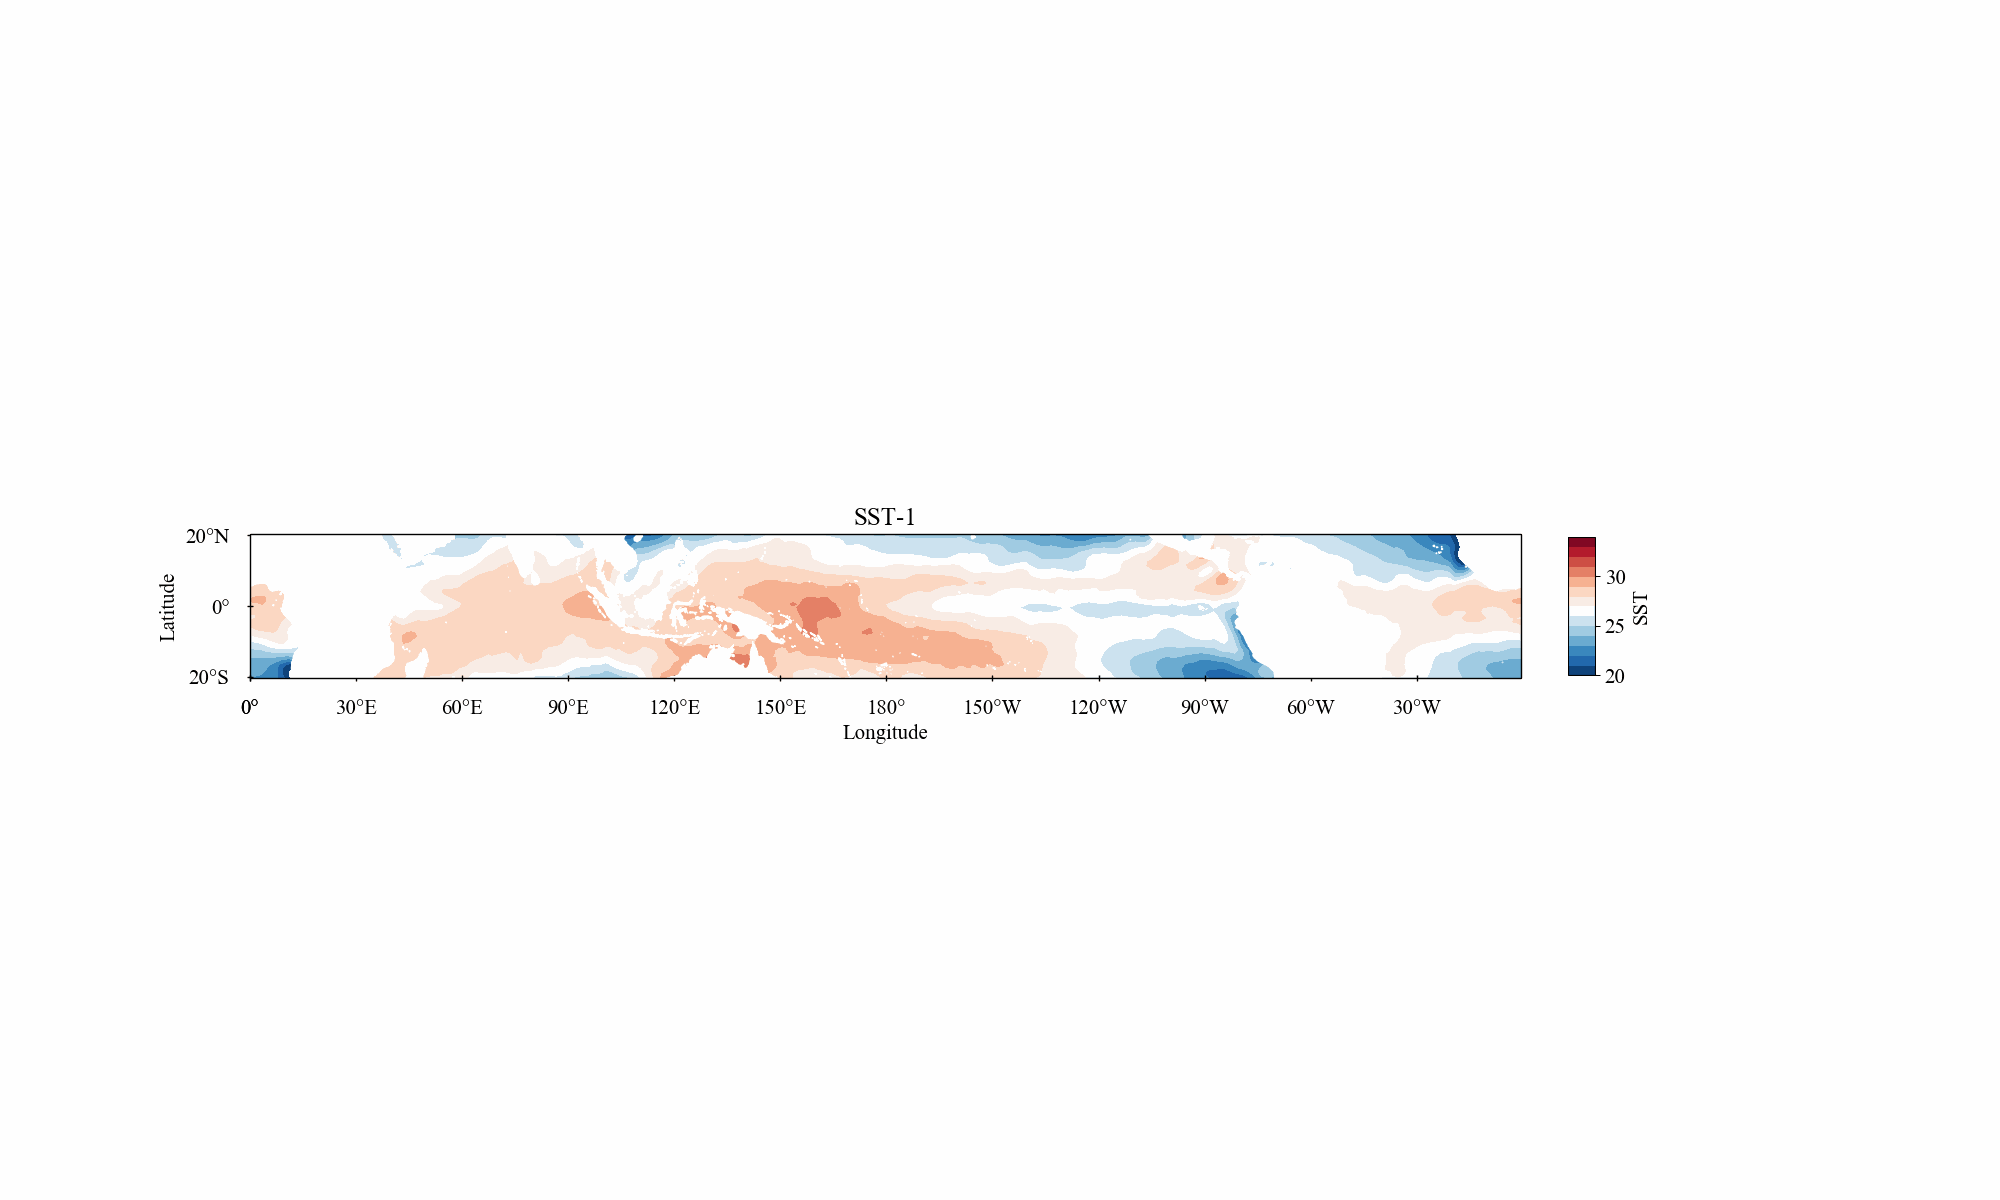
ax.set_title('SST-'+str(i))
ax.set_xlabel('Longitude')
ax.set_ylabel('Latitude')
plt.savefig('D:\\desktopppp\\month\\'+str(i)+'.png')#设置保存图片的位置
print('绘制完成')
#=====================绘制gif动画================================
import PIL
import numpy as np
image=[]
mon=np.arange(1,456)#图片的个数
for i in mon:
new=PIL.Image.open('D:\\desktopppp\\month\\'+str(i)+'.png')
image.append(new)
image[0].save('SST.gif',format='GIF',
append_images=image[1: ],
save_all=True,duration=0.5,
loop=0)#相关参数设置可以网络搜索一下,duration是间隔速率
print('gif绘制完成')
第一部分代码运行结束后可以发现图片已经全部保存到指定路径啦:

第二部分代码运行结束后,发现gif图片也生成出来啦:
OK,简单记录一下~~
有兴趣的小伙伴们快去尝试一下吧~


 被折叠的 条评论
为什么被折叠?
被折叠的 条评论
为什么被折叠?
 到【灌水乐园】发言


