


一、环境
- Ubuntu22.04 + Python 3.10

- 使用CentOS在下文提到的阶段三:Running hooks中
urlopen和tarfile报错
二、git安装、配置
- 安装
sudo apt install git


- 配置代理
git config --global http.proxy http://ip:port
git config --global https.proxy http://ip:port

- 检查配置
git config -l

三、depot_tools安装
-
执行
git clone https://chromium.googlesource.com/chromium/tools/depot_tools.git

-
把depot_tools的目录加到PATH环境变量
echo 'export PATH=$PATH:"/home/manz/v8_code/depot_tools"' >> ~/.bashrcsource ~/.bashrc
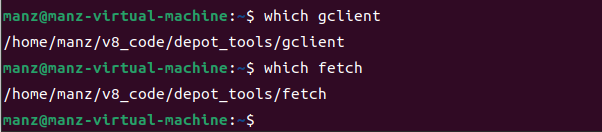
- 执行
which gclient、which fetch确认添加成功
四、V8下载
- 环境变量设置代理
export http_proxy="http://ip:port/"export https_proxy=$http_proxysource ~/.bashrc
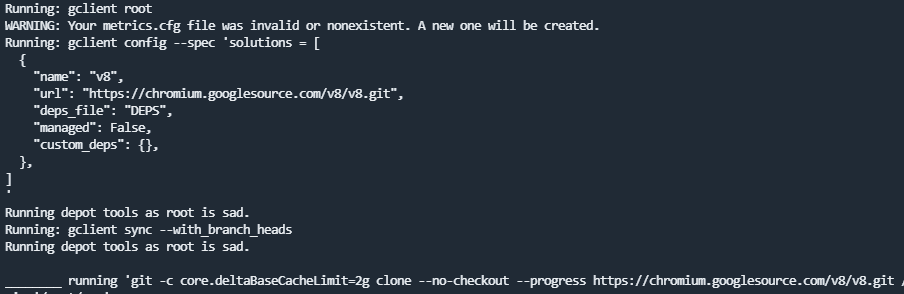
- 执行
fetch v8/gclient config https://chromium.googlesource.com/v8/v8.git(两个命令可以依次尝试,哪个成功用哪个,考验代理的时候到了)
- 阶段一:Receiving objects

- 阶段二:Syncing projects

- 阶段三:Running hooks

- 若由于代理问题在阶段三出现某些文件下载失败,解决方案
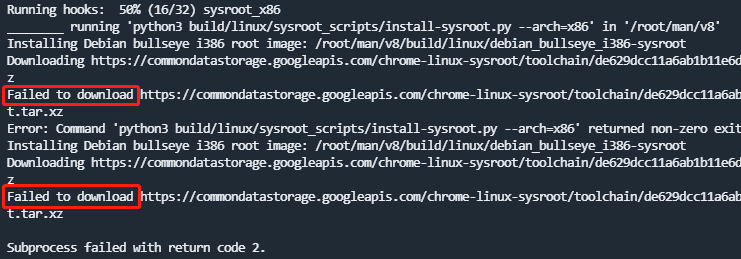
将请求地址复制出来单独下载然后改Python的urllib.request的urlopen方法
(不要修改v8下的任何代码)

- 若调用
tarfile解压tar.xz报错,解决方案
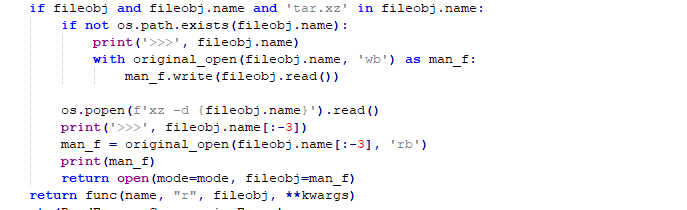
- 修改后执行
gclient sync继续安装即可
- 当下载结束,进入v8目录,执行
gclient sync所有进度100%时成功
五、ninja安装
- 执行
git clone https://github.com/ninja-build/ninja.git

- 编译安装
cd ninja && ./configure.py --bootstrap && cd .. - 把ninja的目录加到PATH环境变量环境添加
echo 'export PATH=$PATH:"/home/manz/v8_code/ninja"' >> ~/.bashrcsource ~/.bashrc
- 执行
which ninja确认添加成功

六、V8编译
- 生成构建配置,执行
v8gen.py x64.release/v8gen.py x64.debug

- 构建结束

-
正式构建,
ninja -C out.gn/x64.release

-
正常运行,编译成功

-
最终目录大小

七、参考文章
- https://blog.csdn.net/zha_ojunchen/article/details/102934412
- https://mem2019.github.io/jekyll/update/2019/07/18/V8-Env-Config.html
八、最后
- 公众号乱炖Set,欢迎前来关注!


 6771
6771


 被折叠的 条评论
为什么被折叠?
被折叠的 条评论
为什么被折叠?
 到【灌水乐园】发言


