


文章目录
本文为视频笔记,接上一篇https://blog.csdn.net/weixin_44544406/article/details/124009425,视频为编程小石头云开发教程。
什么是云函数
云函数是一段运行在云端的代码,无需管理服务器,在开发工具内编写、一键上传部署即可运行后端代码。
小程序内提供了专门用于云函数调用的 API。开发者可以在云函数内使用 wx-server-sdk 提供的 getWXContext 方法获取到每次调用的上下文(appid、openid 等),无需维护复杂的鉴权机制,即可获取天然可信任的用户登录态(openid)。
初始化云函数
1、创建一个文件夹cloud与pages平行
2、在project.json配置云函数

编写云函数
云函数获取数据
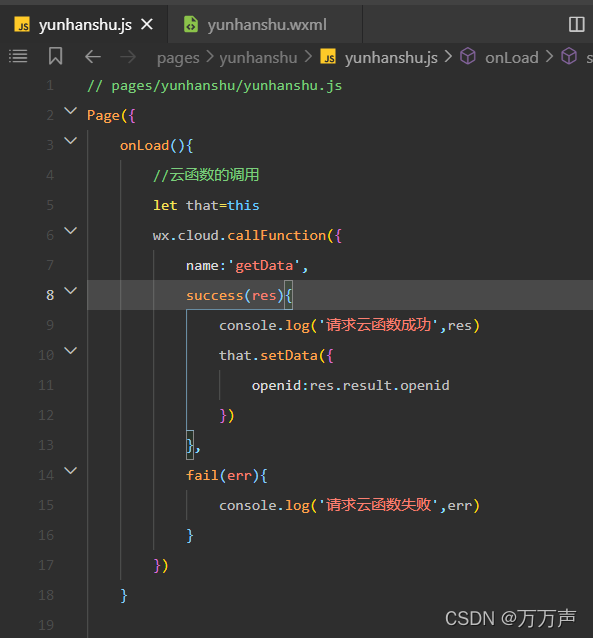
云函数获取open-id
1、传统写法
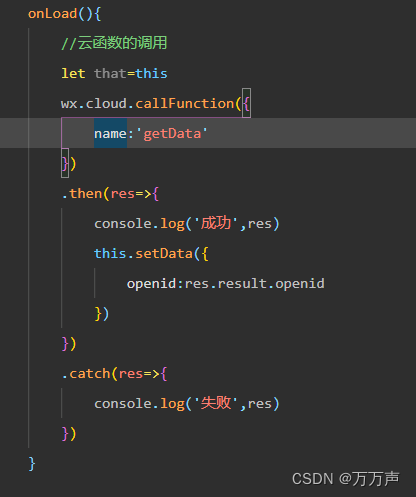
2、用promise方法写then和catch
云函数获取数据
云函数只要有变动,就要重新部署,否则云函数不生效
在cloud文件夹下创建getData的云函数文件
getData-index.js
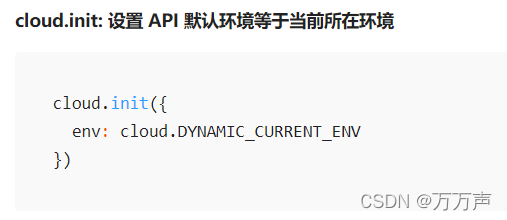
在云函数里指定使用哪个云环境
// 云函数入口文件
const cloud = require('wx-server-sdk')

wx.cloud.init({
    env:'cloud1-0gk6wlxu714dbe3e'//云开发环境id
  })

// 云函数入口函数
exports.main = async (event, context) => {
   return cloud.database().collection('goods').get()
}
或者
提倡第二种
// 云函数入口文件
const cloud = require('wx-server-sdk')

wx.cloud.init({
    env:cloud.DYNAMIC_CURRENT_ENV//云开发环境id
  })

// 云函数入口函数
exports.main = async (event, context) => {
   return cloud.database().collection('goods').get()
}
云函数获取数据和数据库调用数据的对比
Page({
    onLoad(){
        //云函数的调用
        wx.cloud.callFunction({
            name:'getData'
        })
        .then(res=>{
            console.log('成功',res)
            this.setData({
                openid:res.result.openid
            })
        })
        .catch(res=>{
            console.log('失败',res)
        })
        //数据库调用
        wx.cloud.database().collection('goods').get()
        .then(res=>{
            console.log('成功',res)
        })
        .catch(res=>{
            console.log('失败',res)
        })
    }

})
数据库数据批量导入或导出
导出(比如导出将数据为json)
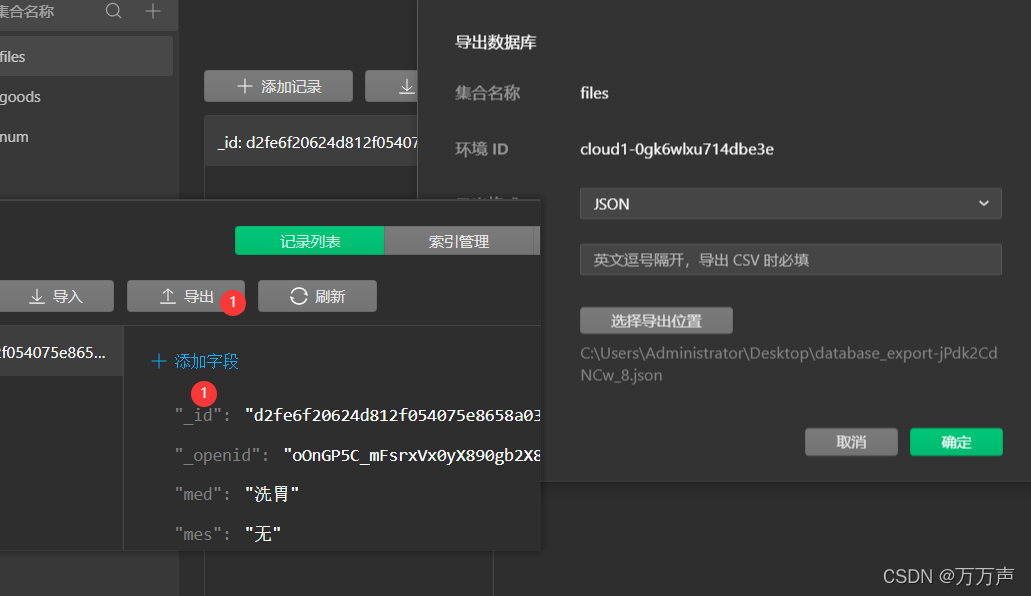
导入
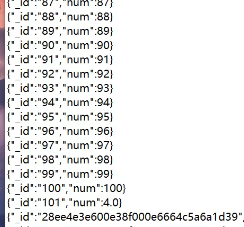
云函数能展示100条数据,而数据库本地操作只能返回20条
云函数修改数据
本地小程序直接调用数据库修改会有问题
只能修改自己创建的数据,别人创建的数据没有办法修改
如何解决这个问题,可以用云函数解决
cloud文件夹下新建update
// 云函数入口文件
const cloud = require('wx-server-sdk')

wx.cloud.init({
    env:cloud.DYNAMIC_CURRENT_ENV//云开发环境id
  })

// 云函数入口函数
exports.main = async (event, context) => {
     return cloud.database().collection('goods')
    .doc(id)
    .update({
        data:{
            price:event.price
    }
    })
 }
在调用云函数界面
//调用云函数更新商品价格
update(){
wx.cloud.callFunction({
	name:'update'//云函数文件名
	data:{
		id:id,
		price:parseInt(price)
	}
})
.then(res=>{
console.log('调用云函数成功',res)
this.gedetail()//再更新一下数据
})
.catch(res=>{
console.log('调用云函数失败',res)
})
}
云函数删除数据
云函数文件
// 云函数入口文件
const cloud = require('wx-server-sdk')

wx.cloud.init({
    env:cloud.DYNAMIC_CURRENT_ENV//云开发环境id
  })

// 云函数入口函数
exports.main = async (event, context) => {
     return cloud.database().collection('goods')
    .doc(event.id)
    .remove()
 }
在调用云函数界面
//调用云函数更新商品价格
shanchu(){
wx.cloud.callFunction({
	name:'update'//云函数文件名
	data:{
		id:id
	}
})
.then(res=>{
console.log('删除成功',res)
this.gedetail()//再更新一下数据
})
.catch(res=>{
console.log('删除失败',res)
})
}
else if(res.cancel==true){
console.log('用户点击了取消')
}
传递参数到云函数
云函数文件
// 云函数入口文件
const cloud = require('wx-server-sdk')

wx.cloud.init({
    env:cloud.DYNAMIC_CURRENT_ENV//云开发环境id
  })

// 云函数入口函数
exports.main = async (event, context) => {
     return event.a+event.b
 }
在调用云函数界面
//调用云函数做加法
onLoad(){
wx.cloud.callFunction({
	name:'add'//云函数文件名
	data:{
		a:1,
		b:1
	}
})
.then(res=>{
console.log('加法成功',res)
this.gedetail()//再更新一下数据
})
.catch(res=>{
console.log('加法失败',res)
})
}
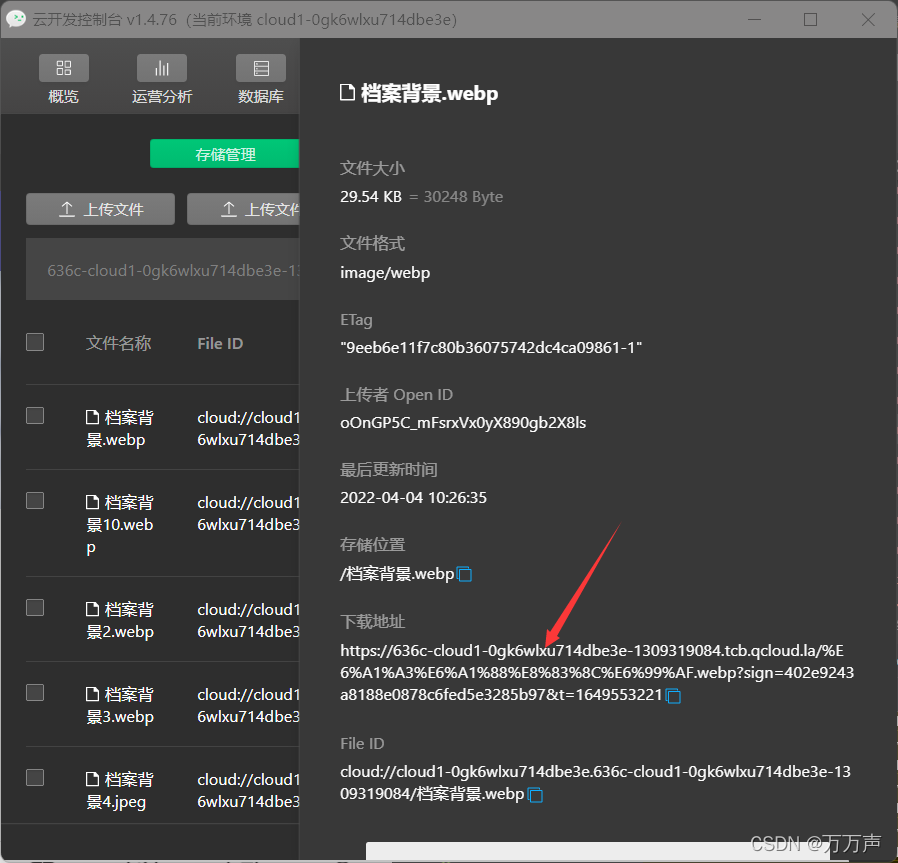
云存储
云存储图片
文件上传
1、点击云开发-存储
2、上传或者拖拽图片
3、点击文件名称
使用图片
上传图片
参考微信官方文档
上传文件 https://developers.weixin.qq.com/miniprogram/dev/api/media/image/wx.chooseImage.html
wx.chooseImage(Object object)
上传文件到云存储空间
https://developers.weixin.qq.com/miniprogram/dev/wxcloud/reference-sdk-api/storage/uploadFile/client.uploadFile.html
wx.cloud.uploadFile
新建文件夹yuncunchu
yuncunchu.js
// pages/yuncunchu/yuncunchu.js
Page({
    //上传图片第一步,选择图片
    choose(){
        let that=this
        wx.chooseImage({
            count: 1,//可以选择多少图片
            sizeType: ['original', 'compressed'],
            sourceType: ['album', 'camera'],//设置图片来源
            success (res) {
              // tempFilePath可以作为img标签的src属性显示图片
              const tempFilePaths = res.tempFilePaths
              that.uploadimg(res.tempFilePaths[0])
            }
          })
    },
    //上传图片的第二步:直接上传到云存储
    uploadimg(temFile){
        wx.cloud.uploadFile({
            cloudPath: 'example.png',
            filePath: temFile, // 文件路径
          }).then(res => {
            // get resource ID
            console.log('上传成功')
            console.log(res.fileID)
          }).catch(error => {
            // handle error
            console.log('上传失败')
          })
    }
})
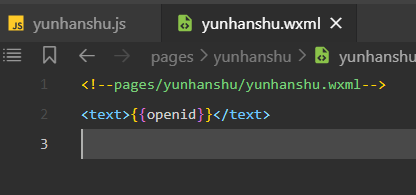
yuncunchu.wxml
<button biandtap="choose">选择图片</button>
给列表添加图片
把图片拖拽到云存储上面,要新建数据,添加字段img
demo.js
Page({
	onLoad(){
	wx.cloud.database().collection('goods').get()
	.then(res=>{
		console.log('请求成功',res)
	})
	.catch(res=>{
		console.log('请求失败',res)
	})
	}
})
demo.wxml
 <view class="list" wx:for="{{list}}">
        <view style="display:flex">
          <image  class="img" src="{{item.img}}"></image>
          <view class="txt">{{item.namem}}</view>
        </view>
      </view>


 2484
2484


 被折叠的 条评论
为什么被折叠?
被折叠的 条评论
为什么被折叠?
 到【灌水乐园】发言


