


vue3 + vite npm 组件库开发(二)
主要内容:组件库文档显示配置
对应文档:我这里直接使用一个项目,通过路由去实现,也可以用vue的相关的文档编写库
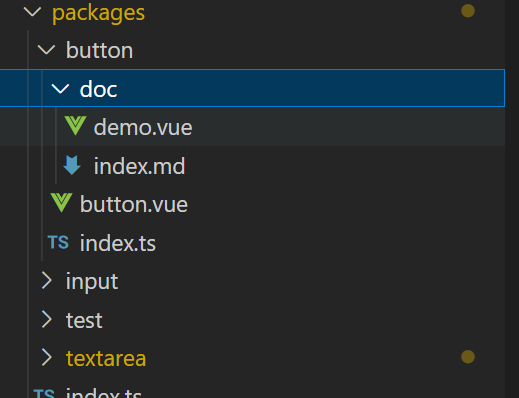
组件文档配置
每一个组件下面对于的doc就是组件的文档,我这里用的md文件去显示
安装插件vue-router , vite-plugin-vue-markdown
vue-router 配置都简单,这里说一下vite-plugin-vue-markdown配置
vite.config
import { defineConfig } from "vite";
import vue from "@vitejs/plugin-vue";
import Markdown from "vite-plugin-vue-markdown";

// https://vitejs.dev/config/
export default defineConfig({
  plugins: [
    vue({
      include: [/\.md$/, /\.vue$/],
    }),
    Markdown(),
  ],
})
md文件作为组件去路由,例如:
import { App } from "vue";
import { createRouter, createWebHashHistory } from "vue-router";
import { guard } from "./permission";

// 2. 定义一些路由:每个路由都需要映射到一个组件。
export const routesList = [
  {
    path: "/",
    name: "home",
    // 路由懒加载
    component: () => import("../layout/home.vue"),
    redirect: "button",
    children: [
      {
        // button
        path: "button",
        name: "button",
        component: () => import("../../packages/button/doc/index.md"),
      },
      {
        // input
        path: "input",
        name: "input",
        component: () => import("../../packages/input/doc/index.md"),
      },
      {
        // textarea
        path: "textarea",
        name: "textarea",
        component: () => import("../../packages/textarea/doc/index.md"),
      },
    ],
  },
];

// 3. 创建路由实例并传递 `routes` 配置。
const router = createRouter({
  // 内部提供了 history 模式的实现。为了简单起见,我们在这里使用 hash 模式。
  history: createWebHashHistory(),
  routes: routesList, // `routes: routes` 的缩写
  scrollBehavior: (to, from, savedPosition) => {
    console.log("to: ", to);
    console.log("from: ", from);
    console.log("savedPosition: ", savedPosition);
    return { left: 0, top: 0 };
  },
});
export function setupRouter(app: App) {
  app.use(router);
  guard(router);
}

export default router;
此时页面已经可以解析md了
文档界面配置
下面配置文档的路由,界面如下,左边菜单栏

路由配置一个layout为布局页面,这一块就不去细说了,菜单只需要获取到路由再渲染路由就得到了菜单和对应的页面
下面是layout/home.vue 的代码
<template>
  <div class="container">
    <div class="left-menu">
      <ul>
        <li
          class="list-item"
          v-for="(item, index) in menuList"
          :key="index"
          @click="routeTo(item, index)"
          :class="{ active: currentPath == '/' + item.path }"
        >
          <dl>
            <dt>{{ item.name }}</dt>
            <template v-if="item.children">
              <dd v-for="cItem in item.children" :key="cItem.index">
                {{ cItem.name }}
              </dd>
            </template>
          </dl>
        </li>
      </ul>
    </div>
    <div class="main">
      <RouterView />
    </div>
  </div>
</template>

<script setup>
import routesList from "../router/index.ts";
import { useRouter, useRoute } from "vue-router";
import { ref } from "vue";

// 获取到路由列表,因为挂载到home页面下的子路由所以需要找到home对象的子路由
const menuList = routesList.getRoutes().find((item) => {
  return item.name === "home";
}).children;

const router = useRouter();
const route = useRoute();

// 设置当前路由地址,用作菜单的选中
const currentPath = ref(route.path);

// 跳转到对应的路由
const routeTo = (item, index) => {
  currentPath.value = "/" + item.path;
  router.push({
    path: item.path,
  });
};
</script>

<style scoped lang="scss">
.container {
  width: 100%;
  height: 100vh;
  display: flex;
  .left-menu {
    width: 360px;
    height: auto;
    overflow-y: auto;
    ul {
      list-style: none;
      padding: 0;
      margin: 0;
      .active {
        background-color: rgb(133, 172, 252);
        border-left: 3px solid rgb(24, 95, 237);
      }

      .list-item {
        padding: 10px;
        cursor: pointer;
        dl {
          padding: 0;
          margin: 0;
        }
        &:hover {
          background-color: rgb(223, 252, 252);
        }
      }
    }
  }
  .main {
    width: 100%;
    flex: 1;
    height: auto;
    overflow-y: auto;
    padding: 10px;
    box-sizing: border-box;
  }
}
</style>
md文件中引入组件并去解析组件的使用代码
index.md
# 文本域 Textarea

<script setup>
    import demo from "./demo.vue"
    import preView from "@/components/preview/preview.vue"
</script>

<demo />
<pre-view compName="textarea" vueFName="demo" />
因为使用了插件,所以vue可以去解析md文件中的组件和标签,demo.vue是我们写的一个个小事例,preView是去解析demo.vue的内容最后实现结果如下图:可以提取到ui库组件的使用范例
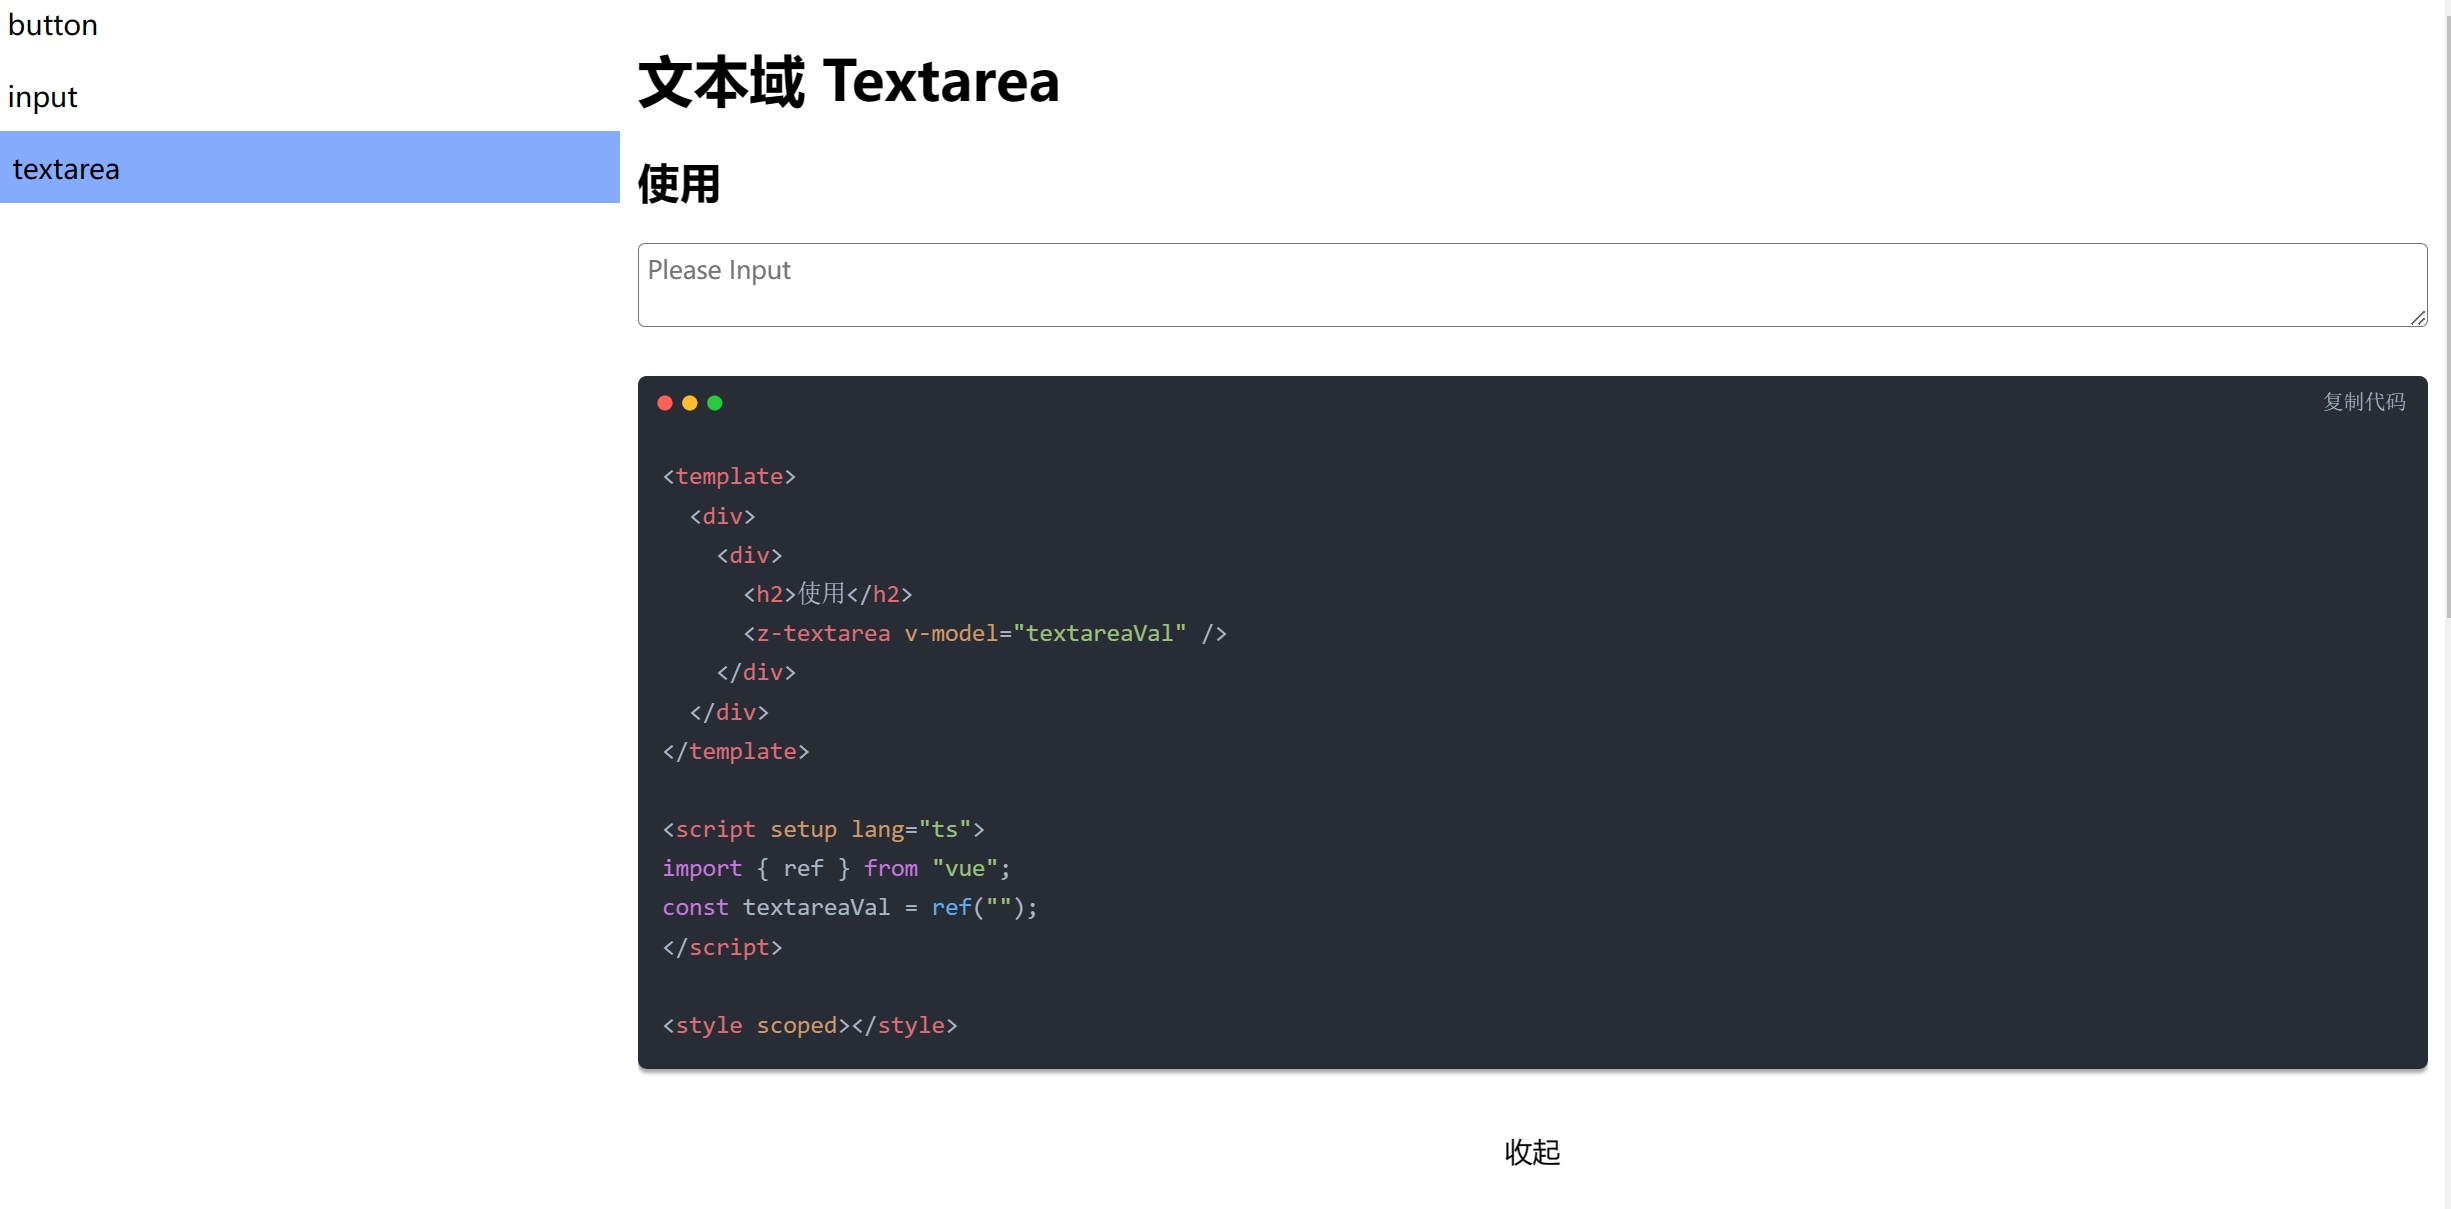
preview.vue,我们传入组件名和要解析的vue文件名即可 代码如下:
通过 await import(vue文件地址.vue?raw`).default;这种方式可以读取到组件的内容,是一个插件,具体使用可以去我的博客https://blogyl.xyz/,
这个插件去显示代码
<template>
  <div>
    <transition>
      <div>
        <div v-if="showCode">
          <md-editor v-model="code" :previewOnly="true" />
        </div>
        <p class="show-code-btn" @click="showCode = !showCode">
          {{ showCode ? "收起" : "显示代码" }}
        </p>
      </div>
    </transition>
  </div>
</template>

<script>
export default {
  name: "preView",
};
</script>
<script setup>
import MdEditor from "md-editor-v3";
import "md-editor-v3/lib/style.css";
import { ref, onMounted } from "vue";

const props = defineProps({
  compName: String,
  vueFName: String,
});

const showCode = ref(false);
const code = ref("Hello Editor!");
async function getCode() {
  code.value = (
    await import(
      `../../../packages/${props.compName}/doc/${props.vueFName}.vue?raw`
    )
  ).default;

  code.value = "```vue3\n" + code.value + "```";
  console.log(code.value);
}
onMounted(() => {
  getCode();
});
</script>
<style scoped lang="scss">
.show-code-btn {
  text-align: center;
  cursor: pointer;
  transition: all 0.5s;
  &:hover {
    color: $primary;
  }
}
</style>


 563
563


 被折叠的 条评论
为什么被折叠?
被折叠的 条评论
为什么被折叠?
 到【灌水乐园】发言


