


一、param传集合 数组
不需要引号

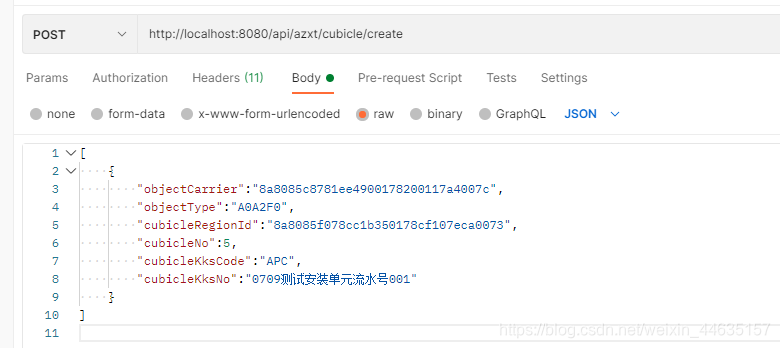
二、body 控制器@requestBody
hearders要加 Content-Type:application/json
场景a、body传对象, 对象里面有集合数组

场景b、body传集合
public void createCubicles(@RequestBody List<CubicleDto> cubicleList){
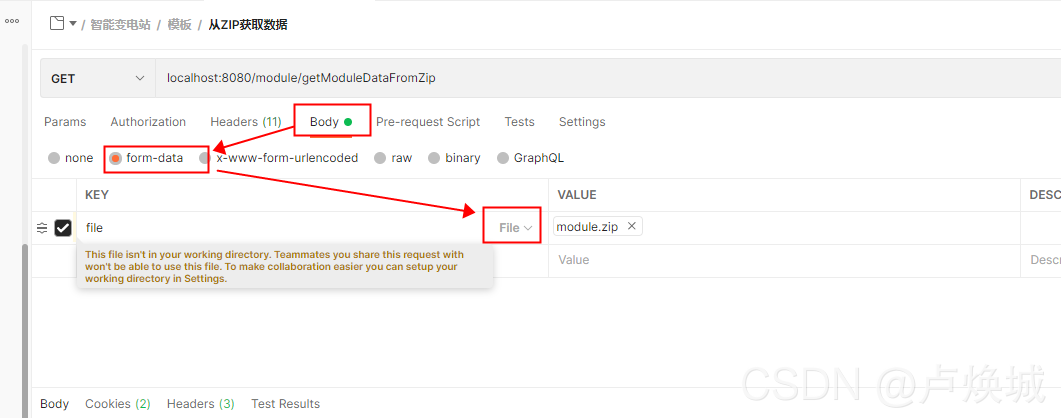
三、PostMan传文件
控制器
@GetMapping("/upload")
public File upload(@RequestParam(value = "file") MultipartFile multipartFile) {}
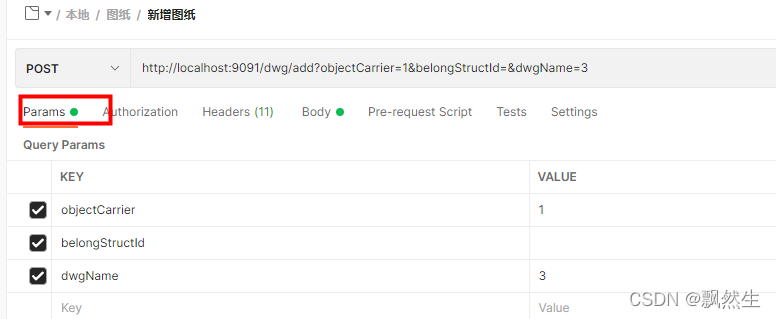
四、PostMan又传文件又传对象
1、控制器
//方式一
@ApiOperation("新增图纸")
 @PostMapping("/add")
 public DwgAddVO add(@Valid @ModelAttribute("dwgAddDTO") DwgAddDTO dwgAddDTO, @RequestParam(value = "file") MultipartFile multipartFile) {
     return dwgService.add(dwgAddDTO, multipartFile);
 }

//方式二
@ApiOperation(value = "发送带有多附件邮件")
@RequestMapping(value = "/emailWithMultiAttachment", method = RequestMethod.POST, consumes = {MediaType.MULTIPART_FORM_DATA_VALUE})
@ResponseBody
Result<Void> sendEmailWithMultiAttachment(@RequestParam(value = "email") String email,
                                          @RequestParam(value = "subject") String subject,
                                          @RequestParam(value = "content") String content,
                                          @RequestParam(value = "senderName") String senderName,
                                          @RequestPart("file") MultipartFile... multipartFiles) {
    EmailSendDto emailSendDto = new EmailSendDto();
    emailSendDto.setSubject(subject);
    emailSendDto.setSenderName(senderName);
    emailSendDto.setContent(content);
    emailSendDto.setEmail(email);
    return emailService.sendEmailWithAttachment(emailSendDto, multipartFiles);
}
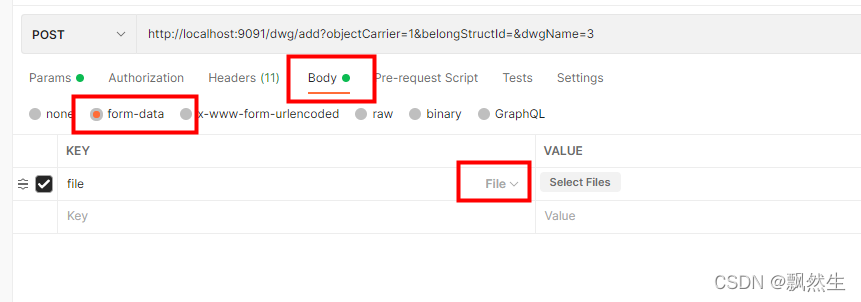
2、postman传参方式
dwgAddDTO在params
文件在Body里面的form-data
3、feign调用方式(控制器第二种,第一种没试过)
@RequestMapping(value = "/message/emailWithMultiAttachment", method = RequestMethod.POST, consumes = {MediaType.MULTIPART_FORM_DATA_VALUE})
@ResponseBody
Result<Void> sendEmailWithMultiAttachment(@RequestParam(value = "email") String email,
                                          @RequestParam(value = "subject") String subject,
                                          @RequestParam(value = "content") String content,
                                          @RequestParam(value = "senderName") String senderName,
                                          @RequestPart("file") MultipartFile... multipartFiles);
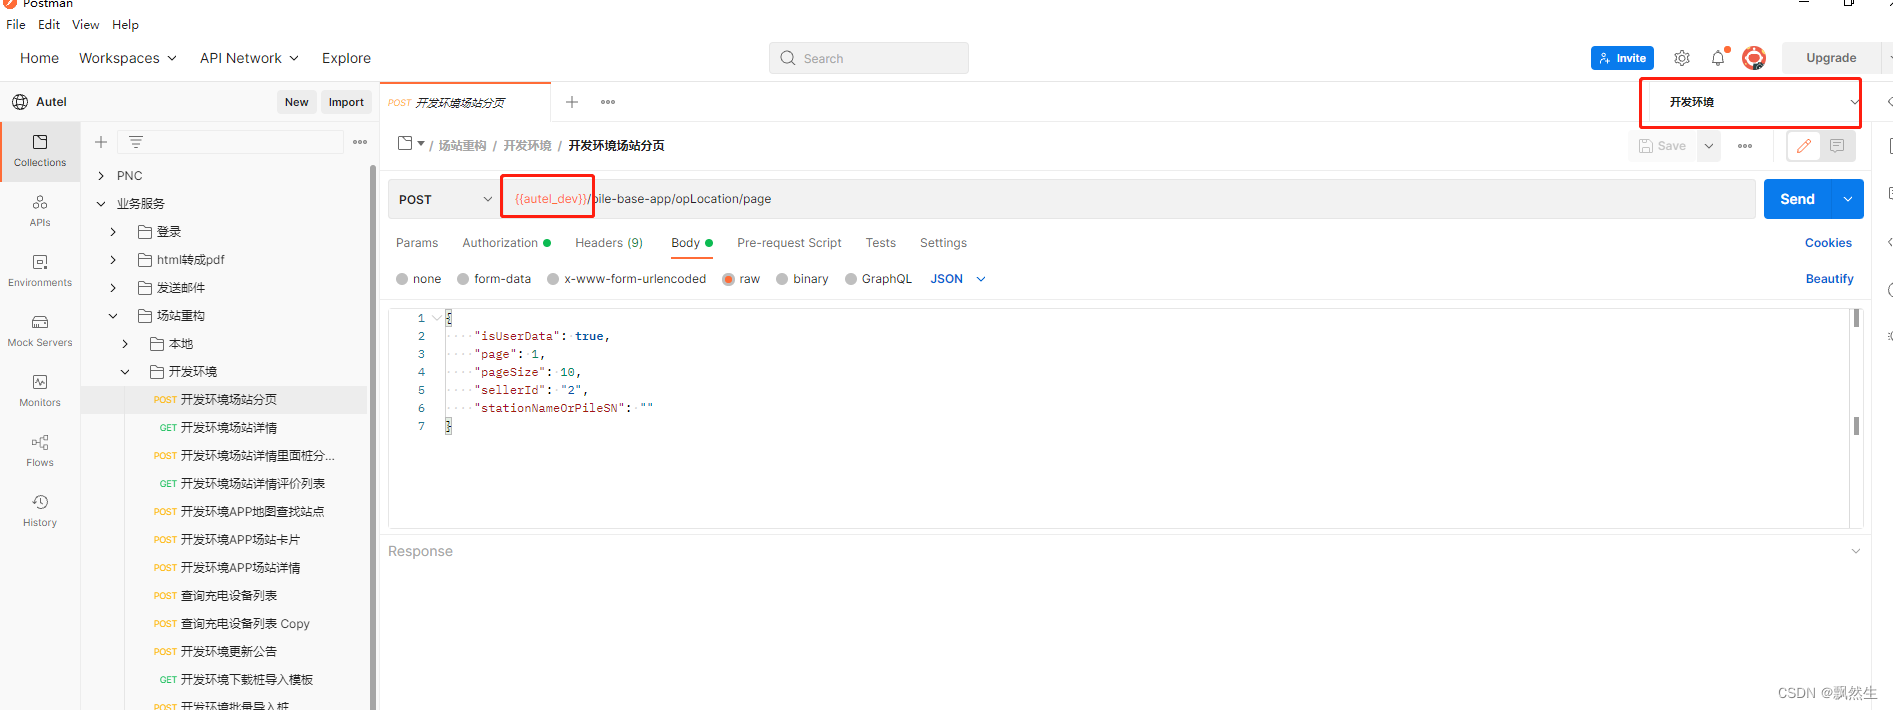
五、设置统一的域名
1、environment添加环境
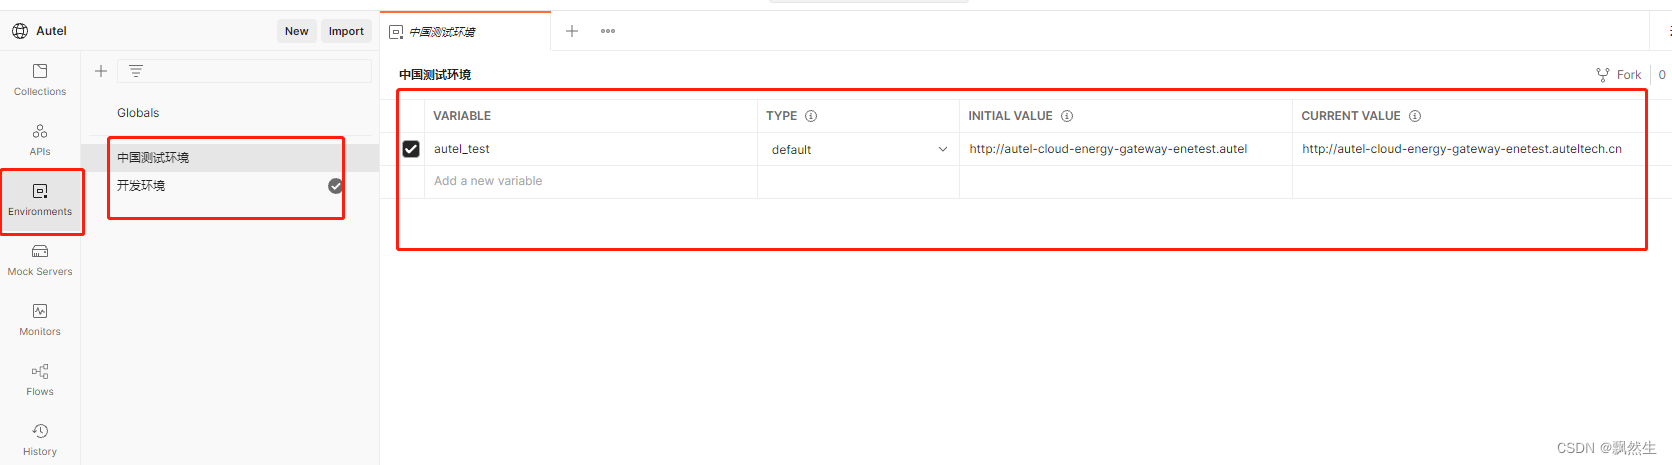
2、接口选择环境并且引用域名
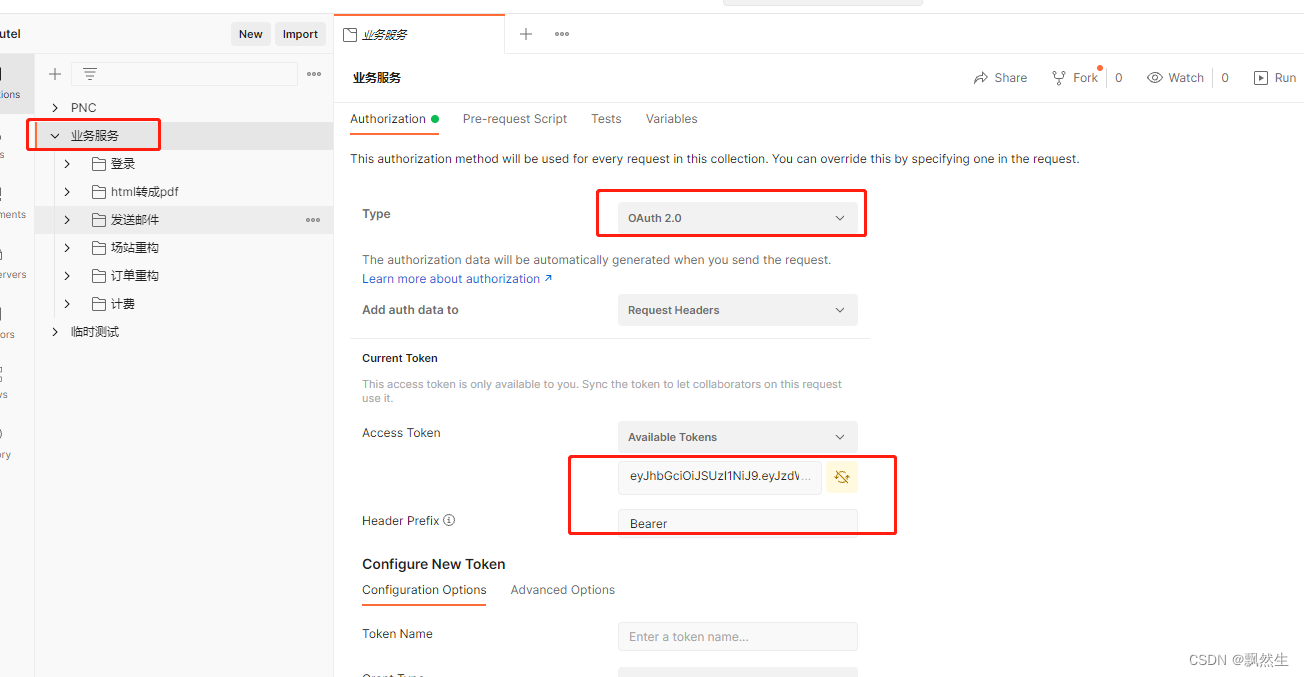
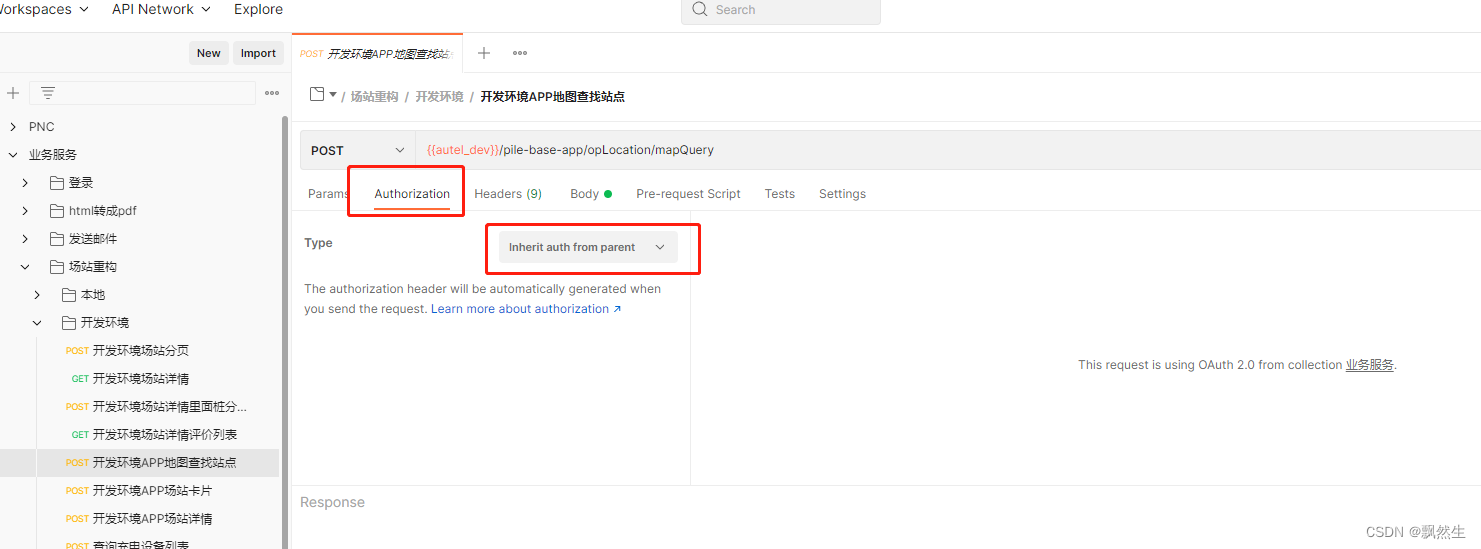
六、设置统一的token
1、文件夹设置token
2、子文件夹和接口的授权继承自parent
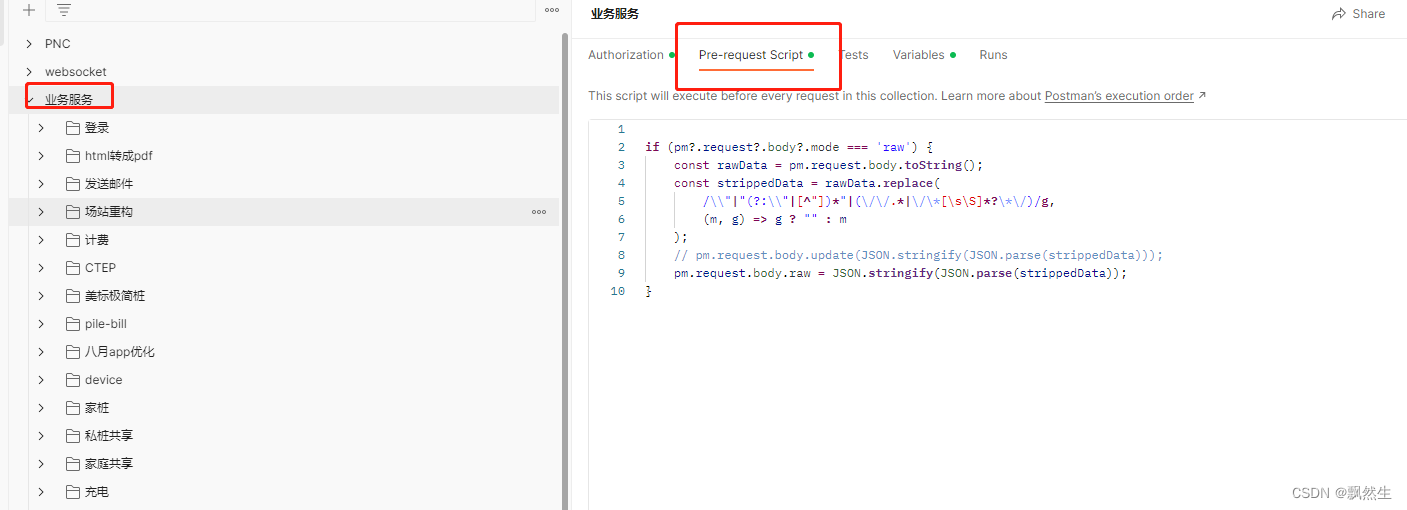
七、body里面可以写注释
在接口所在文件夹,也可以最顶级文件夹,在Pre-request Script里面写上下面代码,然后body里面就可以写注释//注释11  或者/**注释222 **/
if (pm?.request?.body?.mode === 'raw') {
    const rawData = pm.request.body.toString();
    const strippedData = rawData.replace(
        /\\"|"(?:\\"|[^"])*"|(\/\/.*|\/\*[\s\S]*?\*\/)/g,
        (m, g) => g ? "" : m
    );
    // pm.request.body.update(JSON.stringify(JSON.parse(strippedData)));
    pm.request.body.raw = JSON.stringify(JSON.parse(strippedData));
}
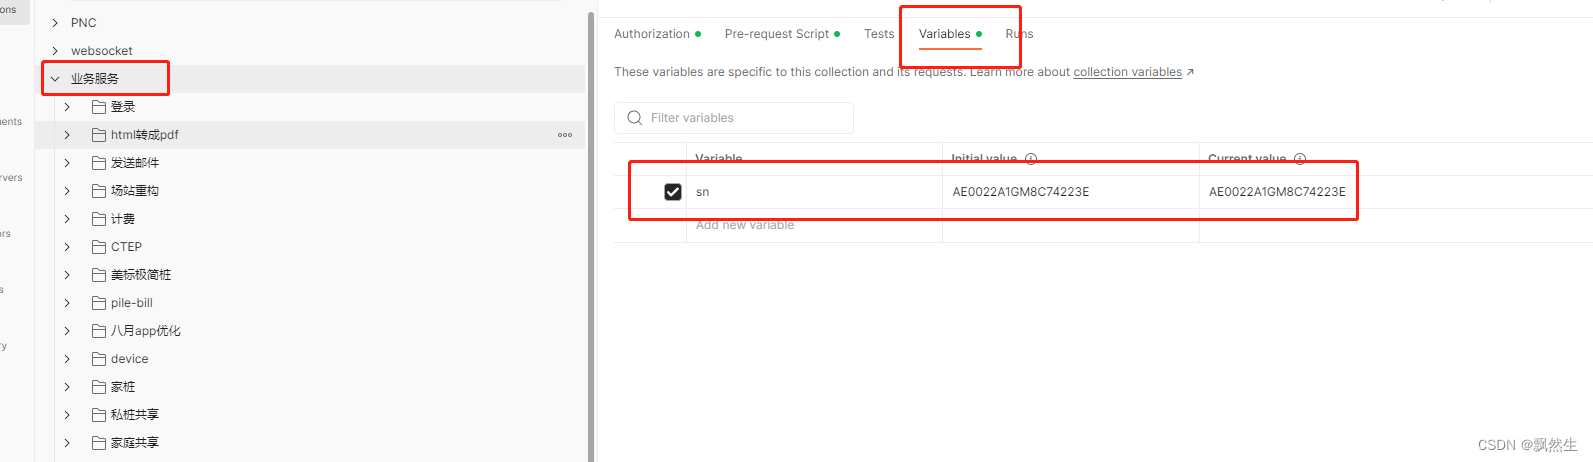
八、设置变量与变量引用
变量声明:在接口所在文件夹,也可以最顶级文件夹,点击variables
变量引用,在接口用{{sn}}引用
九、导出与导入
导出:选择文件夹右边的三个点,有个export(注意是一级文件夹才有export按钮)

导入:菜单栏的下面有个Import按钮,点击,选择文件就可以了
十、自动登陆
/**
先使用环境变量参数 请求一个简单接口 看看返回值状态是否正确
如果正确代表当前的 Authorization 的token值任然有效无需更新
否则就调用登陆接口 将返回的token值赋值给 环境变量 Authorization
**/

const getRequest = {
  url:  pm.collectionVariables.get("data-service") + '/system/domain',
    method: 'GET',
  header: {
    'Content-Type': 'application/json',
    'Authorization': pm.collectionVariables.get("Authorization")
  }
};

pm.sendRequest(getRequest, function (err, response) {
  console.log(response.json())
  if (response.json().code == 10005001 || response.json().code == 10005002 ||   response.json().code == 10001244) {
    console.log("当前的token 失效");
    const postRequest = {
      url: pm.collectionVariables.get("saas-access-app") + '/portal/login',
      method: 'POST',
      header: {
        'Content-Type': 'application/json'
      },
      body: {
        mode: 'raw',
        raw: JSON.stringify({
          "account": pm.collectionVariables.get("account"),
          "password": pm.collectionVariables.get("password"),
          "isEncryption": 2,
          "loginFrom": "WEB",
          "appId": "Chargebusi"
        })
      }
    };
    pm.sendRequest(postRequest, function (err, response) {
      console.log(response.json());
      if (response.json().code == 200) {
        console.log(response.json().data.token);
        pm.collectionVariables.set("Authorization", response.json().data.token);
      }
    });
    console.log("111111");
  } else {
    console.log("token 未失效");
    console.log(response.json());
  }
});


 1万+
1万+


 被折叠的 条评论
为什么被折叠?
被折叠的 条评论
为什么被折叠?
 到【灌水乐园】发言


