1 以python3.8.8为例
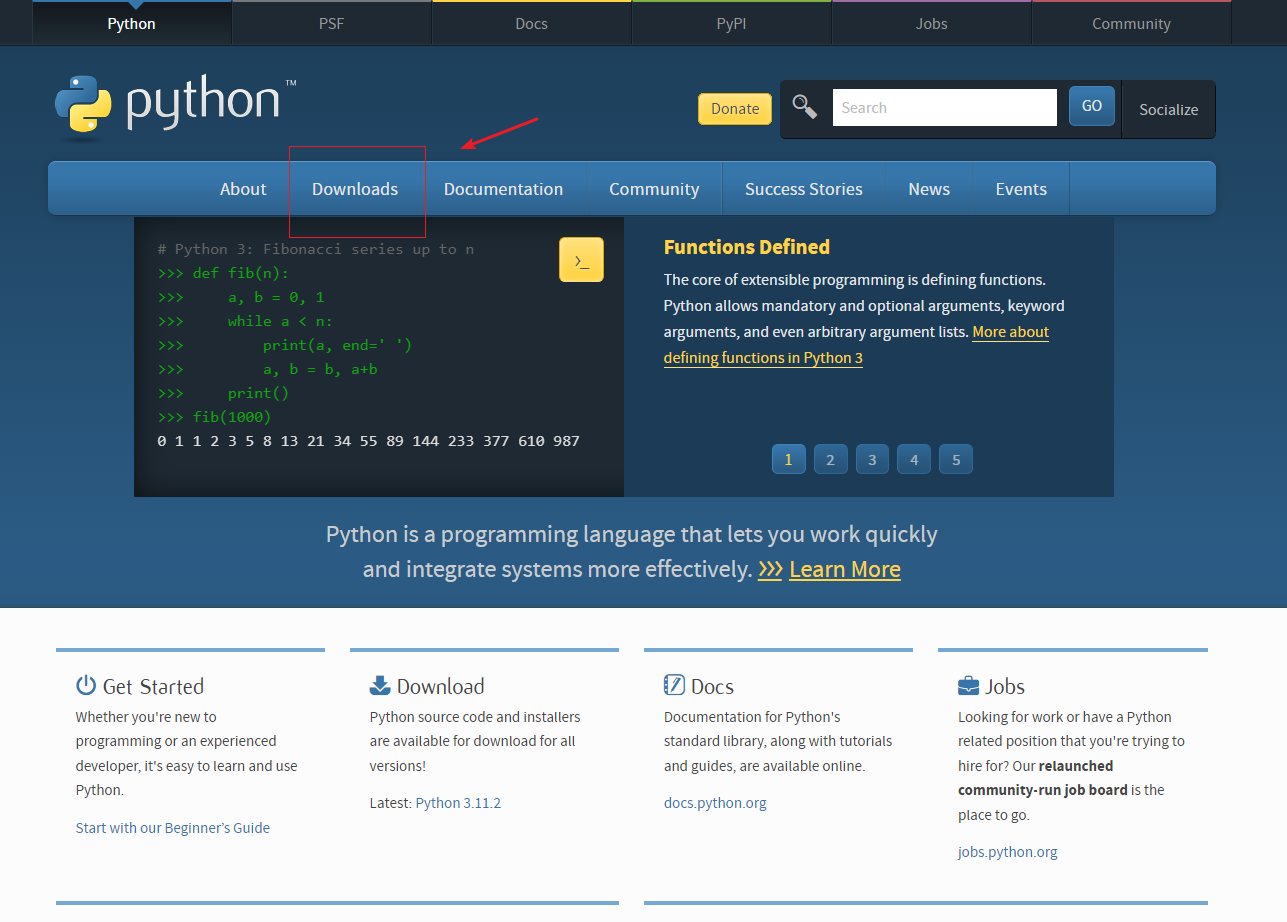
1.1、首先登录https://www.python.org/,进入Downloads
![](https://img-blog.csdnimg.cn/img_convert/d75912b4d5676242ada90a00c5b6a79e.png)
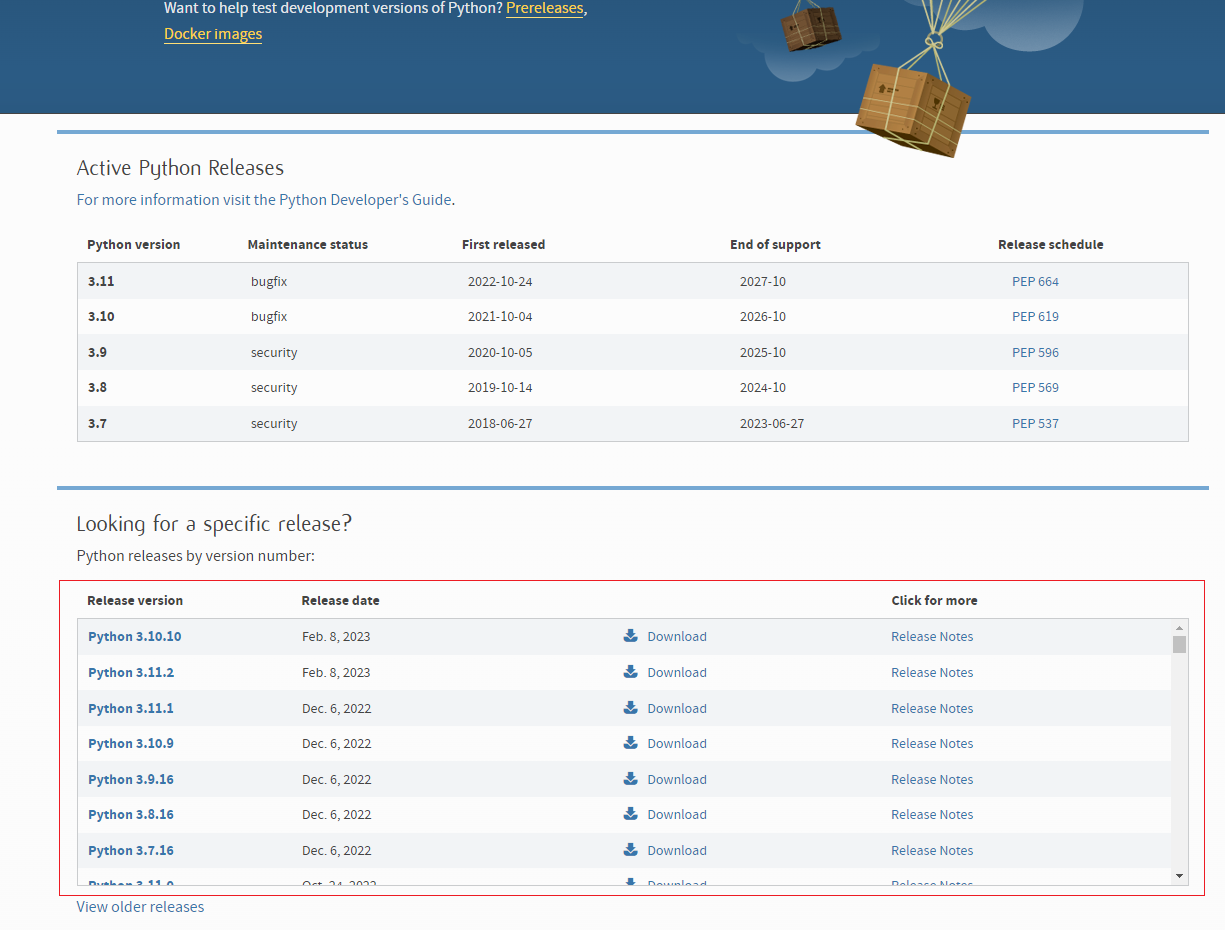
1.2、选择自己需要的版本,进入 Download
![](https://img-blog.csdnimg.cn/img_convert/d95bd8acec0a9b142cbc85813b3cf9f8.png)
![](https://img-blog.csdnimg.cn/img_convert/3fc5b08dd2377ef8b53260aa687ac832.png)
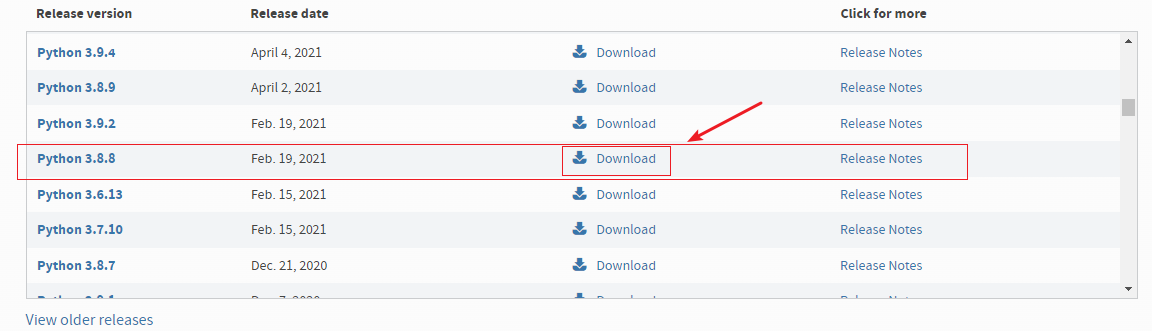
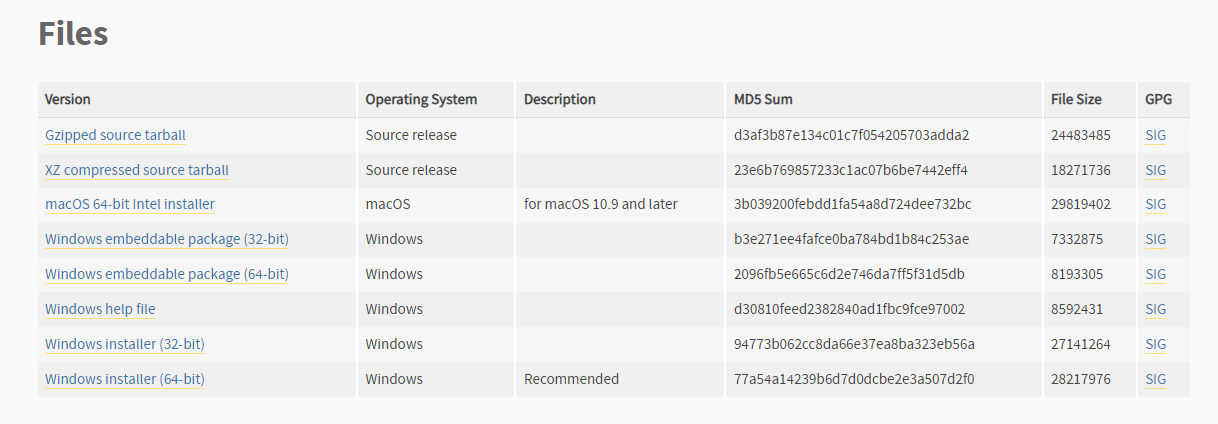
1.3、选择自己需要的版本,我选择的是Windows installer (64-bit)
![](https://img-blog.csdnimg.cn/img_convert/0d1d74a313bb837fb8baa1b1dbbf9337.png)
1.4、之后自行安装python
![](https://img-blog.csdnimg.cn/img_convert/0ed0d8bb767ff1cb1fdb2961c91f1607.png)
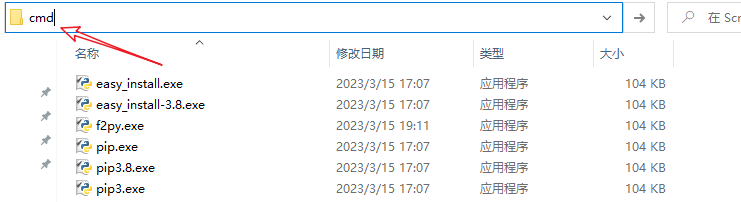
查询安装的python版本,win+r进入cmd,弹出控制台窗口,输入python
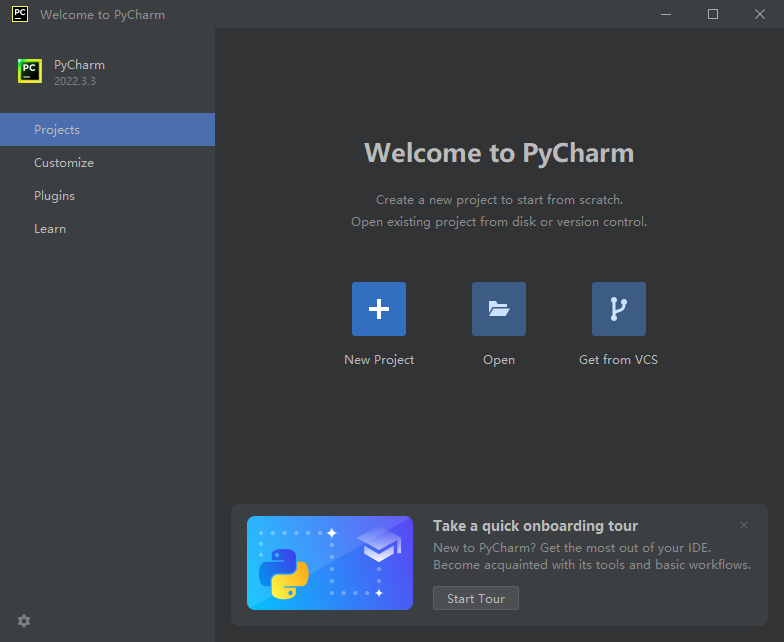
![](https://img-blog.csdnimg.cn/img_convert/f974bd4921e52457a7fc6d9cccc30630.png)
2 安装pycharm
2.1、下载路径:https://www.jetbrains.com/zh-cn/pycharm/download/#section=windows
![](https://img-blog.csdnimg.cn/img_convert/61665b90f420a0d20a1f0a7b691dfb24.png)
2.2、安装
推荐自定义安装路径
![](https://img-blog.csdnimg.cn/img_convert/e3e8cf9305cd2b5b4f39715a3ec3f58d.png)
3 pycharm配置和python模块安装
3.1 打开pycharm
创建新的项目
![](https://img-blog.csdnimg.cn/img_convert/0fd0b0c6022cec78626f109ad3457fc8.png)
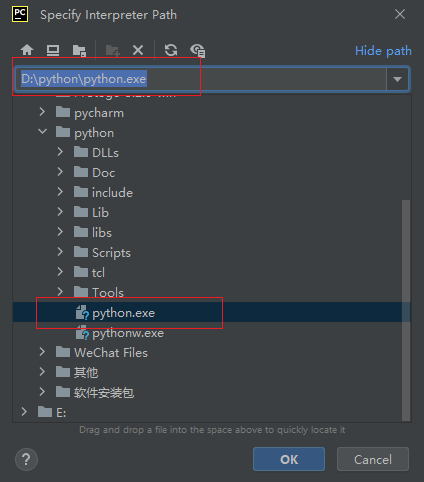
3.2 python环境选择python的安装位置
创建的项目所用的python环境是已安装的python
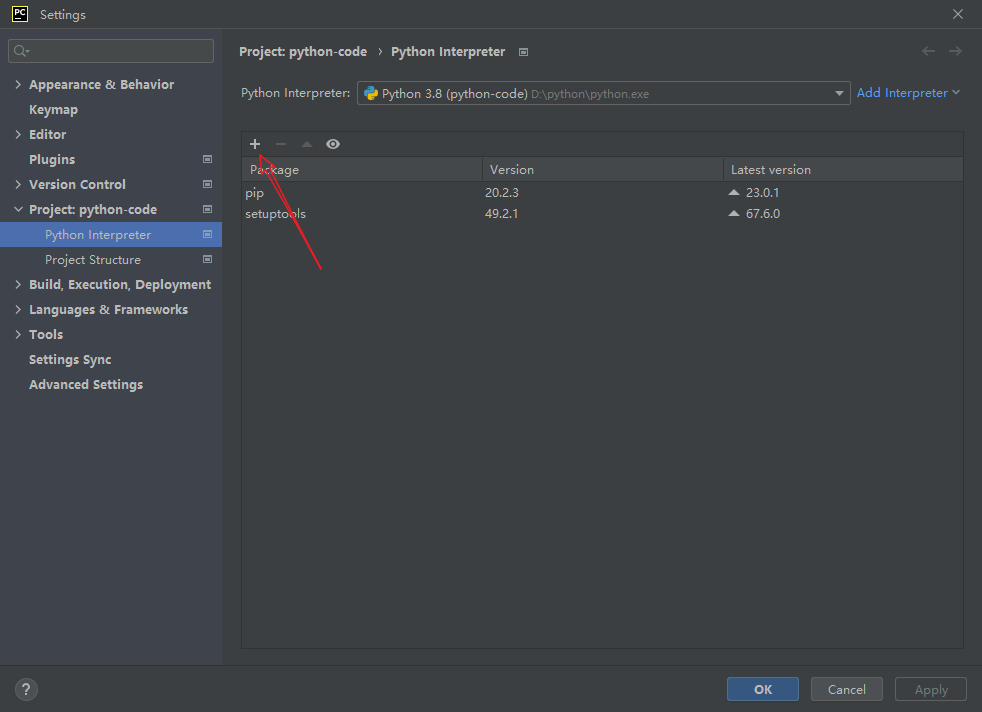
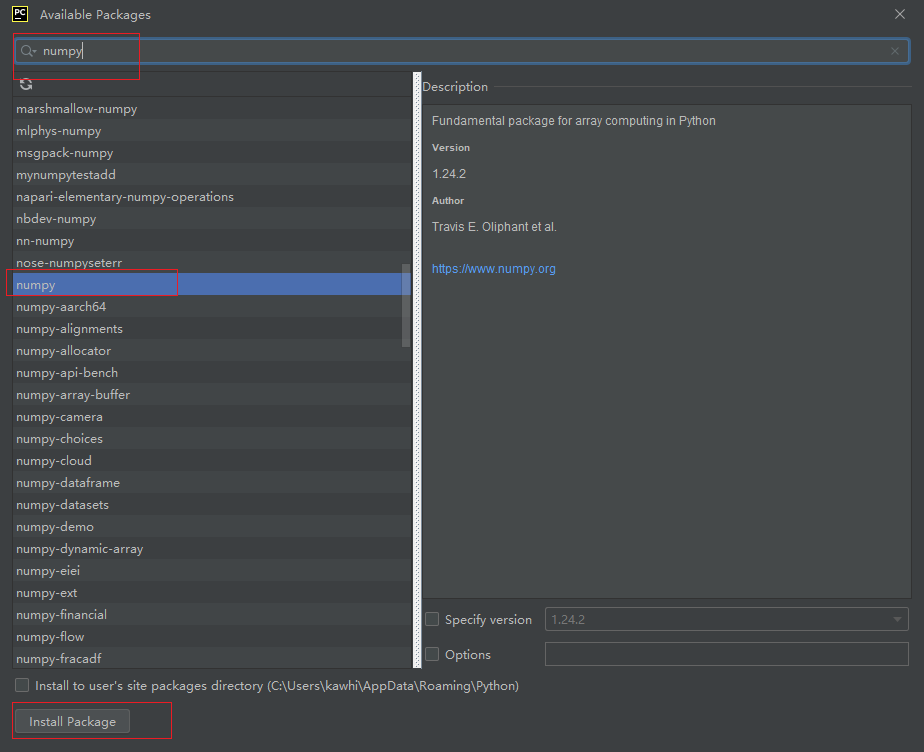
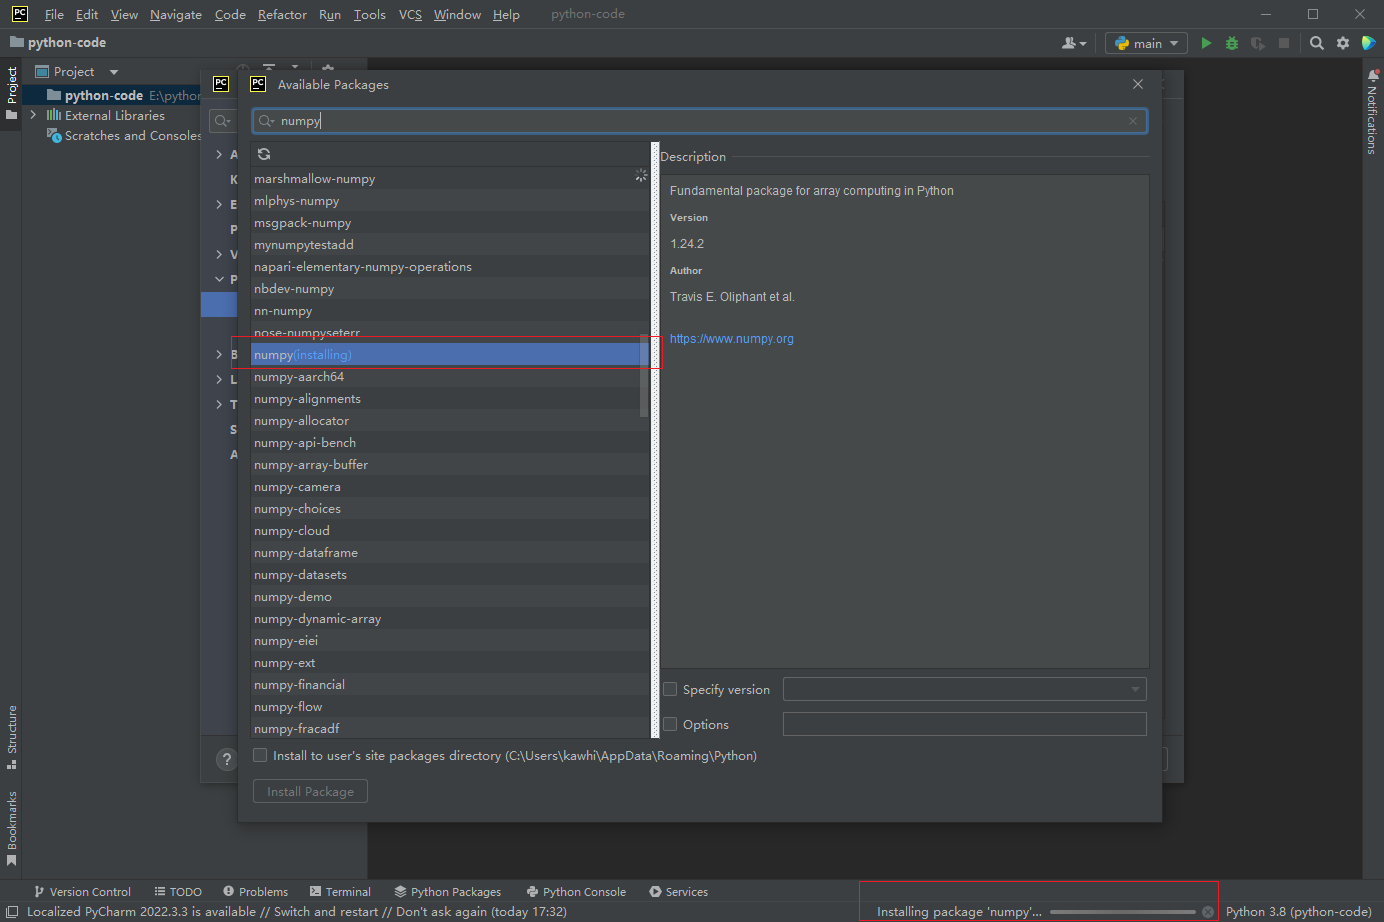
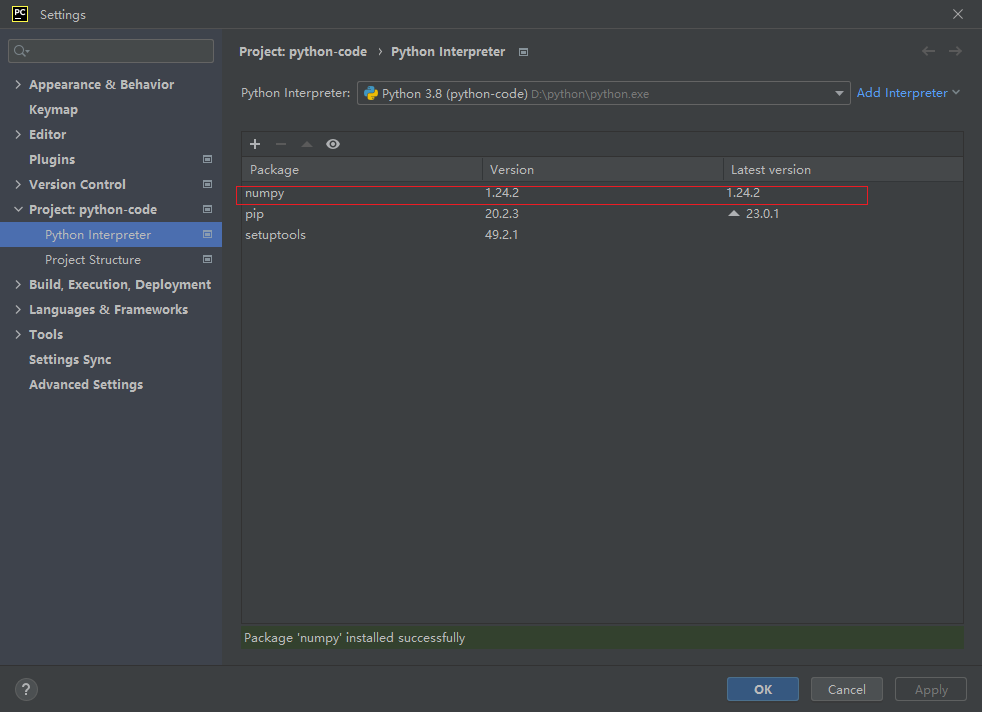
![](https://img-blog.csdnimg.cn/img_convert/adc29c39a024342699b1435bca53b9c6.png)
![](https://img-blog.csdnimg.cn/img_convert/c7a9cd4b5e3f8d6fc1a44b6c33047a5e.png)
3.3 安装python模块
有以下几种安装方法
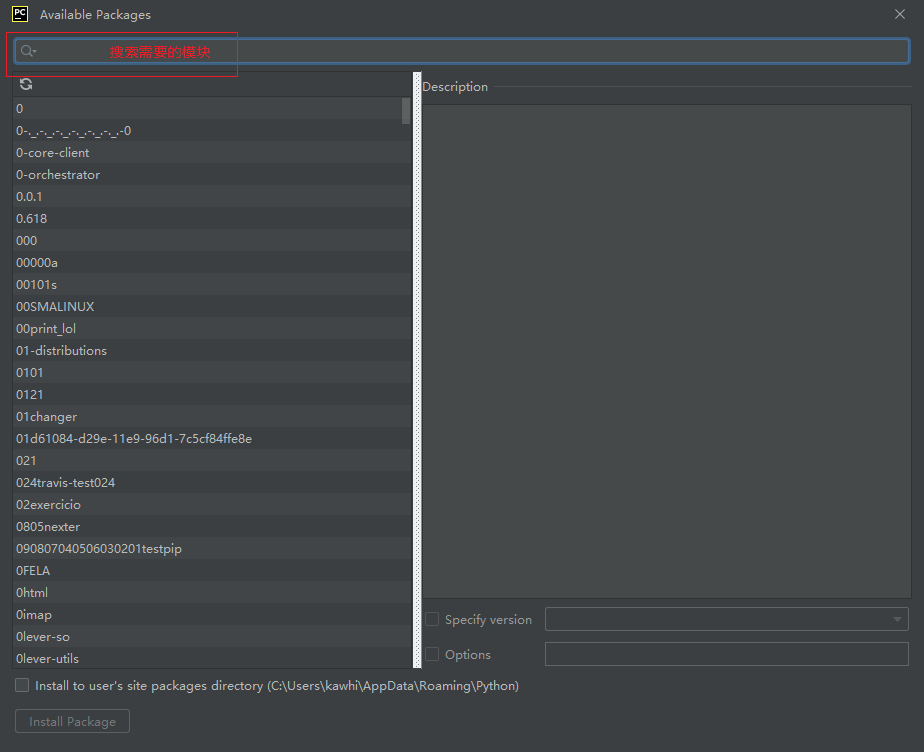
第一种:在pycharm中直接安装,搜索——安装——等待——完成
![](https://img-blog.csdnimg.cn/img_convert/c2de38a72bcfb8f90ce2708653f5a4d9.png)
![](https://img-blog.csdnimg.cn/img_convert/6650ac2fdfbe345347517027ec7f7010.png)
![](https://img-blog.csdnimg.cn/img_convert/92eb011d2ed9fa4720032fda399ab268.png)
![](https://img-blog.csdnimg.cn/img_convert/c4d51d0bad54315c71a6e1e2476a9b4e.png)
![](https://img-blog.csdnimg.cn/img_convert/c025de3c98ba532bf46c2b27c186d27c.png)
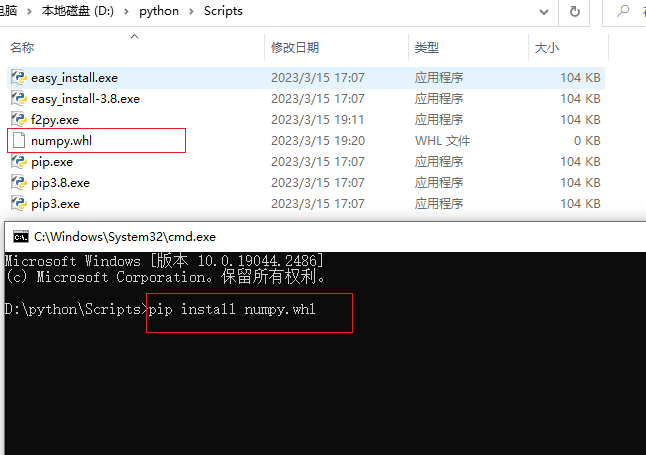
以下三种为在python的安装目录下运行cmd安装
第二种:将后缀为.whl的文件拷进......\Python\Scripts文件夹下,同时从这里运行cmd,
输入pip install ********.whl
![](https://img-blog.csdnimg.cn/img_convert/4239a859ac4c1e6594e535b8e4a339c6.png)
![](https://img-blog.csdnimg.cn/img_convert/906efdda73f74fb6d6fdf6b2d349166e.png)
![](https://img-blog.csdnimg.cn/img_convert/321d851b8a23525bf707c2ee152dc959.png)
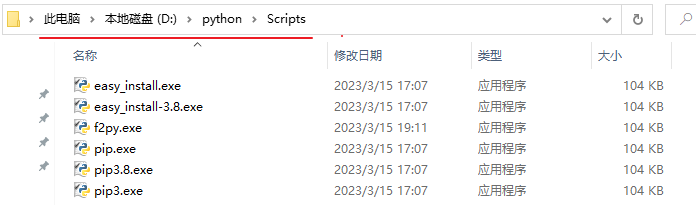
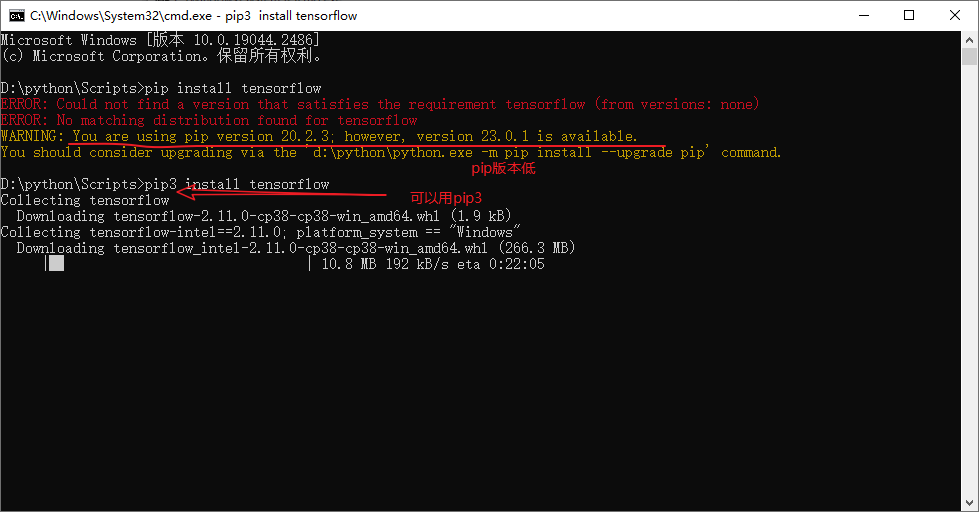
第三种:打开......\Python\Scripts文件夹下,同时从这里运行cmd,然后直接(pip install 模块名称)或者(pip3 install 模块名称)
![](https://img-blog.csdnimg.cn/img_convert/0eba64aad55d098d9939d95c2c21d052.png)
第四种:下载压缩包文件或者将.whl文件的后缀改为.zip然后解压,将解压文件拷进D:\Python\Lib\site-packages,然后从......\Python\Scripts文件夹下运行cmd,输入pip install pandas(安装其他的就改为其他的名称)
——————————————————————
希望此博客能对您有所帮助,如果仍有问题,欢迎留言讨论!!