


注意事项:ElasticSearch6.x与ElasticSearch7.x差异比较大,首先他俩对JDK的版本要求就一样,ElasticSearch6.x要求JDK是11以下或者JDK1.8(至于这里是否支持JDK11以上版本还需测试),而ElasticSearch7.x则需要JDK11及以上版本。
一、系统环境配置
1、关闭防火墙 systemctl stop firewalld 并且关闭开机自启 systemctl disable firewalld
2、系统环境
编辑 vi /etc/security/limits.conf 文件在最后添加如下内容
* soft nofile 65536
* hard nofile 65536
* soft nproc 4096
二、下载ElasticSearch安装包并安装相应JDK(安装时请选择相应办版本JDK,分享文件中两种版本都有)
链接:https://pan.baidu.com/s/1o8MqmgDiEFvsqBLBjdqnHw
提取码:y18c
具体jdk环境变量我就不多说了,解压过后在/etc/profile中配置一下java_home和path等就可以了,网上很多例子
三、安装ElasticSearch数据库(我安装的是6.x,7.x安装步骤也类似)
1、解压安装包 :
tar -zxvf elasticsearch-6.4.3.tar -C /etc #加-C可以指定路径,C是大写
2、修改配置文件/etc /elasticsearch-6.4.3/config/elasticsearch.yml
cluster.name: my-application
node.name: node-1
network.host: ip地址
http.port: 9200
3、es禁止使用root,所以我们需要创建一个其它用户elastic
groupadd elastic
useradd elastic -u elastic -p elastic
4、赋予elastic操作elasticsearch-6.4.3文件夹的权限
chown -R elastic:elastic /etc/elasticsearch-6.4.3
5、修改其它用户的线程上限vi /etc/security/limits.d/20-nproc.conf ,es上限至少得有4096,后面这个文件名可能不一样,自己先查看自己的文件什么名字,然后改成相应的文件名
*          soft    nproc     4096
root       soft    nproc     unlimited
6、启动es,切换到elastic用户 su elastic
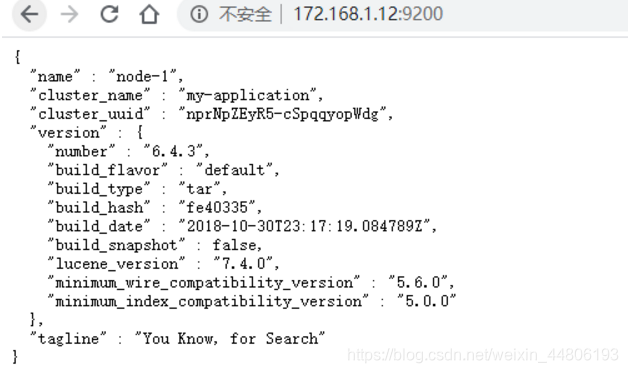
执行/etc/elasticsearch-6.4.3/bin/elasticsearch启动,执行完成后,在网页输入ip:端口号,成功效果如下图
四、安装Kibana(可视化工具)
1、解压文件:tar -zxvf kibana-6.4.3-linux-x86_64.tar -C /etc
2、修改配置文件;vi /etc/kibana-6.4.3/config/kibana.yml
server.port: 5601  #监控端口
server.host: "0.0.0.0"  #监控IP
elasticsearch.url: "http://172.168.1.12:9200"    #集群es地址
3、启动kibana : /etc/kibana-6.4.3/bin/kibana
如出现以下错误

则需要在执行命令后加上–allow-root,如: /etc/kibana-6.4.3/bin/kibana --allow-root
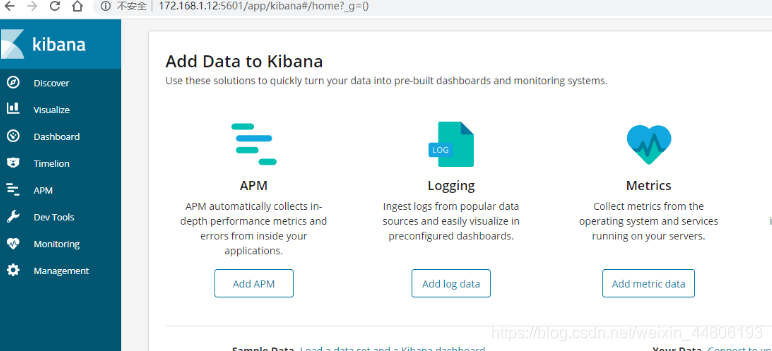
执行成功后,进入页面输入ip:端口
五:安装logstash
1、解压文件
tar -zxvf logstash-6.4.3.tar -C /etc
2、在/etc/logstash-6.4.3/config创建文件logstash.conf
编辑 vi /etc/logstash-6.4.3/config/logstash.conf (注意下面21、28、34行的IP改成自己的IP)
input {
  beats {
    port => 5044
  }
  file {
        path => "/var/log/messages"
        type => "systemlog"
        start_position => "beginning"
        stat_interval => "3"
   }
  file {
        path => "/var/log/secure"
        type => "securelog"
        start_position => "beginning"
        stat_interval => "3"
   }
}

output {
  elasticsearch {
    hosts => ["http://172.168.1.12:9200"]
    index => "%{[@metadata][beat]}-%{[@metadata][version]}-%{+YYYY.MM.dd}"
    #user => "elastic"
    #password => "changeme"
  }
 if [type] == "systemlog" {
        elasticsearch {
            hosts => ["172.168.1.12:9200"]
            index => "system-log-%{+YYYY.MM.dd}"
        }
  }
 if [type] == "securelog" {
        elasticsearch {
            hosts => ["172.168.1.12:9200"]
            index => "secure-log-%{+YYYY.MM.dd}"
        }
  }
}
这个文件大致作用就是定义一个输入源与输出源
input指的是输入源
filter 可以对input输入的内容进行过滤或处理
output 指定处理过的日志输出到哪里,可以是ES或者是HDFS等等,可以同时配置多个,webhdfs主要配置解释
一般情况下都会结合ElasticSearch使用
3、进入到logstash-6.4.3文件夹执行启动命令
./bin/logstash -f config/logstash.conf


 2654
2654


 被折叠的 条评论
为什么被折叠?
被折叠的 条评论
为什么被折叠?
 到【灌水乐园】发言


