


文章目录
- 1.测试工程配置
- 2.成员函数
-
- 2.1 bool blockSignals(bool block)
- 2.2 int startTimer(std::chrono::milliseconds time, Qt::TimerType timerType = Qt::CoarseTimer)
- 2.3 int startTimer(int interval, Qt::TimerType timerType = Qt::CoarseTimer)
- 2.4 bool setProperty(const char *name, const QVariant &value)
- 2.5 void setParent(QObject *parent)
- 2.6 void setObjectName(const QString &name)
- 2.7 void installEventFilter(QObject *filterObj)
- 2.8 void removeEventFilter(QObject *obj)
- 2.9 QVariant property(const char *name) const
- 2.10 QObject *parent() const
- 2.11 QString objectName() const
- 2.12 QThread *thread() const
- 2.13 void moveToThread(QThread *targetThread)
- 2.14.virtual const QMetaObject *metaObject() const
- 2.15.void killTimer(int id)
- 2.16 bool isWindowType() const
- 2.17 bool isWidgetType() const
- 2.18 bool inherits(const char *className) const
- 2.19 T findChild(const QString &name = QString(), Qt::FindChildOptions options = Qt::FindChildrenRecursively) const
- 2.20 QList<T> findChildren(const QString &name = QString(), Qt::FindChildOptions options = Qt::FindChildrenRecursively) const
- 2.21 QList<T>findChildren(const QRegularExpression &re, Qt::FindChildOptions options = Qt::FindChildrenRecursively) const
- 2.22 virtual bool event(QEvent *e)
- 2.23 QList<QByteArray> dynamicPropertyNames() const
- 2.24 QMetaObject::Connection connect(const QObject *sender, const char *signal, const char *method, Qt::ConnectionType type = Qt::AutoConnection) const
- 2.25 bool disconnect(const char *signal = nullptr, const QObject *receiver = nullptr, const char *method = nullptr) const
- 2.26 bool disconnect(const QObject *receiver, const char *method = nullptr) const
- 2.27 信号 void destroyed(QObject *obj = nullptr)
- 2.28 信号 void objectNameChanged(const QString &objectName)
- 2.29 静态成员 connect与disconnect
- 2.30 静态成员 const QMetaObject staticMetaObject
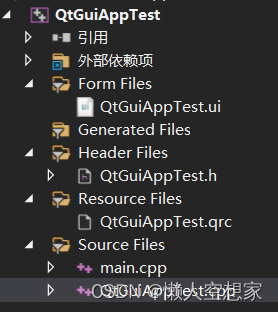
1.测试工程配置
创建名为QtGuiAppTest的qwidget工程,带ui文件
2.成员函数
2.1 bool blockSignals(bool block)
(1)功能说明
如果一个继承自qobject的对象的阻塞信号设置为true,该对象发出的任何信号都会被阻塞,即发出的信号不会触发任何槽函数执行。返回值为阻塞信号的前一个设置的值。
注意:即使设置了阻塞信号, destroyed()信号仍然会被发出,并触发连接的槽。
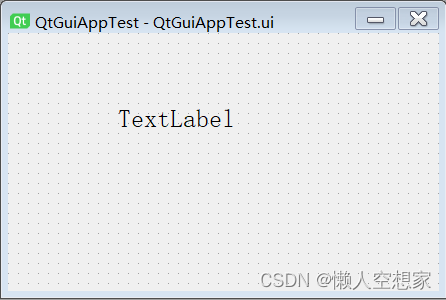
(2)效果展示
(3)调用程序
QtGuiAppTest.ui

QtGuiAppTest.h
#pragma once
#include <QtWidgets/QWidget>
#include "ui_QtGuiAppTest.h"
class QtGuiAppTest : public QWidget
{

    Q_OBJECT
public:
    QtGuiAppTest(QWidget *parent = Q_NULLPTR);
public slots:
    //显示count计数
    void SlotTest();
    //根据下拉列表选项,设置blocksignals
    void SlotComboxChg(int id);
private:
    Ui::QtGuiAppTestClass ui;
    //计数
    int count;
};
QtGuiAppTest.cpp
#include "QtGuiAppTest.h"
QtGuiAppTest::QtGuiAppTest(QWidget *parent)
    : QWidget(parent)
{

    ui.setupUi(this);
    //初始设置信号阻塞
    ui.pushButton->blockSignals(true);
    count = 0;
    //连接按钮点击信号和SlotTest槽函数
    connect(ui.pushButton, &QPushButton::clicked, this,  &QtGuiAppTest::SlotTest);
    //连接下拉列表comboBox的选择改变信号与SlotComboxChg槽函数
    connect(ui.comboBox,  QOverload<int>::of(&QComboBox::currentIndexChanged),  this,
            &QtGuiAppTest::SlotComboxChg);
}
void QtGuiAppTest::SlotTest()
{

    ui.label->setText("count:" +  QString::number(count));
    count++;
}
void QtGuiAppTest::SlotComboxChg(int id)
{

        //如果下拉列表为启用阻塞信号,则设置pushButton的blockSignals为true
    if(id == 0)
    {

        ui.pushButton->blockSignals(true);
    }
    //如果下拉列表为关闭阻塞信号,则设置pushButton的blockSignals为true
    if(id == 1)
    {

        ui.pushButton->blockSignals(false);
    }
}
2.2 int startTimer(std::chrono::milliseconds time, Qt::TimerType timerType = Qt::CoarseTimer)
(1)功能说明
这是一个重载函数。
启动一个定时器,并返回该定时器ID。如果没有能够启动定时器则则返回0。
定时器事件会在每个事件间隔触发,直到killTimer()被调用。如果第一个参数time与std::chrono::duration::zero()相等,则定时器事件会在没有其他系统事件需要处理的情况下被反复调用
当一个定时器事件触发,虚函数timerEvent()会被调用并传入 QTimerEvent类的参数
如果多个定时器正在运行,QTimerEvent::timerId()可以被用于查找当前活跃的是哪个定时器
注意:定时器的精度依赖于底层运行的系统和硬件。第二个参数timerType允许去自定义定时器的精度。参考Qt::TimerType 中不同定时器类型枚举值。大多数平台支持一个20毫秒的精度;还有一些提供更高的精度支持。如果qt无法获取并提供定时器事件请求的精度数值,qt将默认丢弃一些精度。
(2)效果展示
(3)调用程序
QtGuiAppTest.ui
QtGuiAppTest.h
#pragma once
#include <QtWidgets/QWidget>
#include "ui_QtGuiAppTest.h"
class QtGuiAppTest : public QWidget
{

    Q_OBJECT
public:
    QtGuiAppTest(QWidget *parent = Q_NULLPTR);
protected:
    void timerEvent(QTimerEvent* event) override;
private:
    Ui::QtGuiAppTestClass ui;
    int count;
};
QtGuiAppTest.cpp
#include "QtGuiAppTest.h"
QtGuiAppTest::QtGuiAppTest(QWidget *parent)
    : QWidget(parent)
{

    ui.setupUi(this);
    //设置定时器时间间隔为1秒
    using namespace std::chrono;
    this->startTimer(1s);
}
void QtGuiAppTest::timerEvent(QTimerEvent* event)
{

    ui.label->setText("count:" +  QString::number(count));
    count++;
}
注意:
C++14之前延时时间设置语法如下
  using namespace std::chrono;
  startTimer(milliseconds(50));
  startTimer(seconds(1));
  startTimer(minutes(1));
C++14之后延时时间设置语法如下
  startTimer(100ms);
  startTimer(5s);
  startTimer(2min);
  startTimer(1h);
2.3 int startTimer(int interval, Qt::TimerType timerType = Qt::CoarseTimer)
(1)功能说明
第一个参数interval表示毫秒数,其他与第2.2节相同。
(2)效果展示
同第2.2节相同。
(3)调用程序
QtGuiAppTest::QtGuiAppTest(QWidget *parent)
    : QWidget(parent)
{

    ui.setupUi(this);
    //设置定时器时间间隔为1秒
    this->startTimer(1000);
}
2.4 bool setProperty(const char *name, const QVariant &value)
设置继承自qobject类对象的名称和值,见《QT属性系统(property system,Q_PROPERTY)功能和使用详细说明(文字+用例+代码+效果图)》
2.5 void setParent(QObject *parent)
给当前对象设置一个父类对象。
2.6 void setObjectName(const QString &name)
给对象设置一个名称,可以通过对象名称使用findchild找到一个子对象,默认为空字符串。
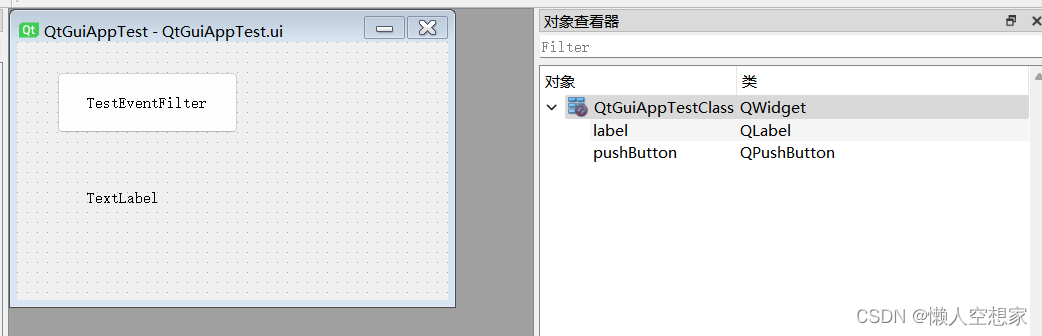
2.7 void installEventFilter(QObject *filterObj)
(1)功能说明
安装事件过滤器。
(2)效果展示
给按钮安装一个事件过滤器,过滤双击单击按钮事件,只能通过ctrl+B按下触发label内容改变。

(3)调用程序
QtGuiAppTest.ui
QtGuiAppTest.h
#pragma once
#include <QtWidgets/QWidget>
#include "ui_QtGuiAppTest.h"
class QtGuiAppTest : public QWidget
{

    Q_OBJECT
public:
    QtGuiAppTest(QWidget *parent = Q_NULLPTR);
public slots:
    //根据按钮点击信号,改变label的内容
    void SlotTestEventFilter();
private:
    Ui::QtGuiAppTestClass ui;
};
/**
事件过滤器
*/
class EnterKeyPressFilter : public QObject
{

    Q_OBJECT
public:
    EnterKeyPressFilter(QWidget* parent = Q_NULLPTR);
    //重写事件过滤函数
    bool eventFilter(QObject* watched, QEvent* event)  override;
};
QtGuiAppTest.cpp
#include "QtGuiAppTest.h"
#include<qevent.h>
QtGuiAppTest::QtGuiAppTest(QWidget *parent)
    : QWidget(parent)
{

    ui.setupUi(this);
    //创建过事件滤器
    EnterKeyPressFilter* pEKPFilter = new  EnterKeyPressFilter(this);
    //给按钮添加快捷键
    ui.pushButton->setShortcut(QKeySequence(Qt::CTRL +  Qt::Key_B));
    //给按钮安装事件过滤器
    ui
最低0.47元/天 解锁文章


 745
745


 被折叠的 条评论
为什么被折叠?
被折叠的 条评论
为什么被折叠?
 到【灌水乐园】发言


