


Orchestrator,是uipath的一个基于web的程序产品,其主要功能是robot调度,角色权限控制,流程管理,robot版本管理,config配置,队列管理等功能。
本文是我结合微信公众号( UiPath学习圈)及知乎问答《请大神介绍一下uipath怎么发布的?》,详细为您讲解UiPath Studio社区版怎么与Orchestrator连接起来。本文所讲步骤都是经过本人实际验证。同时我会把在实际验证中碰到的问题最后解决所需要注意的坑给你标注出来,希望对你有帮助。
步骤如下:
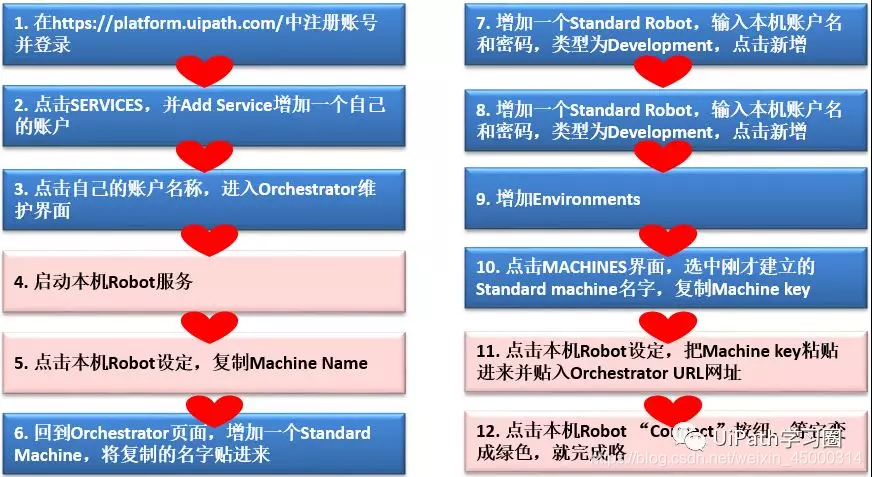
蓝色的部分是在Orchestrator网页上进行设置,粉色的部分是设置本机robot上设置。
-
在https://platform.uipath.com/中注册账号并登录;一般建议邮件注册,登录之后如下图:
-
点击SERVICES,并Add Service增加一个自己的账户。
填入名字(注意:Service name不可以用中文),然后分别在Attended,Unattended,Development,Non-production四个里面栏位填数字,依照avaliable的数字填就可以。点击增加后,回到主界面就可以看到账户建立成功了,只是Status显示为Provisioning,等待几分钟后刷新,就可以看到Status变为Enabled了。这时候我们就可以点击自己的账户名,进入Orchestrator的正式维护系统了。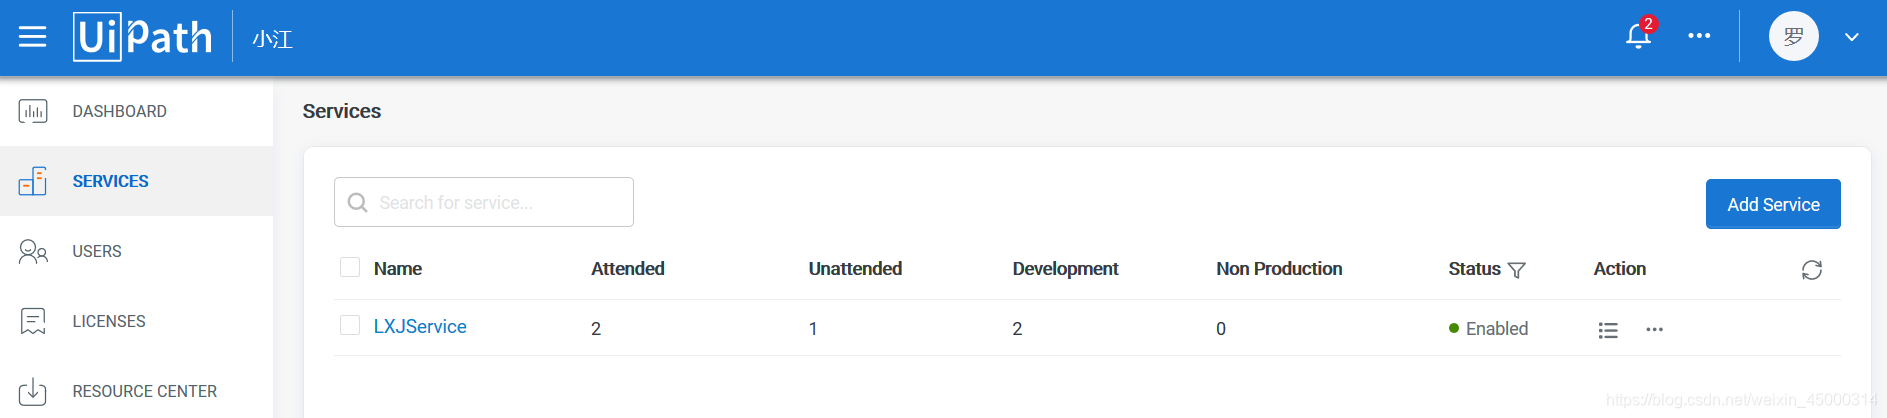
-
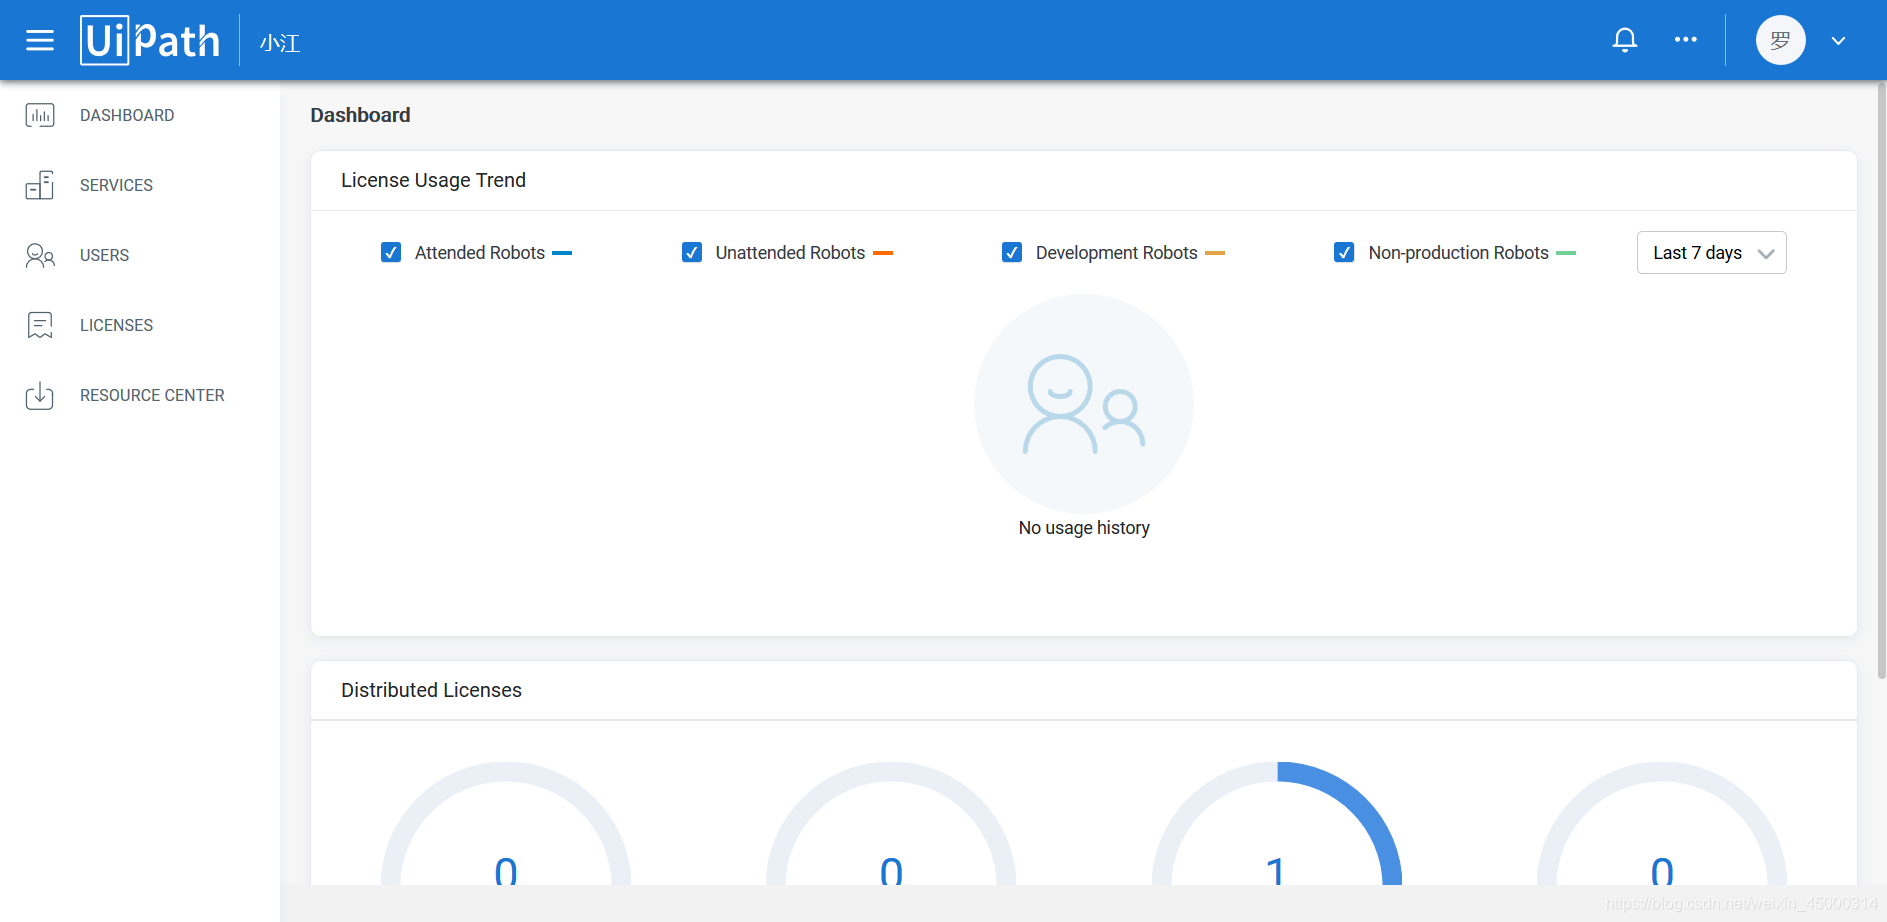
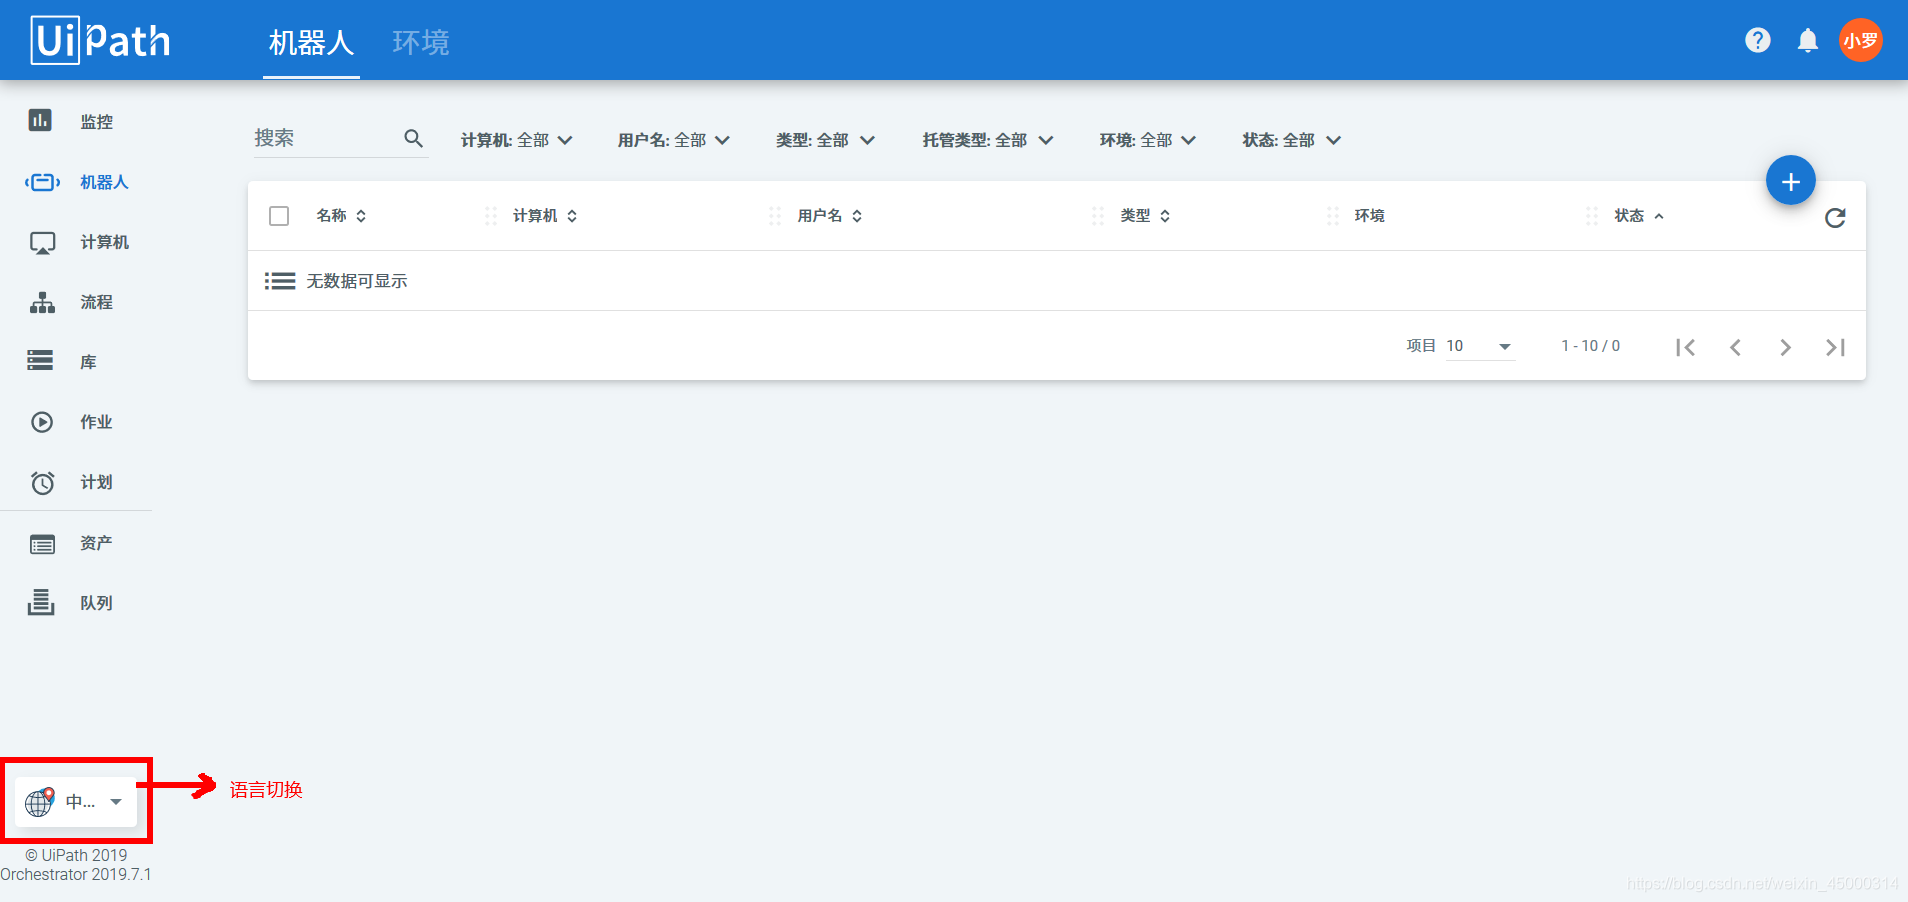
点击自己的账户名称,进入Orchestrator维护界面(本界面可以设置显示语言为中文)
-
启动本机Robot服务
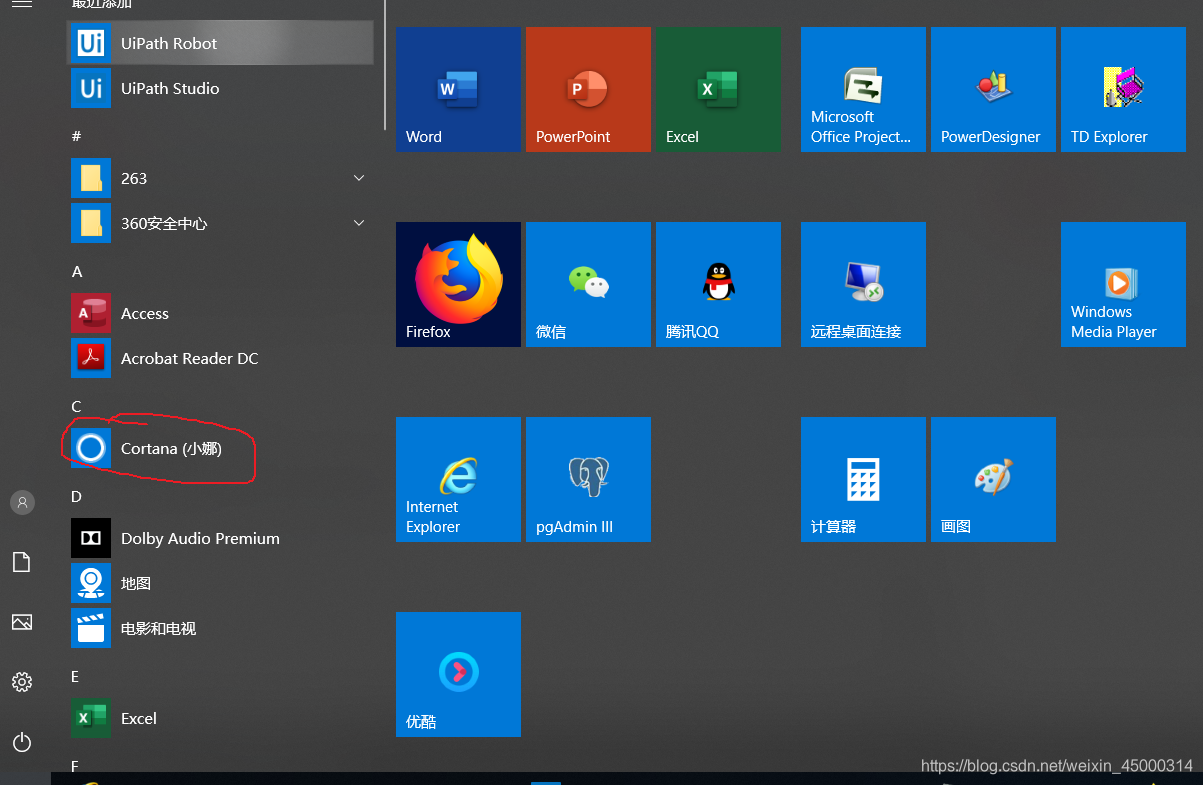
或请“小娜”帮你搜索本机UiPath Robot并启动 -
点击本机Robot设定,复制计算机名称
启动之后,在右下角找到Ui图标,并点击orchestrator设置
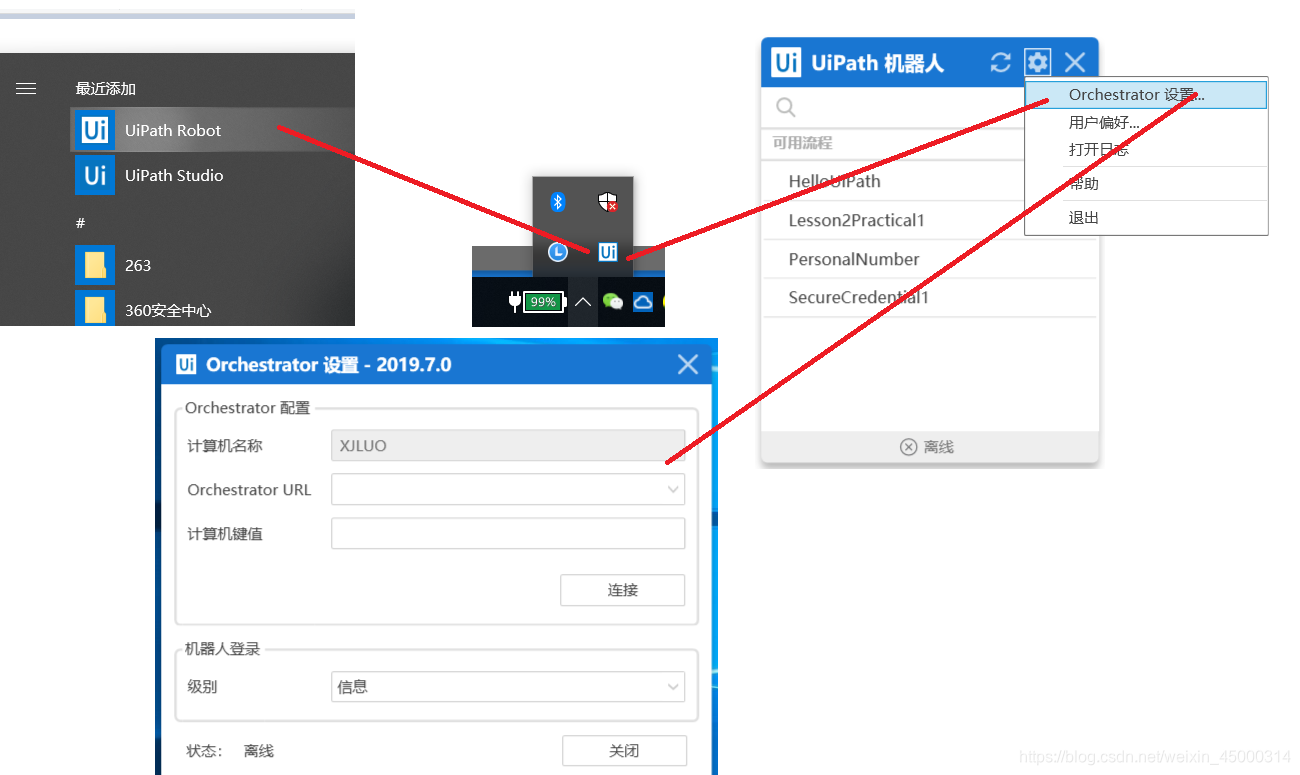
-
回到Orchestrator页面,增加一个标准机器,将复制的名字贴进来
-
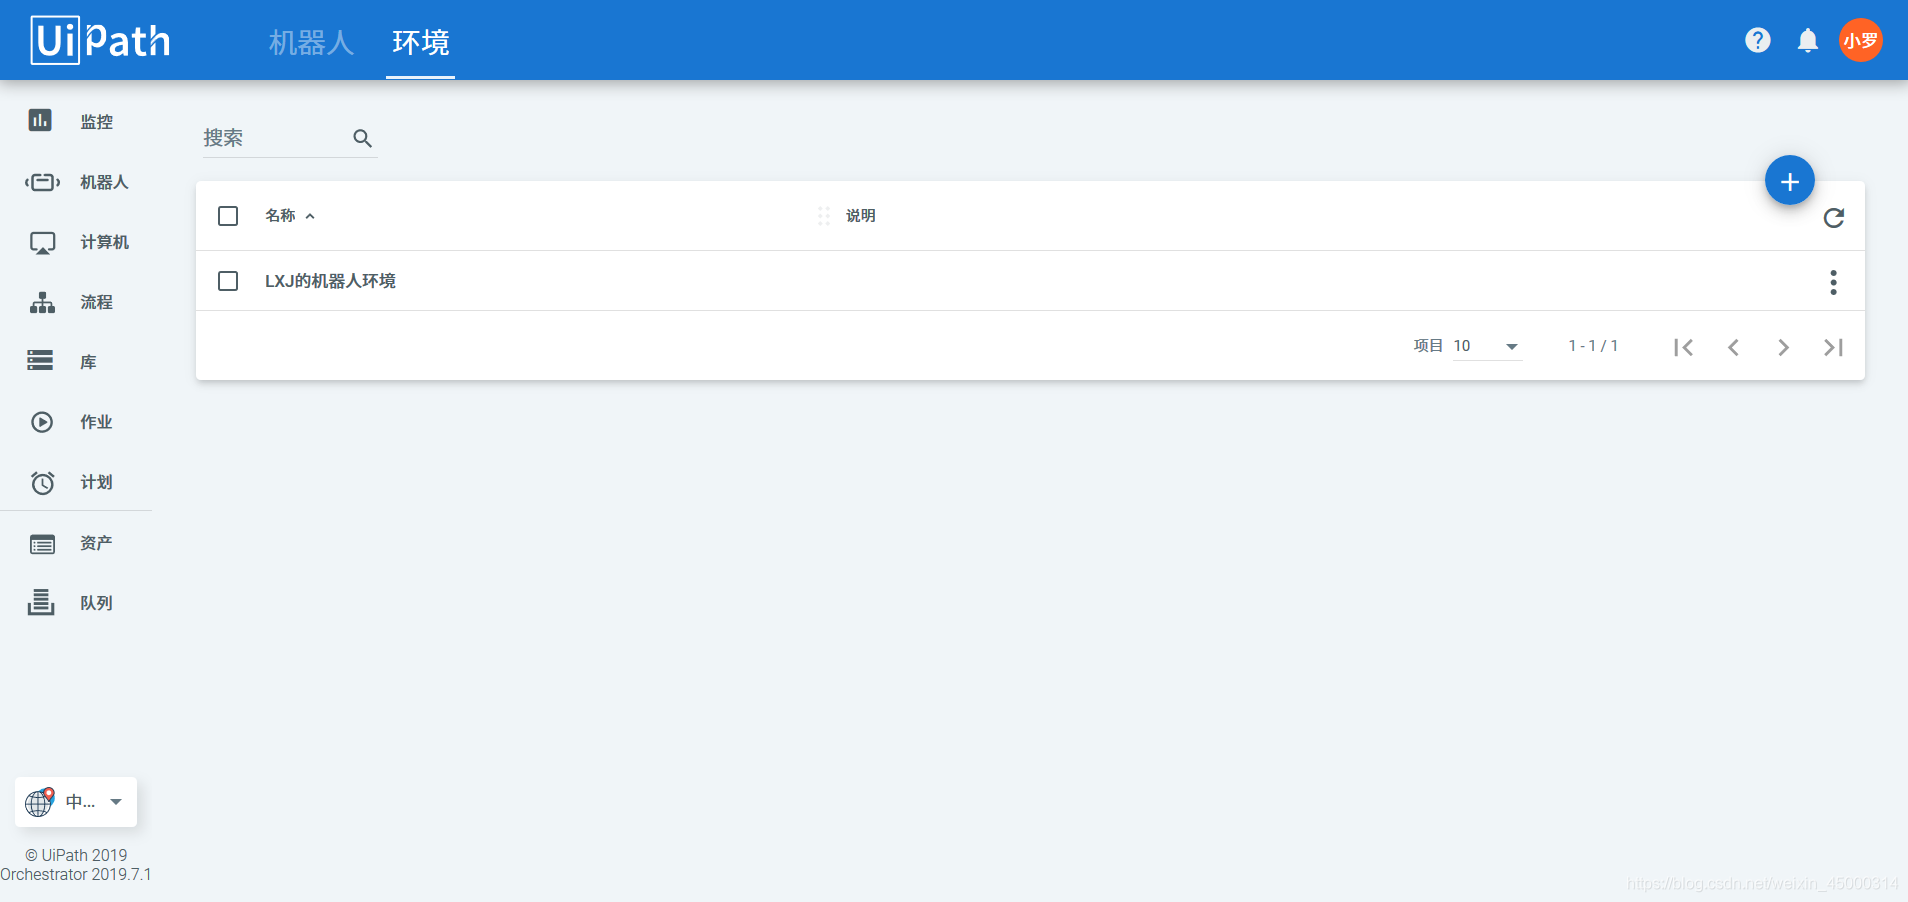
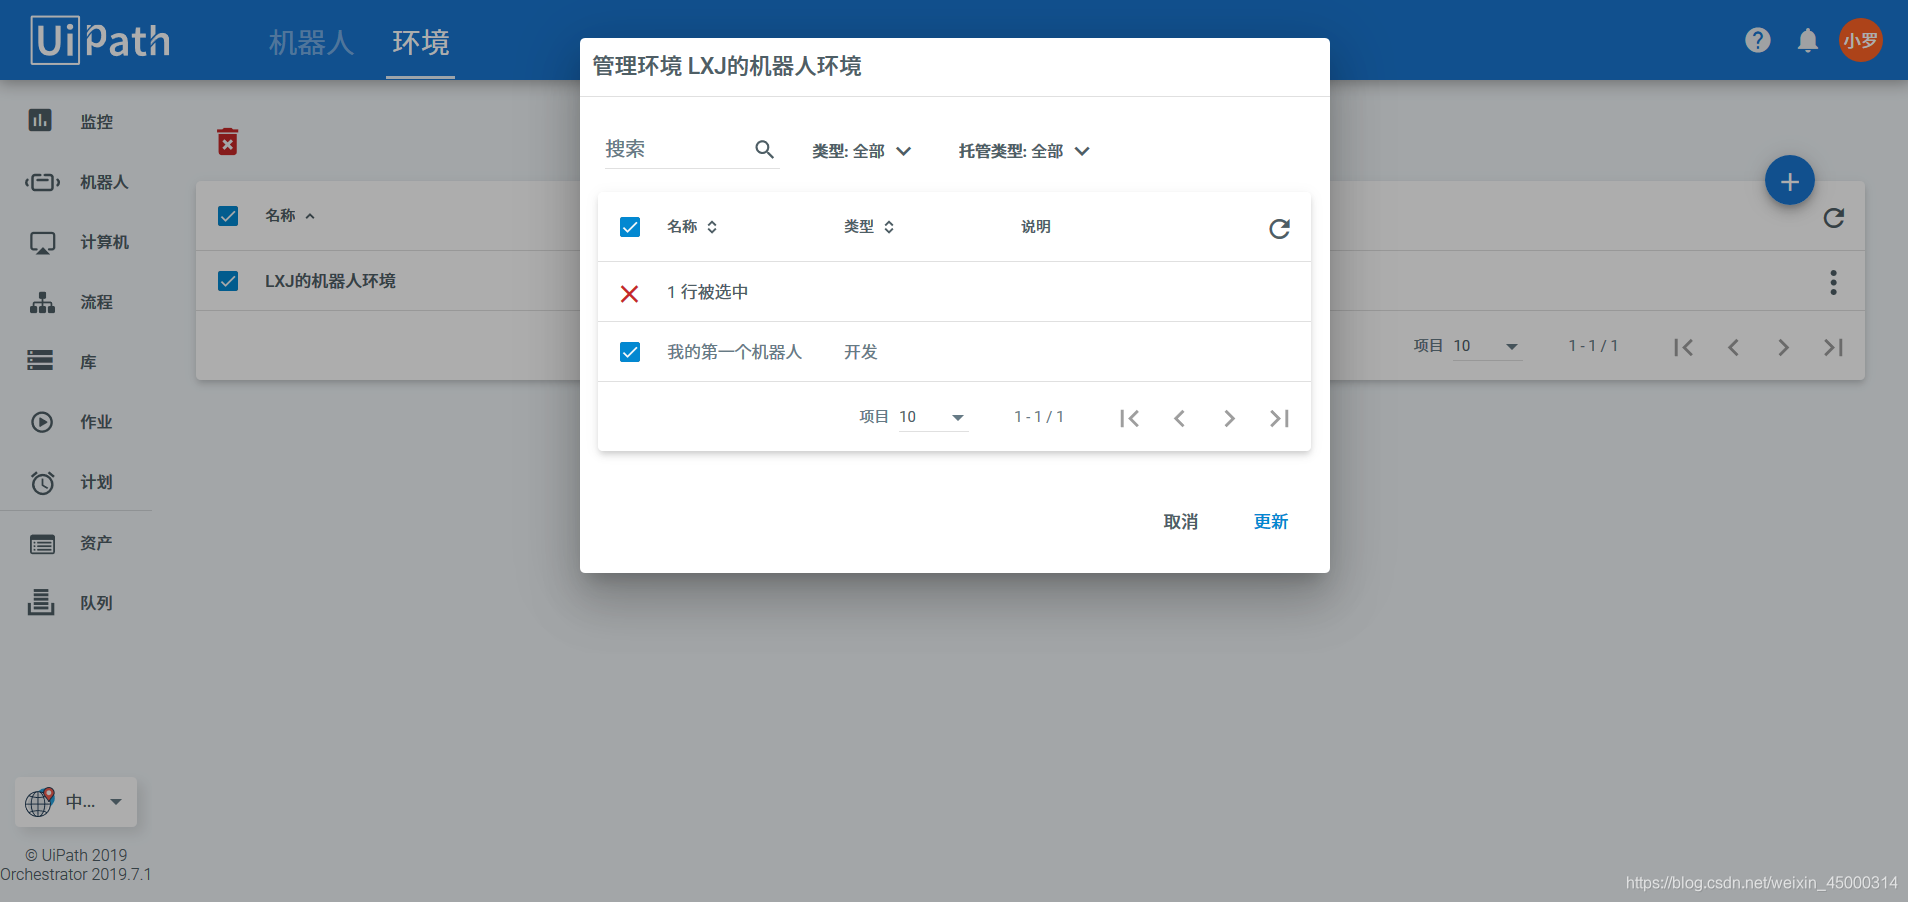
增加机器人的环境。
点击机器人–环境tab,增加机器人环境
-
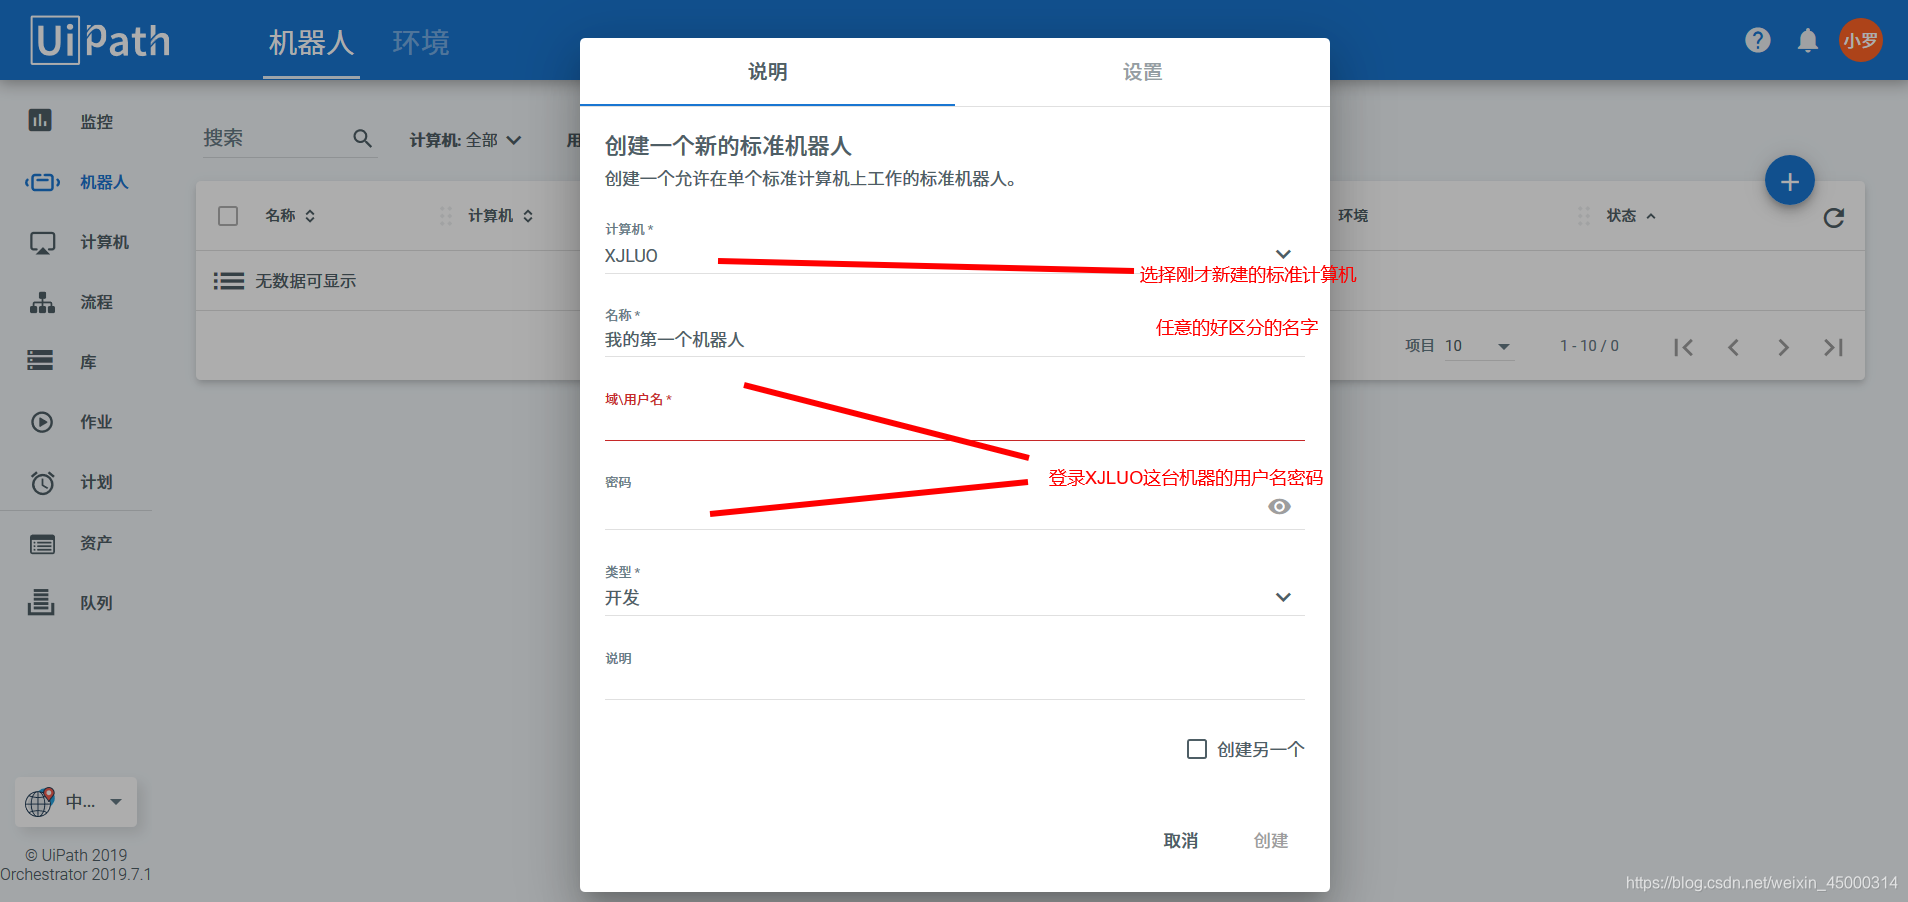
增加标准机器人,输入本机账户名和密码(关键步骤)
-
机器人和环境关联起来
-
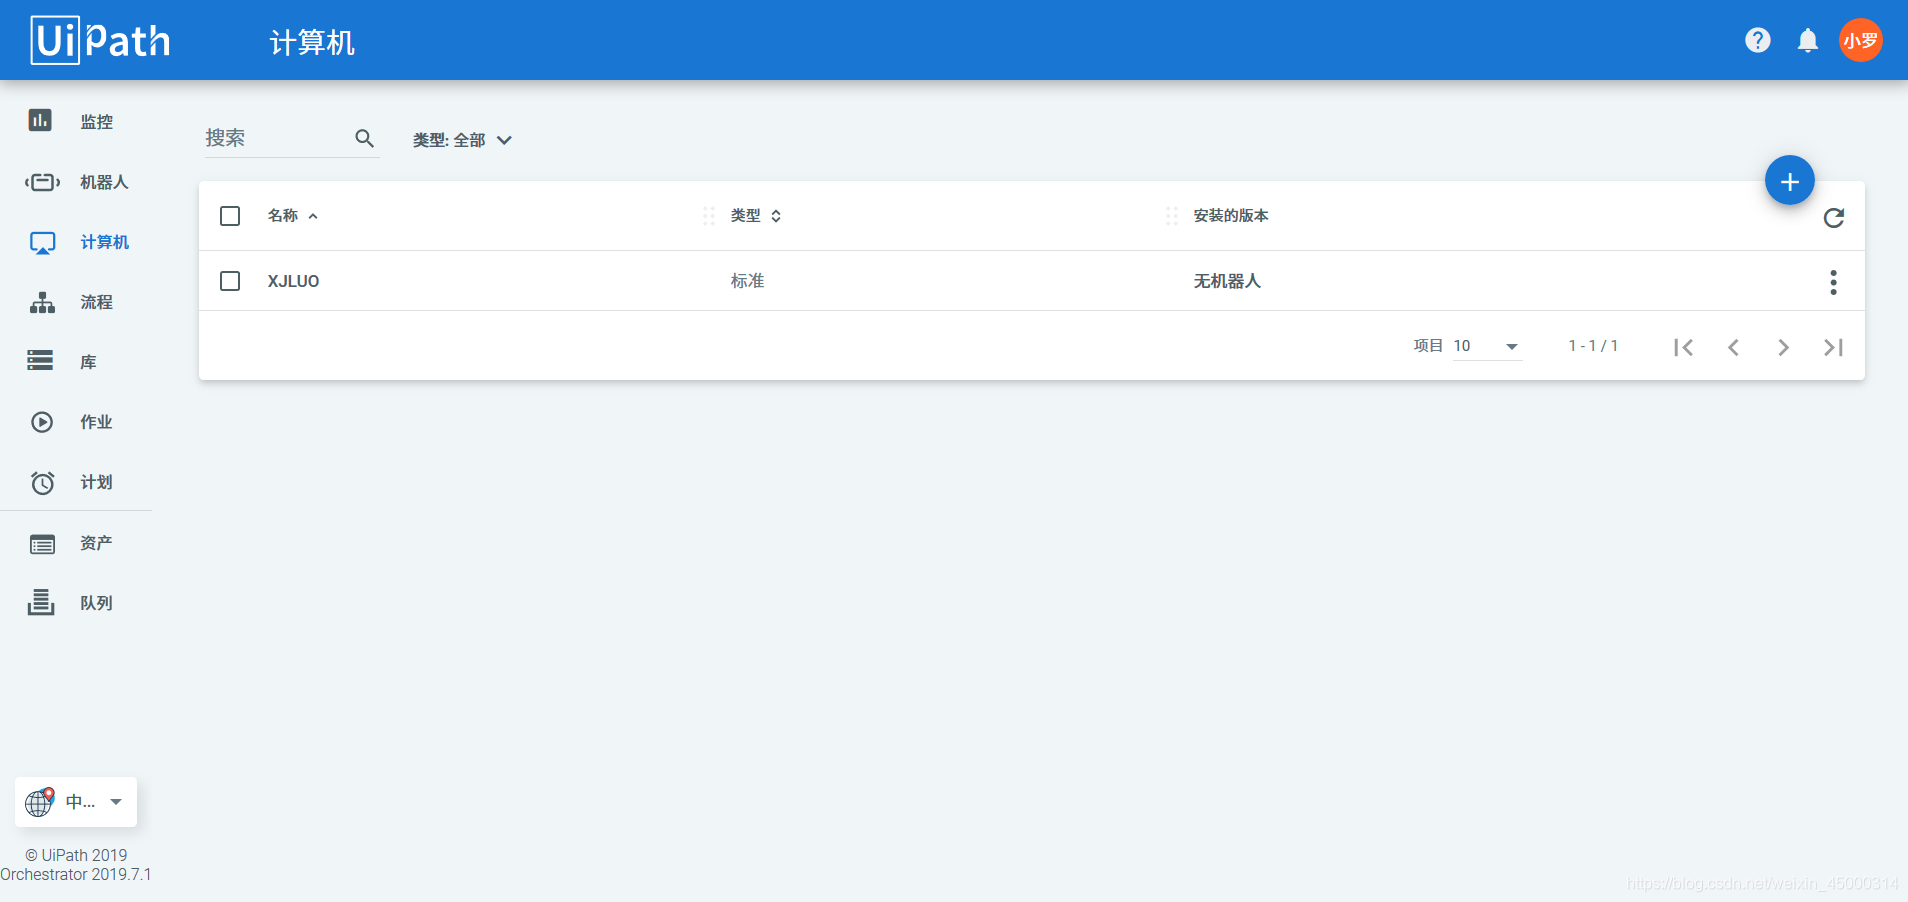
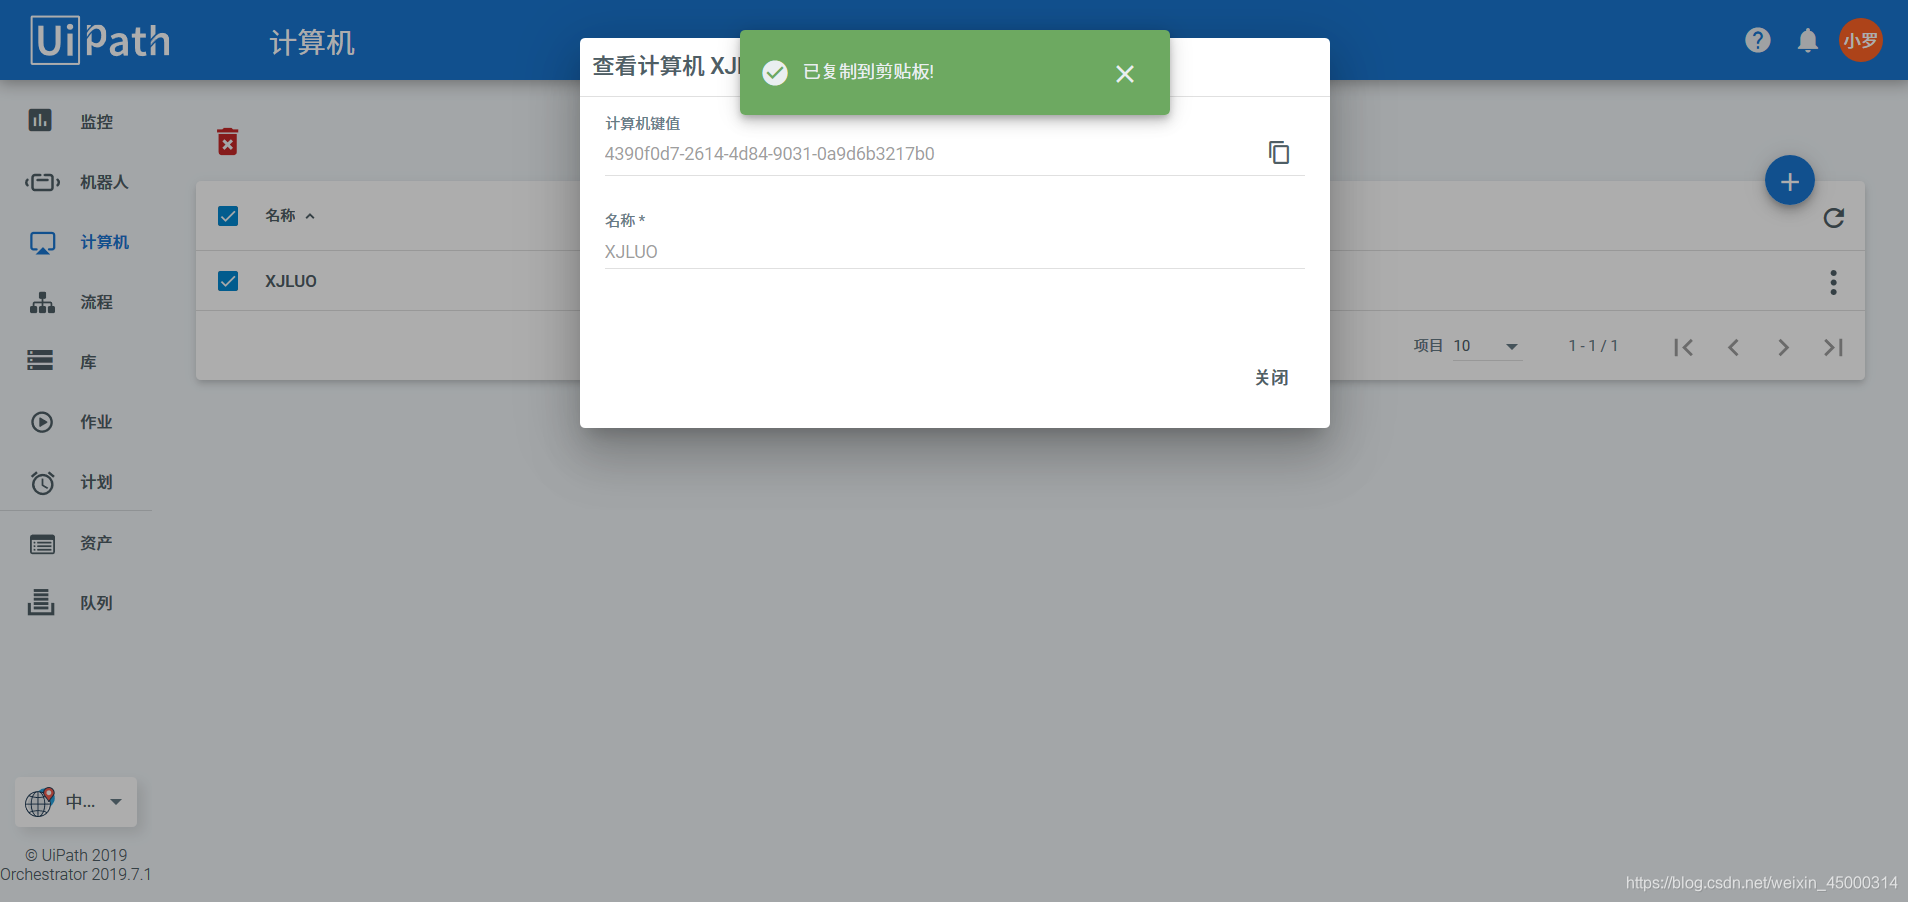
点击计算机界面,选中刚才建立的标准计算机的名字,复制计算机健值
-
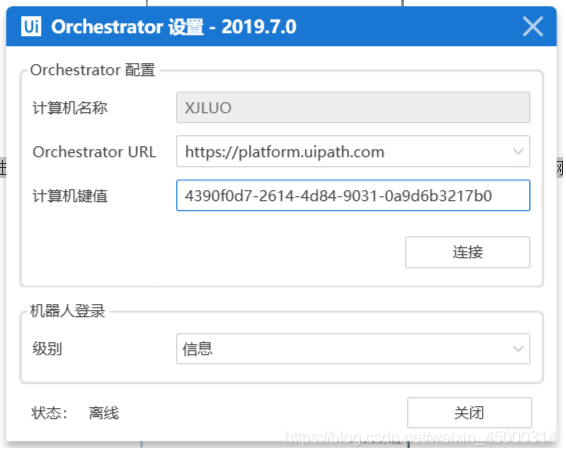
点击本机Robot,把计算机健值粘贴进来,并贴入Orchestrator URL网址
-
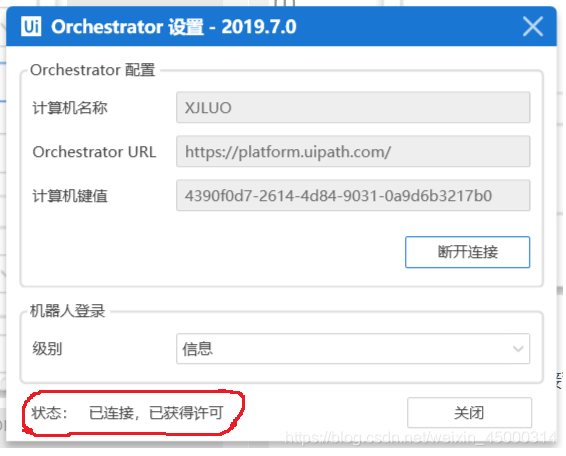
点击本机Robot “连接”按纽,当状态显示为“已连接 已获得许可”就表示连接成功了。
-
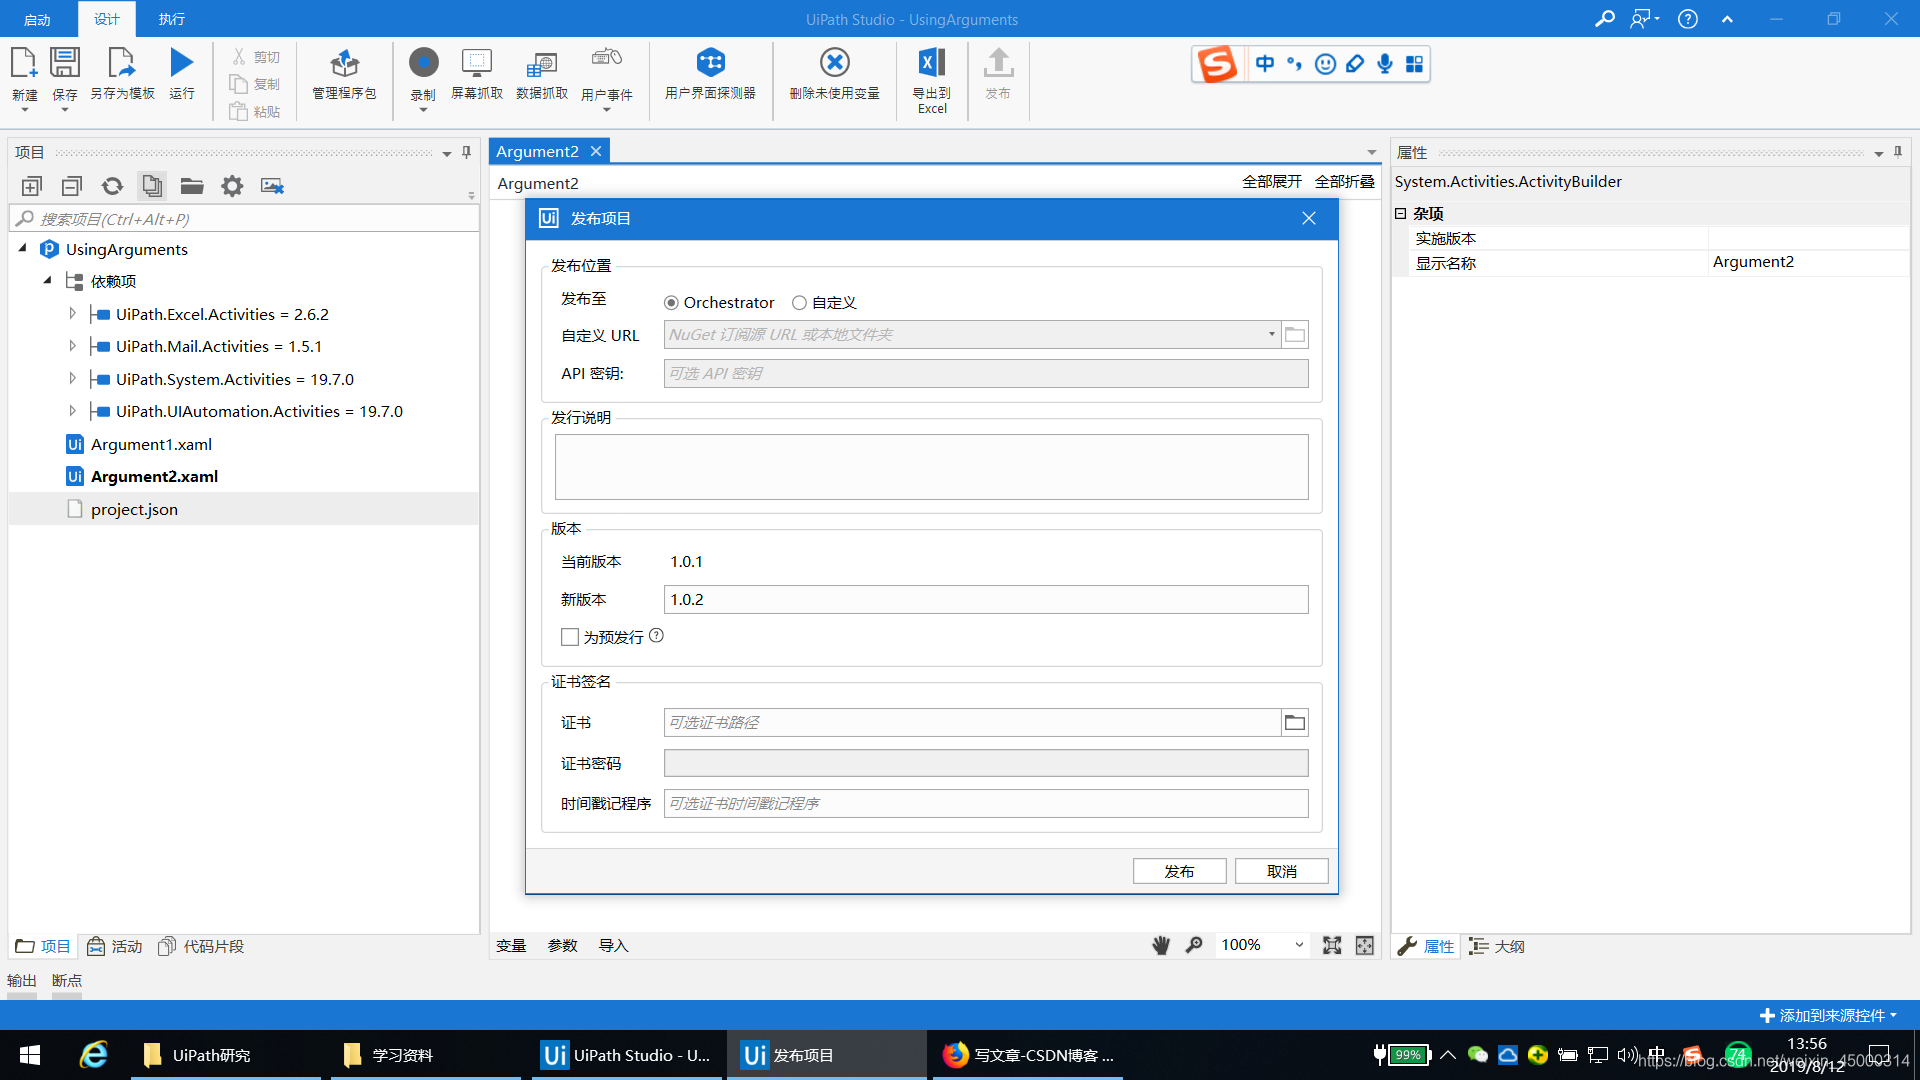
在UiPath Studio中的Setup,点击“发布”按钮发布脚本
-
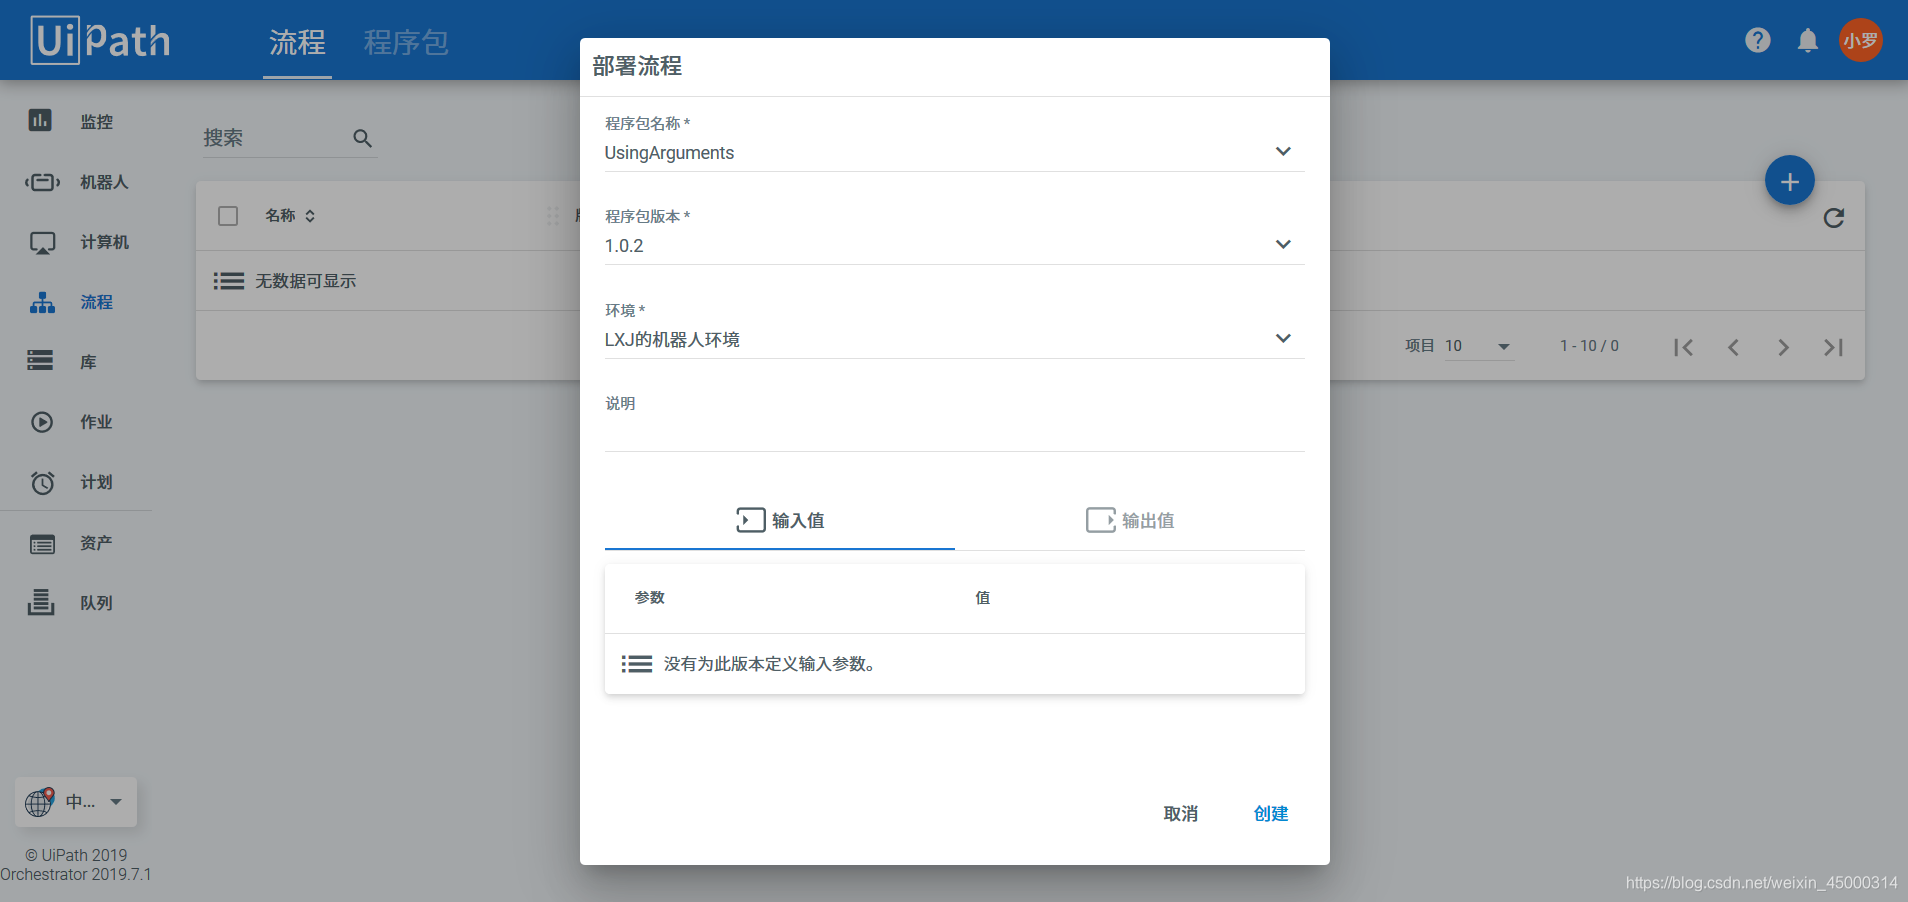
回到Orchestrator页面,如下图即可看到发布到orchestrator中的包,创建一个流程。
-
在“作业”中找到刚才创建的流程,然后进行部署。
-
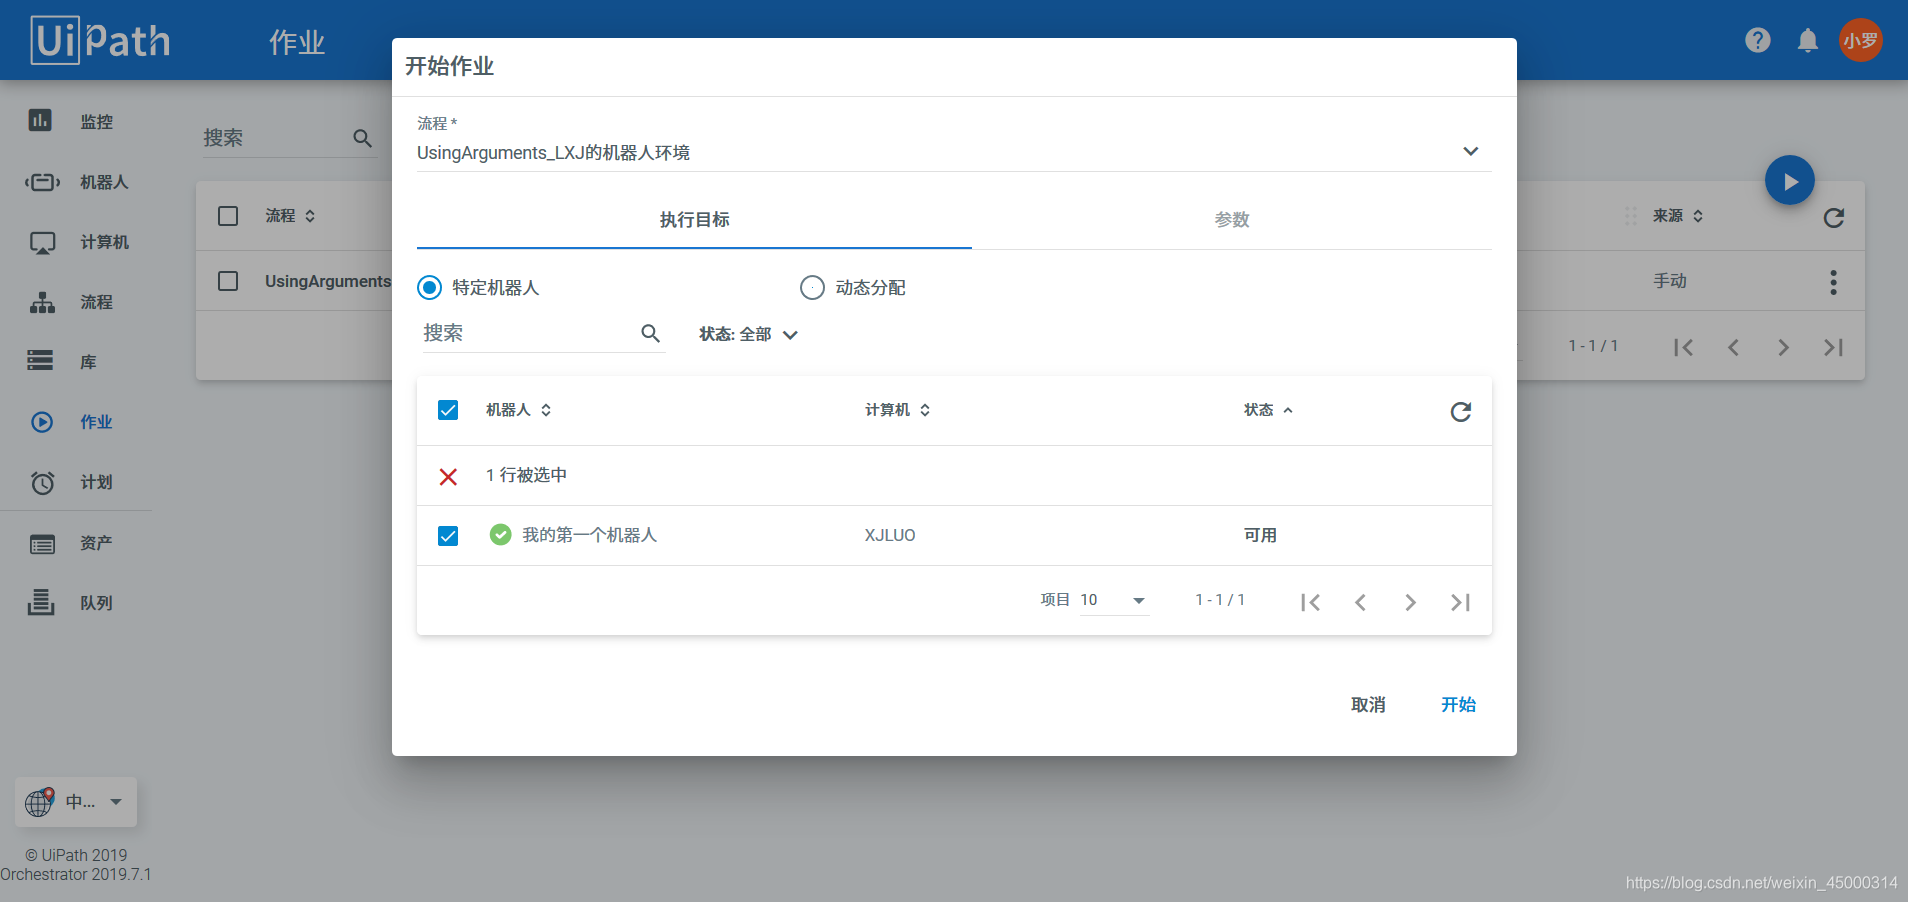
点击开始就可以让机器人运行该流程了。
**后记:**经本人验证,社区版的orchestrator也可以安排任务到多台机器。


 544
544

 被折叠的 条评论
为什么被折叠?
被折叠的 条评论
为什么被折叠?
 到【灌水乐园】发言


