


打包
npm run build
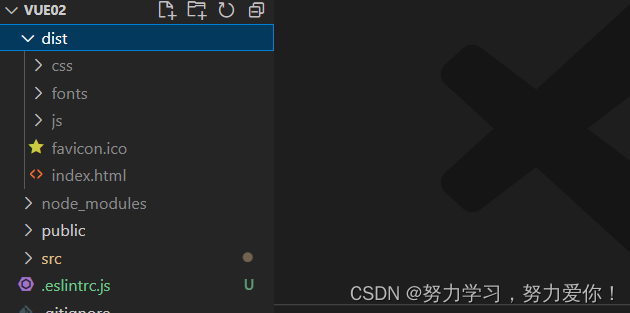
然后将dist文件夹压缩为dist.tar.gz
注意
- 在vue.config.js中加入静态配置
//assets目录
assetsDir: 'static',
//控制静态资源访问路径
// 例如 https://www.ruoyi.vip/。如果应用被部署在一个子路径上,你就需要用这个选项指定这个子路径。例如,如果你的应用被部署https://www.ruoyi.vip/admin/,则设置 baseUrl 为 /admin/。
publicPath: './',
- 如果想进行路由去除# 需要router配置
const router = new VueRouter({
    routes,
    mode: 'history',//去除#
    base: '/customfile',//基础路径一般不写 除非是子路径 需要集合publicPath并且保持一致
})
- 在devServe中的配置打包不会被打入 所以一些服务代理需要额外配置 尤其是axios请求相关的
const service=axios.create({
    baseURL:'/api',//设置baseUrl
    timeout:10000
})
一般情况下,如果有axios则本地开发时写vue.config.js下devServer配置
//开发环境配置
devServer:{
    //访问域
    host:'localhost',
    //端口
    port:80,
    //服务启动后自动打开浏览器显示
    open:true,
    //解决路径去除# 刷新404问题
    historyApiFallback: true,
    //代理
    proxy:{
      //匹配路径
      '/api':{
      	//目标转换
        target:'http://localhost:8080',
        //允许跨域
        changeOrigin: true,
        //将api前缀去掉
        pathRewrite:{
          "^/api":''
        }
      }
    }
  }
利用nginx镜像打包成镜像
default.conf
注意是否是二级路径时配置
配置时 alias 代表资源路径就是alias后面的路径+location 后面的路径
root代表资源路径就是root后面的路径
server {
    listen       80;
    server_name  localhost;

    #access_log  /var/log/nginx/host.access.log  main;
    #有二级路径时配置
    location /customfile {
        alias /usr/share/nginx/html/dist;
        index  index.html;
        try_files $uri $uri/ /customfile/index.html;
    }

	#没有二级路径时配置
	location /{
		root /usr/share/nginx/html/dist;
		index index.html;
		try_files $uri $uri/ /index.html;
	}

	#有axios 请求时配置 将api请求代理到服务端
    location ^~ /api/ {
    	#代理
        proxy_pass http://192.168.31.186:8080/;
    }

    #error_page  404              /404.html;

    # redirect server error pages to the static page /50x.html
    #
    error_page   500 502 503 504  /50x.html;
    location = /50x.html {
        root   /usr/share/nginx/html;
    }

    # proxy the PHP scripts to Apache listening on 127.0.0.1:80
    #
    #location ~ \.php$ {
    #    proxy_pass   http://127.0.0.1;
    #}

    # pass the PHP scripts to FastCGI server listening on 127.0.0.1:9000
    #
    #location ~ \.php$ {
    #    root           html;
    #    fastcgi_pass   127.0.0.1:9000;
    #    fastcgi_index  index.php;
    #    fastcgi_param  SCRIPT_FILENAME  /scripts$fastcgi_script_name;
    #    include        fastcgi_params;
    #}

    # deny access to .htaccess files, if Apache's document root
    # concurs with nginx's one
    #
    #location ~ /\.ht {
    #    deny  all;
    #}
}
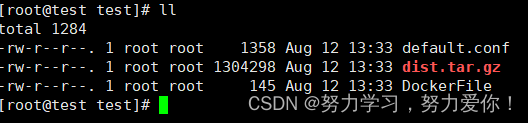
DockerFile
FROM nginx
ADD dist.tar.gz  /usr/share/nginx/html
ADD default.conf /etc/nginx/conf.d/default.conf
EXPOSE 80
ENTRYPOINT nginx -g "daemon off;"
打包
docker build -f DockerFile -t test:v1.0 .
注意dist.tar.gz文件和default.conf文件要和DockerFile在同一目录
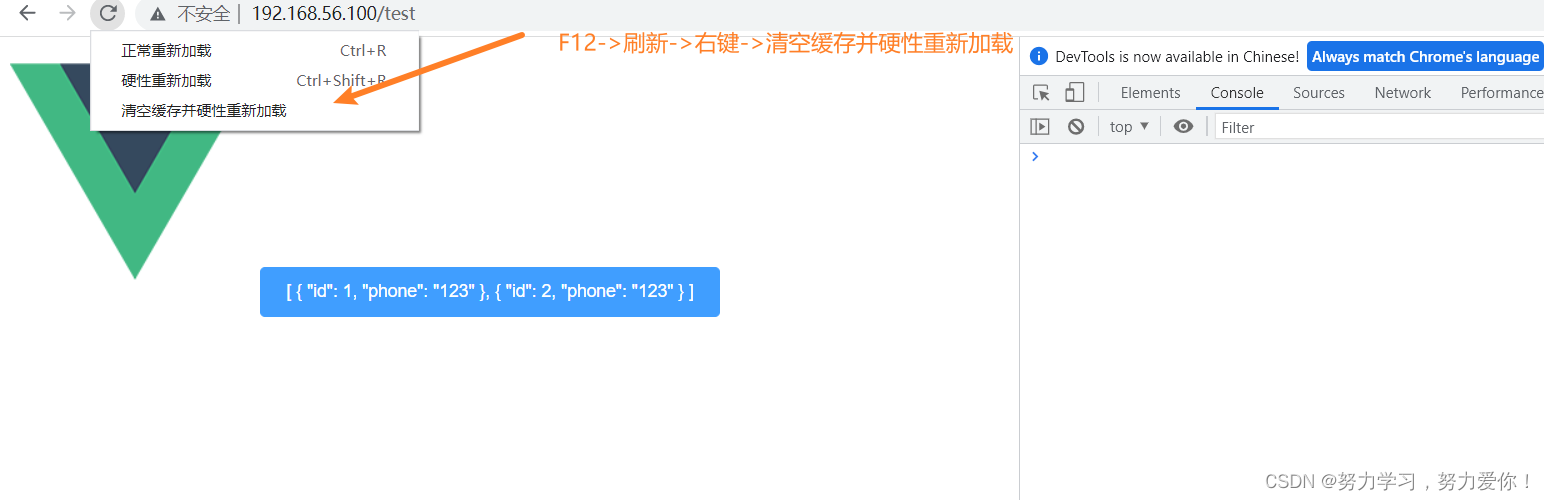
使用
启动镜像即可
docker run -p 80:80 --name test -d test:v1.0
#如果想让虚拟机开机自启动需要在执行
docker update test --restart=always
问题
如果出现favicon.ico图标没有显示 f12清除缓存即可
作者声明
如有问题,欢迎指正!


 2万+
2万+


 被折叠的 条评论
为什么被折叠?
被折叠的 条评论
为什么被折叠?
 到【灌水乐园】发言


