


最近配置OpenGL## 标题遇到甚多坑,记录一下
第一步:C++环境
不多说,按VsCode官方文档配置即可(官方文档相当清楚)
第二步:下载GLFW
下载GLFW链接
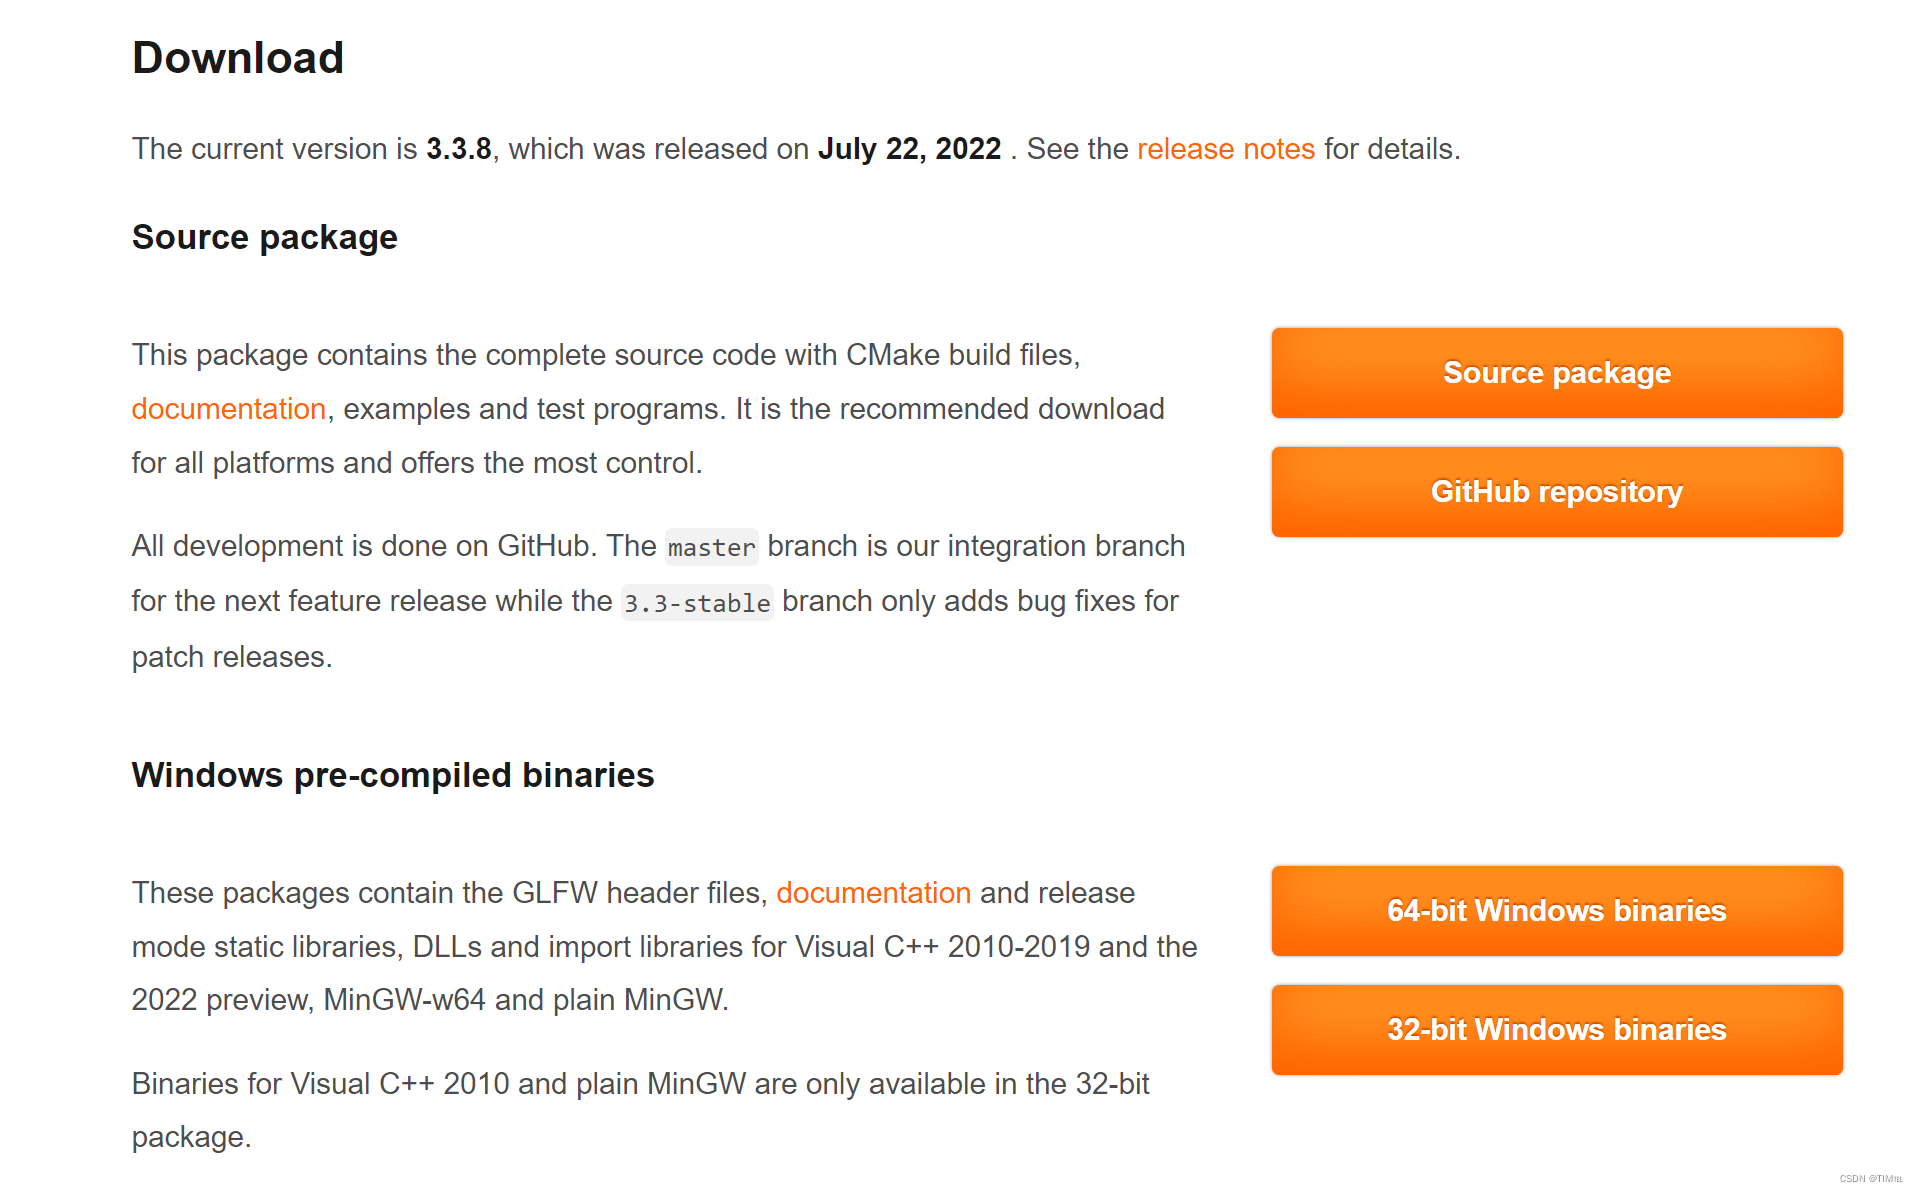

将这些文件拷到与C++开发文件夹同一个文件夹中,当然你也可以采用其他方式,关键是让编译器知道他们是你要引用的文件。
最后修改tasks.json文件中的编译过程
{
    "tasks": [
        {
            "type": "cppbuild",
            "label": "C/C++: g++.exe build active file",
            "command": "C:\\msys64\\mingw64\\bin\\g++.exe",
            "args": [
                "-fdiagnostics-color=always",
                "-g",
                "${file}",
                "-o",
                "${fileDirname}\\${fileBasenameNoExtension}.exe",
                "libglfw3dll.a",	#链接GLFW
                "libopengl32.a" #链接到OpenGL
            ],
            "options": {
                "cwd": "${fileDirname}"
            },
            "problemMatcher": [
                "$gcc"
            ],
            "group": {
                "kind": "build",
                "isDefault": true
            },
            "detail": "Task generated by Debugger."
        }
    ],
    "version": "2.0.0"
}
注释的那两行是加入的两句
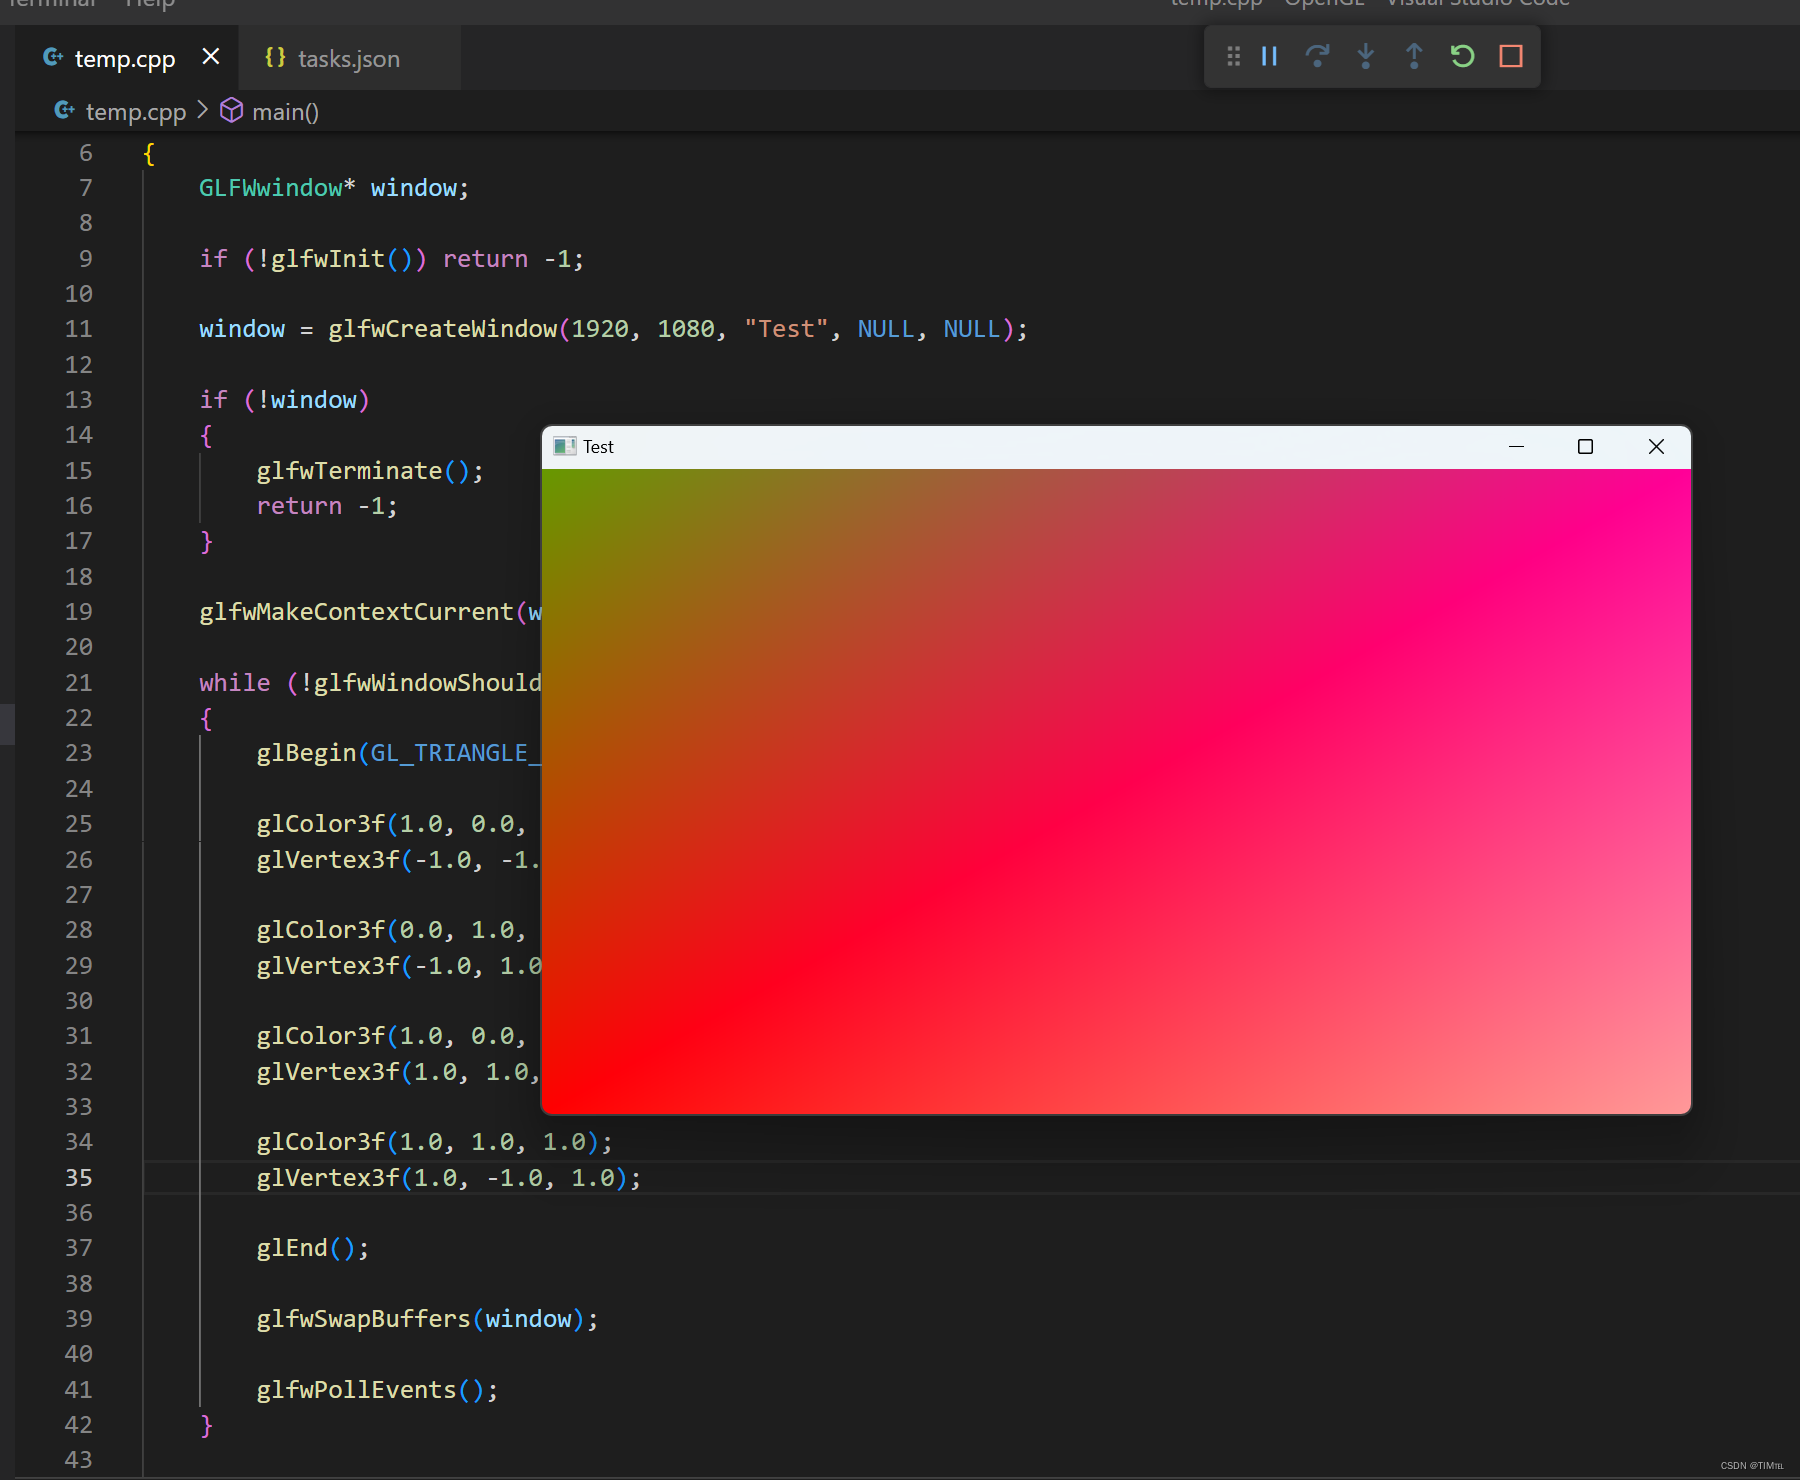
接下来就能快乐的编译运行啦,测试画个四边形
#include <iostream>
#include <GL/gl.h>
#include "glfw3.h"

int main()
{
    GLFWwindow* window;

    if (!glfwInit()) return -1;

    window = glfwCreateWindow(1920, 1080, "Test", NULL, NULL);

    if (!window)
    {
        glfwTerminate();
        return -1;
    }

    glfwMakeContextCurrent(window);

    while (!glfwWindowShouldClose(window))
    {
        glBegin(GL_TRIANGLE_FAN);

        glColor3f(1.0, 0.0, 0.0);
        glVertex3f(-1.0, -1.0, 0.0);

        glColor3f(0.0, 1.0, 0.0);
        glVertex3f(-1.0, 1.0, 0.0);

        glColor3f(1.0, 0.0, 1.0);
        glVertex3f(1.0, 1.0, 0.0);

        glColor3f(1.0, 1.0, 1.0);
        glVertex3f(1.0, -1.0, 1.0);

        glEnd();

        glfwSwapBuffers(window);

        glfwPollEvents();
    }

    glfwTerminate();

    return 0;
}
结果:


 1792
1792


 被折叠的 条评论
为什么被折叠?
被折叠的 条评论
为什么被折叠?
 到【灌水乐园】发言


