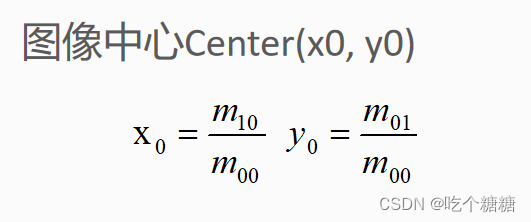
距的概念
距的概念

API函数
moments(
InputArray array,
bool binaryImage=false
)
contourArea(
InputArray contour,
bool oriented
arcLength(
InputArray curve,
bool closed
示例
#include <opencv2/opencv.hpp>
#include <iostream>
#include <math.h>
using namespace std;
using namespace cv;
Mat src, gray_src;
int threshold_value = 80;
int threshold_max = 255;
const char* output_win = "image moents demo";
RNG rng(12345);
void Demo_Moments(int, void*);
int main(int argc, char** argv) {
src = imread("D:/vcprojects/images/circle.png");
if (!src.data) {
printf("could not load image...\n");
return -1;
}
cvtColor(src, gray_src, CV_BGR2GRAY);
GaussianBlur(gray_src, gray_src, Size(3, 3), 0, 0);
char input_win[] = "input image";
namedWindow(input_win, CV_WINDOW_AUTOSIZE);
namedWindow(output_win, CV_WINDOW_AUTOSIZE);
imshow(input_win, src);
createTrackbar("Threshold Value : ", output_win, &threshold_value, threshold_max, Demo_Moments);
Demo_Moments(0, 0);
waitKey(0);
return 0;
}
void Demo_Moments(int, void*) {
Mat canny_output;
vector<vector<Point>> contours;
vector<Vec4i> hierachy;
Canny(gray_src, canny_output, threshold_value, threshold_value * 2, 3, false);
findContours(canny_output, contours, hierachy, RETR_TREE, CHAIN_APPROX_SIMPLE, Point(0, 0));
vector<Moments> contours_moments(contours.size());
vector<Point2f> ccs(contours.size());
for (size_t i = 0; i < contours.size(); i++) {
contours_moments[i] = moments(contours[i]);
ccs[i] = Point(static_cast<float>(contours_moments[i].m10 / contours_moments[i].m00), static_cast<float>(contours_moments[i].m01 / contours_moments[i].m00));
}
Mat drawImg;
src.copyTo(drawImg);
for (size_t i = 0; i < contours.size(); i++) {
if (contours[i].size() < 100) {
continue;
}
Scalar color = Scalar(rng.uniform(0, 255), rng.uniform(0, 255), rng.uniform(0, 255));
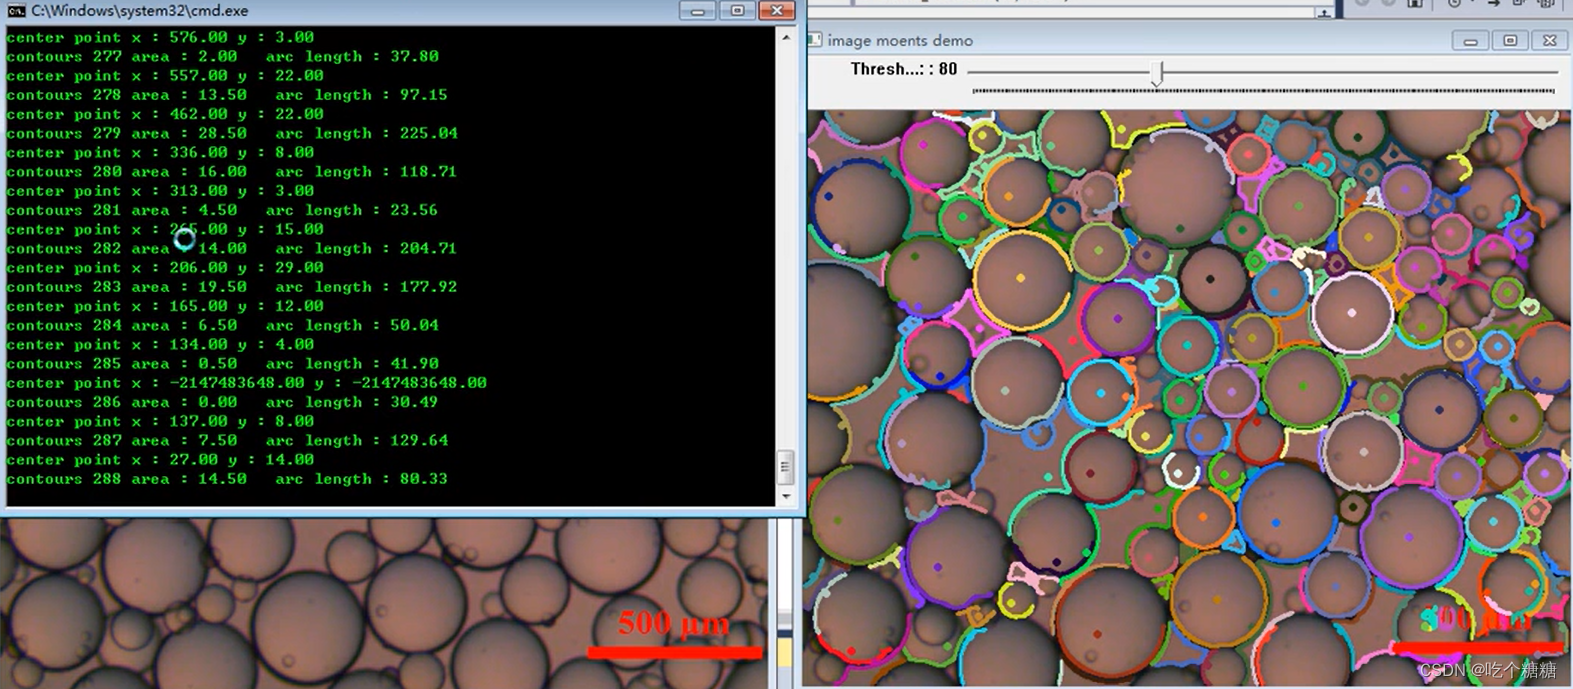
printf("center point x : %.2f y : %.2f\n", ccs[i].x, ccs[i].y);
printf("contours %d area : %.2f arc length : %.2f\n", i, contourArea(contours[i]), arcLength(contours[i], true));
drawContours(drawImg, contours, i, color, 2, 8, hierachy, 0, Point(0, 0));
circle(drawImg, ccs[i], 2, color, 2, 8);
}
imshow(output_win, drawImg);
return;
}


 7212
7212


 被折叠的 条评论
为什么被折叠?
被折叠的 条评论
为什么被折叠?
 到【灌水乐园】发言


