


1. 基础使用
首先创建最基本的SpringBoot项目,默认都会。主要是引入依赖和创建Controller进行测试。
<?xml version="1.0" encoding="UTF-8"?>
<project xmlns="http://maven.apache.org/POM/4.0.0"
         xmlns:xsi="http://www.w3.org/2001/XMLSchema-instance"
         xsi:schemaLocation="http://maven.apache.org/POM/4.0.0 http://maven.apache.org/xsd/maven-4.0.0.xsd">
    <modelVersion>4.0.0</modelVersion>

    <parent>
        <groupId>org.springframework.boot</groupId>
        <artifactId>spring-boot-starter-parent</artifactId>
        <version>2.3.9.RELEASE</version>
        <relativePath />
    </parent>

    <groupId>org.example</groupId>
    <artifactId>spring-securitydemo</artifactId>
    <version>1.0-SNAPSHOT</version>


    <properties>
        <maven.compiler.source>8</maven.compiler.source>
        <maven.compiler.target>8</maven.compiler.target>
        <project.build.sourceEncoding>UTF-8</project.build.sourceEncoding>
    </properties>

    <dependencies>

        <dependency>
            <groupId>org.springframework.boot</groupId>
            <artifactId>spring-boot-starter-web</artifactId>
        </dependency>

        <dependency>
            <groupId>org.springframework.boot</groupId>
            <artifactId>spring-boot-starter-test</artifactId>
        </dependency>

        <dependency>
            <groupId>org.springframework.boot</groupId>
            <artifactId>spring-boot-starter-security</artifactId>
        </dependency>

    </dependencies>

</project>
上述代码为依赖的引入。
然后随便写一个controller,写上一个对应的接口,然后直接去浏览器访问。就会发现跳转到了这个登录页面,这个页面也就是Spring Security的默认登陆页面。如果访问很慢,就bootstrap.min.css这个静态资源加载不出来,换个网络即可。
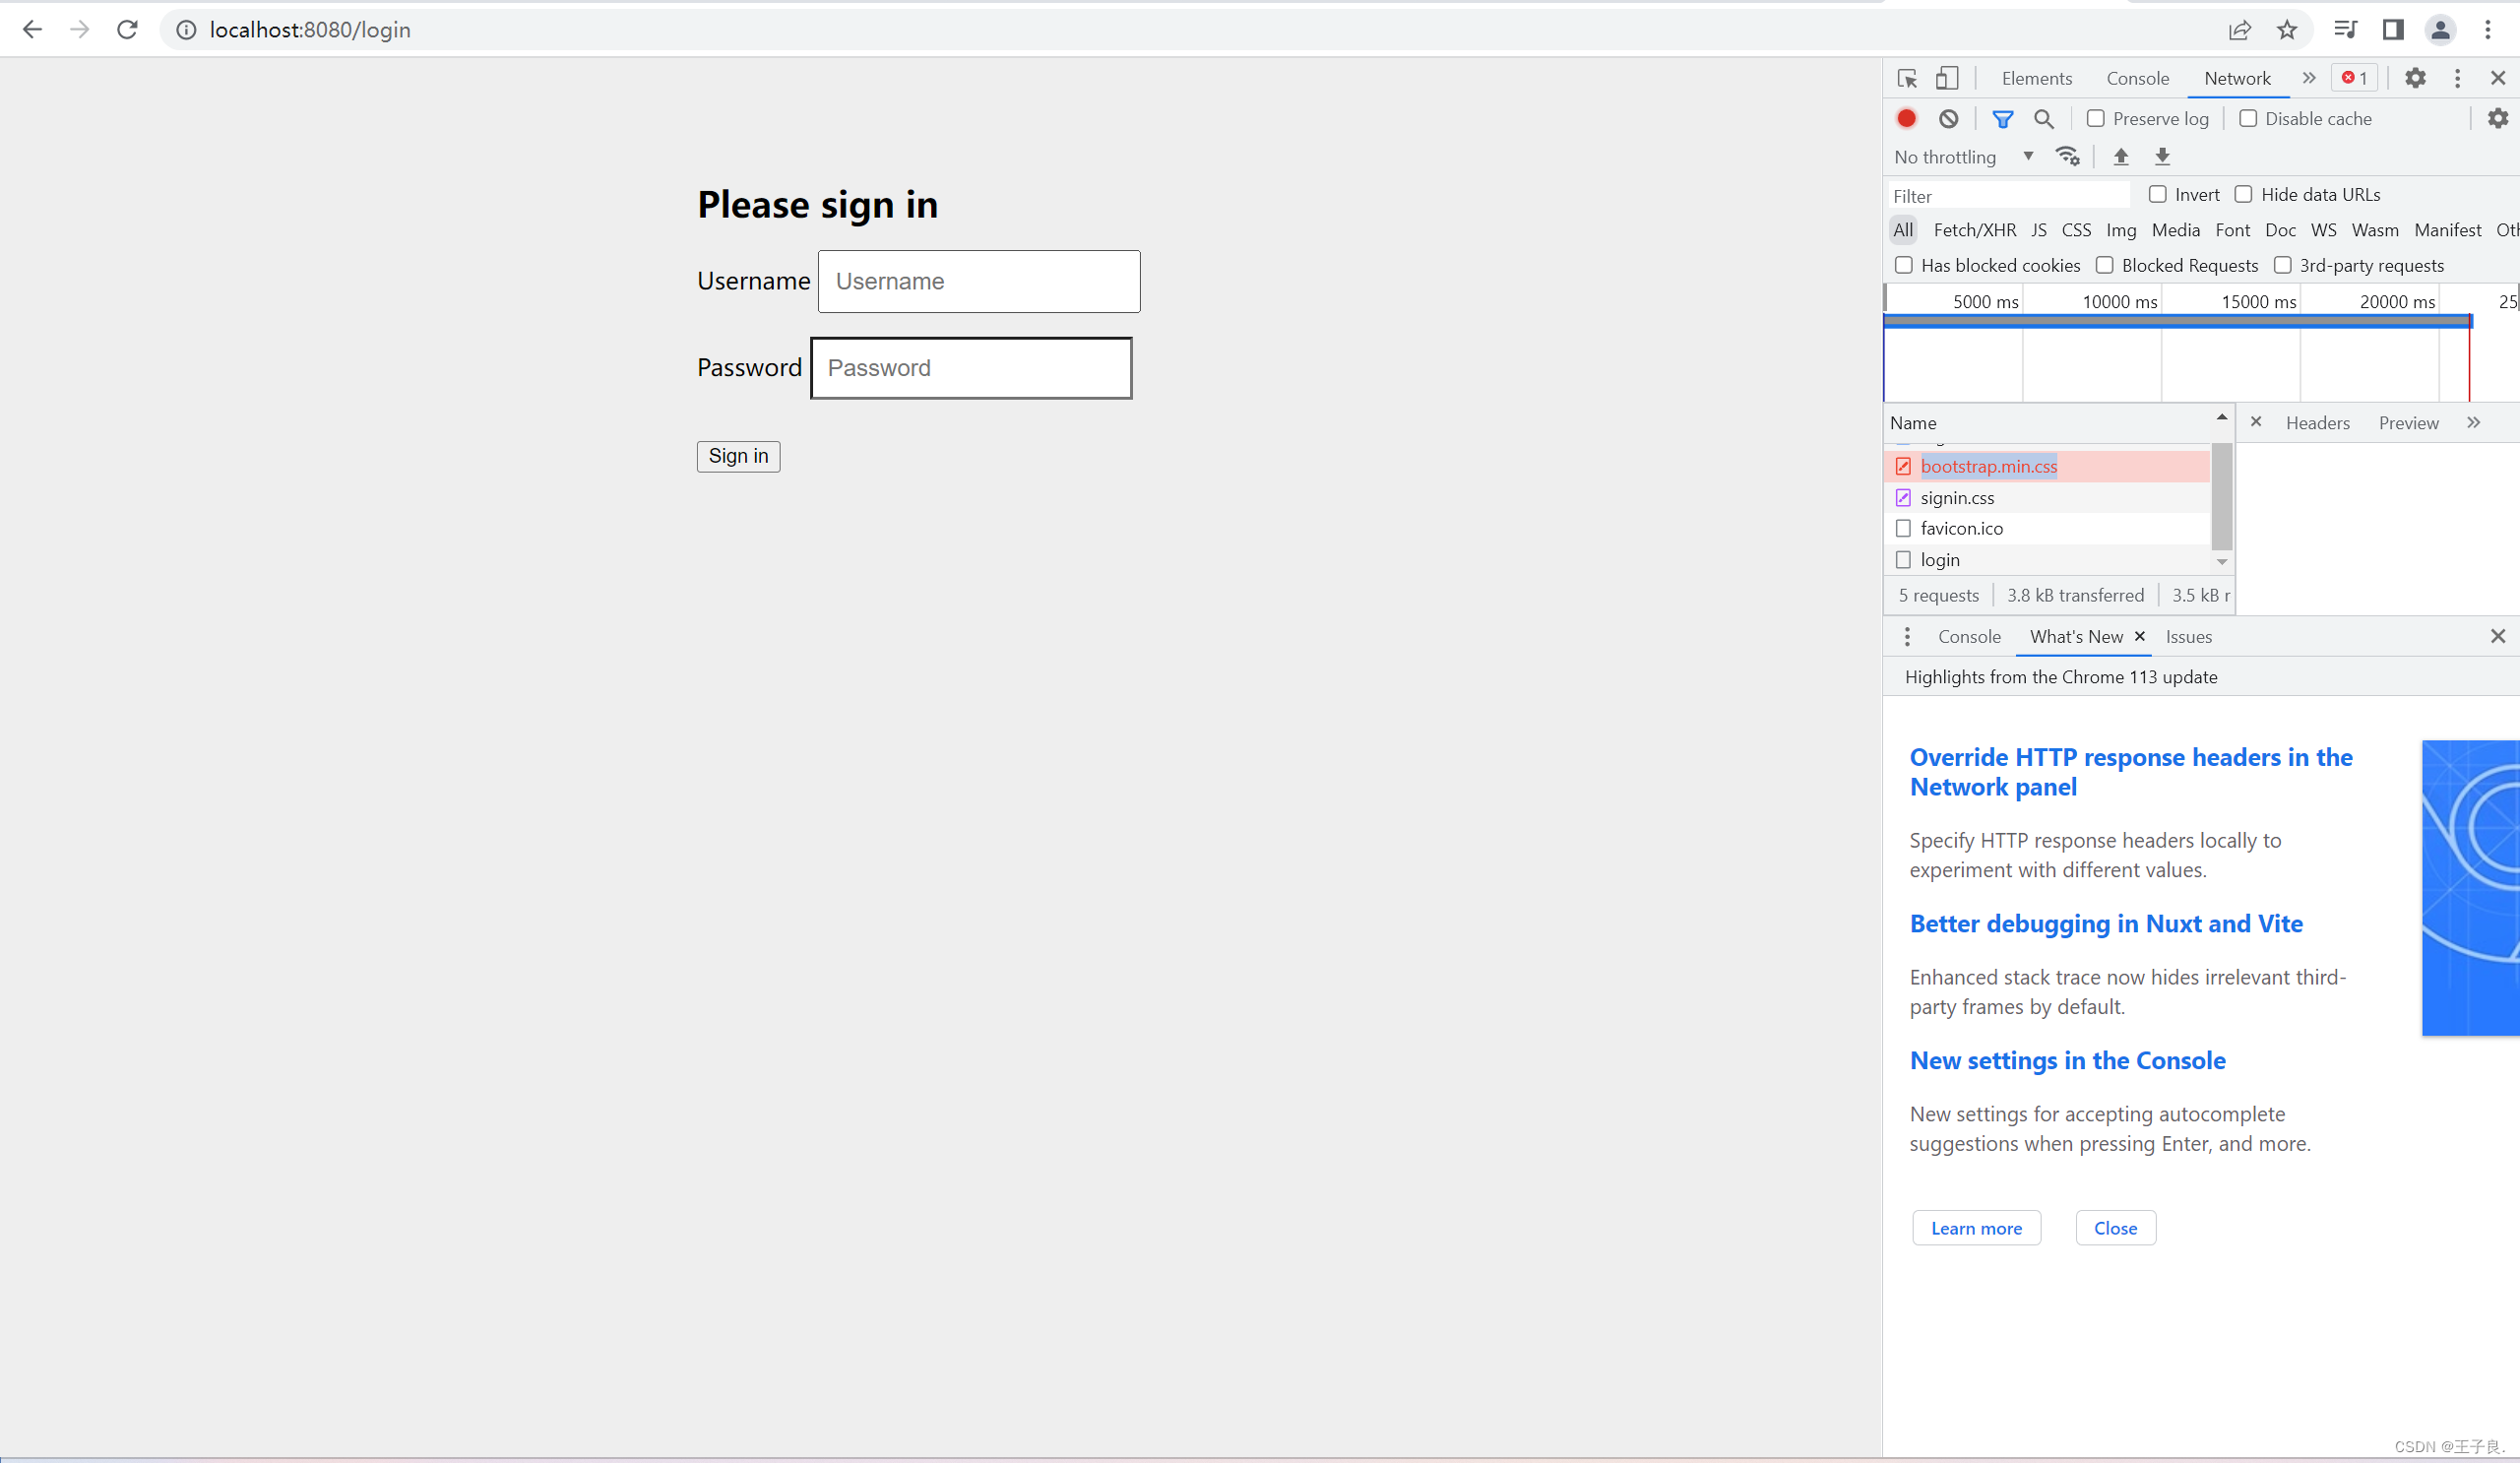
如果要对该页面进行登录的话,Security有一组自带的账号密码,账号就是User,密码是在启动SpringBoot的时候随机生成的一串密码。控制台会有一串打印输出。
Using generated security password: 8320e15d-f070-4e9e-8c86-03be64eb5c92
使用这俩结合即可登录,访问到正常的接口。获取正常的数据。
2. 基本原理
本质上,SpringSecurity就是一个过滤器链,也就是说在里面会有很多的过滤器,这一堆过滤器在一起 构成了一个过滤器链。从启动可以获取到过滤器链。
过滤链的组成。
org.springframework.security.web.context.request.async.WebAsyncManagerIntegrati
onFilterorg.springframeworksecurity.web,context.SecurityContextPersistenceFilter
org.springframework.security.web,header.HeaderWriterFilter
org.springframework.security.web,csrfCsrfFilter
org.springframework.security.web.authentication.logout.LogoutFilter
org.springframework.security.web.authentication.UsernamePasswordAuthenticationFiter
org.springframework.security.web.authentication.ui.DefaultLoginPageGeneratingFilter
org.springframework.security.web.authentication.ui,DefaultLogoutPageGeneratingFilter
org.springframework.security.web.savedrequest.RequestCacheAwareFilter
...
重点有三个过滤器,分别是以下
2.1 三大过滤器(重点)
2.1.1 FilterSecurityInterceprot
这个过滤器是一个方法级的权限过滤器,用于操作哪一些方法可以访问,哪一些方法不可以访问。位于过滤器链的最底部。
分析一下源码,首先这个类实现了Filter
public class FilterSecurityInterceptor
extends AbstractSecurityInterceptor
implements Filter
也就是说,它自身肯定就是一个过滤器,也就是说这个类一定有这几个方法,初始化,销毁,doFilter。其中doFilter也就是我们的过滤具体内容。然后下面的doFilter中的具体内容。
public void doFilter(ServletRequest request, ServletResponse response, FilterChain chain) throws IOException, ServletException {
        this.invoke(new FilterInvocation(request, response, chain));
    }
在这里,调用了本类中的 invoke方法,里面传入了一个FilterInvocation对象,参数携带了request,response,chain。其中,chain是放行对象。然后我们下去看invoke方法里面到底执行了什么东西。
public void invoke(FilterInvocation filterInvocation) throws IOException, ServletException {
        if (this.isApplied(filterInvocation) && this.observeOncePerRequest) {
            filterInvocation.getChain().doFilter(filterInvocation.getRequest(), filterInvocation.getResponse());
        } else {
            if (filterInvocation.getRequest() != null && this.observeOncePerRequest) {
                filterInvocation.getRequest().setAttribute("__spring_security_filterSecurityInterceptor_filterApplied", Boolean.TRUE);
            }

            InterceptorStatusToken token = super.beforeInvocation(filterInvocation);

            try {
                filterInvocation.getChain().doFilter(filterInvocation.getRequest(), filterInvocation.getResponse());
            } finally {
                super.finallyInvocation(token);
            }

            super.afterInvocation(token, (Object)null);
        }
    }
上述代码,是invoke执行的内容,前面无非的做了一堆判断,看后面的这几行代码。
 InterceptorStatusToken token = super.beforeInvocation(filterInvocation);

try {
    filterInvocation.getChain().doFilter(filterInvocation.getRequest(), filterInvocation.getResponse());
} finally {
    super.finallyInvocation(token);
}

super.afterInvocation(token, (Object)null);
super.beforeInvocation(filterInvocation); 表示如果在之前,有被放行过。才会去执行下面的代码。就形成了一个执行器链。
2.1.2 ExceptionTranslationFilter
这个类是一个异常过滤器。毋庸置疑,他也是一个过滤器。我们找到他的doFilter,来进行查看。
 private void doFilter(HttpServletRequest request, HttpServletResponse response, FilterChain chain) throws IOException, ServletException {
        try {
            chain.doFilter(request, response);
        } catch (IOException var7) {
            throw var7;
        } catch (Exception var8) {
            Throwable[] causeChain = this.throwableAnalyzer.determineCauseChain(var8);
            RuntimeException securityException = (AuthenticationException)this.throwableAnalyzer.getFirstThrowableOfType(AuthenticationException.class, causeChain);
            if (securityException == null) {
                securityException = (AccessDeniedException)this.throwableAnalyzer.getFirstThrowableOfType(AccessDeniedException.class, causeChain);
            }

            if (securityException == null) {
                this.rethrow(var8);
            }

            if (response.isCommitted()) {
                throw new ServletException("Unable to handle the Spring Security Exception because the response is already committed.", var8);
            }

            this.handleSpringSecurityException(request, response, chain, (RuntimeException)securityException);
        }

    }
在这里做了异常捕捉,对异常做了很多判断,针对每一种异常进行不同的处理方式,也就是说这是一个异常统一处理。实际上也是如此,这个类是一个一场过滤器,用来处理在认证授权过程中被抛出的异常。
2.1.3 UsernamePasswordAuthenticationFilter
对/login的POST请求进行拦截处理,校验表单中的用户名,密码。
public Authentication attemptAuthentication(HttpServletRequest request, HttpServletResponse response) throws AuthenticationException {
        if (this.postOnly && !request.getMethod().equals("POST")) {
            throw new AuthenticationServiceException("Authentication method not supported: " + request.getMethod());
        } else {
            String username = this.obtainUsername(request);
            username = username != null ? username : "";
            username = username.trim();
            String password = this.obtainPassword(request);
            password = password != null ? password : "";
            UsernamePasswordAuthenticationToken authRequest = new UsernamePasswordAuthenticationToken(username, password);
            this.setDetails(request, authRequest);
            return this.getAuthenticationManager().authenticate(authRequest);
        }
    }
上述代码也不是很晦涩,首先判断是不是Post请求,如果是Post请求,则会去执行else中的内容,获取账号密码,判断为空,然后都不成立的情况下,去做校验。
2.2 过滤器是如何加载的
因为我们使用的是SpringBoot项目,所以SpringBoot对其做了自动装配,不需要我们去进行额外的配置,如果是使用其他类型的项目,则可能需要我们去大幅度的进行配置。那如果不使用SpringBoot, 应该如何去配置SpringSecurity。
2.2.1 DelegatingFilterProxy
如果我们不使用SpringBoot项目进行自动装配。则我们第一步需要配置DelegatingFilterProxy。源码如下。(doFilter)
public void doFilter(ServletRequest request, ServletResponse response, FilterChain filterChain) throws ServletException, IOException {
        Filter delegateToUse = this.delegate;
        if (delegateToUse == null) {
            synchronized(this.delegateMonitor) {
                delegateToUse = this.delegate;
                if (delegateToUse == null) {
                    WebApplicationContext wac = this.findWebApplicationContext();
                    if (wac == null) {
                        throw new IllegalStateException("No WebApplicationContext found: no ContextLoaderListener or DispatcherServlet registered?");
                    }

                    delegateToUse = this.initDelegate(wac);
                }

                this.delegate = delegateToUse;
            }
        }

        this.invokeDelegate(delegateToUse, request, response, filterChain);
    }
在上面依然是做了很多判断, 不过重点在下面这一行代码。
delegateToUse = this.initDelegate(wac);调用了本类中的initDelegate。看不懂没关系,init 应该看得懂,他做了一个初始化,点进去看源码。
protected Filter initDelegate(WebApplicationContext wac) throws ServletException {
        String targetBeanName = this.getTargetBeanName();
        Assert.state(targetBeanName != null, "No target bean name set");
        Filter delegate = (Filter)wac.getBean(targetBeanName, Filter.class);
        if (this.isTargetFilterLifecycle()) {
            delegate.init(this.getFilterConfig());
        }

        return delegate;
    }
参数有一个WabApplicationContext,通过WabAppliaction来获取一个bean对象,也就是通过IOC容器来获取一个Bean。他有一个固定的名称,就是 FilterChainProxy。
3. Web权限方案
3.1 认证
3.1.1 设置登录的用户名和密码
一共有三种方式。分别是
- 通过配置文件进行设置
- 通过配置类进行设置
- 自定义编写实现类进行设置
第一种方式,通过配置文件进行设置,这个非常简单。
# yaml的书写格式
spring:
  security:
    user:
      name: root
      password: root


# properties 的书写格式
spring.security.user.name = root
spring.security.user.password = root
第二种方式,通过配置类进行设置。
package com.example.springsecuitydemo.config;

import org.springframework.context.annotation.Configuration;
import org.springframework.security.config.annotation.authentication.builders.AuthenticationManagerBuilder;
import org.springframework.security.config.annotation.web.configuration.WebSecurityConfigurerAdapter;
import org.springframework.security.crypto.bcrypt.BCryptPasswordEncoder;

@Configuration
public class SecurityConfig extends WebSecurityConfigurerAdapter {

    @Override
    protected void configure(AuthenticationManagerBuilder auth) throws Exception {
        // 密码加密
        BCryptPasswordEncoder bCryptPasswordEncoder = new BCryptPasswordEncoder();
        String password = bCryptPasswordEncoder.encode("root");
        // 设置加密方式,账号,密码,角色
        auth.inMemoryAuthentication().passwordEncoder(bCryptPasswordEncoder)
                .withUser("root").password(password).roles("管理员");
    }
}
还有另一种方式,这两种方式没什么不同的,只不过把PasswordEncoder提出外面去了
package com.example.springsecuitydemo.config;

import org.springframework.context.annotation.Bean;
import org.springframework.context.annotation.Configuration;
import org.springframework.security.config.annotation.authentication.builders.AuthenticationManagerBuilder;
import org.springframework.security.config.annotation.web.configuration.WebSecurityConfigurerAdapter;
import org.springframework.security.crypto.bcrypt.BCryptPasswordEncoder;
import org.springframework.security.crypto.password.PasswordEncoder;

@Configuration
public class SecurityConfig extends WebSecurityConfigurerAdapter {

    @Override
    protected void configure(AuthenticationManagerBuilder auth) throws Exception {
        // 密码加密
        BCryptPasswordEncoder bCryptPasswordEncoder = new BCryptPasswordEncoder();
        String password = bCryptPasswordEncoder.encode("root");
        // 设置加密方式,账号,密码,角色
        auth.inMemoryAuthentication().withUser("root").password(password).roles("管理员");
    }

    @Bean
    PasswordEncoder passwordEncoder() {
        return new BCryptPasswordEncoder();
    }

}
第三种方式,自定义实现类进行设置,也是我们使用较多的一种方式。
首先创建一个配置类,来做一些基础配置,设置我们的userDetailService和passwordEncoder
package com.example.springsecuitydemo.config;

import org.springframework.context.annotation.Bean;
import org.springframework.context.annotation.Configuration;
import org.springframework.security.config.annotation.authentication.builders.AuthenticationManagerBuilder;
import org.springframework.security.config.annotation.web.configuration.WebSecurityConfigurerAdapter;
import org.springframework.security.core.userdetails.UserDetailsService;
import org.springframework.security.crypto.bcrypt.BCryptPasswordEncoder;
import org.springframework.security.crypto.password.PasswordEncoder;

@Configuration
public class SecurityConfig extends WebSecurityConfigurerAdapter {

    private final UserDetailsService userDetailsService;

    public SecurityConfig(UserDetailsService userDetailsService) {
        this.userDetailsService = userDetailsService;
    }

    @Override
    protected void configure(AuthenticationManagerBuilder auth) throws Exception {

        // 设置userDetailService和passwordEncoder
        auth.userDetailsService(userDetailsService).passwordEncoder(passwordEncoder());

    }

    /**
     * 创建passwordEncoder需要的对象
     * @return 返回BCryptPasswordEncoder对象
     */
    @Bean
    PasswordEncoder passwordEncoder() {
        return new BCryptPasswordEncoder();
    }

}
既然需要一个UserDetailsService那么我们就需要创建一个。
package com.example.springsecuitydemo;

import org.springframework.security.core.GrantedAuthority;
import org.springframework.security.core.authority.AuthorityUtils;
import org.springframework.security.core.userdetails.User;
import org.springframework.security.core.userdetails.UserDetails;
import org.springframework.security.core.userdetails.UserDetailsService;
import org.springframework.security.core.userdetails.UsernameNotFoundException;
import org.springframework.security.crypto.bcrypt.BCryptPasswordEncoder;
import org.springframework.stereotype.Service;

import java.util.List;

@Service
public class MyUserDetailsService implements UserDetailsService {

    /**
     * 根据用户名做其他操作
     * @param username 用户名
     * @return 返回一个UserDetails
     */
    @Override
    public UserDetails loadUserByUsername(String username) throws UsernameNotFoundException {

        // 模拟用户数据
        String user = "root";
        String password = "root";
        List<GrantedAuthority > authorities = AuthorityUtils.commaSeparatedStringToAuthorityList("role");

        return new User(user, new BCryptPasswordEncoder().encode(password), authorities);
    }

}
即可。
3.1.2 用数据库完成用户认证
首先需要整合一个MybatisPlus
       <dependency>
            <groupId>org.projectlombok</groupId>
            <artifactId>lombok</artifactId>
        </dependency>

        <dependency>
            <groupId>com.baomidou</groupId>
            <artifactId>mybatis-plus-boot-starter</artifactId>
            <version>3.5.3.1</version>
        </dependency>

        <dependency>
            <groupId>mysql</groupId>
            <artifactId>mysql-connector-java</artifactId>
        </dependency>
然后需要有一张表。表内有三个字段,分别是id,username,password。
-- 创建数据库
create database security_demo;

-- 创建表

create table user(
    `id` int primary key auto_increment,
    `username` varchar(30) not null ,
    `password` varchar(30) not null
);

-- 添加一条数据
insert into user values (1, 'root', 'root');
创建对应的实体类
package com.example.springsecuitydemo.pojo;

import lombok.AllArgsConstructor;
import lombok.Data;
import lombok.NoArgsConstructor;
import lombok.ToString;

@Data
@AllArgsConstructor
@NoArgsConstructor
@ToString
public class Users {

    private Integer id;

    private String username;

    private String password;

}
然后在配置文件中添加对应的数据库的配置信息。如下
spring:
  datasource:
    username: root
    password: root
    url: jdbc:mysql://localhost:3306/security_demo?serverTimezone=GMT%2B8&useUnicode=true&characterEncoding=UTF8
    driverClassName: com.mysql.cj.jdbc.Driver
搭建基础的dao环境。
package com.example.springsecuitydemo.mapper;


import com.baomidou.mybatisplus.core.mapper.BaseMapper;
import com.example.springsecuitydemo.pojo.User;

@Mapper
public interface UserMapper extends BaseMapper<User > {
}
然后在 MyUserDetailsService 里调用mapper中的方法,然后进行数据库验证。
package com.example.springsecuitydemo;

import com.baomidou.mybatisplus.core.conditions.query.QueryWrapper;
import com.example.springsecuitydemo.mapper.UserMapper;
import org.springframework.security.core.GrantedAuthority;
import org.springframework.security.core.authority.AuthorityUtils;
import org.springframework.security.core.userdetails.User;
import org.springframework.security.core.userdetails.UserDetails;
import org.springframework.security.core.userdetails.UserDetailsService;
import org.springframework.security.core.userdetails.UsernameNotFoundException;
import org.springframework.security.crypto.bcrypt.BCryptPasswordEncoder;
import org.springframework.stereotype.Service;

import java.util.List;

@Service
public class MyUserDetailsService implements UserDetailsService {

    private final UserMapper userMapper;

    public MyUserDetailsService(UserMapper userMapper) {
        this.userMapper = userMapper;
    }

    /**
     * 根据用户名做其他操作
     * @param username 用户名
     * @return 返回一个UserDetails
     */
    @Override
    public UserDetails loadUserByUsername(String username) throws UsernameNotFoundException {

        QueryWrapper<com.example.springsecuitydemo.pojo.User > queryWrapper = new QueryWrapper<>();

        queryWrapper.eq("username", username);

        com.example.springsecuitydemo.pojo.User userPojo = userMapper.selectOne(queryWrapper);

        if (userPojo == null) {
            throw new UsernameNotFoundException("用户名不存在!");
        }

        List<GrantedAuthority > authorities = AuthorityUtils.commaSeparatedStringToAuthorityList("role");

        return new User(userPojo.getUsername(), new BCryptPasswordEncoder().encode(userPojo.getPassword()), authorities);
    }

}
3.1.3 把登录页换为自己的页面
首先需要在配置类中添加配置
/**
     * 在这里设置登录页的访问
     */
    @Override
    protected void configure(HttpSecurity http) throws Exception {

        http.formLogin()    // 自定义自己编写的登陆页面
                .loginPage("/login.html")    // 登陆页面设置
                .loginProcessingUrl("/user/login")  // 登录访问路径
                .defaultSuccessUrl("/test/index").permitAll()  // 登陆成功后跳转到这个路径
                .and().authorizeRequests()
                    .antMatchers("/", "/test/hello", "/user/login").permitAll()  // 设置那些路径可以直接被访问,不需要认证
                .anyRequest().authenticated()   // 表示全部可以被访问
                .and().csrf().disable();    // 关闭csrf防护。
    }
3.2 授权
3.2.1 基于角色权限进行访问控制
有四个方法,分别是以下内容
- hasAuthority 方法
如果当前的主题具有指定的权限则返回true,如果没有则返回false。
用法如下:
.antMatchers("/test/hello").hasAuthority("admin")   // 只有具有admin权限,才能访问/test/hello


@Override
protected void configure(HttpSecurity http) throws Exception {

    http.formLogin()    // 自定义自己编写的登陆页面
            .loginPage("/login.html")    // 登陆页面设置
            .loginProcessingUrl("/user/login")  // 登录访问路径
            .defaultSuccessUrl("/test/index").permitAll()  // 登陆成功后跳转到这个路径
            .and().authorizeRequests()
                .antMatchers("/", "/test/hello", "/user/login").permitAll()  // 设置那些路径可以直接被访问,不需要认证
                .antMatchers("/test/hello").hasAuthority("admin")   // 只有具有admin权限,才能访问/test/hello
            .anyRequest().authenticated()   // 表示全部可以被访问
            .and().csrf().disable();    // 关闭csrf防护。

}
然后在MyUserDetailsService 中,设置他的权限。
List<GrantedAuthority > authorities = AuthorityUtils.commaSeparatedStringToAuthorityList("role");但是他只能用于单个权限,如果一个用户具有多个权限,则就无法使用这个方法,需要使用下一个方法,hasAnyAuthority。
- hasAnyAuthority 方法
就和描述的一样,他的用法无非是从单个变为多个,使用逗号分隔。其他不变
.antMatchers("/test/hello").hasAnyAuthority("any", "role", "admin") // 多种权限
- hasRole 方法
大差不差,只是角色。
- hasAnyRole 方法
大差不差,只是角色。
3.3 更改403页面(没有权限)
只需要一个配置即可。
    @Override
    protected void configure(HttpSecurity http) throws Exception {

        // 配置没有权限的403
        http.exceptionHandling().accessDeniedPage("/403err.html");
    }
<!DOCTYPE html>
<html lang="en">
<head>
    <meta charset="UTF-8">
    <title>403Err</title>
</head>
<body>
<hr />
 您没有权限访问这个页面
<hr />
</body>
</html>
4. 注解的使用
在使用注解前,需要先开启注解功能。
需要在主方法上加入该注解。
@EnableGlobalMethodSecurity(securedEnabled = true)完整代码如下
package com.example.springsecuitydemo;

import org.mybatis.spring.annotation.MapperScan;
import org.springframework.boot.SpringApplication;
import org.springframework.boot.autoconfigure.SpringBootApplication;
import org.springframework.security.config.annotation.method.configuration.EnableGlobalMethodSecurity;

@SpringBootApplication
@MapperScan("com.example.springsecuitydemo.mapper")
@EnableGlobalMethodSecurity(securedEnabled = true)
public class SpringSecurityDemoApplication {

    public static void main(String[] args) {
        SpringApplication.run(SpringSecurityDemoApplication.class, args);
    }

}
4.1 @Secured
判断是否具有角色,另外需要注意,这里的字符串匹配需要加上前缀 "ROLE_"。
也就是说,如果你的用户有这个角色。就能访问这个方法,如果没有这个角色,就不能访问这个方法。
@Secured({"ROLE_admin", "ROLE_user", "ROLE_test"})
public String hello() {
    return "hello, users";
}


 592
592


 被折叠的 条评论
为什么被折叠?
被折叠的 条评论
为什么被折叠?
 到【灌水乐园】发言


