


<!DOCTYPE html>
<html lang="en">
<head>
  <meta charset="UTF-8">
  <meta http-equiv="X-UA-Compatible" content="IE=edge">
  <meta name="viewport" content="width=device-width, initial-scale=1.0">
  <title>模拟购物车抛物线</title>
  <style>
    *{
      box-sizing: border-box;
    }
    .shopping-cart{
      border: 1px solid #000;
      width: 300px;
      height: 500px;
      margin: 50px auto;
    }
    img{
      width: 30px;
      height: 30px;
    }
    .list ul li{
      list-style: none;
      /* background-color: #ddd; */
      margin-top: 10px;
      width: 200px;
      display: flex;
      justify-content: space-between;
    }
    .bottom{
      background-color: pink;
      height: 50px;
      vertical-align: middle;
      padding: 10px 40px;
    }
  </style>
</head>
<body>
  <div class="shopping-cart">
    <div class="list" id="list">
      <ul>
        <li class="item">
          <span>披萨</span>
          <img class="image" src="plus.png" alt="">
        </li>
        <li class="item">
          <span>汉堡</span>
          <img class="image" src="plus.png" alt="">
        </li>
        <li class="item">
          <span>奶茶</span>
          <img class="image" src="plus.png" alt="">
        </li>
        <li class="item">
          <span>炸鸡</span>
          <img class="image" src="plus.png" alt="">
        </li>
        <li class="item">
          <span>火锅</span>
          <img class="image" src="plus.png" alt="">
        </li>
      </ul>
    </div>
    <div class="bottom">
      <img id="shopping" src="shopping.png" alt="">
      <span id="content"></span>
    </div>
  </div>
  <script>
    let list = document.getElementById("list");
    let liItem = list.getElementsByClassName("item");
    let ball = document.getElementsByClassName("ball")[0];
    let content = document.getElementById("content");
    let arr = new Array();
    for(let i = 0; i< liItem.length; i++){
      let liImage = liItem[i].getElementsByClassName("image")[0];
      let liText = liItem[i].getElementsByTagName("span")[0];
      liImage.addEventListener('click',function(event){
        let ball = document.createElement('div');
        let x = event.pageX - this.offsetWidth / 2;
        let y = event.pageY - this.offsetHeight / 2;
        ball.style.position = 'absolute';
        ball.style.width = '20px';
        ball.style.height = '20px';
        ball.style.borderRadius = '50%';
        ball.style.backgroundColor = '#2fb7f8';
        ball.style.top = y + "px";
        ball.style.left = x + "px";
        ball.style.transition = 'left .6s linear, top .6s cubic-bezier(0.5, -0.5, 1, 1)';
        document.body.appendChild(ball);
        setTimeout(() => {
            let target = document.getElementById("shopping");
            ball.style.left = (target.offsetLeft + target.offsetWidth / 2) + 'px';
            ball.style.top = (target.offsetTop) + 'px';
            arr.push(liText.innerHTML);
            content.innerHTML = arr;
        }, 0);
        ball.ontransitionend = function(){
            this.remove()
        }
      })
    }

  </script>

</body>
</html>
图片
plus.png

shopping.png

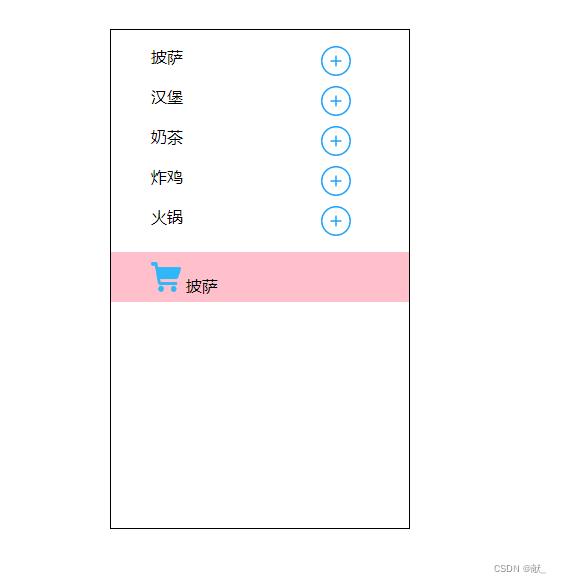
运行结果
参考文章
https://www.jianshu.com/p/5869e1c2ddf7
https://mickey0524.github.io/2017/08/06/cubic-bezier/


 2088
2088


 被折叠的 条评论
为什么被折叠?
被折叠的 条评论
为什么被折叠?
 到【灌水乐园】发言


