


文章目录
项目所需要的 资源——点击下载
主要实现功能有:中英文切换、全屏、引导页、表单的CRUD
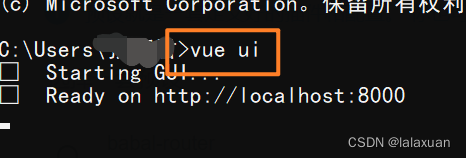
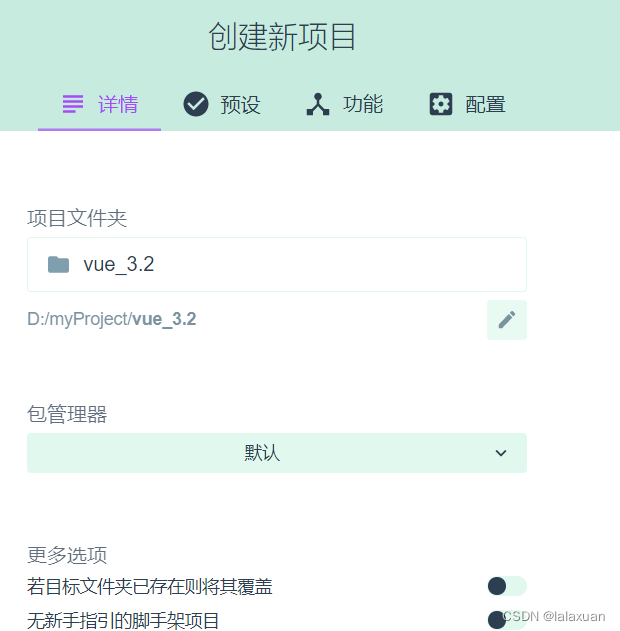
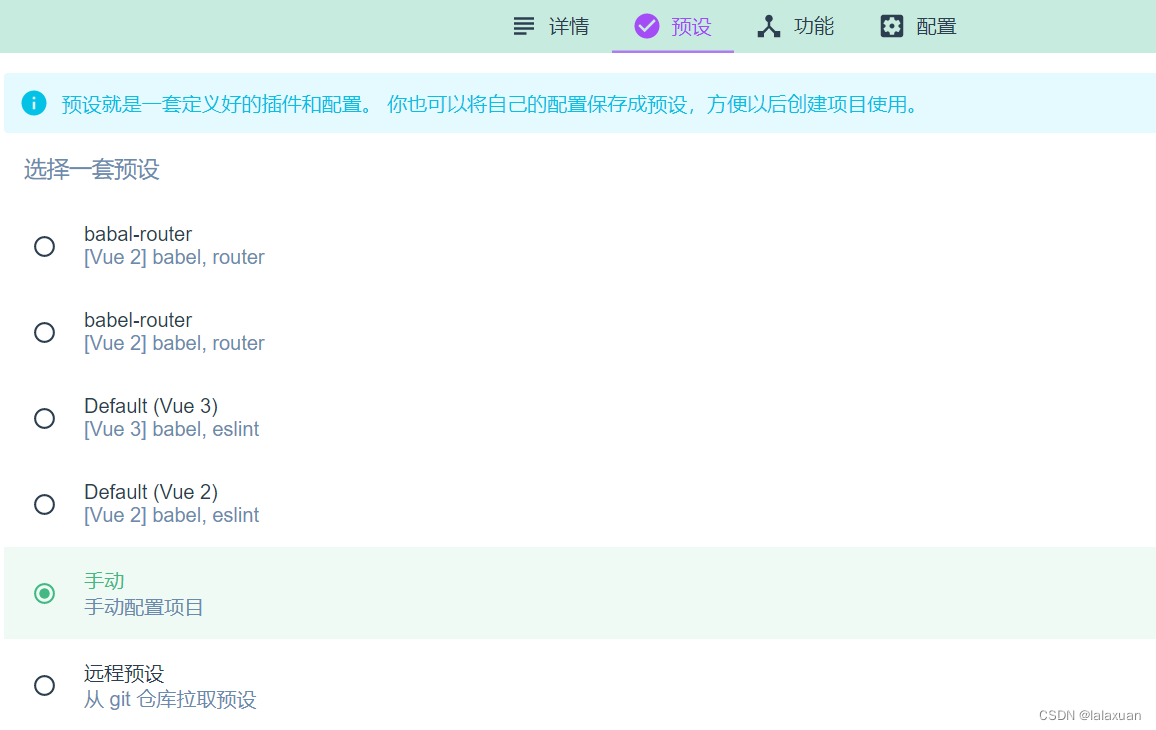
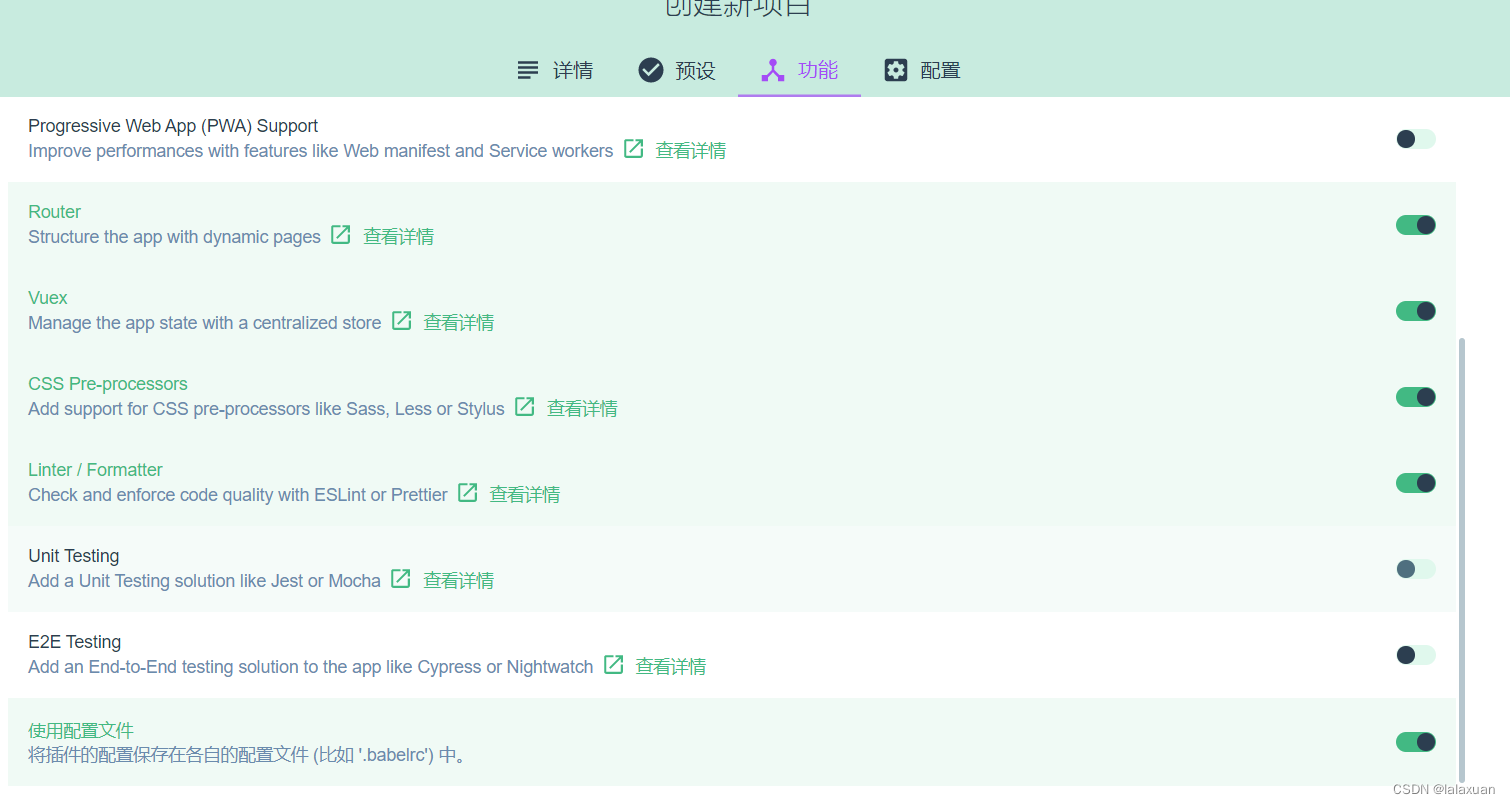
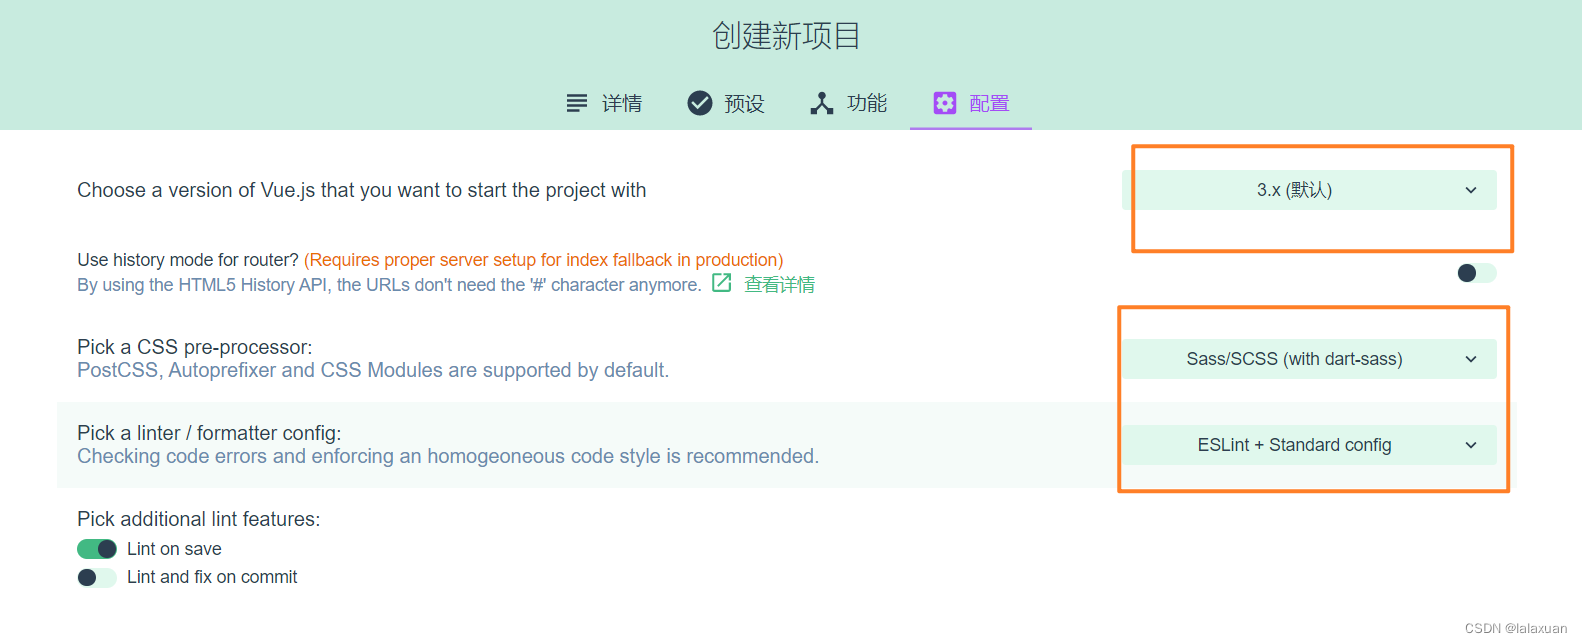
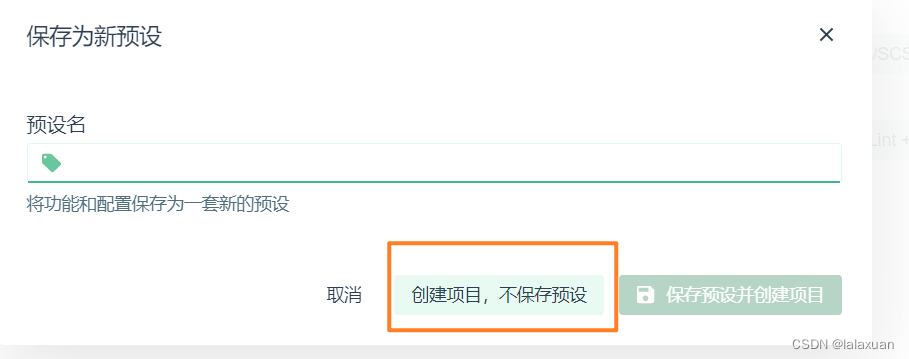
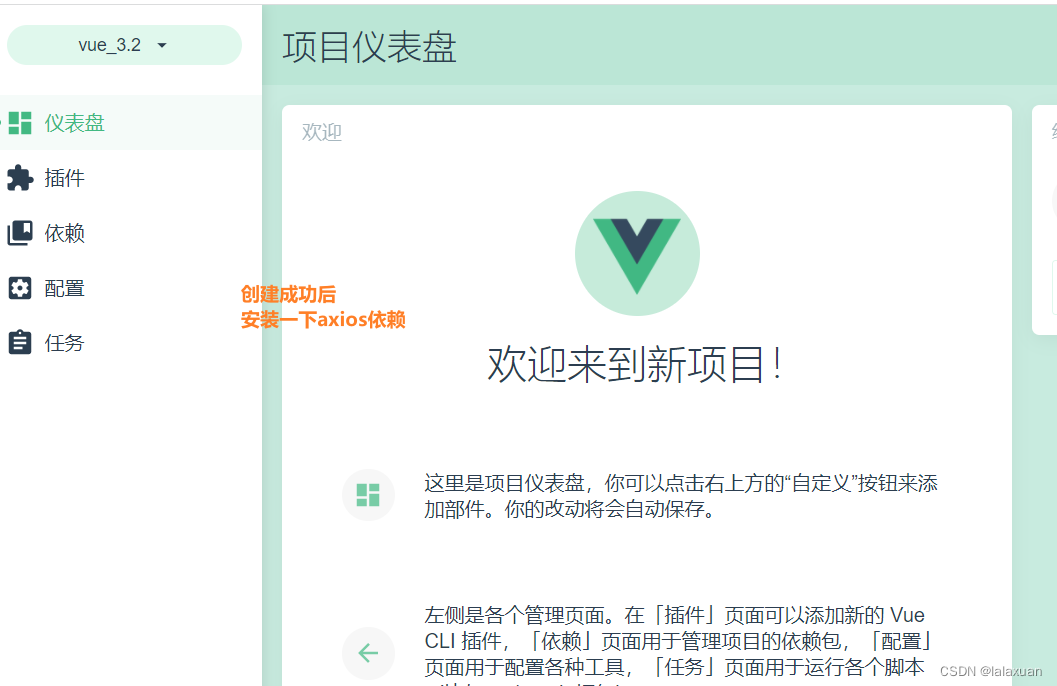
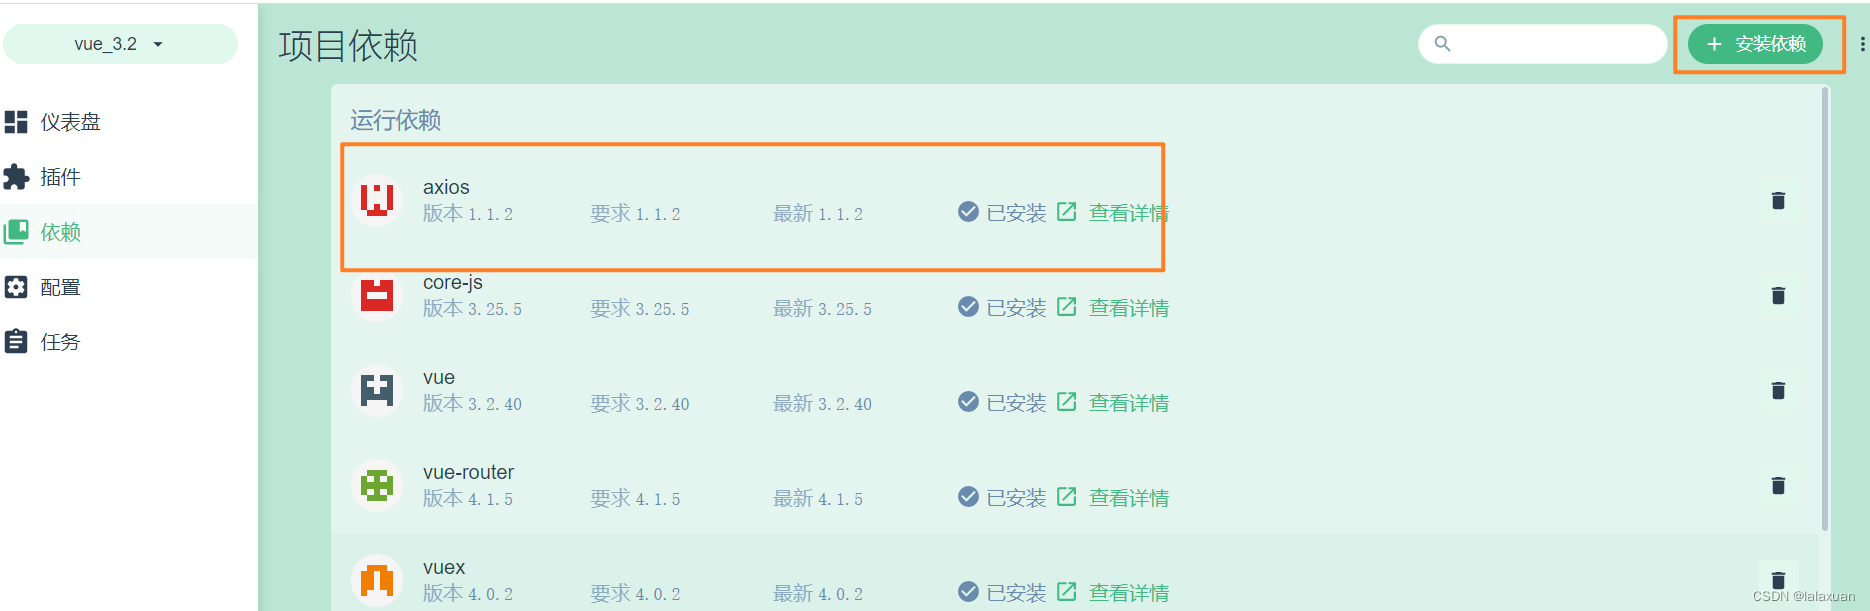
创建项目
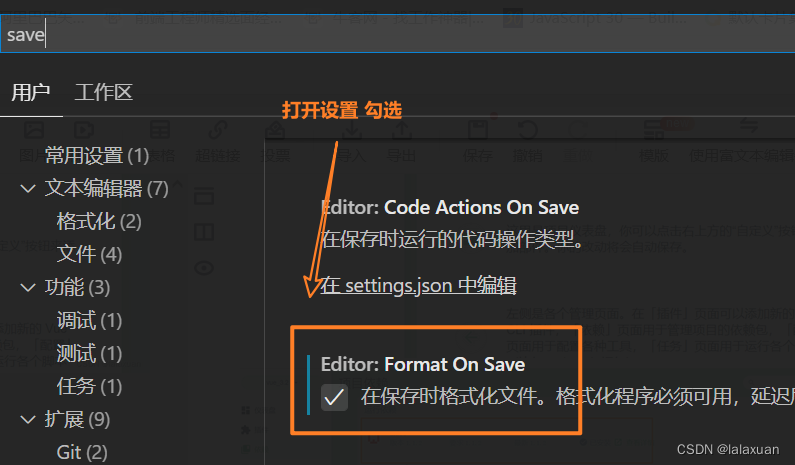
代码格式化
VsCode安装一个代码格式化的插件:Prettier - Code formatter
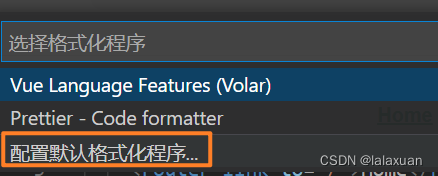
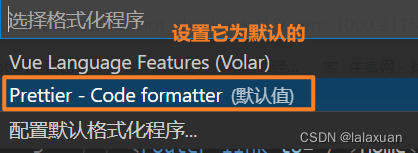
 右键选中
右键选中使用...格式化文档

eslint和prettier可能存在冲突
在配置下.eslintrc.js里的规则里的rules 新增
'indent': 0,
'space-before-function-paren': 0
commit规范
// git代码提交规范
1.安装commitizen和cz-customizable
npm install -g commitizen@4.2.4
npm i cz-customizable@6.3.0 --save-dev
2.在package.json中进行新增
"config": {
"commitizen": {
"path": "node_modules/cz-customizable"
}
}
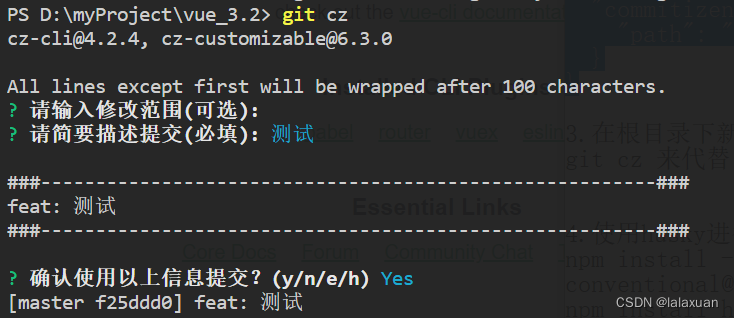
3.在根目录下新建.cz-config.js文件并写入配置 之后就可以用 git cz 来代替 git commit
注意:
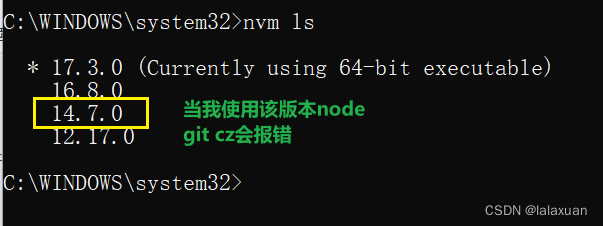
强制commit
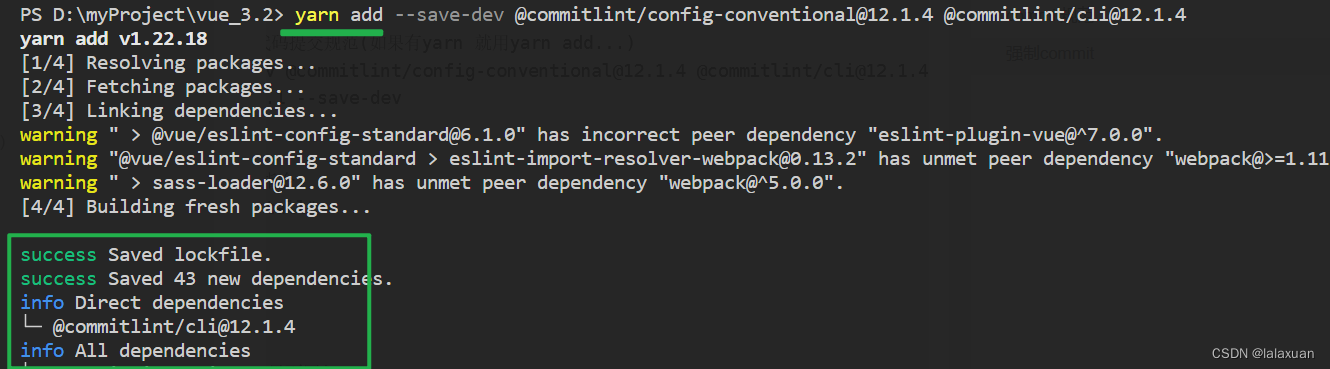
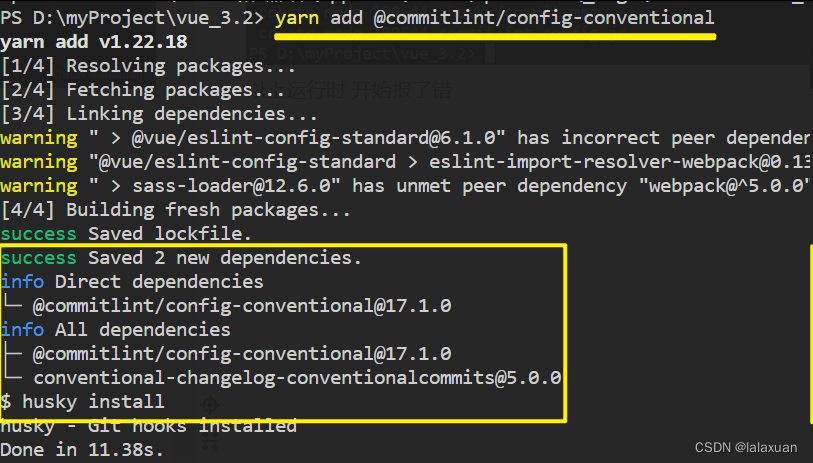
4.使用husky进行强制git代码提交规范(如果有yarn 就用yarn add...)
npm install --save-dev @commitlint/config-conventional@12.1.4 @commitlint/cli@12.1.4
npm install husky@7.0.1 --save-dev
npx husky install
导入资源/husky规范/commitlint.config.js
5.在package.json中新增指令 (在scripts:中增加)
"prepare": "husky install"
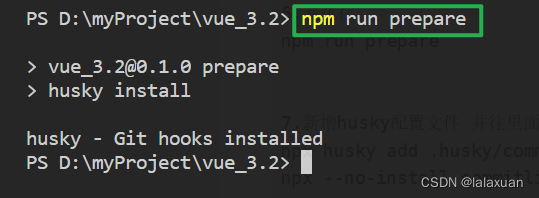
6.并执行
npm run prepare
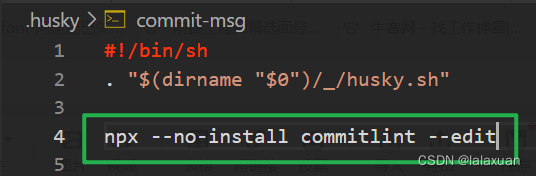
7.新增husky配置文件 并往里面写入
npx husky add .husky/commit-msg
npx --no-install commitlint --edit
 6.
6.
 7.
7.

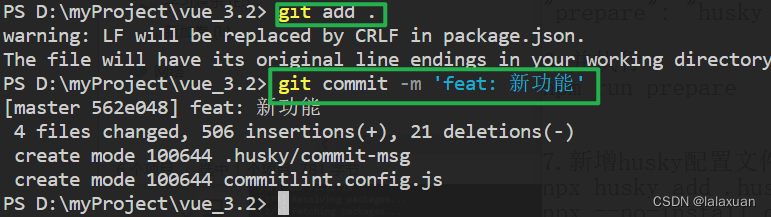
其实配置好了以后使用git add. git cz git push就可以了
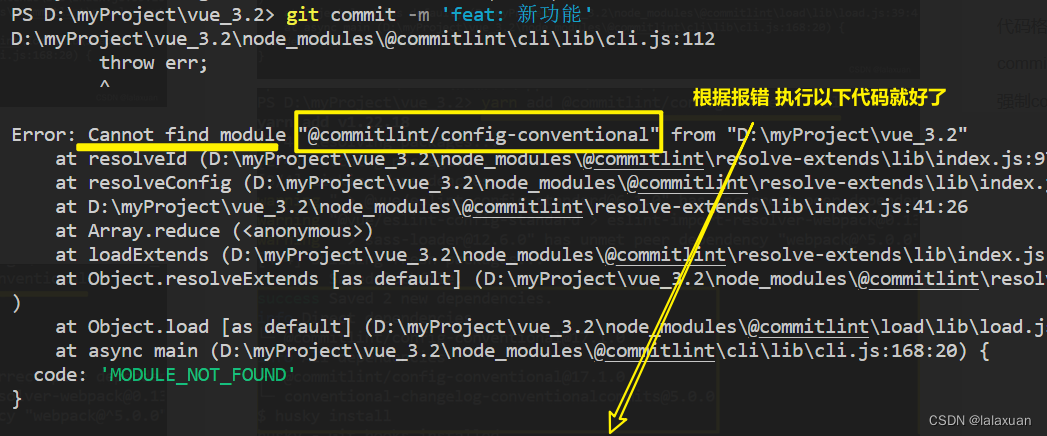
以上运行时 开始报了错
强制代码规范
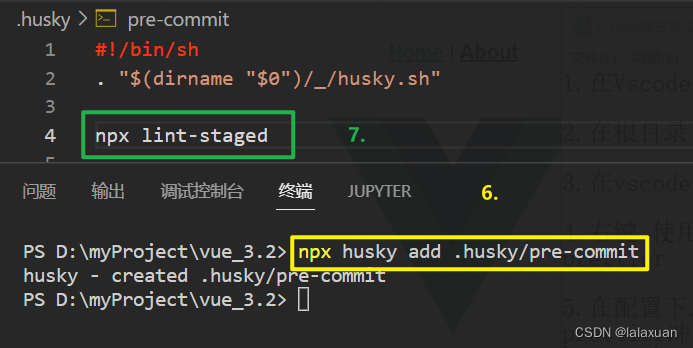
6.使用husky强制代码格式化  创建配置文件
npx husky add .husky/pre-commit

7.往第六步生成的文件中写入
npx lint-staged

8.把package.json文件的lint-staged修改为

"lint-staged": {
   "src/**/*.{js,vue}": [      //src目录下所有的js和vue文件
     "eslint --fix",           // 自动修复
     "git add"                 // 自动提交时修复
   ]
 }
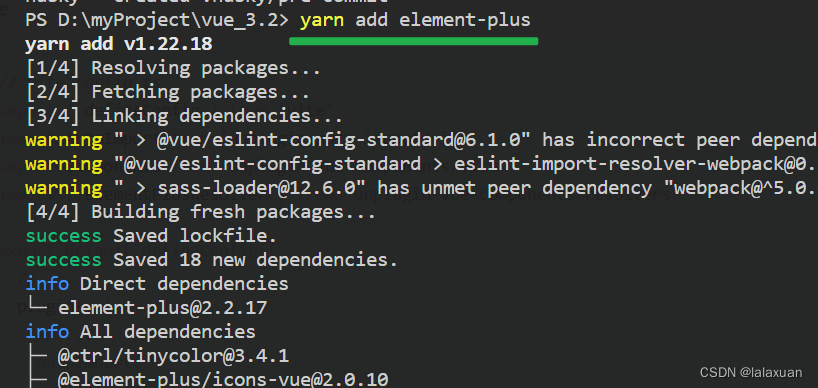
按需导入elementplus
npm install element-plus --save
如果有yarn包管理器,则:
yarn add element-plus
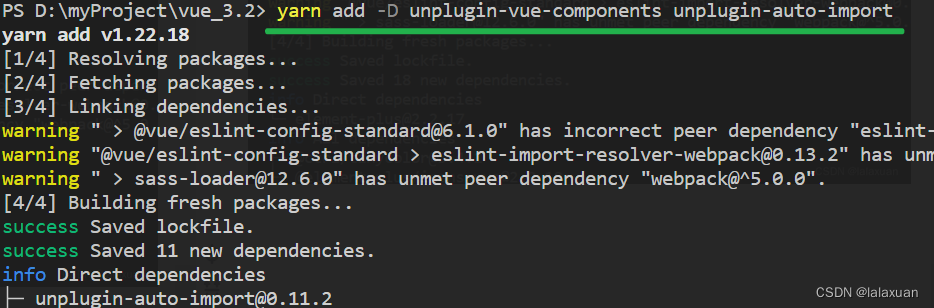
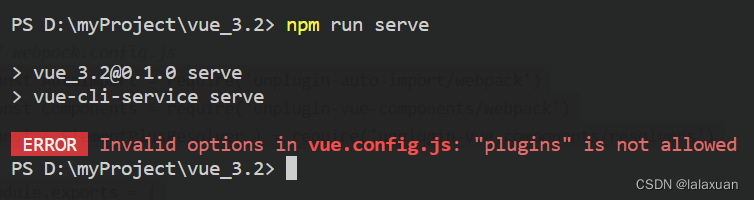
使用的是webpack 不是vite
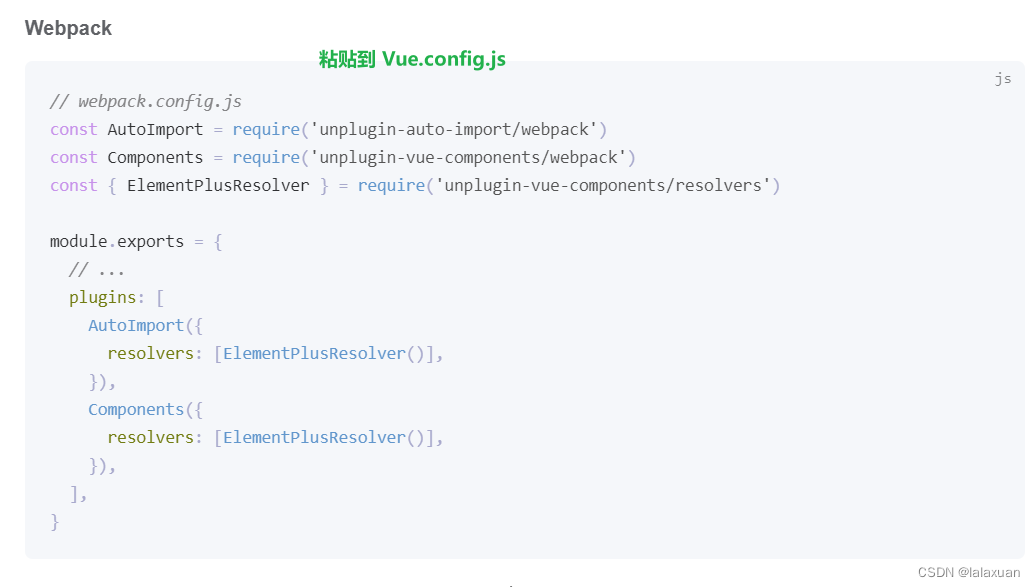
const AutoImport = require('unplugin-auto-import/webpack')
const Components = require('unplugin-vue-components/webpack')
const {
    ElementPlusResolver } = require('unplugin-vue-components/resolvers')

module.exports = {

  configureWebpack: (config) => {

    config.plugins.push(
      AutoImport({

        resolvers: [ElementPlusResolver()]
      })
    )
    config.plugins.push(
      Components({

        resolvers: [ElementPlusResolver()]
      })
    )
  }
}
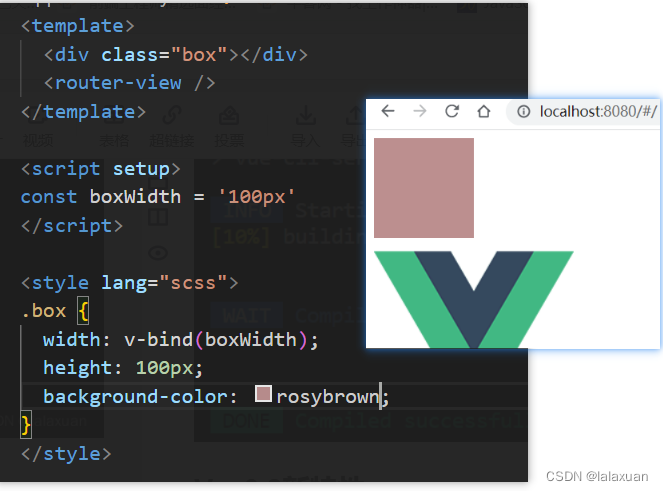
Vue3.2新特性
- Vue3不再需要使用根标签包裹
- css可以直接绑定js变量
初始化项目
分享 6 个 Vue3 开发必备的 VSCode 插件
删除App.vue中多余的东西
在src下导入styles文件,里面包括各种scss文件
在main.js中导入import '@/styles/index.scss'
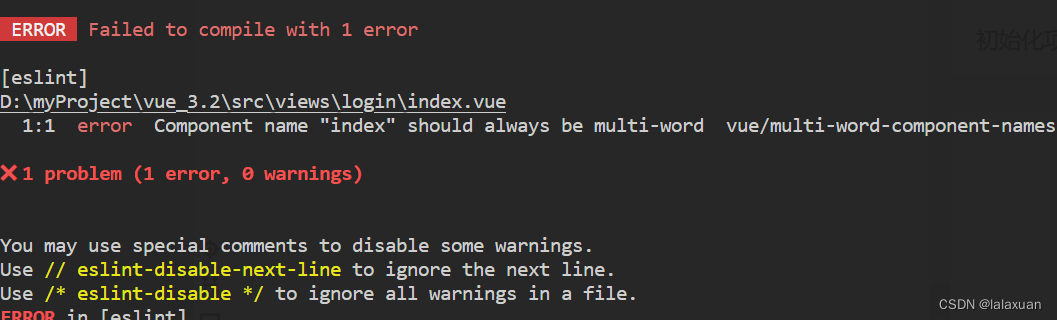
写登录界面在views下新建login/index.vue
浅浅写一下页面
在路由中配置一下登录
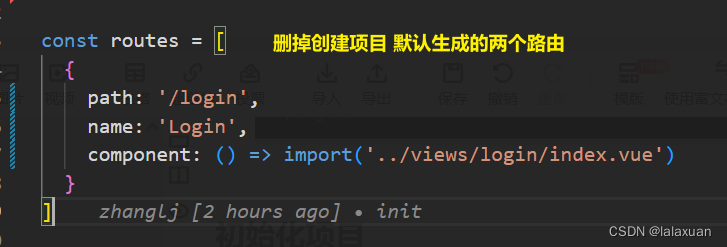
 但是这里有个文件
jsconfig.json莫名第一行的一个方括号就爆红了
vscode中的jsconfig.json文件首行无故报错

编写登录页面(静态)
样式:::v-deep的使用

这里还出现了element-plus input默认样式的问题
以下scss代码已过时
::v-deep .el-form-item {
      border: 1px solid rgba(255, 255, 255, 0.1);
      background: rgba(0, 0, 0, 0.1);
      border-radius: 5px;
      color: #454545;
    }

    ::v-deep .el-input {
      display: inline-block;
      height: 47px;
      width: 85%;

      input {
        background: transparent;
        border: 0px;
        -webkit-appearance: none;
        border-radius: 0px;
        padding: 12px 5px 12px 15px;
        color: $light_gray;
        height: 47px;
        caret-color: $cursor;
      }
    }
使用以上的样式 登录页面为:
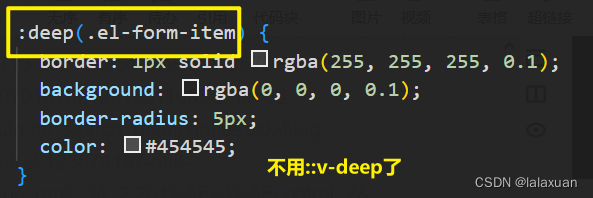
应改为
:deep(.el-form-item) {
      border: 1px solid rgba(255, 255, 255, 0.1);
      background: rgba(0, 0, 0, 0.1);
      border-radius: 5px;
      color: #454545;
    }

    :deep(.el-input) {
      display: inline-block;
      height: 47px;
      width: 85%;

      .el-input__wrapper {
        background: transparent;
        box-shadow: 0 0 0 0;
        border: 0px;
        -webkit-appearance: none;
        border-radius: 0px;
        padding: 12px 5px 12px 15px;
        color: $light_gray;
        height: 47px;
        caret-color: $cursor;
      }
    }
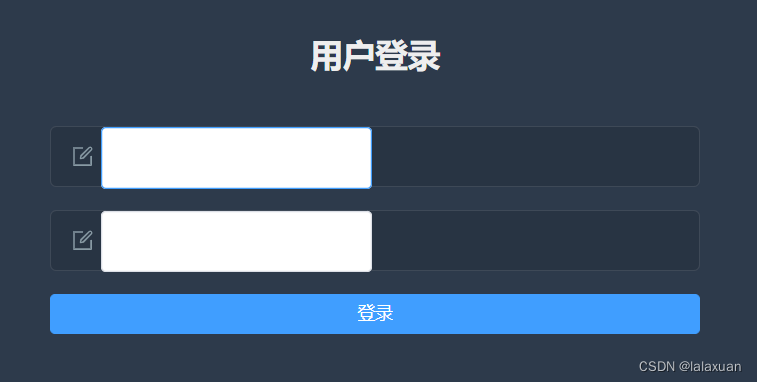
改完样式后,登录页面为:
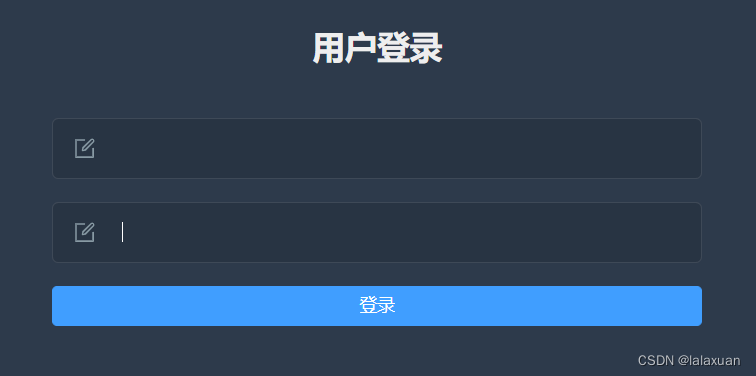 登录页面 目前全部代码为:
<template>
  <div class="login-container">
    <el-form :model="form" class="login-form">
      <div class="title-container">
        <h3 class="title">用户登录</h3>
      </div>
      <el-form-item>
        <el-icon :size="20" class="svg-container"> <edit /> </el-icon>
        <el-input v-model="form.name" />
      </el-form-item>
      <el
最低0.47元/天 解锁文章


 1430
1430


 被折叠的 条评论
为什么被折叠?
被折叠的 条评论
为什么被折叠?
 到【灌水乐园】发言


