SpringBoot自定义注解Annotation

SpringBoot自定义注解Annotation

1. 编写一个自定义的注解类

在SpringBoot工程下新建一个annotation的package,在里面新建java class,kind中选择annotation,代码如下:

package com.example.demo.annotation;

import static java.lang.annotation.ElementType.METHOD;
import static java.lang.annotation.RetentionPolicy.RUNTIME;
import java.lang.annotation.Documented;
import java.lang.annotation.Retention;
import java.lang.annotation.Target;

@Documented           //是否将注释信息添加在Java文档中
@Retention(RUNTIME)   //自定义的注释通常使用这种注释 RUNTIME
@Target(METHOD)       //将自定义注释放在什么地方,有一些枚举值
public @interface LoginAnno {     //该注解用来申明一个注解

}

2. 编写该注解的实现类

在同一个package下,编写LoginAnnoImpl类,目的是让该类成为切面类,具体可参考AOP

package com.example.demo.annotation;

import org.aspectj.lang.annotation.Aspect;
import org.aspectj.lang.annotation.Before;
import org.aspectj.lang.annotation.Pointcut;
import org.springframework.stereotype.Component;

/**
 * <h5>描述:通过@Aspect注解使该类成为切面类</h5>
 */
@Aspect
@Component
public class LoginAnnoImpl {

    @Pointcut("@annotation(com.example.demo.annotation.LoginAnno)")
    private void cut() {
    //@Pointcut定义的是切点
    }

    /**
     * <h5>功能:前置通知</h5>
     */
    @Before("cut()")       
    public void before() {
        System.out.println("自定义注解生效了");
    }
}

3. 可以编写一个控制器来检测该自定义注解是否生效

在控制层下面的文件里编写方法

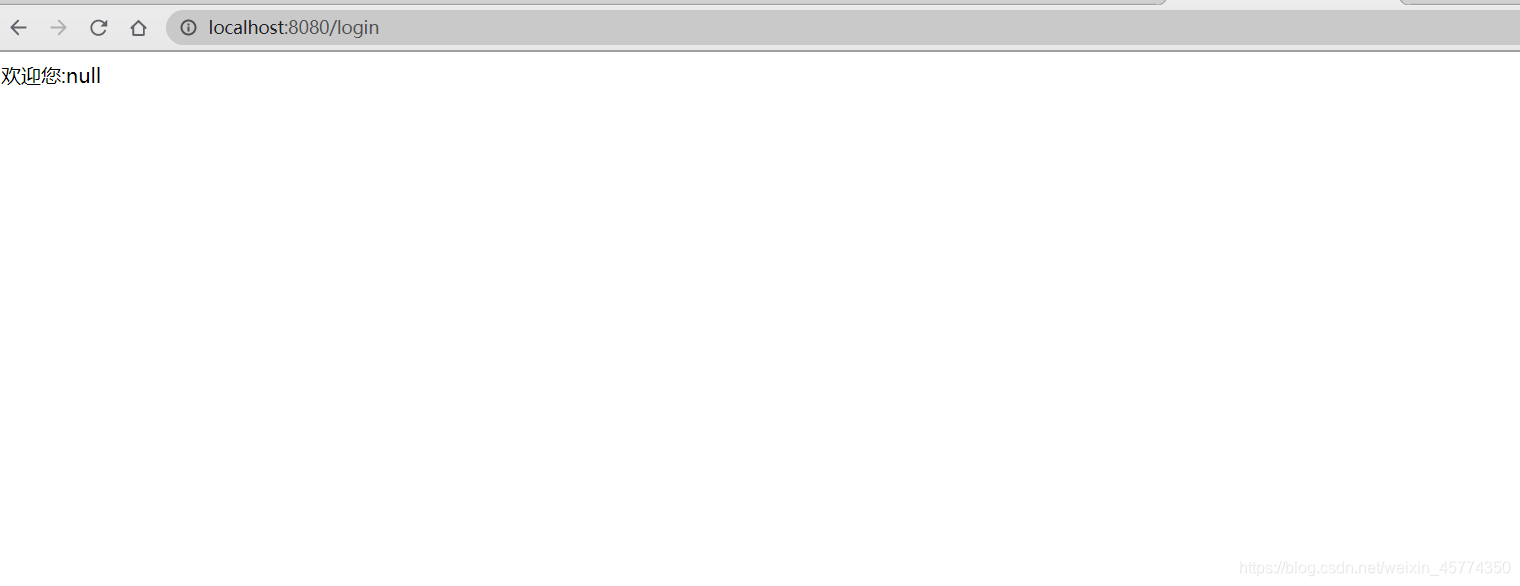
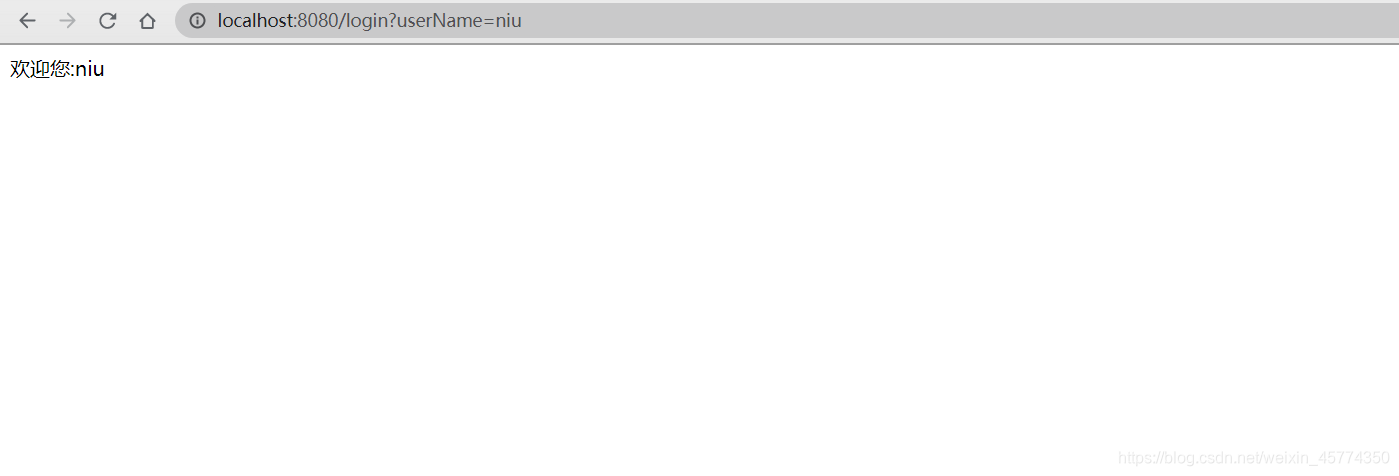
    @RequestMapping("login")
    @LoginAnno
    public String login(String userName) {
        return "欢迎您:" + userName;
    }

启动服务器,访问http://localhost:8080/login/niu
在这里插入图片描述
也可以加上参数
http://localhost:8080/login?userName=niu
在这里插入图片描述
至此,自定义注解完成

  • 0
    点赞
  • 4
    收藏
    觉得还不错? 一键收藏
  • 0
    评论
Spring Boot是一个用于构建独立的、生产级别的Spring应用程序的框架。它提供了许多便捷的功能和特性,其中包括自定义注解配置。 在Spring Boot中,我们可以通过自定义注解来实现一些特定的配置。下面是一个简单的示例来介绍如何自定义注解配置: 1. 首先,创建一个自定义注解类,使用`@interface`关键字来定义注解。例如,我们创建一个名为`@CustomAnnotation`的注解: ```java import java.lang.annotation.ElementType; import java.lang.annotation.Retention; import java.lang.annotation.RetentionPolicy; import java.lang.annotation.Target; @Target(ElementType.TYPE) @Retention(RetentionPolicy.RUNTIME) public @interface CustomAnnotation { String value() default ""; } ``` 2. 在需要使用该注解的类上添加注解。例如,我们创建一个名为`CustomClass`的类,并在类上添加`@CustomAnnotation`注解: ```java @CustomAnnotation("customValue") public class CustomClass { // 类的具体实现 } ``` 3. 在Spring Boot的配置类中,使用`@ComponentScan`注解来扫描自定义注解的类,并进行相应的配置。例如: ```java @SpringBootApplication @ComponentScan(basePackages = "com.example") public class Application { public static void main(String[] args) { SpringApplication.run(Application.class, args); } } ``` 4. 在需要使用自定义注解的地方,可以通过反射获取注解的值,并进行相应的处理。例如,在某个Service类中使用自定义注解: ```java @Service public class CustomService { @Autowired private ApplicationContext applicationContext; public void processCustomAnnotation() { Map<String, Object> customBeans = applicationContext.getBeansWithAnnotation(CustomAnnotation.class); for (Object bean : customBeans.values()) { CustomAnnotation customAnnotation = bean.getClass().getAnnotation(CustomAnnotation.class); String value = customAnnotation.value(); // 处理自定义注解的逻辑 } } } ``` 这样,我们就可以通过自定义注解来实现一些特定的配置。在上述示例中,我们通过自定义注解`@CustomAnnotation`来标记需要进行特定处理的类,并在`CustomService`中通过反射获取有该注解的类,并进行相应的处理。

“相关推荐”对你有帮助么?

  • 非常没帮助
  • 没帮助
  • 一般
  • 有帮助
  • 非常有帮助
提交
评论
添加红包

请填写红包祝福语或标题

红包个数最小为10个

红包金额最低5元

当前余额3.43前往充值 >
需支付:10.00
成就一亿技术人!
领取后你会自动成为博主和红包主的粉丝 规则
hope_wisdom
发出的红包
实付
使用余额支付
点击重新获取
扫码支付
钱包余额 0

抵扣说明:

1.余额是钱包充值的虚拟货币,按照1:1的比例进行支付金额的抵扣。
2.余额无法直接购买下载,可以购买VIP、付费专栏及课程。

余额充值