


PyTorch人脸识别+Flask连接数据库
文章目录
前言
本文介绍了人脸识别的几种基本使用方法,并使用flask框架进行展示。
实验要求:
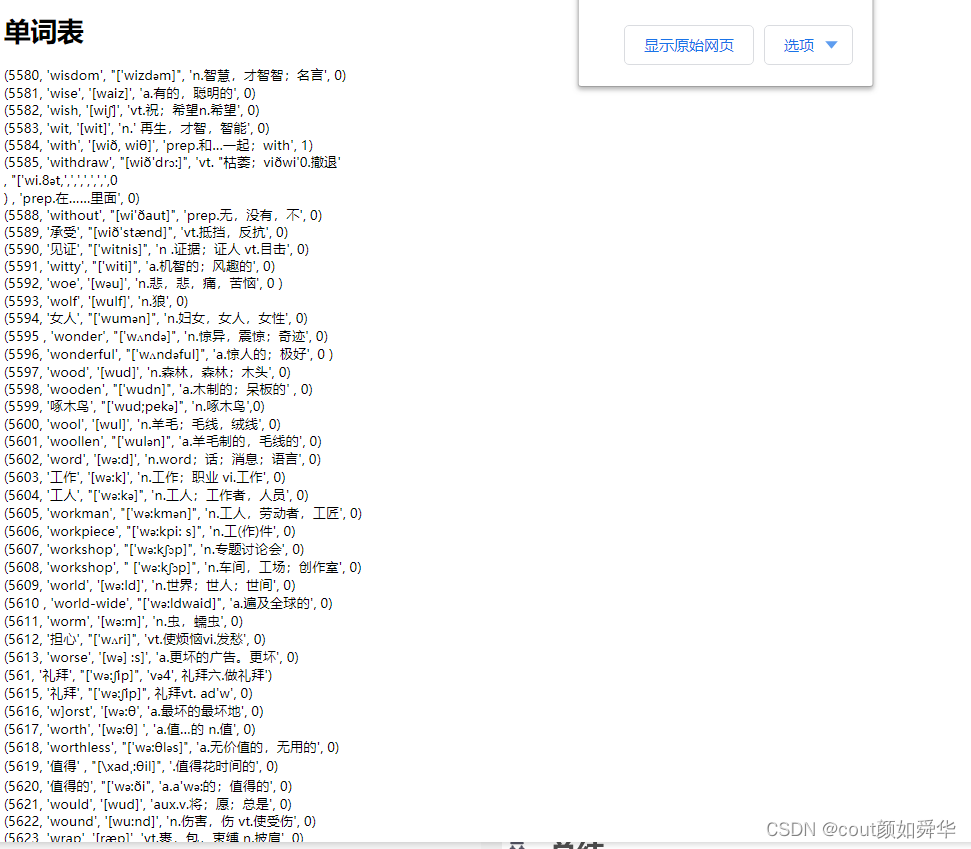
1.实现一个Flask网页 连接数据库 将单词表打印在网页中。
2.再实现一个Flask网页 将人脸识别的内容放入到网页中,具体来说需要包含以下内容:
①匹配还是不匹配
②原图
③人脸对齐 人脸识别后的识别结果图
④人脸的特征向量
提示:以下是本篇文章正文内容,下面案例可供参考
一、flask是什么?
flask是⼀款⾮常流⾏的 轻量级 Python Web应⽤框架。
Web应⽤框架:⽤于进⾏Web开发的⼀套软件架构,提供了⼀套开发和部署⽹站的⽅式
⻚⾯:以HTML的形式发送到浏览器中
发送HTML到浏览器的应⽤:Web应⽤
二、实验过程
1.连接数据库并查询需要的数据
代码如下(示例):
# 导⼊pymysql模块
import pymysql
# 连接database,这部分改成自己的数据库
conn = pymysql.connect(
host="localhost",#数据库的链接,一般都是localhost,可以打开自己的mysql查一下
port=3306,#端口号
user="root",password="123456",#用户名和密码
database="flask2022",#使用的数据库
charset="utf8")
# 得到⼀个可以执⾏SQL语句的光标对象
cursor = conn.cursor()
# 执⾏完毕返回的结果集默认以元组显示
# 得到⼀个可以执⾏SQL语句并且将结果作为字典返回的游标
#cursor = conn.cursor(cursor=pymysql.cursors.DictCursor)
# 定义要执⾏的SQL语句
# 查询全部
sql1 = "select * from map_enword"
# 按条件查询
sql = "SELECT * FROM course WHERE cid > %d" % (1)
# 异常处理
try:
cursor.execute(sql1)
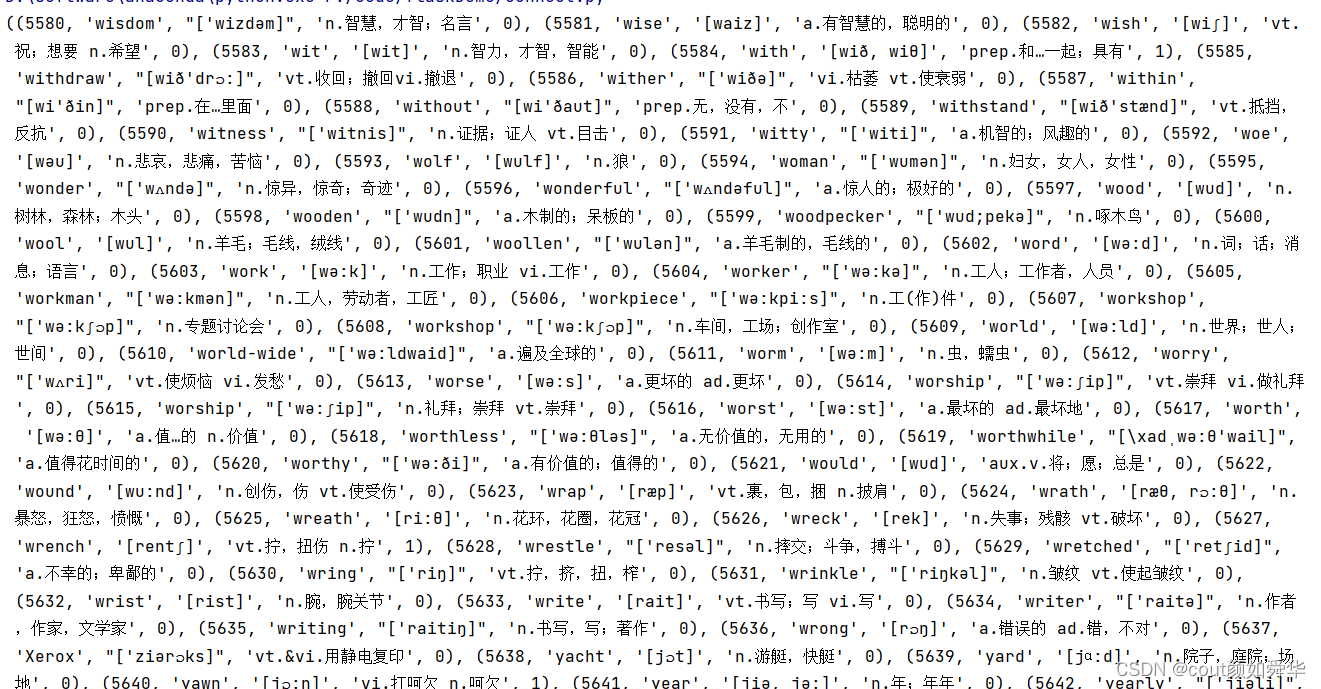
results = cursor.fetchall()
print(results)
except:
conn.rollback()
# 关闭光标对象
cursor.close()
# 关闭数据库连接
conn.close()
运行结果:注意是以元组的形式返回数据库里的
2.人脸识别
上一篇博客介绍了几种常见的人脸识别方法,详见:
python人脸识别
本文介绍一种新的方法,使用mtcnn进行人脸识别,可以读取两张图片获得它们的特征向量,并匹配是不是同一人。
代码如下(示例):
import cv2
import torch
from facenet_pytorch import *
device = torch.device('cuda:0' if torch.cuda.is_available() else 'cpu')
def load_known_faces(dstImgPath, mtcnn, resnet):
aligned = []
knownImg = cv2.imread(dstImgPath) # 读取图片
face = mtcnn(knownImg) # 使用mtcnn检测人脸,返回【人脸数组】
if face is not None:
aligned.append(face[0])
aligned = torch.stack(aligned).to(device)
with torch.no_grad():
known_faces_emb = resnet(aligned).detach().cpu() # 使用resnet模型获取人脸对应的特征向量
return known_faces_emb, knownImg
def match_faces(faces_emb, known_faces_emb, threshold):
isExistDst = False
distance = (known_faces_emb[0] - faces_emb[0]).norm().item()
if(distance < threshold):
isExistDst = True
return isExistDst
if __name__ == '__main__':
# mtcnn模型加载【设置网络参数,进行人脸检测】
mtcnn = MTCNN(min_face_size=12, thresholds=[0.2, 0.2, 0.3],
keep_all=True, device=device)
# InceptionResnetV1模型加载【用于获取人脸特征向量】
resnet = InceptionResnetV1(pretrained='vggface2').eval().to(device)
MatchThreshold = 0.8 # 人脸特征向量匹配阈值设置
# 注意图片路径
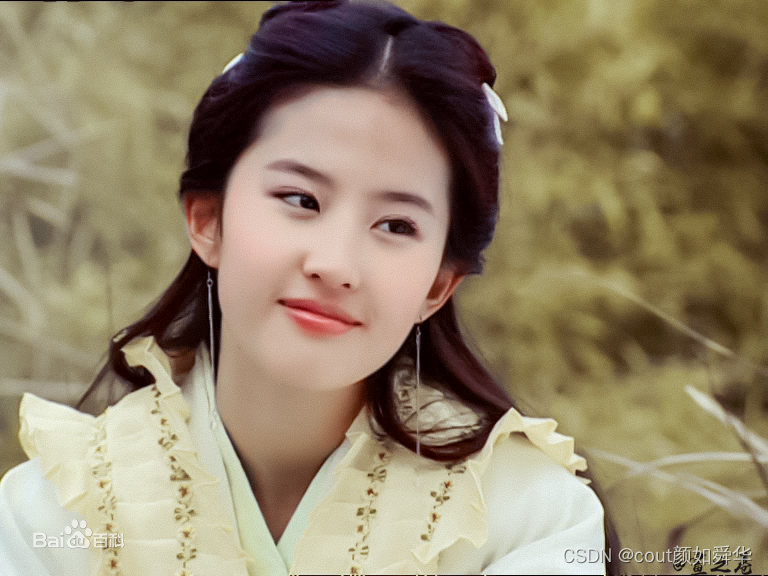
known_faces_emb, _ = load_known_faces('lyf.jpg',
mtcnn, resnet) # 已知人物图
faces_emb, img = load_known_faces('lyf2.jpg', mtcnn,
resnet) # 待检测人物图
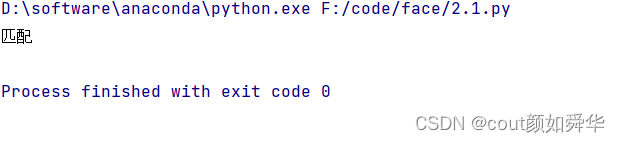
isExistDst = match_faces(faces_emb, known_faces_emb, MatchThreshold)
# 人脸匹配
if isExistDst:
boxes, prob, landmarks = mtcnn.detect(img, landmarks=True) # 返
print('匹配')
else:
print('不匹配')
输入:
lyf.jpg
lyf2.jpg

运行结果:
3.使用flask进行展示
3.1 路由函数
我们将上述的运行结果在flask里进行展示,首先是写路由。将1和2中的部分代码放在路由函数里进行展示。
main.py
from flask import Flask, render_template
app = Flask(__name__) # 初始化Flask实例
import pymysql
from getface import *
import cv2
import torch
from facenet_pytorch import *
@app.route('/') # 路由
def hello_world(): # 视图函数
return 'hello world'
# 理解路由
@app.route('/user')
def hello_user():
return 'hello user'
@app.route('/word')
def word():
conn = pymysql.connect(
host="localhost",
port=3306,
user="root", password="123456",
database="flask2022",
charset="utf8")
# 得到⼀个可以执⾏SQL语句的光标对象
cursor = conn.cursor()
# 执⾏完毕返回的结果集默认以元组显示
# 得到⼀个可以执⾏SQL语句并且将结果作为字典返回的游标
# cursor = conn.cursor(cursor=pymysql.cursors.DictCursor)
# 定义要执⾏的SQL语句 #创建数据表
# 显示全部
sql1 = "select * from map_enword"
try:
cursor.execute(sql1)
results = cursor.fetchall()
results = list(results)
except:
conn.rollback()
# 关闭光标对象
cursor.close()
# 关闭数据库连接
conn.close()
return render_template('words.html',result=results)#将result结果传入模板
@app.route('/face')
def face():
device = torch.device('cuda:0' if torch.cuda.is_available() else
'cpu')
# mtcnn模型加载【设置网络参数,进行人脸检测】
mtcnn = MTCNN(min_face_size=12, thresholds=[0.2, 0.2, 0.3],
keep_all=True, device=device)
# InceptionResnetV1模型加载【用于获取人脸特征向量】
resnet = InceptionResnetV1(pretrained='vggface2').eval().to(device)
MatchThreshold = 0.8 # 人脸特征向量匹配阈值设置
# 注意图片路径
known_faces_emb, _ = load_known_faces('static/zgr1.jpeg',
mtcnn, resnet) # 已知人物图
faces_emb, img = load_known_faces('static/zgr2.jpeg', mtcnn,
resnet) # 待检测人物图
isExistDst = match_faces(faces_emb, known_faces_emb, MatchThreshold)
# 人脸匹配
if isExistDst:
boxes, prob, landmarks = mtcnn.detect(img, landmarks=True)
mm='匹配'
else:
mm='不匹配'
return render_template('face.html', feature1=known_faces_emb,feature2=faces_emb,match_result=mm)#将需要展示的数据传入模板
if __name__ == '__main__':
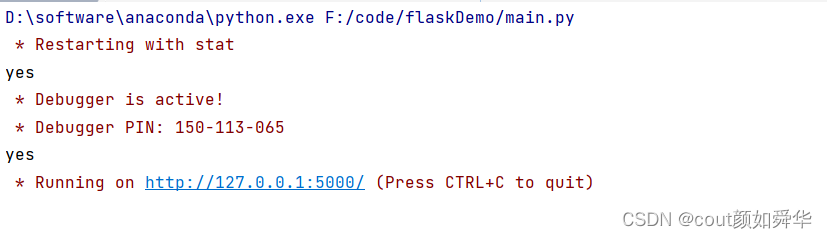
print("yes") # 控制台输出
app.run(debug=True)
3.2使用模板
我们写两个Html文件分布展示单词表和人脸识别结果。
- face.html
python人脸识别介绍了人脸识别和人脸对齐的过程,本文不再赘述,直接将其结果保存下来进行展示。
<!DOCTYPE html>
<html lang="en">
<head>
<meta charset="UTF-8">
<title>Title</title>
</head>
<body>
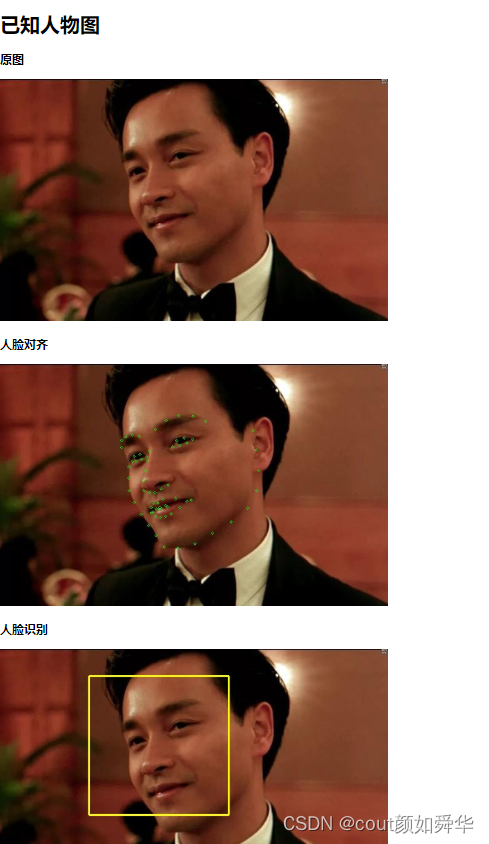
<h1>已知人物图</h1>
<h3>原图</h3>
<img src="../static/zgr1.jpeg">
<h3>人脸对齐</h3>
<img src="../static/zgr1_fp.jpg">
<h3>人脸识别</h3>
<img src="../static/zgr1_fr.jpg">
<h3>人脸的特征向量</h3>
{{feature1}}
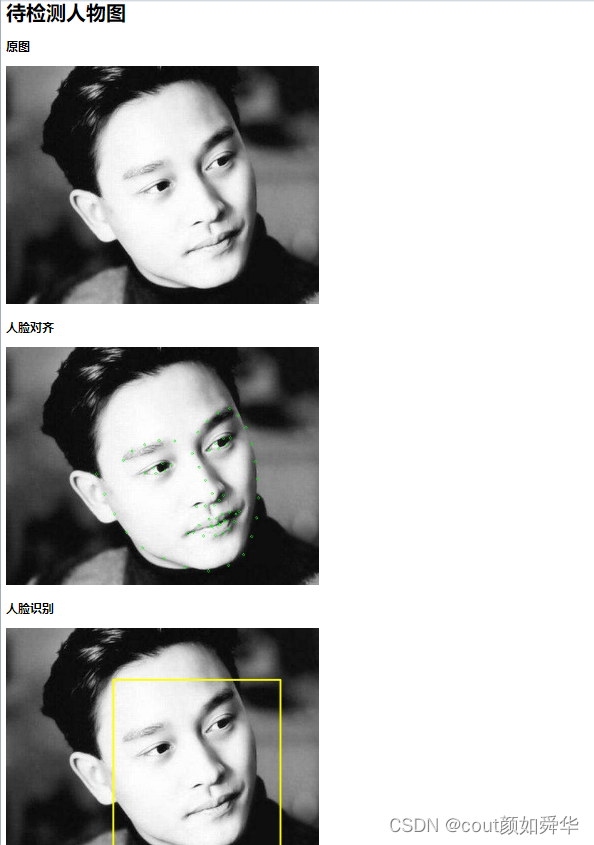
<h1>待检测人物图</h1>
<h3>原图</h3>
<img src="../static/zgr2.jpeg">
<h3>人脸对齐</h3>
<img src="../static/zgr2_fp.jpg">
<h3>人脸识别</h3>
<img src="../static/zgr2_fr.jpg">
<h3>人脸的特征向量</h3>
{{feature2}}
<h1>匹配结果</h1>
{{match_result}}
</body>
</html>
return render_template(‘face.html’, feature1=known_faces_emb,feature2=faces_emb,match_result=mm)#将需要展示的数据传入模板
注意{{}}内是从路由函数传来的参数
2.words.html
<!DOCTYPE html>
<html lang="en">
<head>
    <meta charset="UTF-8">
    <title>Title</title>
</head>
<body>
    <h1>单词表</h1>
    {% for r in result %}
        {{r}}<br>
    {% endfor %}
</body>
</html>
4.结果展示
运行main.py,会显示网页的地址
 点击后记得输入正确的路由,分别输入word和face
 http://127.0.0.1:5000/face

 http://127.0.0.1:5000/word
总结
本文介绍了flask的基本使用方法,包括路由的使用,模板的使用,与数据库的连接,并介绍了一种新的基于pytorch的人脸识别方法,并将结果在flask网页中展示。


 1125
1125


 被折叠的 条评论
为什么被折叠?
被折叠的 条评论
为什么被折叠?
 到【灌水乐园】发言


