


JDK中的Future和Netty中的Future、Promise的关系
三者源头追溯
Netty中的Future与JDK中的Future同名,但是是两个不同的接口。Netty中的Future继承自JDK的Future,而Promise又对Netty中的Future进行了扩展。
- JDK中的Future源自JUC并发包:

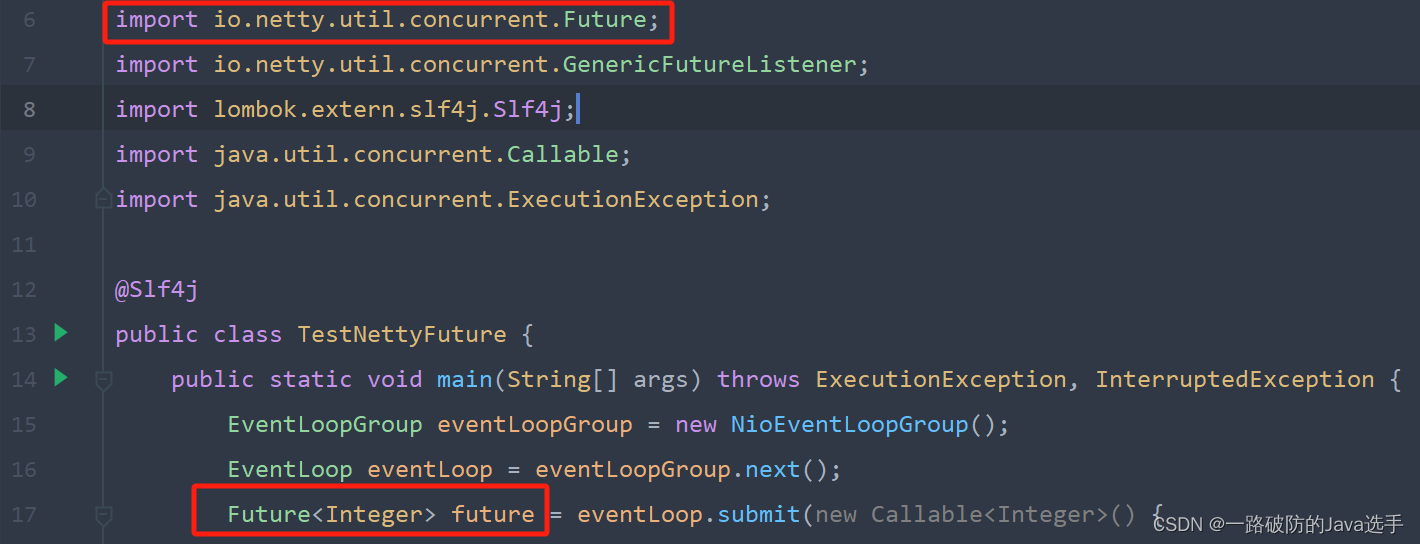
- Netty中的Future源自Netty中的并发包:import io.netty.util.concurrent.Future; 并继承JUC中的Future。

- Netty中的Promise继承自Netty中的Future,并且是一个接口,下面有一个实现类DefaultPromise<V>:


三者之间的区别和联系
jdk Future 只能同步等待任务结束(或成功、或失败)才能得到结果
netty Future 可以同步等待任务结束得到结果,也可以异步方式得到结果,但都是要等任务结束
netty Promise 不仅有 netty Future 的功能,而且脱离了任务独立存在,只作为两个线程间传递结果的容器
JDK和Netty中的Future并不是自己创建的,而是执行任务的线程执行结束后自己创建并且返回的。对于Future的创建权以及结果的设置均不是自己控制的,而是执行任务的线程控制的。Netty中的Promise可以提交者自己创建随后作为一个容器,供其他线程使用。
代码演示
JDK中的Future
代码编写:
JDK中Future的获取依赖于线程池,首先创建线程池。
package com.example.code.netty.c4;

import lombok.extern.slf4j.Slf4j;
import java.util.concurrent.*;

@Slf4j
public class TestJDKFuture {
    public static void main(String[] args) throws ExecutionException, InterruptedException {
        ExecutorService service = Executors.newFixedThreadPool(2);
        // future的理解,就是线程之间通信的工具,一个线程中获取另一个线程的结果,需要另一个线程主动填充
        log.info("task begin ...");
        Future<Integer> future = service.submit(new Callable<Integer>() {
            @Override
            public Integer call() throws Exception {
                log.info("task is running...");
                Thread.sleep(1000);
                // future是被动获取结果的,需要执行任务的线程向future中填充返回结果
                log.info("task is end ...");
                return 20;
            }
        });
        log.info("等待结果...");
        log.info("获取任务执行结果:{}", future.get());
    }
}
结果展示:

通过lombok中的@Slf4j注解,打印执行过程相关信息:主要关注①执行线程名称,②任务执行是都异步,获取结果是否是阻塞、同步。执行顺序如下所示:
 上述图片中的②和③执行顺序不能倒置,②属于主线程顺序执行,然而③属于新创建的线程中执行,线程的创建以及启动本身需要耗费一定的时间。
Netty中的Future
Netty中的Future的获取依赖于EventLoop,需要首先创建EventLoop,等价于JDK中的Future的获取的线程池的创建。
Netty中的Future对于结果的获取可以采用同步,也可也采用异步的方式。并且在异步获取结果时可以使用get()、getNow()两种方式获取。
- get():获取任务结果,阻塞等待。
- getNow():获取任务结果,非阻塞,还未产生结果时返回null。
package com.example.code.netty.c4;

import io.netty.channel.EventLoop;
import io.netty.channel.EventLoopGroup;
import io.netty.channel.nio.NioEventLoopGroup;
import io.netty.util.concurrent.Future;
import io.netty.util.concurrent.GenericFutureListener;
import lombok.extern.slf4j.Slf4j;
import java.util.concurrent.Callable;
import java.util.concurrent.ExecutionException;

@Slf4j
public class TestNettyFuture {
    public static void main(String[] args) throws ExecutionException, InterruptedException {
        EventLoopGroup eventLoopGroup = new NioEventLoopGroup();
        EventLoop eventLoop = eventLoopGroup.next();
        Future<Integer> future = eventLoop.submit(new Callable<Integer>() {
            @Override
            public Integer call() throws Exception {
                log.info("task is running...");
                Thread.sleep(1000);
                // future是被动获取结果的,需要执行任务的线程向future中填充返回结果
                log.info("task is end ...");
                return 70;
            }
        });

        log.info("等待结果...");
        // 同步方式获取任务执行结果
//        log.info("获取任务执行结果:{}", future.get());
        // 异步方式获取执行结果
        future.addListener(new GenericFutureListener<Future<? super Integer>>() {
            @Override
            public void operationComplete(Future<? super Integer> future) throws Exception {
                // 异步获取执行结果既可以用future.get()阻塞方法,也可以用future.getNow()非阻塞方法。
                // 异步既然执行到了回调函数这一步,肯定已经能够获取到执行结果。
                log.info("获取任务执行结果:{}", future.getNow());
            }
        });
    }
}
代码执行结果:【同步】

代码执行结果:【异步】

同步方式下最终任务执行结果70的获取线程是当前main线程,而异步方式下最终执行结果70的获取是在nioEventLoopGroup中的某个线程也即任务线程本身中获取。
Netty中的Promise
Netty中的Promise继承自Netty中的Future,在继承Future相关功能的基础上,又实现了功能的增强。不仅可以在任务正确执行后设置执行结果,也可以在任务执行失败后设置执行结果。
- setSuccess():设置成功结果。
- setFailure():设置失败结果。
代码编写:
package com.example.code.netty.c4;

import io.netty.channel.EventLoop;
import io.netty.channel.nio.NioEventLoopGroup;
import io.netty.util.concurrent.DefaultPromise;
import lombok.extern.slf4j.Slf4j;

import java.util.concurrent.ExecutionException;

@Slf4j
public class TestNettyPromise {
    public static void main(String[] args) throws ExecutionException, InterruptedException {
        EventLoop eventLoop = new NioEventLoopGroup().next();
        // 主动创建promise,结果容器
        DefaultPromise<Integer> promise = new DefaultPromise<>(eventLoop);
        log.info("task begin ...");
        new Thread(()->{
            log.info("task is running...");
            // 任意一个线程执行计算,计算完毕后向promise中填充结果。
            try {
//                int i = 1 / 0;
                Thread.sleep(1000);
                promise.setSuccess(10);
            } catch (Exception e) {
//                e.printStackTrace();
                promise.setFailure(e);
            }
            log.info("task end ...");
        }).start();
        log.info("等待结果...");
        log.info("获取任务执行结果:{}", promise.get());
    }
}
代码执行结果:【同步】,异步执行结果不再演示,同Netty中的Future效果所示。


 448
448


 被折叠的 条评论
为什么被折叠?
被折叠的 条评论
为什么被折叠?
 到【灌水乐园】发言


