全连接层的基本使用
"""
全连接层 -- 简单使用
"""
import tensorflow as tf
x = tf.random.normal((4, 784))
net = tf.keras.layers.Dense(units=512)
out = net(x)
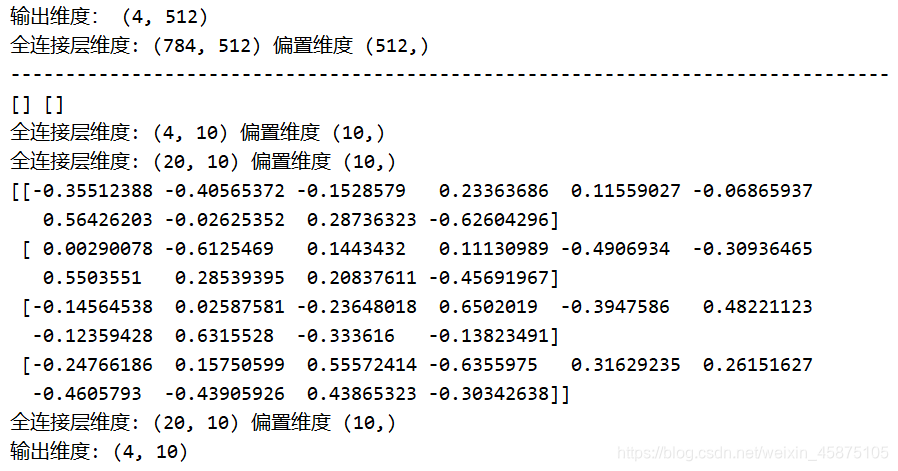
print("输出维度:", out.shape)
print("全连接层维度:", net.kernel.shape, "偏置维度", net.bias.shape)
print("--" * 40)
net = tf.keras.layers.Dense(10)
print(net.get_weights(), net.weights)
net.build(input_shape=(None, 4))
print("全连接层维度:", net.kernel.shape, "偏置维度", net.bias.shape)
net.build(input_shape=(None, 20))
print("全连接层维度:", net.kernel.shape, "偏置维度", net.bias.shape)
net.build(input_shape=(2, 4))
print(net.kernel.numpy())
net.build(input_shape=[None, 20])
print("全连接层维度:", net.kernel.shape, "偏置维度", net.bias.shape)
x = tf.random.normal([4, 20])
out = net(x)
print("输出维度:", out.shape)
使用函数创建全连接网络
"""
sequnential
连续创建模型
"""
import tensorflow as tf
x = tf.random.normal([2, 3])
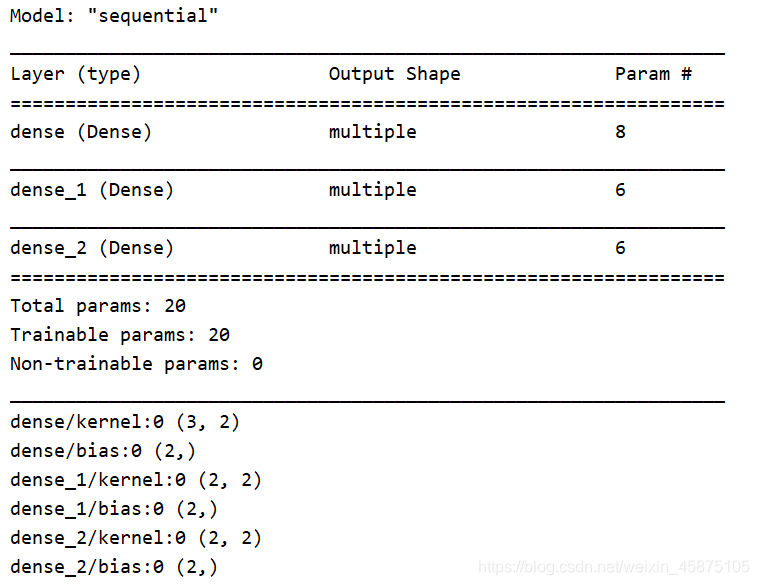
model = tf.keras.Sequential([
tf.keras.layers.Dense(2, activation="relu"),
tf.keras.layers.Dense(2, activation="relu"),
tf.keras.layers.Dense(2)
])
model.build(input_shape=[None, 3])
model.summary()
for p in model.trainable_variables:
print(p.name, p.shape)


 363
363

 被折叠的 条评论
为什么被折叠?
被折叠的 条评论
为什么被折叠?
 到【灌水乐园】发言


