


SpringBoot项简单接口实例
二、helloWord 接口示例
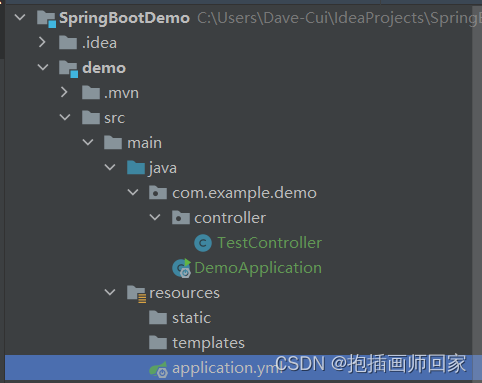
2.1在demo包下新建conroller包并新建一个测试的类TestController
启动类DemoApplication代码基本是写好的,如下:
package com.example.demo;
import org.springframework.boot.SpringApplication;
import org.springframework.boot.autoconfigure.SpringBootApplication;
@SpringBootApplication
public class DemoApplication {
public static void main(String[] args) {
SpringApplication.run(DemoApplication.class, args);
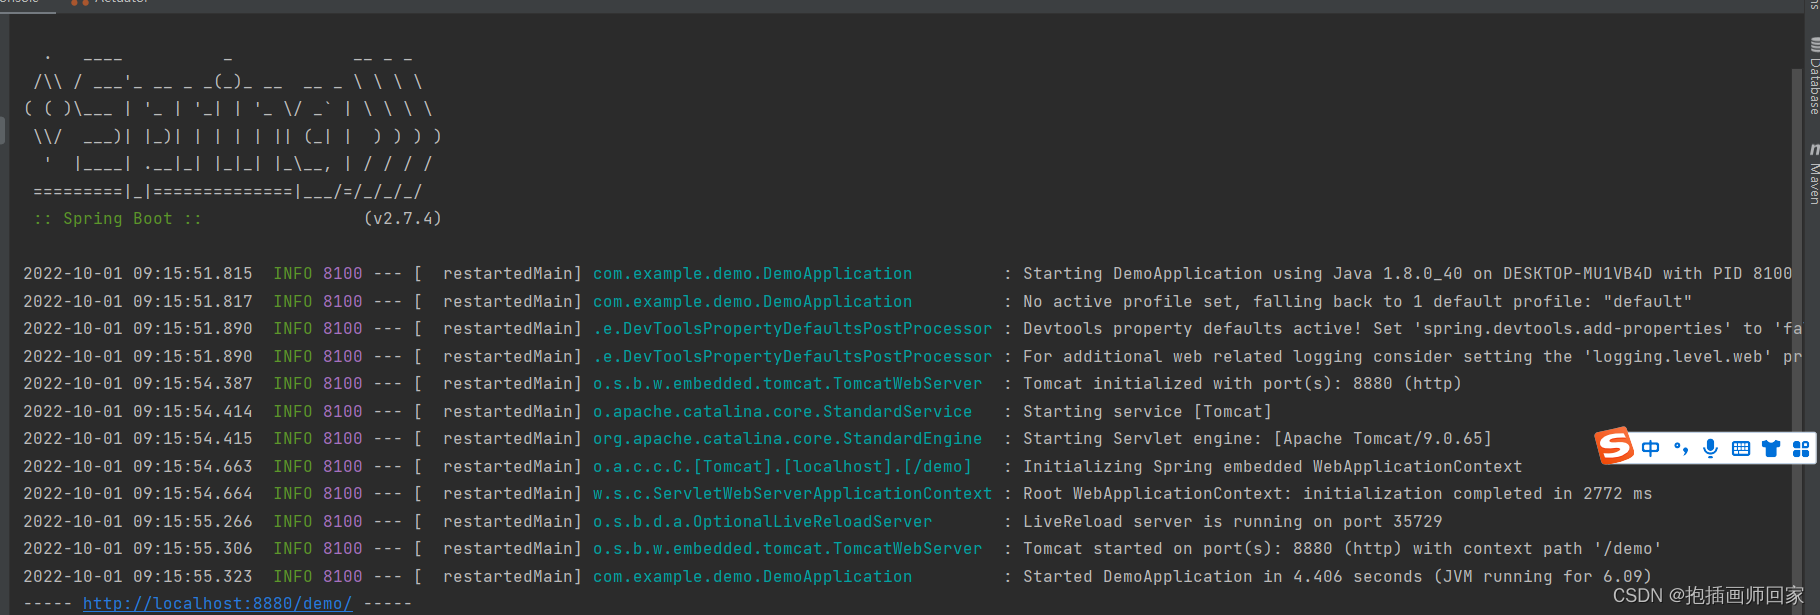
System.out.println("----- http://localhost:8880/demo/ -----");
}
}
创建的TestController代码如下:
package com.example.demo.controller;
import org.springframework.boot.SpringApplication;
import org.springframework.boot.autoconfigure.SpringBootApplication;
import org.springframework.web.bind.annotation.GetMapping;
import org.springframework.web.bind.annotation.RequestParam;
import org.springframework.web.bind.annotation.RestController;
import org.springframework.web.bind.annotation.RequestMapping;

@RestController
@RequestMapping("/test")
public class TestController {

    @GetMapping(value = "/hello", name = "返回Hello World")
    public String hello(@RequestParam(value = "name", required = false) String name) {
        return String.format("Hello %s! ", name == null ? "World" : name);
    }
}
在application.yml中加入:
server:
    port: 8880
    servlet:
        context-path: /demo
如果是application.properties文件写入:
server.port: 8880
server.servlet.context-path: /demo
2.2运行项目
下面运行启动类:
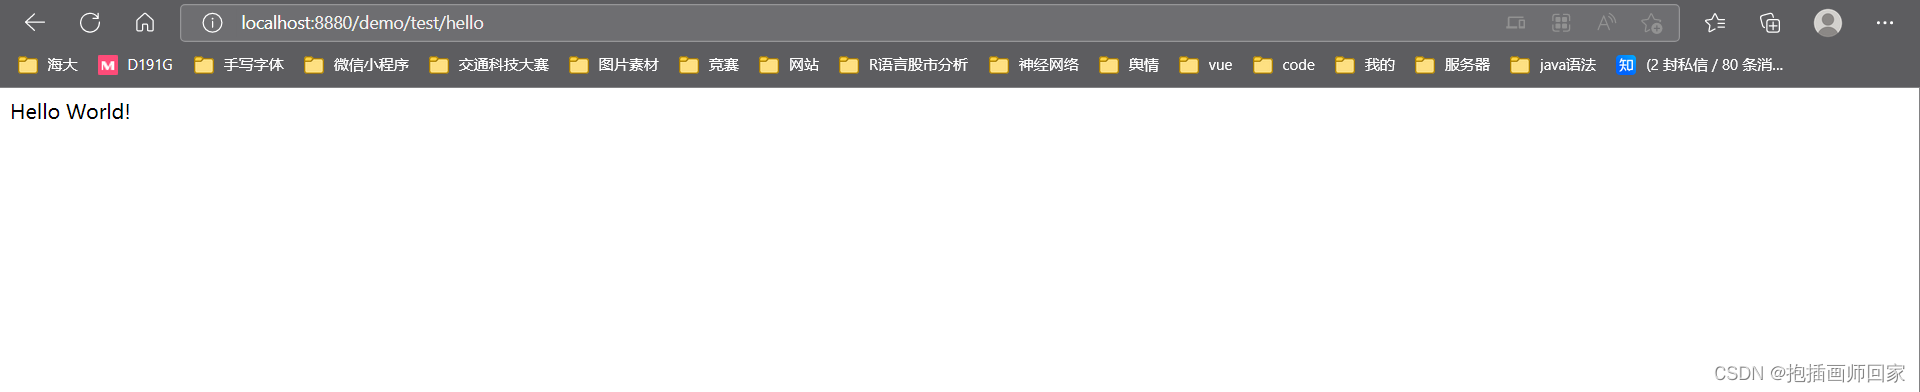
 在浏览器输入http://localhost:8880/demo/test/hello即可看到
个人总结:
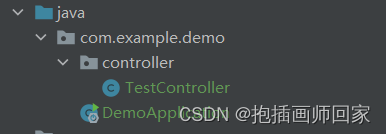
第一坑,创建包的目录层级:
这个包的目录记得拖进去
第二坑:yml和properties配置文件区别:
1.内容格式比较: .properties文件,通过.来连接,通过=来赋值,结构上,没有分层的感觉,但比较直接。 .yml文件,通过:来分层,结构上,有比较明显的层次感,最后key赋值的:后需要留一个空格
2.执行顺序 如果工程中同时存在application.properties文件和 application.yml文件,yml文件会先加载,而后加载的properties文件会覆盖yml文件。所以建议工程中,只使用其中一种类型的文件即可。
感受一下:
application.properties:
server.port=8081

spring.datasource.type=org.apache.tomcat.jdbc.pool.DataSource
spring.datasource.url=jdbc:mysql://aliyuncs.com:3306/database?useUnicode=true&zeroDateTimeBehavior=convertToNull&autoReconnect=true
spring.datasource.username=root
spring.datasource.password=******
spring.datasource.driver-class-name=com.mysql.jdbc.Driver
application.yml:
server:
  port: 8082

spring:
    datasource:
        name: test
        url: jdbc:mysql://127.0.0.1:3306/database
        username: root
        password: ******
        type: com.alibaba.druid.pool.DruidDataSource
        driver-class-name: com.mysql.jdbc.Driver复制代码
所以上述需要改成yml后缀的properties其实可以这样写:
application.properties:
server.port: 8880
server.servlet.context-path: /demo
第三坑:pom.xml爆红
不知为啥,反正能跑,原因待查


 472
472


 被折叠的 条评论
为什么被折叠?
被折叠的 条评论
为什么被折叠?
 到【灌水乐园】发言


