


前端使用封装好的验证码,复制即用(一)
前言
前端使用封装好的验证码,复制即用
提示:以下是本篇文章正文内容,下面案例可供参考
一、使用步骤
1.创建文件
在src下创建components文件夹 创建ValidCode.vue
<template>
    <div class="ValidCode disabled-select" style="width: 100%; height: 100%" @click="refreshCode">
      <span v-for="(item, index) in codeList" :key="index" :style="getStyle(item)">{{item.code}}</span>
    </div>
  </template>

  <script>
  export default {
    name: 'validCode',
    data () {
      return {
        length: 4,
        codeList: []
      }
    },
    mounted () {
      this.createdCode()
    },
    methods: {
      refreshCode () {
        this.createdCode()
      },
      createdCode () {
        let len = this.length,
            codeList = [],
            chars = 'ABCDEFGHJKMNPQRSTWXYZabcdefhijkmnprstwxyz0123456789',
            charsLen = chars.length
        // 生成
        for (let i = 0; i < len; i++) {
          let rgb = [Math.round(Math.random() * 220), Math.round(Math.random() * 240), Math.round(Math.random() * 200)]
          codeList.push({
            code: chars.charAt(Math.floor(Math.random() * charsLen)),
            color: `rgb(${rgb})`,
            padding: `${[Math.floor(Math.random() * 10)]}px`,
            transform: `rotate(${Math.floor(Math.random() * 90) - Math.floor(Math.random() * 90)}deg)`
          })
        }
        // 指向
        this.codeList = codeList
        // 将当前数据派发出去
        this.$emit('update:value', codeList.map(item => item.code).join(''))
      },
      getStyle (data) {
        return `color: ${data.color}; font-size: ${data.fontSize}; padding: ${data.padding}; transform: ${data.transform}`
      }
    }
  }
  </script>

  <style>
  .ValidCode{
    display: flex;
    justify-content: center;
    align-items: center;
    cursor: pointer;
  }
  .ValidCode span {
    display: inline-block;
    font-size: 18px;
  }
  </style>
2.主页中使用
代码如下(示例):
<script>
import ValidCode from '@/components/ValidCode.vue'   //here
export default {
    name:'Login',
    components:{
        ValidCode   //here

    },
    data(){
        return{

...........
<el-form-item prop="valiCode">  <!--验证码  前台校验-->
	<div style="display: flex;">   <!--平均分为左右2部分-->
		<el-input prefix-icon="el-icon-edit" style="flex:1"></el-input>
			<div style="flex: 1;">
				<valid-code></valid-code>
             </div>
    </div>
</el-form-item>
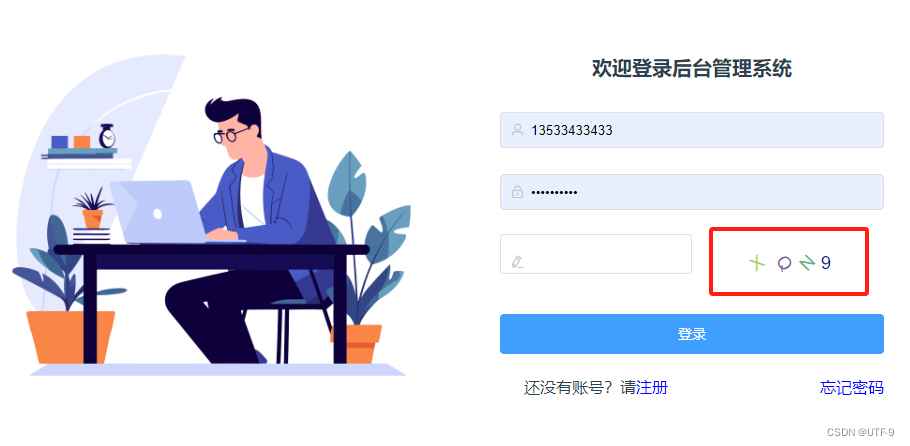
3.使用效果


 718
718

 被折叠的 条评论
为什么被折叠?
被折叠的 条评论
为什么被折叠?
 到【灌水乐园】发言


