


背景
网站需要被外网访问我们必须要把网站放到web容器中,目前常用的web容器有apache、tomocat、IIS、nginx 等,把打包好的网站放到 web容器中进行相应的配置,实现外网访问的功能。
步骤
打包vue
目前打包vue的工具有很多,有babel、webpack、vite 等。
在这里我直接用babel,因为在babel是我们新建一个标准的vue项目时默认的打包工具,只用它就可以满足我们的要求,当然应对大型网站的打包的时候建议用webpack或vite,这两个能满足一些大型应用个性化需求。
vue2 和vue3 创建babel 项目过程都差不多,运行如下命令进行创建babel 打包的vue项目,vue create liangmingblog 后默认创建项目的配置即可一直回车。
vue create liangmingblog #创建项目
npm install #下载包
npm run build #打包项目
生成打包文件如下:
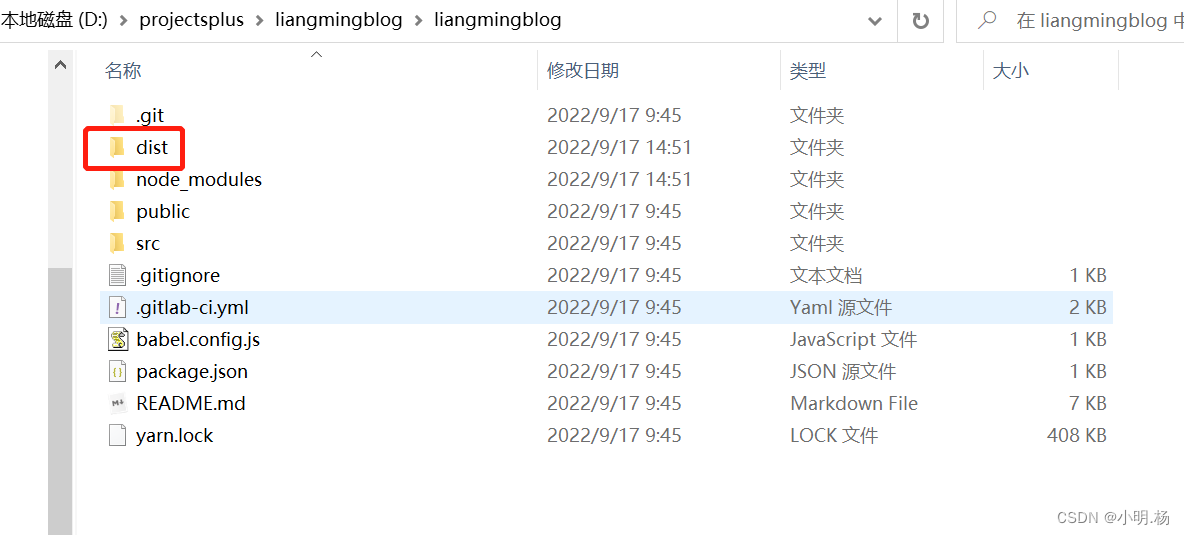
把dist 放到nginx 访问的目录即可。
在远程服务器中下载安装nginx
sudo yum install -y nginx
安装成功后,默认的网站目录为: /usr/share/nginx/html(可以nginx.conf 配置文件中修改)
默认的配置文件为:/etc/nginx/nginx.conf
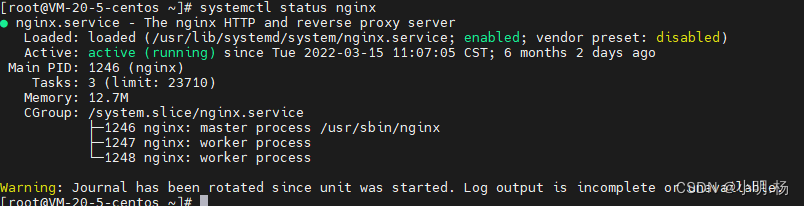
安装成功后查看nginx的状态
nginx 的基本命令
启动:systemctl start nginx
重启:systemctl restart nginx
关闭:systemctl stop nginx
查看状态:systemctl status nginx
开启开机自动启动:systemctl enable nginx
关闭开机自动启动:systemctl disable nginx
配置nginx
通过配置文件对nginx 进行配置nginx配置文件的位置在/etc/nginx/nginx.conf中
user nginx;
worker_processes auto;
error_log /var/log/nginx/error.log;
pid /run/nginx.pid;

# Load dynamic modules. See /usr/share/doc/nginx/README.dynamic.
include /usr/share/nginx/modules/*.conf;

events {
    worker_connections 1024;
}

http {
    log_format  main  '$remote_addr - $remote_user [$time_local] "$request" '
                      '$status $body_bytes_sent "$http_referer" '
                      '"$http_user_agent" "$http_x_forwarded_for"';

    access_log  /var/log/nginx/access.log  main;

    sendfile            on;
    tcp_nopush          on;
    tcp_nodelay         on;
    keepalive_timeout   65;
    types_hash_max_size 2048;

    include             /etc/nginx/mime.types;
    default_type        application/octet-stream;

    # Load modular configuration files from the /etc/nginx/conf.d directory.
    # See http://nginx.org/en/docs/ngx_core_module.html#include
    # for more information.
    include /etc/nginx/conf.d/*.conf;

     server {
        listen       80; #端口配置
       # server_name  www.xxxxxxx.cn; # 有域名的话可以在这里配置
        #root         /usr/share/nginx/html; #配置访问vue资源的路径
        location /yun {
                proxy_pass http://127.0.0.1:3000; #转发
                proxy_set_header X-Real-IP $remote_addr;
                proxy_set_header Host $host;
        }

        location /liangmingblog {
                root     /data/liangmingblog/dist; #同上面的root,也可以在这里配置访问vue资源路径
                index index.html index.htm;
                try_files $uri $uri/ /index.html;
        }
        # Load configuration files for the default server block.
        include /etc/nginx/default.d/*.conf;


        error_page 404 /404.html;
            location = /40x.html {
        }

        error_page 500 502 503 504 /50x.html;
            location = /50x.html {
        }
    }
    server {
        listen       8080 default_server;
        # listen       [::]:80 default_server;
        server_name  _;
        root         /data/liangmingblog/dist;

        # Load configuration files for the default server block.
        include /etc/nginx/default.d/*.conf;

        location /liangmingblog {
          try_files $uri $uri/ /index.html;
        }

    }


}
配置完了记得重启systemctl restart nginx
nginx 相关配置的的说明
通过对nginx.conf文件的配置,可以实现很多功能,如负载均衡、反向代理等,对于简单的部署vue3项目来说,只需要在server添加以下的配置就可以
 location /liangmingblog {
                root     /data/liangmingblog/dist;
                index index.html index.htm;
                try_files $uri $uri/ /index.html;
        }
root 对应的是网站的地址。
index 对应的是访问的路径。
try_files 是当网页找不到时要访问的页面,这里时必须要配置的,因为vue是单体应用,不配置的话刷新网页无法在访问页面。
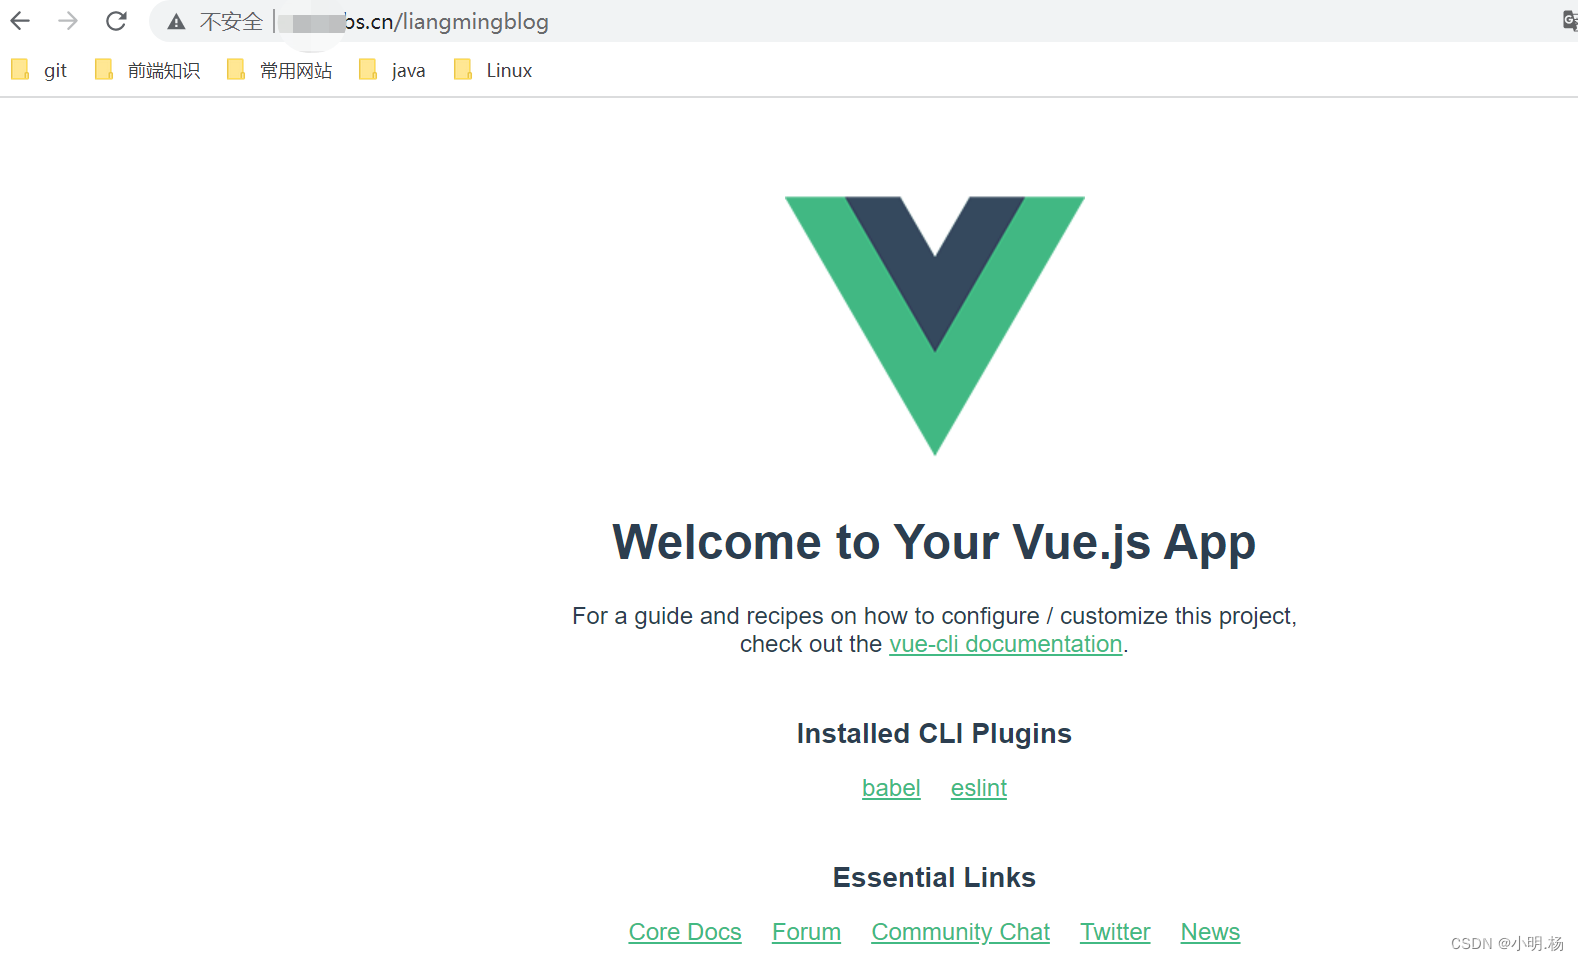
结果
在这里我配置了域名,可以用域名访问,没配置域名可以通过网址访问。


 8681
8681


 被折叠的 条评论
为什么被折叠?
被折叠的 条评论
为什么被折叠?
 到【灌水乐园】发言


