


一、安装python3.7
1.安装编译环境及相关类库
使用root用户安装
yum -y groupinstall "Development tools"
yum -y install zlib-devel bzip2-devel openssl-devel ncurses-devel sqlite-devel readline-devel tk-devel gdbm-devel db4-devel libpcap-devel xz-devel
yum -y install gcc make libffi-devel
2.下载python包
切换到用户家目录
cd ~
wget https://www.python.org/ftp/python/3.7.3/Python-3.7.3.tgz
3.解压编译安装
tar -zxvf Python-3.7.3.tgz
cd Python-3.7.3
指定安装路径、编译安装
./configure --prefix=/home/4885/python373
make&&make install
4.安装完成,测试一下
查看python版本
./python3 -V
查看已安装的包
./pip3 list
import ssl 看有没有报错
[4885@test bin]$ ./python3
Python 3.7.3 (default, Nov  3 2023, 20:32:26)
[GCC 4.8.5 20150623 (Red Hat 4.8.5-44)] on linux
Type "help", "copyright", "credits" or "license" for more information.
>>> import ssl
>>> exit()
二、安装jupyter
创建软链接
ln -s /home/4885/python373/bin/python3 /usr/local/bin/python3
ln -s /home/4885/python373/bin/pip3 /usr/local/bin/pip3
生产环境,普通用户权限不够,那就添加到用户的环境变量。
1.配置环境变量
vim ~/.bash_profile
PATH=$PATH:$HOME/.local/bin:$HOME/bin:/home/4885/python373/bin
source ~/.bash_profile
2.升级pip版本
pip3 install --upgrade pip
或者
python3 -m pip install --upgrade pip
3.安装jupyter
pip install jupyter
Successfully installed Send2Trash-1.8.2 anyio-3.7.1 argon2-cffi-23.1.0 argon2-cffi-bindings-21.2.0 attrs-23.1.0 backcall-0.2.0 beautifulsoup4-4.12.2 bleach-6.0.0 cffi-1.15.1 comm-0.1.4 debugpy-1.7.0 decorator-5.1.1 defusedxml-0.7.1 entrypoints-0.4 exceptiongroup-1.1.3 fastjsonschema-2.18.1 idna-3.4 importlib-metadata-6.7.0 importlib-resources-5.12.0 ipykernel-6.16.2 ipython-7.34.0 ipython-genutils-0.2.0 ipywidgets-8.1.1 jedi-0.19.1 jinja2-3.1.2 jsonschema-4.17.3 jupyter-1.0.0 jupyter-client-7.4.9 jupyter-console-6.6.3 jupyter-core-4.12.0 jupyter-server-1.24.0 jupyterlab-pygments-0.2.2 jupyterlab-widgets-3.0.9 markupsafe-2.1.3 matplotlib-inline-0.1.6 mistune-3.0.2 nbclassic-1.0.0 nbclient-0.7.4 nbconvert-7.6.0 nbformat-5.8.0 nest-asyncio-1.5.8 notebook-6.5.6 notebook-shim-0.2.3 packaging-23.2 pandocfilters-1.5.0 parso-0.8.3 pexpect-4.8.0 pickleshare-0.7.5 pkgutil-resolve-name-1.3.10 prometheus-client-0.17.1 prompt-toolkit-3.0.39 psutil-5.9.6 ptyprocess-0.7.0 pycparser-2.21 pygments-2.16.1 pyrsistent-0.19.3 python-dateutil-2.8.2 pyzmq-24.0.1 qtconsole-5.4.4 qtpy-2.4.1 six-1.16.0 sniffio-1.3.0 soupsieve-2.4.1 terminado-0.17.1 tinycss2-1.2.1 tornado-6.2 traitlets-5.9.0 typing-extensions-4.7.1 wcwidth-0.2.9 webencodings-0.5.1 websocket-client-1.6.1 widgetsnbextension-4.0.9 zipp-3.15.0
4.生成配置文件
cd ~/python373/bin
./jupyter-notebook --generate-config
5.设置jupyter登录密码
./jupyter-notebook password
设置密码
04885***
查看加密后的密码,后面配置文件会使用到
cat ~/.jupyter/jupyter_notebook_config.json
{
  "NotebookApp": {
    "password": "argon2:$argon2id$v=19$m=10240,t=10,p=8$JMVsYxfaoX1VfcmYbJdXcQ$A8OVdUFSNM1WYbYku6XyCd8H4qFF/QQxIgyED2SIZnA"
  }
}
6.建立数据目录
mkdir -p /home/4885/python373/data
7.修改jupyter配置文件
vim ~/.jupyter/jupyter_notebook_config.py
c.NotebookApp.allow_remote_access = True
c.NotebookApp.allow_root = True
c.NotebookApp.ip = '*'
c.NotebookApp.notebook_dir = '/home/4885/python373/data'
c.NotebookApp.port = 20000
c.NotebookApp.open_browser = False
c.NotebookApp.password = u'sha1:8$JMVsYxfaoX1VfcmYbJdXcQ$A8OVdUFSNM1WYbYku6XyCd8H4qFF/QQxIgyED2SIZnA'
8.启动命令
nohup jupyter-notebook >jupyter.log 2>&1 &
9.浏览器访问jupyter
192.168.72.5:20000
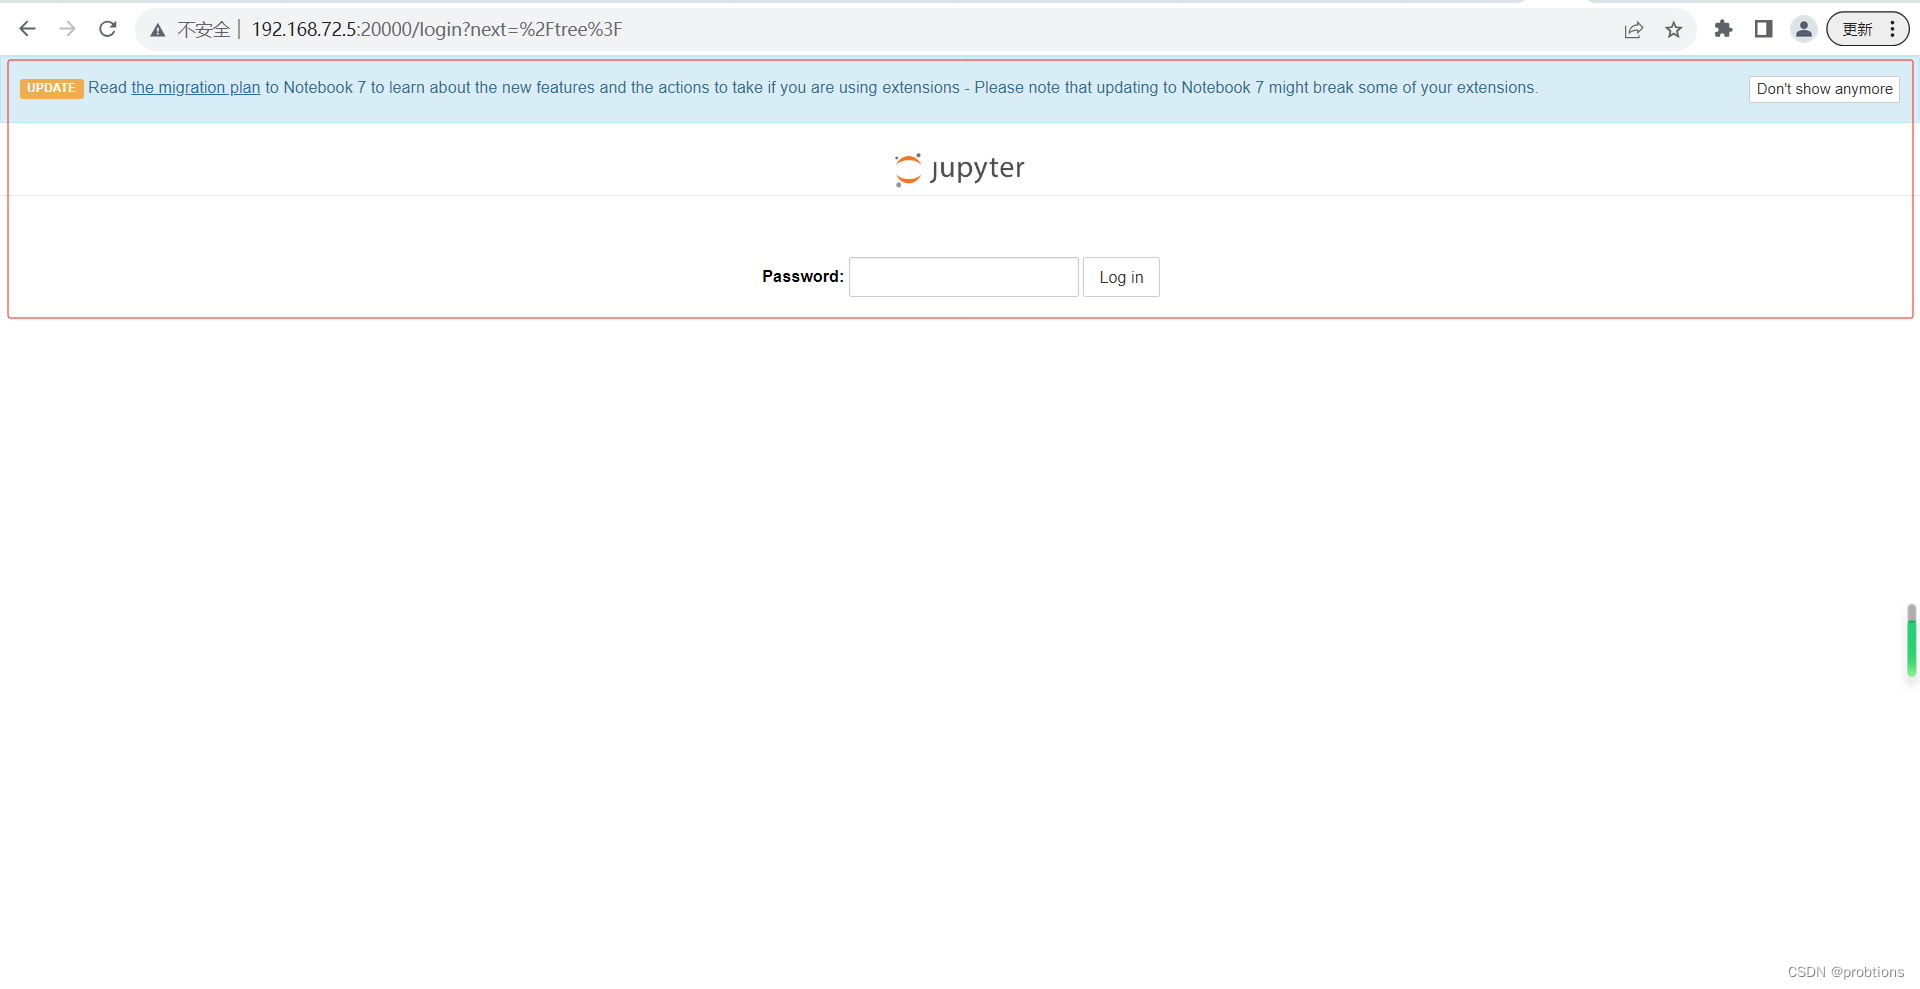
UPDATE
Read the migration plan to Notebook 7 to learn about the new features and the actions to take if you are using extensions - Please note that updating to Notebook 7 might break some of your extensions.
更新
请阅读迁移到Notebook 7的计划,了解新功能以及使用扩展时应采取的措施——请注意,更新到Notebook 7可能会破坏某些扩展。
输入密码,登录

OK,到此完成!开始jupyter使用之旅吧


 471
471


 被折叠的 条评论
为什么被折叠?
被折叠的 条评论
为什么被折叠?
 到【灌水乐园】发言


