mousemove实现图片鼠标跟随效果

前言

用html+css+JavaScript实现了一个图片鼠标跟随效果


一、思路

  1. 鼠标不断的移动,使鼠标移动事件:mousemove;
  2. 在页面中移动,给document注册事件;
  3. 图片要移动距离,而且不占位置,我们可以使用绝对定位;
  4. 核心原理:每次鼠标移动,我们都会获得最新的鼠标坐标,把这个x轴和y轴坐标作为图片的top和left值就可以移动图片。
代码如下:
<!DOCTYPE html>
<html lang="en">

<head>
    <style>
        img {
            position: absolute;
            top: 2px;
            max-width: 100px;
            height: auto;
            cursor: none;
        }
    </style>
</head>

<body>
    <img src="../images/curry2.png" alt="" />
</body>
<script>
    var pic = document.querySelector('img');
    document.addEventListener('mousemove', function (e) {
        var x = e.pageX;
        var y = e.pageY;
        pic.style.left = x - 50 + 'px';
        pic.style.top = y - 50 + 'px';


    });
</script>

</html>

代码解析:

当鼠标在页面上移动时,通过监听document的mousemove事件,获取鼠标的坐标pageX和pageY,并将图片的位置设置为鼠标坐标减去50像素(因为我这个图片设置的是100*100,减去50就会使鼠标居中)。通过这样的方式,就可以实现图片跟随鼠标移动的效果。需要注意的是,这段代码前提是页面上存在一个img元素,代码中使用document.querySelector方法获取该元素。

效果

在这里插入图片描述

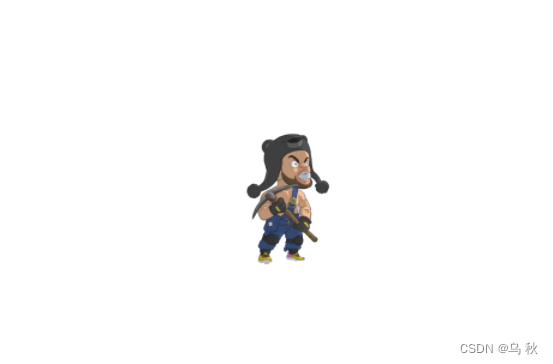
上面这个curry就变成我的鼠标啦!!!!!

  • 7
    点赞
  • 9
    收藏
    觉得还不错? 一键收藏
  • 4
    评论
以下是一个简单的js代码实现跟随鼠标粒子效果HTML: ```html <canvas id="canvas"></canvas> ``` CSS: ```css #canvas { position: absolute; top: 0; left: 0; width: 100%; height: 100%; } ``` JS: ```javascript var canvas = document.getElementById("canvas"); var ctx = canvas.getContext("2d"); var particles = []; var mouse = { x: undefined, y: undefined } window.addEventListener("mousemove", function(event) { mouse.x = event.x; mouse.y = event.y; }); function Particle(x, y, radius, color) { this.x = x; this.y = y; this.radius = radius; this.color = color; this.radians = Math.random() * Math.PI * 2; this.velocity = 0.05; this.distanceFromCenter = Math.random() * 50 + 100; this.lastMouse = {x: x, y: y}; this.draw = function(lastPoint) { ctx.beginPath(); ctx.strokeStyle = this.color; ctx.lineWidth = this.radius; ctx.moveTo(lastPoint.x, lastPoint.y); ctx.lineTo(this.x, this.y); ctx.stroke(); ctx.closePath(); } this.update = function() { // 记录上一帧的鼠标位置 this.lastMouse.x += (mouse.x - this.lastMouse.x) * 0.05; this.lastMouse.y += (mouse.y - this.lastMouse.y) * 0.05; // 运动轨迹 this.radians += this.velocity; this.x = this.lastMouse.x + Math.cos(this.radians) * this.distanceFromCenter; this.y = this.lastMouse.y + Math.sin(this.radians) * this.distanceFromCenter; this.draw(this.lastMouse); } } function init() { canvas.width = window.innerWidth; canvas.height = window.innerHeight; for (var i = 0; i < 50; i++) { var radius = Math.random() * 3 + 1; var color = "rgba(255, 255, 255, 0.5)"; particles.push(new Particle(canvas.width / 2, canvas.height / 2, radius, color)); } } function animate() { requestAnimationFrame(animate); ctx.fillStyle = "rgba(0, 0, 0, 0.1)"; ctx.fillRect(0, 0, canvas.width, canvas.height); for (var i = 0; i < particles.length; i++) { particles[i].update(); } } init(); animate(); ``` 这段代码创建了一个画布,并且在鼠标移动跟随鼠标移动的粒子效果

“相关推荐”对你有帮助么?

  • 非常没帮助
  • 没帮助
  • 一般
  • 有帮助
  • 非常有帮助
提交
评论 4
添加红包

请填写红包祝福语或标题

红包个数最小为10个

红包金额最低5元

当前余额3.43前往充值 >
需支付:10.00
成就一亿技术人!
领取后你会自动成为博主和红包主的粉丝 规则
hope_wisdom
发出的红包
实付
使用余额支付
点击重新获取
扫码支付
钱包余额 0

抵扣说明:

1.余额是钱包充值的虚拟货币,按照1:1的比例进行支付金额的抵扣。
2.余额无法直接购买下载,可以购买VIP、付费专栏及课程。

余额充值