


0 写在前面
latex功能十分强大,这里只总结使用过的方法,其余需要的办法请自行百度。
1 图
1.1 正常插图
代码段
\begin{figure}[!ht]
  \begin{center}
  \includegraphics[width=3.3in]{pictures/02.jpg}
  %\vspace{-15pt}
  \caption{{aaaaaaaa}}\label{aaa}
  \end{center}
\end{figure}
效果
注释
- caption是描述图片的指示
- label标注标识,在行文中引用
- width调整宽度
1.2 横穿双栏大图
代码段
\begin{figure*}[!ht]
  \begin{center}
  \includegraphics[width=6in]{pictures/01.jpg}
  %\vspace{-15pt}
  \caption{{bbbb}}\label{figure1}
  \end{center}
\end{figure*}
效果
注释
- 想要横穿双栏的话*号很重要
- 相应的width也需要调大
- 想要图片居中的话需要加center
1.3 正常多图
代码段
\begin{figure}[!ht]
    \centering
    \subfigure[]{%
    \includegraphics[width=1.5in]{pictures/fig8/1.jpg}
    \label{fig:subfigure1}}\subfigure[]{%
    \includegraphics[width=1.5in]{pictures/fig8/2.jpg}
    \label{fig:subfigure2}}
    \subfigure[]{%
    \includegraphics[width=1.5in]{pictures/fig8/3.jpg}
    \label{fig:subfigure3}}\subfigure[]{%
    \includegraphics[width=1.5in]{pictures/fig8/4.jpg}
    \label{fig:subfigure4}}
\caption{ aaaa}
\label{fig:figure}
\end{figure}
效果
注释
- 是一个嵌套结构
- 调整图片的宽度
- 需要在正文最前添加包\usepackage{subfigure}
1.4 横穿中间多行多列
代码段
\begin{figure*}[!ht]
\begin{minipage}{0.24\linewidth}
\vspace{3pt}
\centerline{\includegraphics[width=\textwidth,height=1.5in]{pictures/fig14/11.jpg}}
\vspace{3pt}
\centerline{\includegraphics[width=\textwidth,height=1.5in]{pictures/fig14/12.jpg}}
\vspace{3pt}
\centerline{\includegraphics[width=\textwidth,height=1.5in]{pictures/fig14/13.jpg}}
\vspace{3pt}
\centerline{(a)}
\end{minipage}
\begin{minipage}{0.24\linewidth}
\vspace{3pt}
\centerline{\includegraphics[width=\textwidth,height=1.5in]{pictures/fig14/21.jpg}}
\vspace{3pt}
\centerline{\includegraphics[width=\textwidth,height=1.5in]{pictures/fig14/22.jpg}}
\vspace{3pt}
\centerline{\includegraphics[width=\textwidth,height=1.5in]{pictures/fig14/23.jpg}}
\vspace{3pt}
\centerline{(b)}
\end{minipage}
\begin{minipage}{0.24\linewidth}
\vspace{3pt}
\centerline{\includegraphics[width=\textwidth,height=1.5in]{pictures/fig14/31.jpg}}
\vspace{3pt}
\centerline{\includegraphics[width=\textwidth,height=1.5in]{pictures/fig14/32.jpg}}
\vspace{3pt}
\centerline{\includegraphics[width=\textwidth,height=1.5in]{pictures/fig14/33.jpg}}
\vspace{3pt}
\centerline{(c)}
\end{minipage}
\begin{minipage}{0.24\linewidth}
\vspace{3pt}
\centerline{\includegraphics[width=\textwidth,height=1.5in]{pictures/fig14/41.jpg}}
\vspace{3pt}
\centerline{\includegraphics[width=\textwidth,height=1.5in]{pictures/fig14/42.jpg}}
\vspace{3pt}
\centerline{\includegraphics[width=\textwidth,height=1.5in]{pictures/fig14/43.jpg}}
\vspace{3pt}
\centerline{(d)}
\end{minipage}
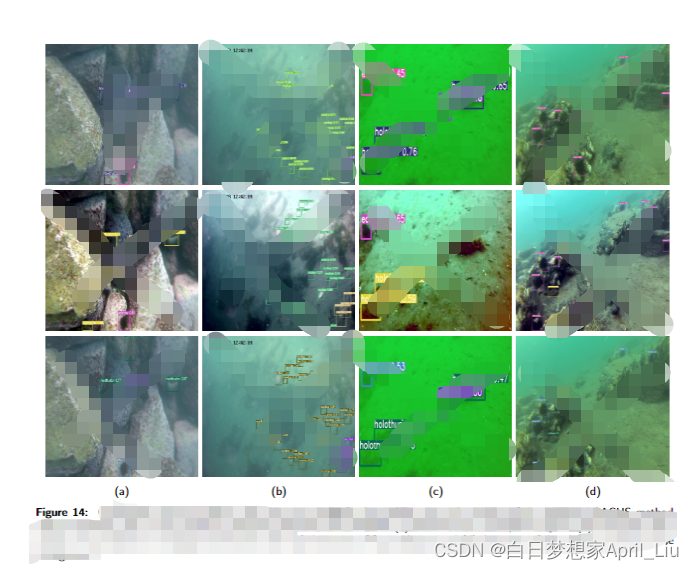
\caption{ Comparison of test results. The top row is RAWS, the middle row is the results of the proposed
SAGHS method and the bottom row is the results of improved YOLOv5 with CBAM. (a) detection of incomplete objects (b) detection when targets are occluded or overlapped with each other (c) detection of fuzzy objects and (d) detection of the object is similar to the background}
\label{last}
\end{figure*}
效果
2 表
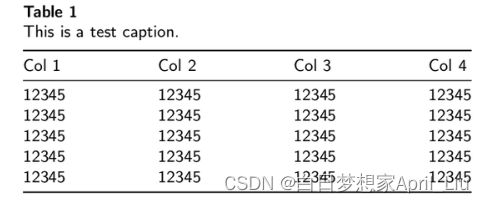
表比较简单随手可百度。这里举一个Guide for author中的例子。
代码段
\begin{table}
  \caption{This is a test caption.}
  \begin{tabular*}{\tblwidth}{@{} LLLL@{} }
   \toprule
    Col 1 & Col 2\\
   \midrule
    12345 & 12345\\
    12345 & 12345\\
    12345 & 12345\\
    12345 & 12345\\
    12345 & 12345\\
   \bottomrule
  \end{tabular*}
\end{table}
效果
3 公式
公式有一些需要被注意的的点
- 大部分特殊符号:希腊符号、深度学习中的点乘叉乘随手都可以搜到
- 可以使用大括号将多个公式括起来
- 字母需要用美元符号包围起来


 1414
1414


 被折叠的 条评论
为什么被折叠?
被折叠的 条评论
为什么被折叠?
 到【灌水乐园】发言


