


安装第三方库
pip install geoip2
GeoLite2-City.mmdb数据库下载
https://cdn.jsdelivr.net/npm/geolite2-city@1.0.0/GeoLite2-City.mmdb.gz
下载成功后,将GeoLite2-City.mmdb文件放在项目根目录下,与manage.py同级
快速开始
1.settings.py 文件的INSTALLED_APPS中注册geoip2
django项目中使用
INSTALLED_APPS=[
'django.contrib.admin',
'django.contrib.auth',
'django.contrib.contenttypes',
'django.contrib.sessions',
'django.contrib.messages',
'django.contrib.staticfiles',
…...
'geoip2',
]
2.配置GeoLite2-City.mmdb数据库路径
GEOIP_PATH=os.path.join(BASE_DIR,'GeoLite2-City.mmdb')

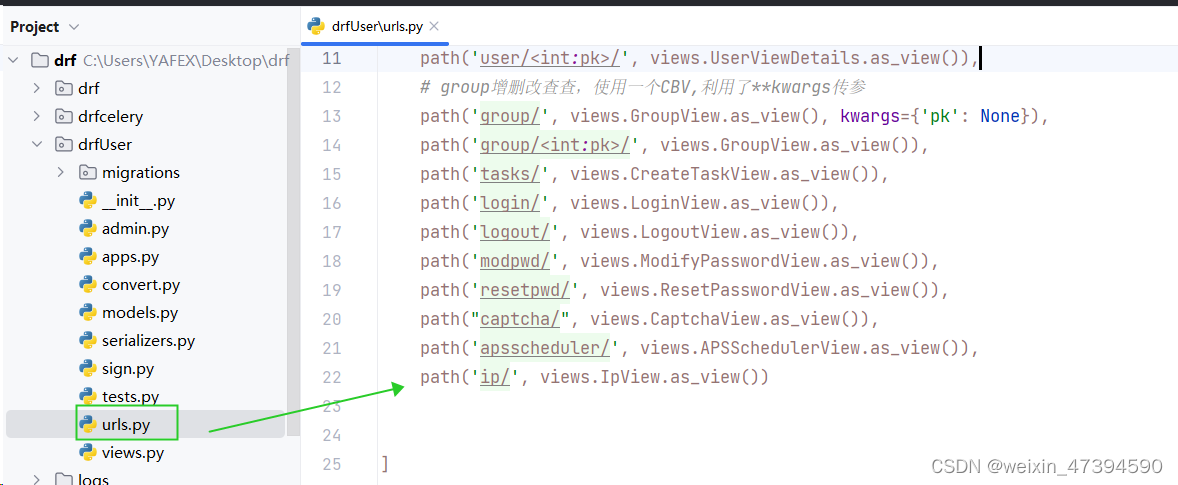
3.在应用下的ulrs.py 中添加路由
path('ip/',views.IpView.as_view())
4.在应用中的views.py文件中编写获取ip信息的接口
from django.contrib.gis.geoip2 import GeoIP2
import geoip2
from urllib.parse import urlparse
from rest_framework.views import APIView
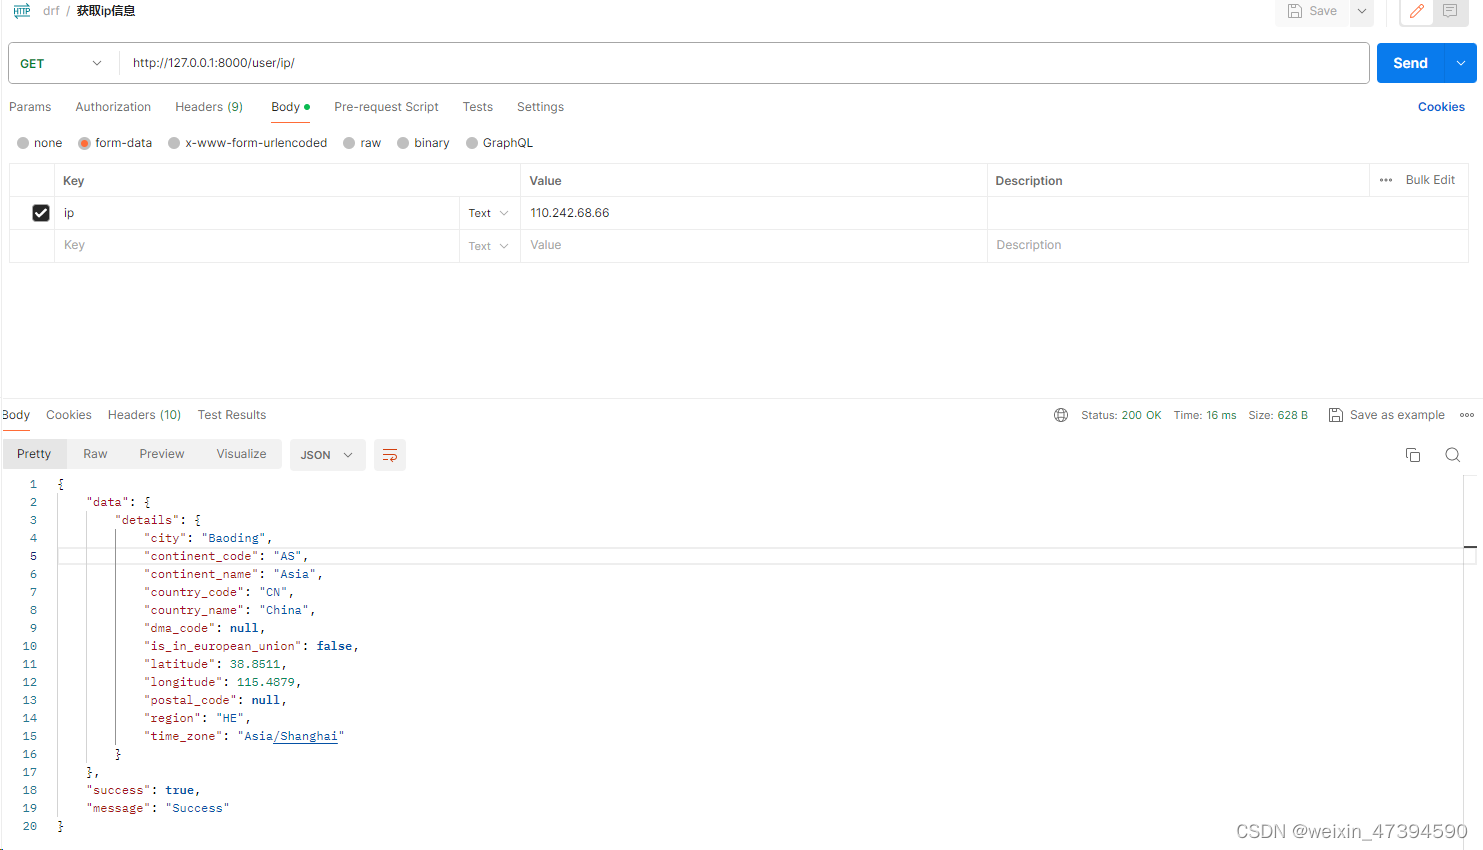
class IpView(APIView):
authentication_classes = []
def details(self, ip):
g = GeoIP2()
details = g.city(ip)
return details
def get(self, request):
try:
ip = request.data.get('ip')
is_ip = ip.replace('.', '')
if not ip:
return Response(data={'message': 'please input ip first'})
elif is_ip.isdigit():
if not validate_ip(ip):
details = 'address is not valid'
return Response(
{
'data': {
'details': details
},
'success': True,
'message': 'Success'
}
)
else:
details = self.details(ip)
return Response(
{
'data': {
'details': details
},
'success': True,
'message': 'Success'
}
)
elif 'http' in ip or 'https' in ip:
ip = urlparse(ip).netloc
details = self.details(ip)
return Response(
{
'data': {
'details': details
},
'success': True,
'message': 'Success'
}
)
else:
details = self.details(ip)
return Response(
{
'data': {
'details': details
},
'success': True,
'message': 'Success'
}
)
except geoip2.errors.AddressNotFoundError:
details = f'The {ip} address could not be found.'
return Response(
{
'data': {
'details': details
},
'success': True,
'message': 'Success'
}
)
5.通过postman代理发送请求


 1495
1495


 被折叠的 条评论
为什么被折叠?
被折叠的 条评论
为什么被折叠?
 到【灌水乐园】发言


