


1、上传多图
多图上传的关键在于——渲染

Page({
    data:{
        images:[]
    },
    upload(){
        wx.chooseImage({
          count:9,   //获取图片数量
          sizeType: ['original','compressed'], //图片尺寸:原图、压缩图
          sourceType: ['camera','album'], //图片来源:相册、相机
          success: (res) => {
              let tempFilePath=res.tempFilePaths
              this.setData({
                  images:tempFilePath
              })
          }
        })
    }
})
多图上传的关键在于——渲染
<button bindtap="upload">点击上传</button>
<view class="X-box">
    <view wx:for="{{images}}" class="box" wx:key="index">
        <image src="{{item}}" mode="" />
    </view>
</view>
/* pages/upload/index.wxss */
.X-box {
width: 100vw;
.box {
float: left;
width: 33%;
display: flex;
flex-direction: row;
justify-content: space-around;
image {
width: 90px;
height: 90px;
// margin-bottom: 10px;
margin-top: 10px;
}
}
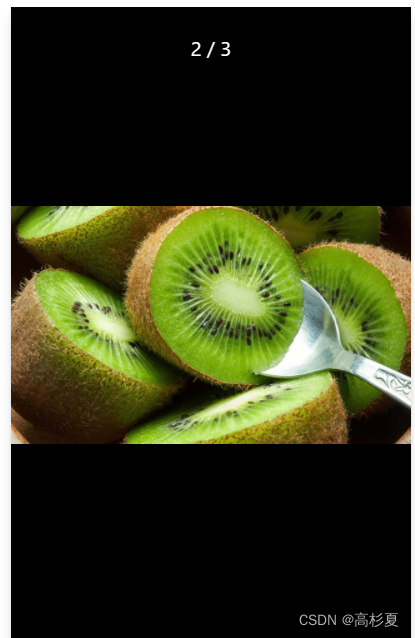
}2、预览图片(wx.previewImage)
重点:
1、给 image 设置一个 自定义属性 index
2、保存该方法的 this 指向
3、重点利用 data 中的存放图片的集合数组
<view class="X-box">
    <view wx:for="{{images}}" class="box" wx:key="index">
        <image src="{{item}}" mode=""  bindtap="look" data-index="{{index}}"/>
    </view>
</view>
look(e){
console.log(e);
let index=e.target.dataset.index //通过 index 属性拿到当前被选中的图片
let that=this //保存 this 指向
wx.previewImage({
current:that.data.images[index], //获取所要预览图片的链接
urls:that.data.images //上传的全部图片
})
},
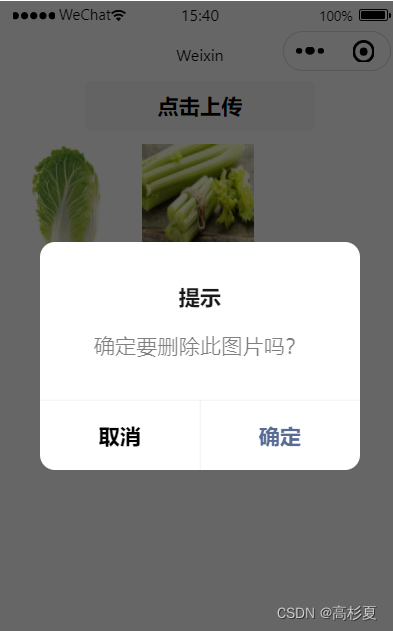
3、长按删除图片
重点:
1、保存 this 指向
2、拿到data 数据中的 存放图片集合的数组
3、声明变量 index 用来标志被选中的图片
4、删除提示 wx.showModal
 del(e){
        var that=this
        var images=that.data.images
        var index=e.currentTarget.dataset.index
        wx.showModal({
            title:'提示',
            content:'确定要删除此图片吗?',
            success:(res)=>{
                if(res.confirm){
                    images.splice(index,1)
                }else if(res.calcel){
                    return false
                }
                that.setData({
                    images
                })
            }
        })
    }


 1281
1281


 被折叠的 条评论
为什么被折叠?
被折叠的 条评论
为什么被折叠?
 到【灌水乐园】发言


