


提示:文章写完后,目录可以自动生成,如何生成可参考右边的帮助文档
文章目录
备份ES数据
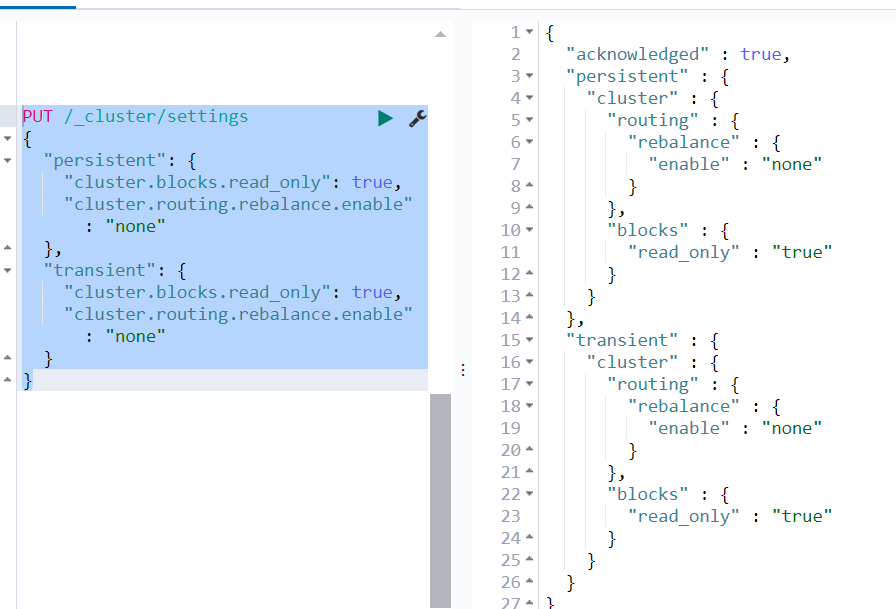
1.关闭集群自动均衡
有密码加上 -u ‘elastic:escdms’
curl -XPUT "http://192.168.2.89:9200/_cluster/settings?pretty" -H 'Content-Type:application/json' -d '{
  "persistent": {
    "cluster.blocks.read_only": true,
    "cluster.routing.rebalance.enable": "none"
  },
  "transient": {
    "cluster.blocks.read_only": true,
    "cluster.routing.rebalance.enable": "none"
  }
}'
curl命令可以在kibana平台替换为如下命令:
PUT /_cluster/settings
{
  "persistent": {
    "cluster.blocks.read_only": true,
    "cluster.routing.rebalance.enable": "none"
  },
  "transient": {
    "cluster.blocks.read_only": true,
    "cluster.routing.rebalance.enable": "none"
  }
}
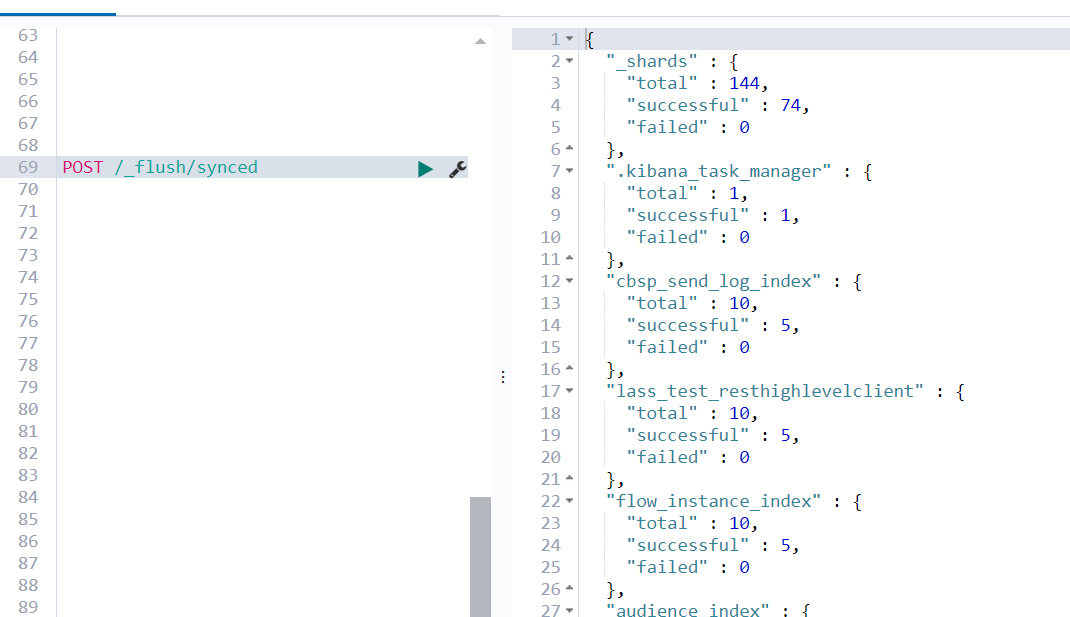
2.执行同步刷新
curl -X POST "http://192.168.2.89:9200/_flush/synced"
POST /_flush/synced
3.停止集群节点的Elasticsearch服务
ps aux | grep elasticsearch
kill -9  xxxxxx
pkill -f elasticsearch
4.修改Elasticsearch配置文件,开启快照功能,配置仓库目录为共享存储
如果没有这个
# 设置备份路径
path.repo: ["/home/data/elastic-6.3.2/mybackup"]
5.重启集群节点的Elasticsearch服务
bin/elasticsearch -d
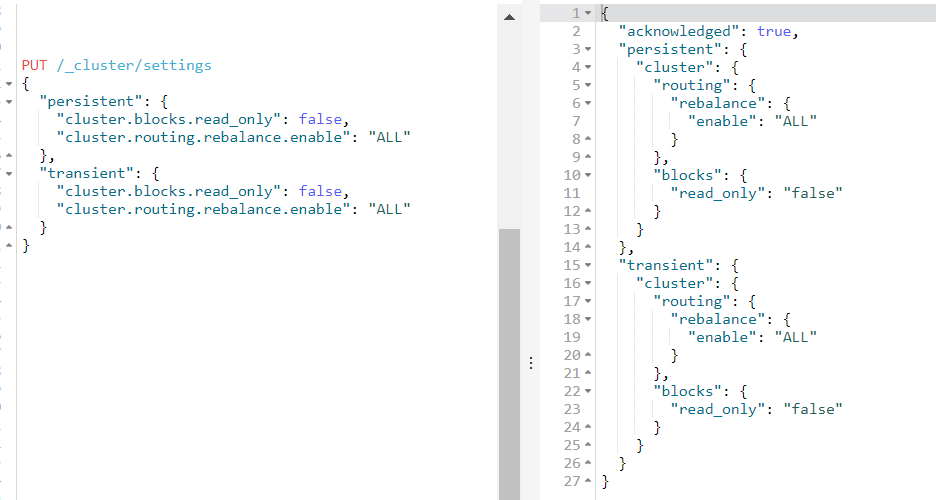
6.通开启集群分片重建、恢复集群写入配置
先执行
curl -XPUT -H "Content-Type: application/json" http://localhost:9200/_cluster/settings -d '{
  "persistent": {
    "cluster.blocks.read_only": false
  }
}'
后执行
curl -XPUT "http://192.168.2.89:9200/_cluster/settings?pretty" -H 'Content-Type: application/json' -d '{
  "persistent": {
    "cluster.blocks.read_only": false,
    "cluster.routing.rebalance.enable": "ALL"
  },
  "transient": {
     "cluster.blocks.read_only": false,
    "cluster.routing.rebalance.enable": "ALL"
  }
}'
PUT /_cluster/settings
{
  "persistent": {
    "cluster.blocks.read_only": false,
    "cluster.routing.rebalance.enable": "ALL"
  },
  "transient": {
     "cluster.blocks.read_only": false,
    "cluster.routing.rebalance.enable": "ALL"
  }
}
7.注册快照存储
- 通过http提交注册快照存储,需指定到快照仓库目录下
curl -X PUT "http://192.168.2.89:9200/_snapshot/mybackup" -H 'Content-Type: application/json'  -d'
{
  "type": "fs",
  "settings": {
    "location": "/home/data/elastic-6.3.2/mybackup"
  }
}'
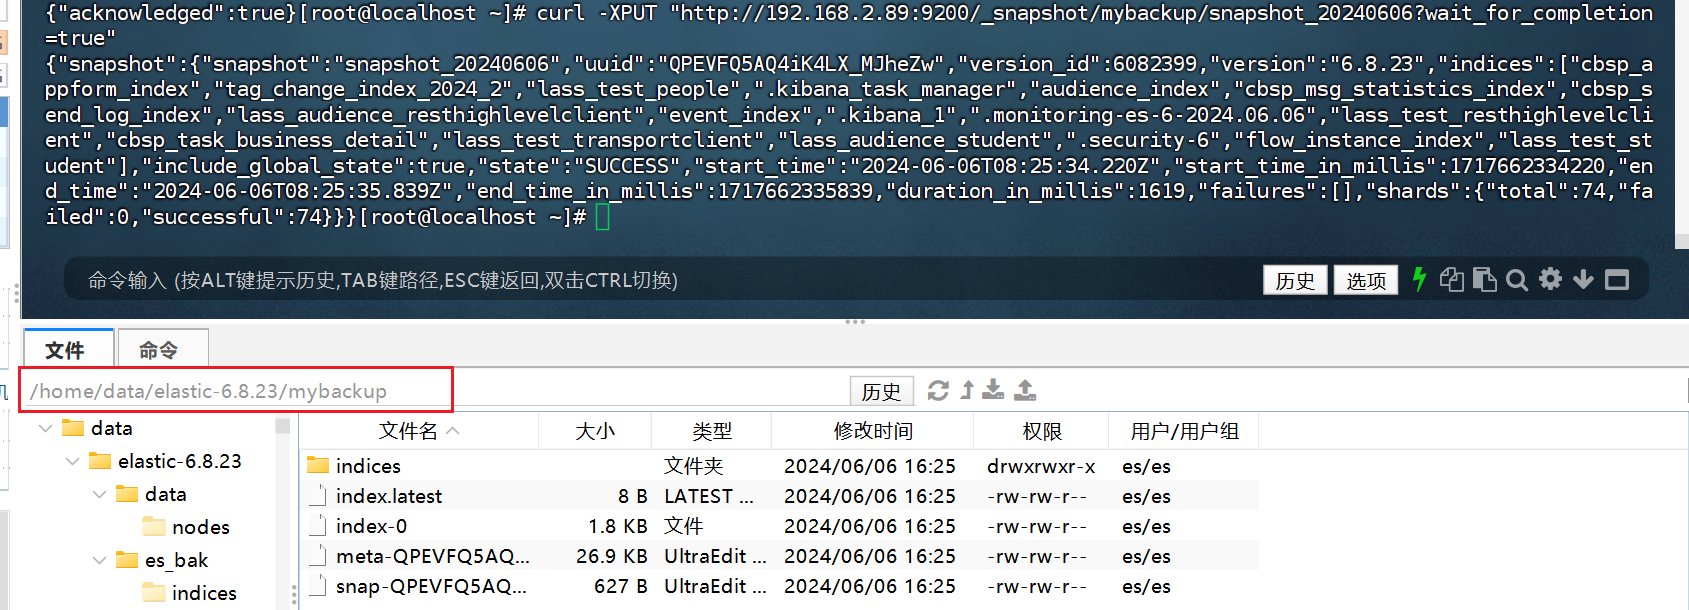
8.执行快照
- IaaS环境执行生成快照,通过http提交,第一次为全量,后面再执行则为增量
curl -XPUT "http://192.168.2.89:9200/_snapshot/mybackup/snapshot_20240606?wait_for_completion=true"  -H 'Content-Type: application/json' -d '{
  "ignore_unavailable": true,
  "include_global_state": true
}'
也可以选定某个索引
curl -XPUT "http://192.168.2.54:9200/_snapshot/my_backup/snapshot_20240607?wait_for_completion=true"  -H 'Content-Type: application/json' -d '{
  "indices": "cbsp_appform_index",
  "ignore_unavailable": true,
  "include_global_state": true
}'

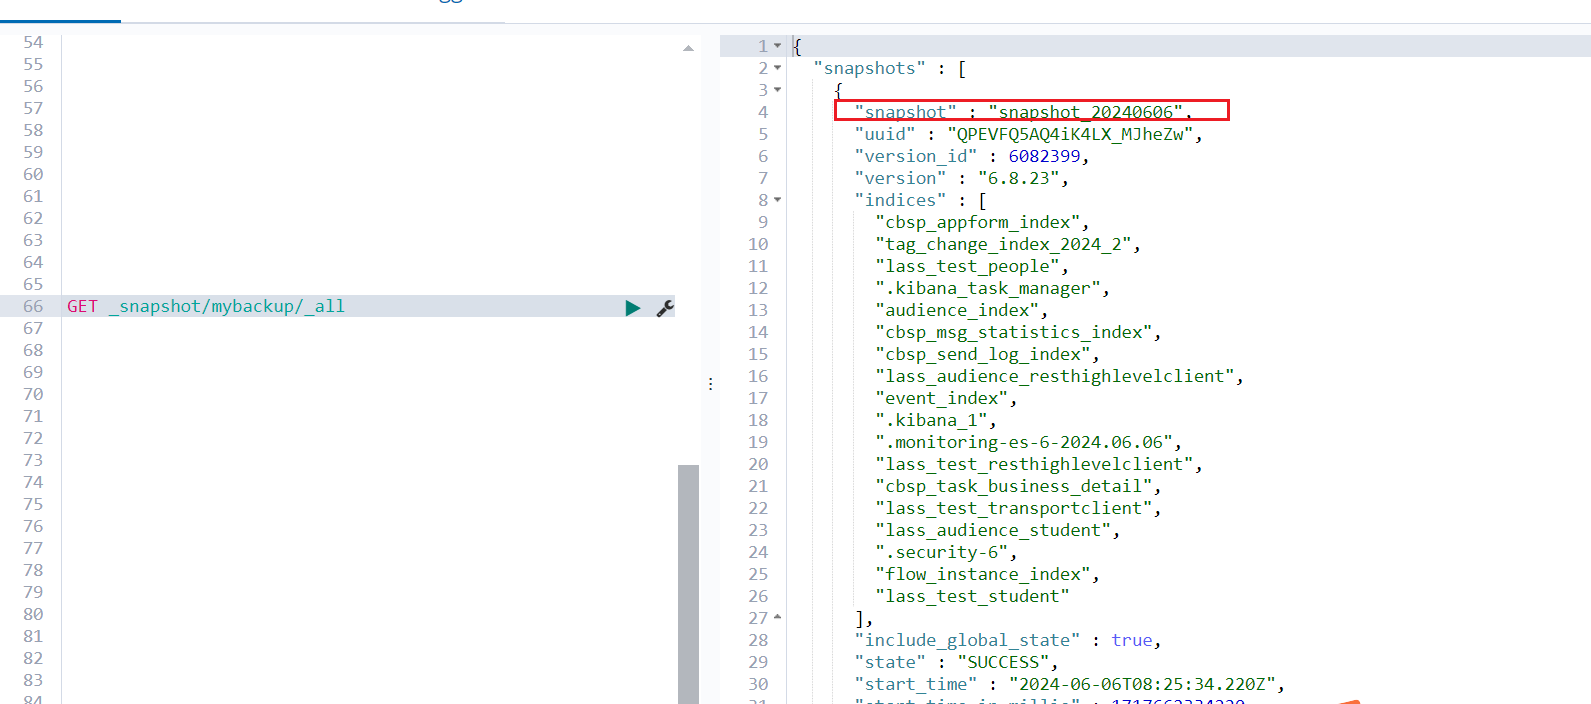
9.查看快照执行情况
有密码加上 -u ‘elastic:escdms’
curl -X GET "http://192.168.2.89:9200/_snapshot/mybackup/_all"
GET _snapshot/mybackup/_all
10 删除多余快照
- 查看所有快照仓库
GET _snapshot/_all
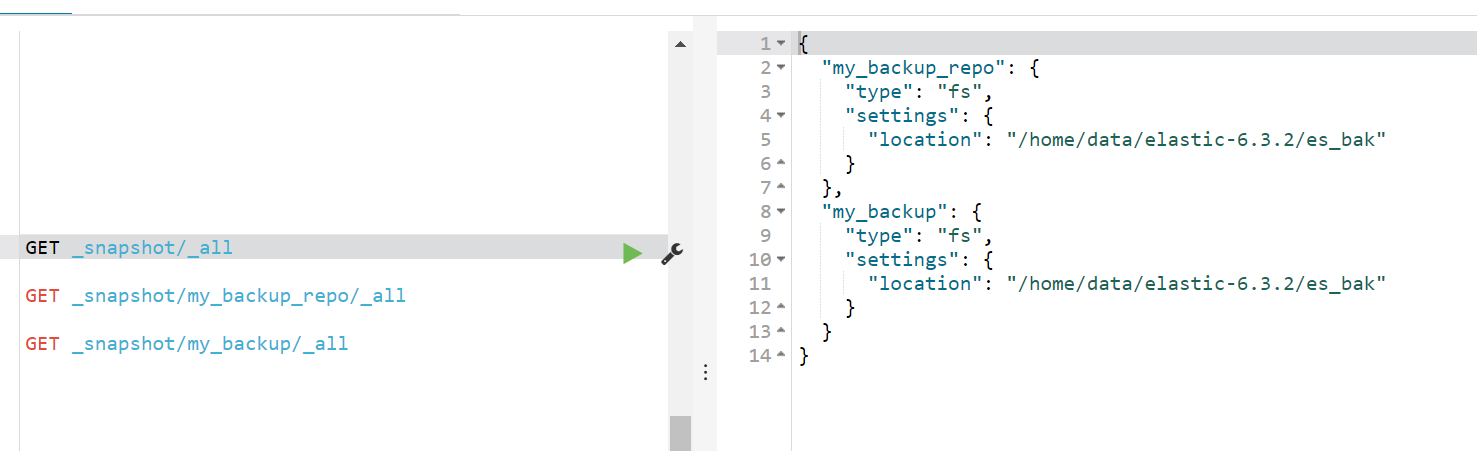
- 查看此仓库的快照情况
GET _snapshot/my_backup/_all
- 删除之前的有的快照
curl -X DELETE "localhost:9200/_snapshot/<repository_name>/*"
DELETE /_snapshot/<repository_name>/*
恢复数据 ----环境es7.9
1.将备份数据复制到新版es目录
- app账号登录新环境,将备份数据复制到新版es目录
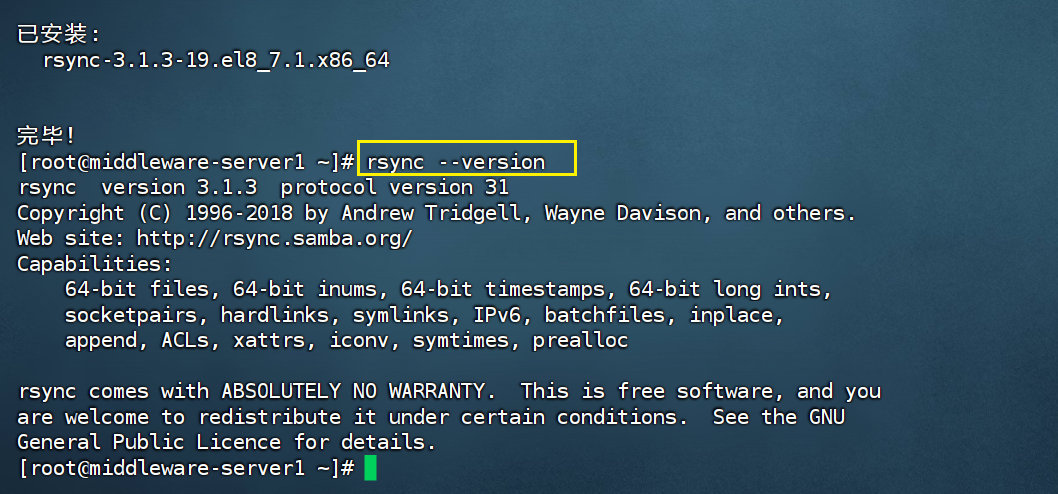
传输用rsync
安装命令
sudo yum install rsync
传输命令 :账号 root ,会弹窗口要求输入密码
rsync -avz /home/data/elastic-6.3.2/es_bak root@192.168.2.79:/home/es/
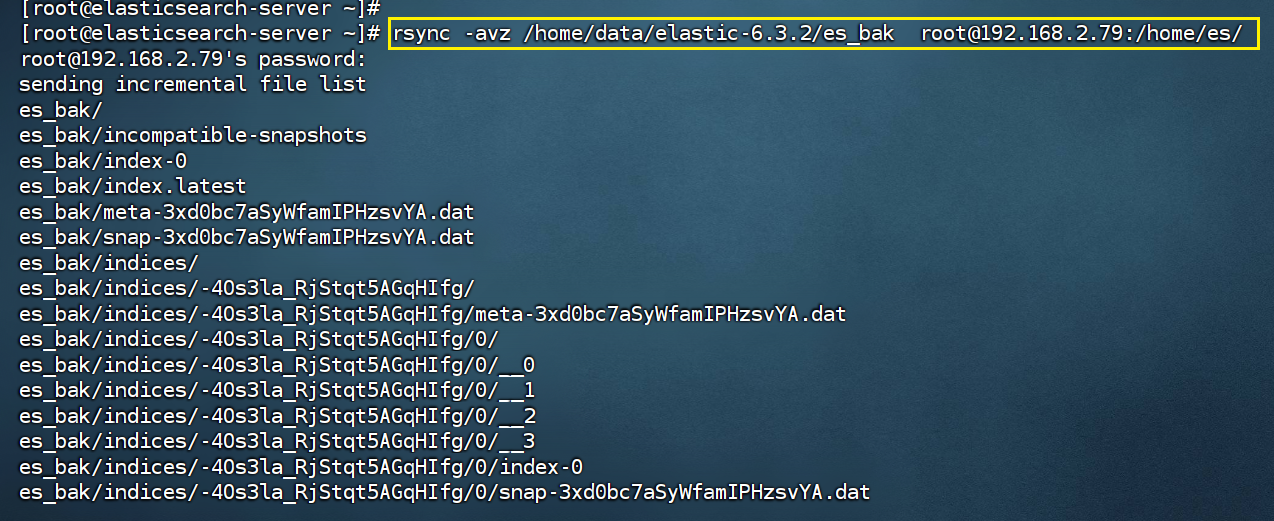
检查文件夹和权限
等待传输完成 查看文件夹
/home/es/mybackup
- 注意文件夹和权限问题
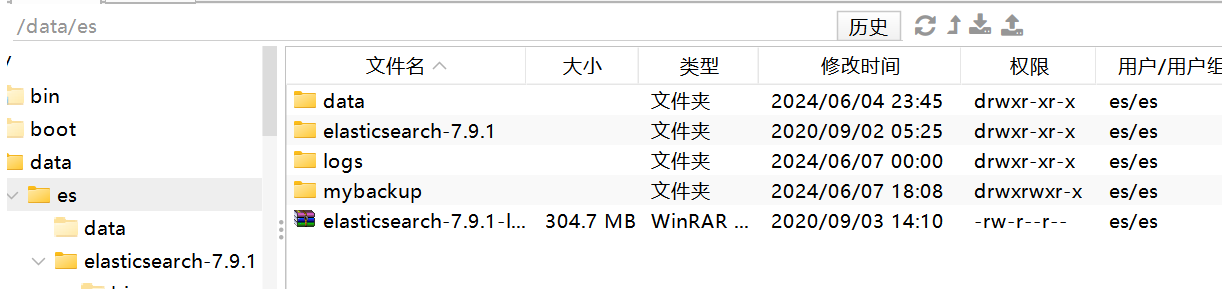
- 注意权限
chown -R es:es /home/es/mybackup
2.elasticsearch.yml 配置
path.repo: ["/home/es/mybackup"]
3.重新启动es服务
bin/elasticsearch -d
4.注册备份仓库
curl -XPUT "http://192.168.2.79:9200/_snapshot/mybackup" -H 'Content-Type: application/json' -d '{
  "type": "fs",
  "settings": {
    "location": "/home/es/mybackup"
  }
}'

5.恢复数据
- mybackup :备份仓库
- snapshot_20240607:快照版本
curl -XPOST "http://192.168.2.79:9200/_snapshot/mybackup/snapshot_20240607/_restore" -H 'Content-Type: application/json' -d '{
  "ignore_unavailable": true,
  "include_global_state": true
}'

可以制定恢复索引
curl -XPOST "http://192.168.2.89:9200/_snapshot/mybackup/snapshot_20240606/_restore" -H 'Content-Type: application/json' -d '{
  "indices": "laas_*",
  "ignore_unavailable": true,
  "include_global_state": true
}'
如果出现索引重复 导致报错
curl -XPOST "http://192.168.2.89:9200/_snapshot/mybackup/snapshot_20240606/_restore" -H 'Content-Type: application/json' -d '{
  "ignore_unavailable": true,
  "include_global_state": true,
  "rename_pattern": ".monitoring-es-6-2024.06.06",
  "rename_replacement": "restored_monitoring_es"
}'
4. 验证
http://192.168.2.79:9200/_cat/indices?v
http://192.168.2.79:9200/cbsp_appform_index/_count
http://192.168.2.79:9200/cbsp_appform_index/_search?q=:&pretty

1.全量数据对比
- linux环境
curl -X GET "http://localhost:9200/_cat/indices?v"
例:测试环境
http://192.168.2.54:9200/_cat/indices?v
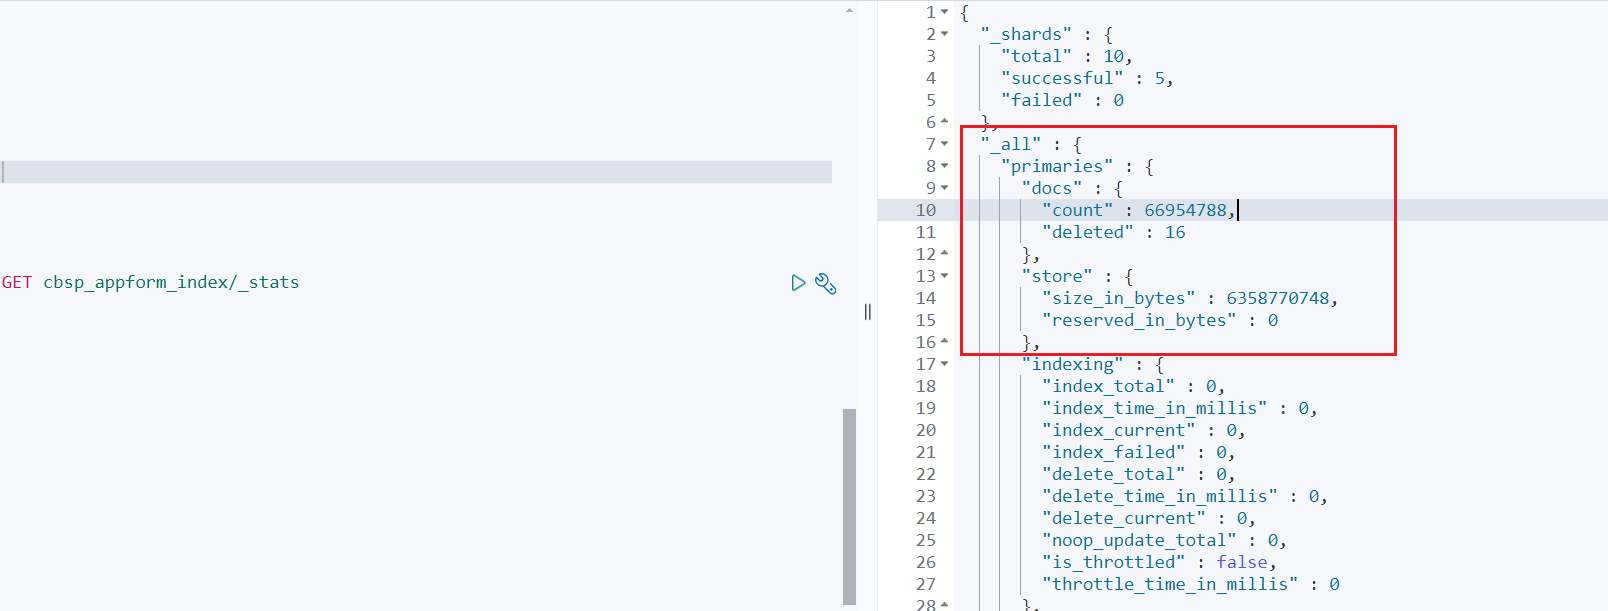
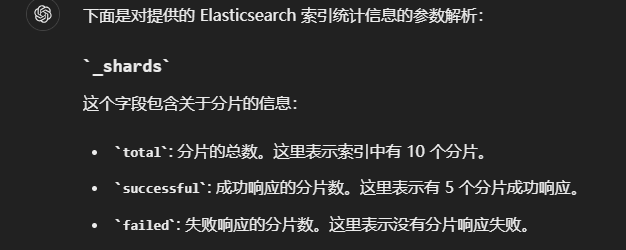
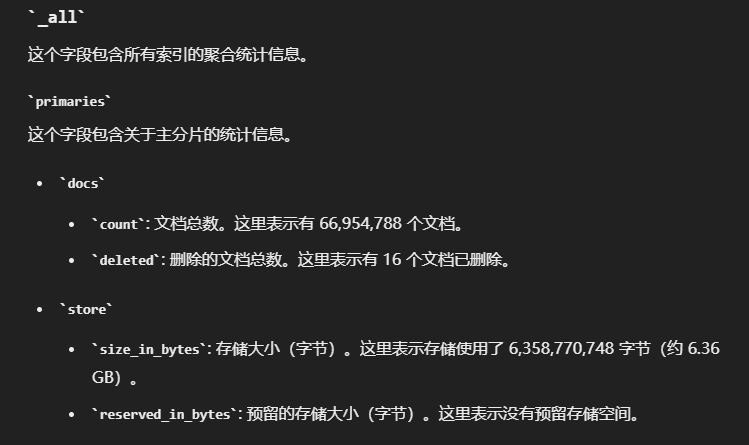
2.具体某一个索引信息对比验证
curl -X GET "http://localhost:9200/index_name/_stats"
3.抽样数据验证
linux环境
curl -X GET "http://localhost:9200/index_name/_search" -H 'Content-Type: application/json' -d'
{
  "from": 50,
  "size": 10,
  "sort": [
    "id"
  ],
  "query": {
    "match_all": {}
  }
}'
例:测试环境 : 对索引ppform_index ,按照id排序,随机选一个id序号,取10条数据进行抽样对比
GET appform_index/_search
{
  "from": 50,
  "size": 10,
  "sort": [
    "id"
  ],
  "query": {
    "match_all": {}
  }
}


 2794
2794

 被折叠的 条评论
为什么被折叠?
被折叠的 条评论
为什么被折叠?
 到【灌水乐园】发言


