


<template>
  <div style="width: 100%; height: 100vh; position: relative">
    <canvas id="three"></canvas>
    <div id="overlay" style="position: absolute; top: 0; left: 0; pointer-events: auto">
      <div class="button-container">
        <!-- pointer-events: auto下面的元素相应鼠标触摸点击事件,这是默认的     -->
        <button id="myButton">BUTTON</button>
      </div>
    </div>
  </div>
</template>

<script>
import * as THREE from 'three'
import { GLTFLoader } from 'three/examples/jsm/loaders/GLTFLoader.js'
import { OrbitControls } from 'three/examples/jsm/controls/OrbitControls'

export default {
  mounted() {
    this.initThree()
    // 下面 window.addEventListene是添加一个它会添加一个事件监听器到window对象上,以监听resize事件。当浏览器窗口大小改变时,这个事件会被触发,并执行this.onWindowResize这个方法。注意,这里的this.onWindowResize应该是一个在Vue组件的methods中定义的方法,用于处理窗口大小改变时的逻辑(例如更新摄像机的纵横比或重新渲染场景)。
    // 将onWindowResize组件里面的方块不会随着外边框的放大缩小而发生变化
    window.addEventListener('resize', this.onWindowResize, false)
  },
  beforeDestroy() {
    window.removeEventListener('resize', this.onWindowResize, false)
    // 在这里添加其他清理代码,比如取消动画等
  },
  methods: {
    initThree() {
      const canvas = document.getElementById('three')
      const renderer = new THREE.WebGLRenderer({ canvas })
      renderer.setSize(window.innerWidth, window.innerHeight)
      const scene = new THREE.Scene()
      scene.background = new THREE.Color('#ccc')
      scene.environment = new THREE.Color('#ccc')

      // 创建一个光源,因为默认的THREE.Scene是没有光源的
      const light = new THREE.AmbientLight(0x404040) // soft white light
      scene.add(light)

      // 初始化相机,设置其位置
      const camera = new THREE.PerspectiveCamera(75, window.innerWidth / window.innerHeight, 0.1, 1000)
      camera.position.z = 5 // 把相机向后移动一些,以便能看到场景中的物体
      const controls = new OrbitControls(camera, renderer.domElement)
      controls.update()
      // 设置一下参数
      const b = 1
      const geometry = new THREE.BoxGeometry(b, 1, 1)
      const material = new THREE.MeshBasicMaterial({ color: 0xfff })
      // const cube = new THREE.Mesh(geometry, material)
      // cube.position.x += 4
      // scene.add(cube)
      // const geometry1 = new THREE.ConeGeometry(1, 1, 32)
      // const cone = new THREE.Mesh(geometry1, material)
      // scene.add(cone)
      const geometry2 = new THREE.SphereGeometry(1, 32, 10)
      // const sphere = new THREE.Mesh(geometry2, material)
      // scene.add(sphere)
      const csvFileInput = document.getElementById('C:/Users/807ch/Desktop/点云/classified_point_cloud.csv')
      const points = new Float32Array([
        -1.0, -1.0, 1.0, 1.0, -1.0, 1.0,
        // ... 其他顶点数据
      ])
      const colors = new Float32Array([
        1.0,
        0.0,
        0.0,
        1.0, // 红色
        0.0,
        1.0,
        0.0,
        1.0, // 绿色
        // ... 其他颜色数据,每个颜色包含四个值(RGBA)
      ])
      const geometry3 = new THREE.BufferGeometry()
      geometry3.setAttribute('position', new THREE.BufferAttribute(points, 3))
      if (colors) {
        geometry3.setAttribute('color', new THREE.BufferAttribute(colors, 4)) // 假设每个颜色由 4 个浮点数表示(RGBA)
      }
      const material1 = new THREE.PointsMaterial({
        size: 0.1, // 点的大小
        vertexColors: true, // 如果使用了颜色数组,则启用此选项
        // 其他属性...
      })
      const pointsObject = new THREE.Points(geometry3, material1)
      scene.add(pointsObject)
      // sphere.position.x = -4
      camera.position.z = 5
      // 加载模型(这里只是一个示例,你可能需要替换为你的模型)
      const loader = new GLTFLoader()

      // 加载GLTF模型
      loader.load(
        // 替换为你的模型URL
        '/办公楼02.gltf',
        (gltf) => {
          // 将加载的模型添加到场景中
          scene.add(gltf.scene)

          // 如果需要,你还可以访问模型的其他部分,如动画、材质等
          // 例如,如果你想要播放模型中的动画:
          // gltf.animations; // 这是一个包含所有动画的数组
          // const mixer = new THREE.AnimationMixer(gltf.scene)
          // ...

          // 现在你可以开始渲染循环了
        },
        // 可选:加载进度回调
        (xhr) => {
          console.log((xhr.loaded / xhr.total) * 100 + '% loaded')
        },
        // 可选:加载错误回调
        (error) => {
          console.log('An error happened', error)
        }
      )
      // 渲染循环
      function animate() {
        requestAnimationFrame(animate)
        // cube.rotation.x += 0.01
        // cube.rotation.y += 0.01
        // cone.rotation.x += 0.01
        // cone.rotation.y += 0.01
        // sphere.rotation.x += 0.01
        // sphere.rotation.y += 0.01
        renderer.render(scene, camera)
      }

      animate()

      // 窗口大小变化时的处理函数
      this.onWindowResize = () => {
        camera.aspect = window.innerWidth / window.innerHeight
        camera.updateProjectionMatrix()
        renderer.setSize(window.innerWidth, window.innerHeight)
      }

      // 如果使用OrbitControls,可以在这里初始化它
      // const controls = new OrbitControls(camera, renderer.domElement)
    },
  },
}
</script>
<style scoped>
#myButton {
  width: 100px;
  height: 100px;
  z-index: 265; /* 确保按钮在画布之上265大于100所以能放在前面 */
}

#three {
  position: absolute;
  width: 100%;
  text-align: center;
  z-index: 100;
  display: block;
}

#overlay {
  width: 100%;
  height: 100%;
  display: flex;
  /*  垂直方向排列column*/
  flex-direction: column;
  align-items: center;
  /*  center意味着子元素将在垂直方向上居中对齐。*/
  /*justify-content: center;*/
  pointer-events: none;
}

#overlay button {
  pointer-events: auto; /* 允许按钮上的点击事件 */
}

.button-container {
  margin-top: 1px; /* 使得元素在垂直方向上被推到容器的底部 */
  align-self: flex-end; /* 在水平方向上对齐到容器的右边 */
  pointer-events: none; /* 这个可能不需要,除非你想要防止容器本身接收点击事件 */
  z-index: 267;
}
</style>
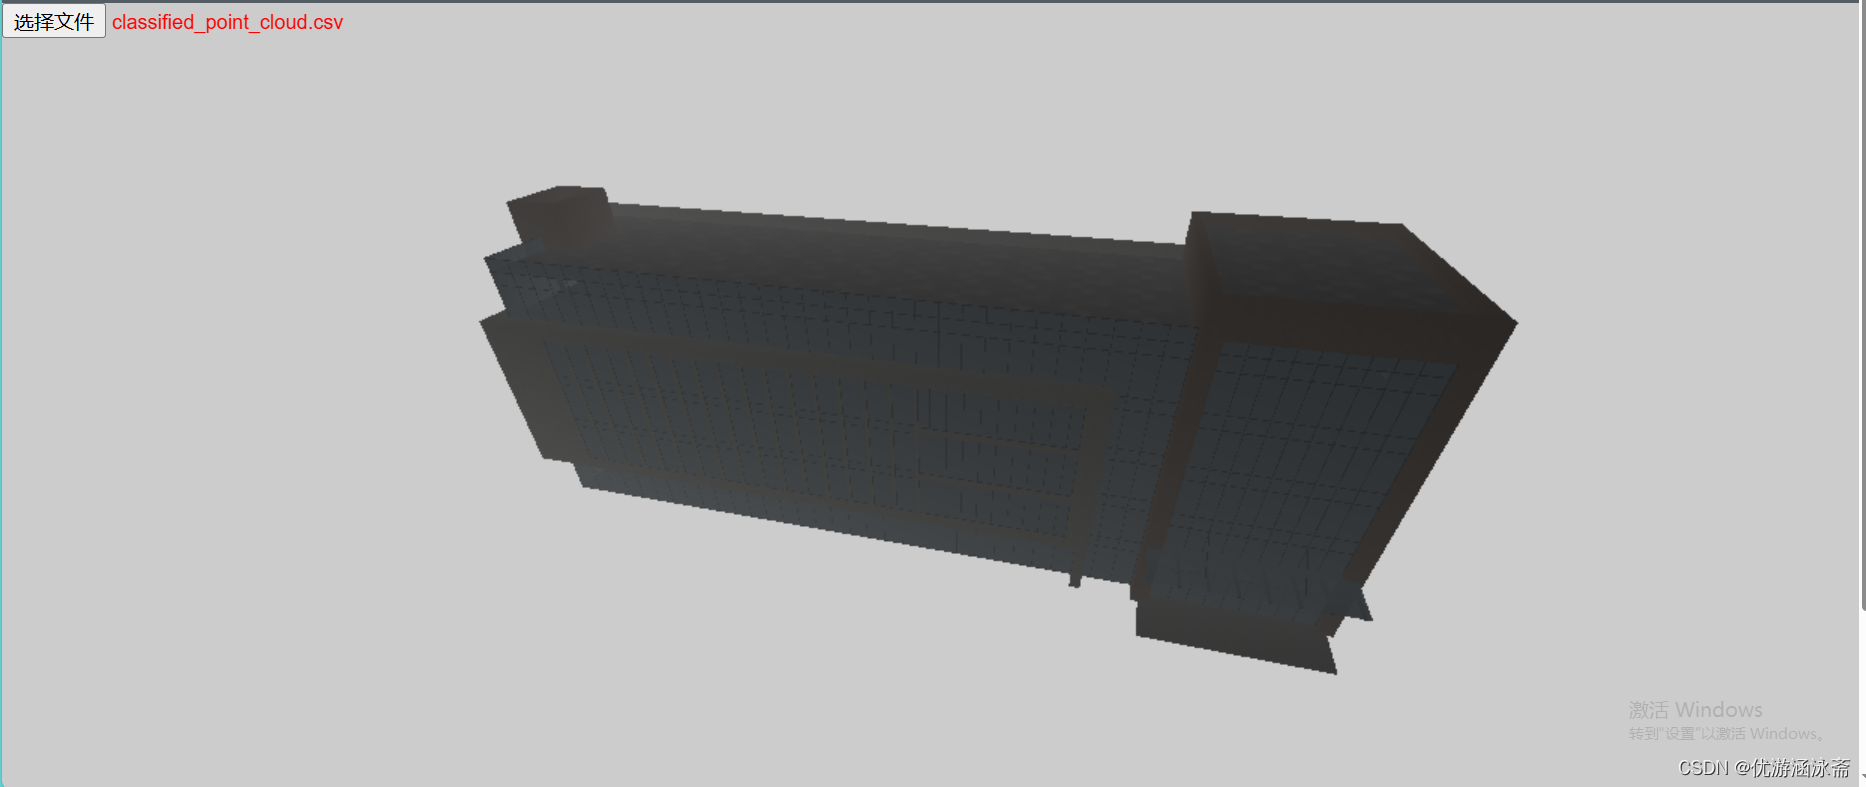
将gltf模型文件放在public文件夹下


 392
392


 被折叠的 条评论
为什么被折叠?
被折叠的 条评论
为什么被折叠?
 到【灌水乐园】发言


