


设备:
1,ubuntu20.04
2,crazyflie2.0
3,crazyradio
参考:
Getting started with development | Bitcraze
安装前准备
配置ssh
由于文件比较大,用https很难成功,建议用ssh的方式下载。
更新git组件
$ sudo apt install git-lfs
设置邮箱和用户名
git config --global user.name "WangRongsheng"
git config --global user.email "603329354@qq.com"
用ssh生成公钥
ssh-keygen -t rsa -C "603329354@qq.com"
回车之后会出现如下所示的输出,直接按回车即可:
Generating public/private rsa key pair.
Enter file in which to save the key
(/Users/your_user_directory/.ssh/id_rsa): (按回车键)
Enter passphrase (empty for no passphrase): (按回车键)
Enter same passphrase again: (按回车键)
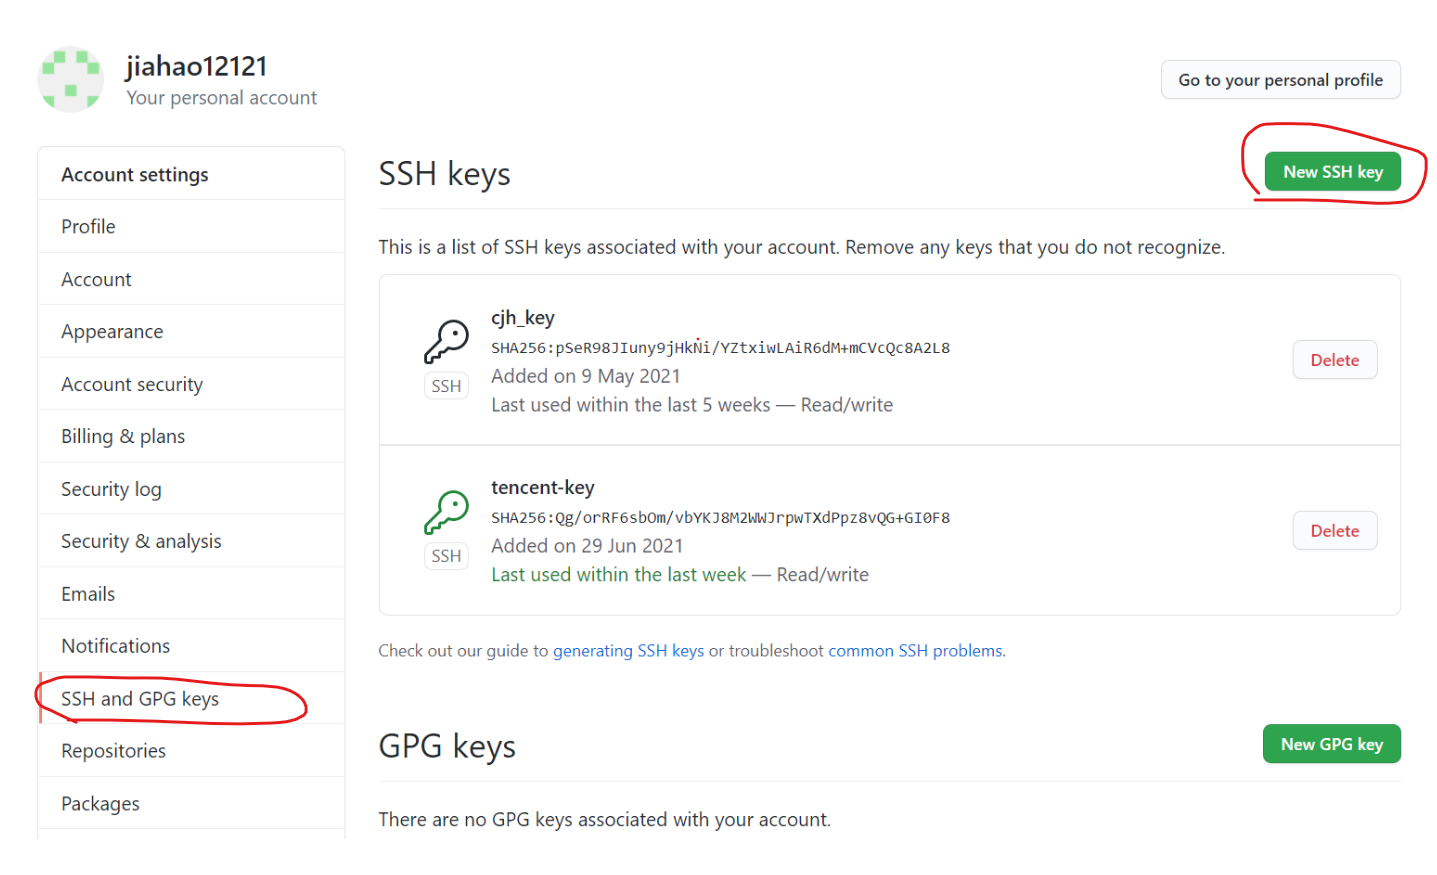
将公钥添加到github中
在.ssh文件夹中找到id_rsa.pub这个文件,用文本编辑器(如记事本)打开,复制里面的所有内容。

进入github
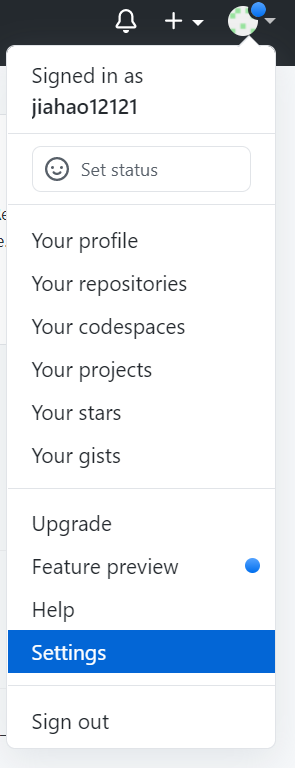
添加ssh key,把刚才复制的内容粘贴上去保存即可
在终端中配置ssh
git config --global url.ssh://git@github.com/.insteadOf https://github.com/
安装
1,下载crazyflie-firmware
$ git clone --recursive https://github.com/bitcraze/crazyflie-firmware.git
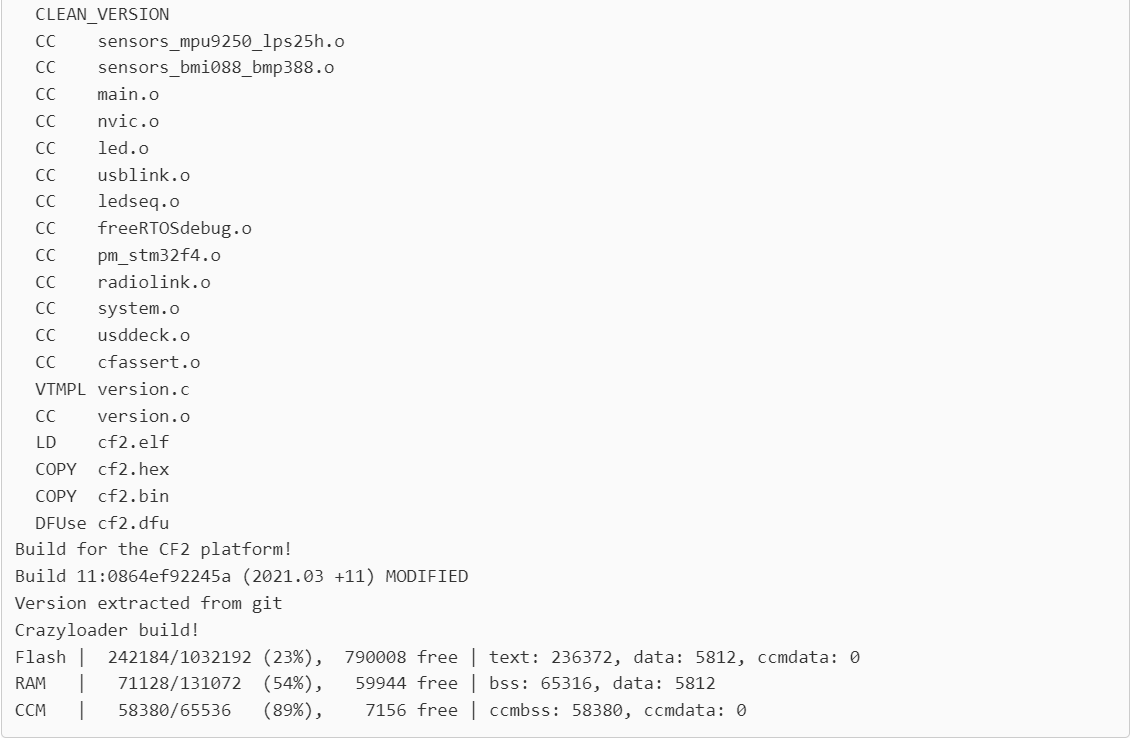
2,修改代码后编译文件
$ cd crazyflie-firmware
$ make cf2_defconfig
$ make -j 12
成功实例:
3,修改后的代码烧入crazyflie
虽然烧入过程不需要使用cfclient,但是如果是新的电脑,crazyradio会对电脑接口有要求,可以通过下载cfclient来更新接口。
首先长按3秒无人机开机键,无人机会亮起蓝灯。接着运行make cload
$ make cload
成功:


 被折叠的 条评论
为什么被折叠?
被折叠的 条评论
为什么被折叠?
 到【灌水乐园】发言


