


目录
1、vuex和pinia的区别
1、pinia没有mutations,只有: state、getters、actions(vuex有mutations)
2、pinia分模块不需要modules(vuex分模块需要modules)
3、pinia体积更小(性能更好)
4、pinia可以直接修改state数据(vuex还需要通过mutations来进行修改)
2、pinia官方地址
3、基本使用
- 安装一个vue3项目
- 安装pinia
yarn add pinia // 本人习惯用yarn 可以用其他安装方式 - 在main.js中进行挂载
// src/main.js import { createApp } from "vue"; import App from "./App.vue"; import router from "./router"; import { createPinia } from "pinia"; const pinia = createPinia(); createApp(App).use(pinia).use(router).mount("#app"); - 创建store
// src/store/index.js import { defineStore } from "pinia"; export const useStore = defineStore("main", { state: () => { return { num: 0, name: "Eduardo", }; }, getters: {}, actions: {}, }); - 在文件中使用
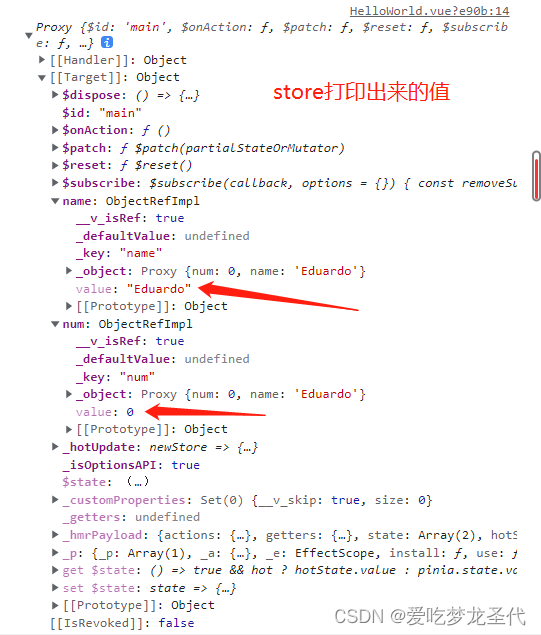
<template>
  <div class="hello">
    <h1>组件A</h1>
    {{ store.name }}
    {{ store.num }}
  </div>
</template>

<script setup>
import { useStore } from "../store";
const store = useStore();
console.log(store)
</script>

<style scoped></style>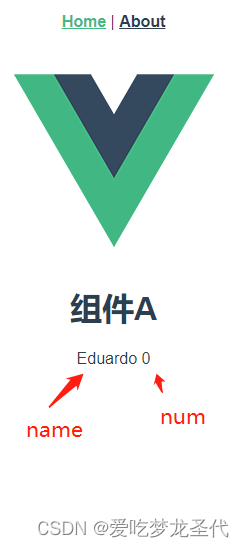
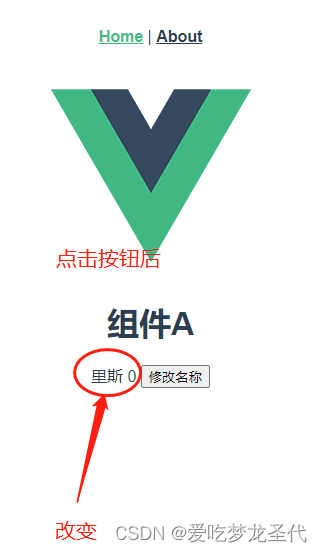
- 组件修改pinia中的state数据(pinia可以直接修改state数据-不需要和vuex一样通过mutations来修改-但是通过ES6解构拿值是不行的,结构出来的数据不是响应式)
<template> <div class="hello"> <h1>组件A</h1> {{ name }} {{ num }} <button @click="changeName">修改名称</button> </div> </template> <script setup> import { useStore } from "../store"; import { storeToRefs } from "pinia"; const store = useStore(); console.log(store); let { name, num } = store; const changeName = () => { name.value = "里斯"; }; </script> <style scoped> </style> 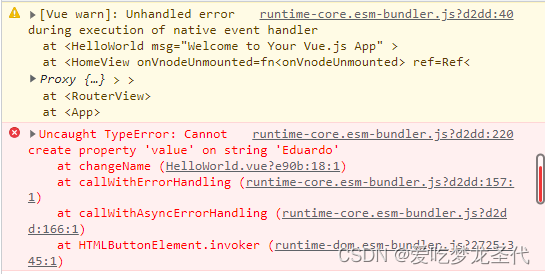
解决--<import { storeToRefs } from "pinia";>
<template>
  <div class="hello">
    <h1>组件A</h1>
    {{ name }}
    {{ num }}
    <button @click="changeName">修改名称</button>
  </div>
</template>

<script setup>
import { useStore } from "../store";
import { storeToRefs } from "pinia";
const store = useStore();
console.log(store);
let { name, num } = storeToRefs(store); // 不能用ES结构来写pinia中的state值 引入pinia中的storeTorefs
const changeName = () => {
  name.value = "里斯";
};
</script>

<style scoped></style>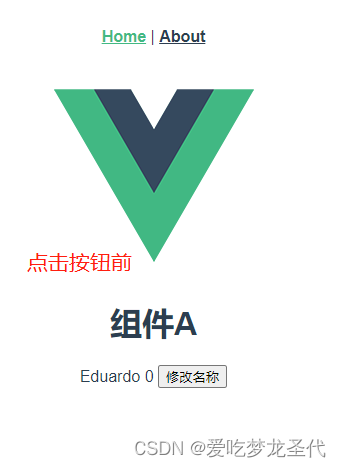
- pinia数据需要批量更新
// store/index.js
import { defineStore } from "pinia";

export const useStore = defineStore("main", {
  state: () => {
    return {
      num: 0,
      name: "Eduardo",
      arr: [1, 2],
    };
  },
  getters: {},
  actions: {},
});

//---------------------------------------------------------------------------
// 组件中
<template>
  <div class="hello">
    <h1>组件A</h1>
    {{ name }}
    {{ num }}
    {{ arr }}
    <button @click="changeName">修改名称</button>
  </div>
</template>

<script setup>
import { useStore } from "../store";
import { storeToRefs } from "pinia";
const store = useStore();
console.log(store);
let { name, num, arr } = storeToRefs(store);
const changeName = () => {
  // name.value = "里斯";

  // 批量更新
  store.$patch((state) => {
    state.num++;
    state.name = "rous";
    state.arr.push(4);
  });
};
</script>

<style scoped></style>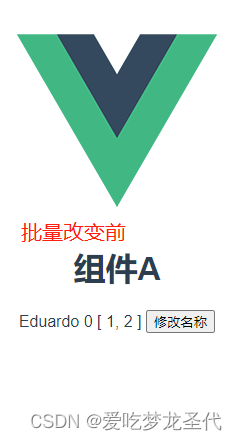

- pinia中的getters(Pinia 中的 getter 和 Vue 中的计算属性几乎一样,在获取 State值之前做一些逻辑处理。getter中的值有缓存特性,如果值没有改变,多次使用也只会调用一次)
// store/index.js---添加getters方法
import { defineStore } from "pinia";

export const useStore = defineStore("main", {
  state: () => {
    return {
      num: 0,
      name: "Eduardo",
      arr: [1, 2],
    };
  },
  getters: {  // getter 中不仅可以传递 state 直接改变数据状态,还可以使用 this 来改变数据
    changeNum() {
      console.log("getters");
      return this.num + 1000;
    },
//  changeNum(state) {
//    return state.num + 1000;
//  }
  },
  actions: {},
});


// 组件内  多次调用
<template>
  <div class="hello">
    {{ changeNum }}
    {{ changeNum }}
    {{ changeNum }}
    {{ changeNum }}
    <h1>组件A</h1>
    {{ name }}
    {{ num }}
    {{ arr }}
    <button @click="changeName">修改名称</button>
  </div>
</template>

<script setup>
import { useStore } from "../store";
import { storeToRefs } from "pinia";
const store = useStore();
console.log(store);
let { name, num, arr, changeNum } = storeToRefs(store);
const changeName = () => {
  // name.value = "里斯";

  // 批量更新
  store.$patch((state) => {
    state.num++;
    state.name = "rous";
    state.arr.push(4);
  });
};
</script>

<style scoped></style>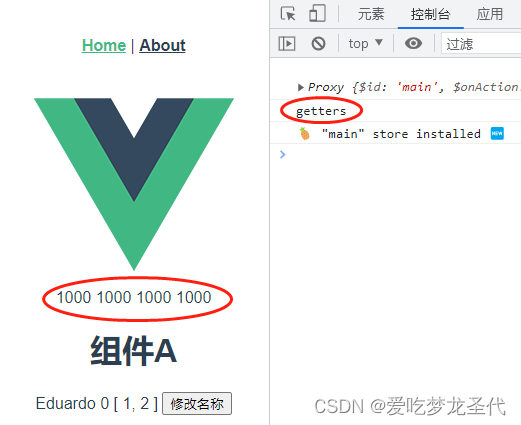
9.pinia中actions的使用(组件方法调用 store.方法名)
// store/index.js

import { defineStore } from "pinia";

export const useStore = defineStore("main", {
  state: () => {
    return {
      num: 0,
      name: "Eduardo",
      arr: [1, 2],
    };
  },
  getters: {
    changeNum(state) {
      console.log("getters");
      // return this.num + 1000;
      return state.num + 1000;
    },
  },
  actions: {
    upNum(val) {
      this.num += val;
    },
  },
});
// 组件内 --- 新增按钮和事件
<template>
<div class="hello">
{{ changeNum }}
{{ changeNum }}
{{ changeNum }}
{{ changeNum }}
<h1>组件A</h1>
{{ name }}
{{ num }}
{{ arr }}
<button @click="changeName">修改名称</button>
<button @click="btn">+操作</button>
</div>
</template>
<script setup>
import { useStore } from "../store";
import { storeToRefs } from "pinia";
const store = useStore();
console.log(store);
let { name, num, arr, changeNum } = storeToRefs(store);
const changeName = () => {
// name.value = "里斯";
// 批量更新
store.$patch((state) => {
state.num++;
state.name = "rous";
state.arr.push(4);
});
};
const btn = () => {
store.upNum(200);
};
</script>
<style scoped></style> 
4.Pinia模块相互调用
// 新建 shopStore模块 src/shop.js

import { defineStore } from "pinia";

export const shopStore = defineStore("shop", {
  state: () => {
    return {
      list: ["棉服", "裤子"],
    };
  },
  getters: {},
  actions: {},
});

// -------------------------------------------

// src/index.js

import { defineStore } from "pinia";

import { shopStore } from "./shop"; // 1.引入shopStore模块

export const useStore = defineStore("main", {
  state: () => {
    return {
      num: 0,
      name: "Eduardo",
      arr: [1, 2],
    };
  },
  getters: {
    changeNum(state) {
      console.log("getters");
      // return this.num + 1000;
      return state.num + 1000;
    },
    // 2.getters使用
    getShopStoreList() {
      return shopStore().list;
    },
  },
  actions: {
    upNum(val) {
      this.num += val;
    },
  },
});
// 组件中使用

<template>
  <div class="about">
    useStore: {{ name }} {{ num }} {{ arr }} {{ changeNum }}
    <hr />
    shopStore中的数据引入到useStore模块中进行拿取list数据:
    {{ getShopStoreList }}
  </div>
</template>
<script setup>
import { useStore } from "../store";
import { storeToRefs } from "pinia";

const use = useStore();
let { name, num, arr, changeNum, getShopStoreList } = storeToRefs(use);
</script>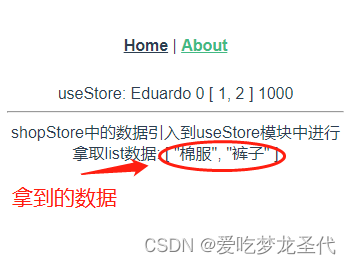
5.Pinia持久化
- 安装插件
npm install pinia-persistedstate-plugin - 新建文件--src/store/index.js
import { createPinia } from "pinia"; // 引入pinia的持久化插件 import piniaPluginPersist from "pinia-plugin-persist"; const store = createPinia(); store.use(piniaPluginPersist); export default store; - 在main.js中注册
import { createApp } from "vue"; import App from "./App.vue"; import router from "./router"; import store from "./store/index"; createApp(App).use(store).use(router).mount("#app"); - 新建文件--src/store/shop.js
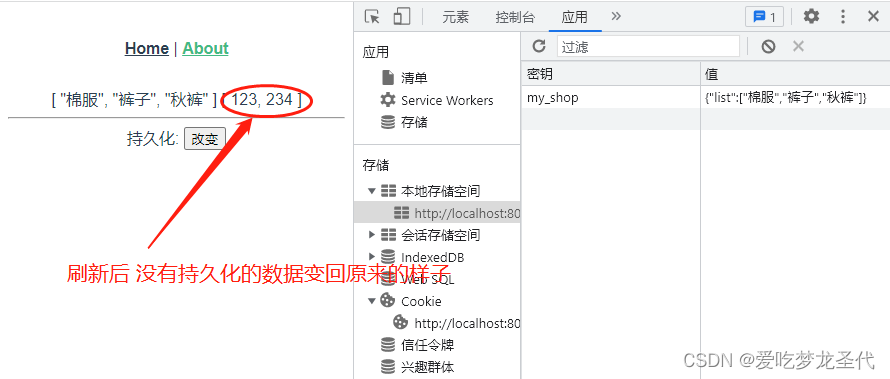
import { defineStore } from "pinia"; export const shopStore = defineStore("shop", { state: () => { return { list: ["棉服", "裤子"], price: [123, 234], }; }, getters: {}, actions: {}, // 使用插件开启数据缓存 persist: { enabled: true, strategies: [ { // key的名称 key: "my_shop", // 更改默认存储,改为localStorage storage: localStorage, // 默认是全部进去存储 // 可以选择哪些进入local存储,这样就不用全部都进去存储了 paths: ["list"], }, ], }, }); -
组件内使用
<template> <div class="about"> {{ list }} {{ price }} <hr /> 持久化: <button @click="changeshop">改变</button> </div> </template> <script setup> import { shopStore } from "../store/shop"; import { storeToRefs } from "pinia"; const shop = shopStore(); let { list, price } = storeToRefs(shop); const changeshop = () => { shop.$patch((state) => { state.list.push("秋裤"); state.price.push(123); }); }; </script> -
效果


 2199
2199


 被折叠的 条评论
为什么被折叠?
被折叠的 条评论
为什么被折叠?
 到【灌水乐园】发言


