


首先在官方地址下载qtwebengine5.15.5的源码
由于之前已经安装了整体,这里是只下载了webengine
https://download.qt.io/official_releases/qt/5.15/5.15.5/submodules/

把源码解压到想要存储的地址,比如D:\qt5.15.5_shared\qtwebengine-everywhere-src-5.15.5
之后最好要把电脑的语言改为英语,我这里已经变成英文了。
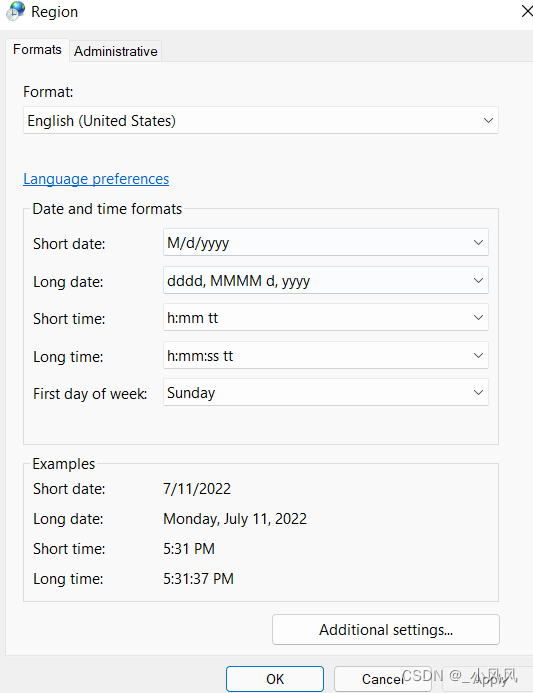
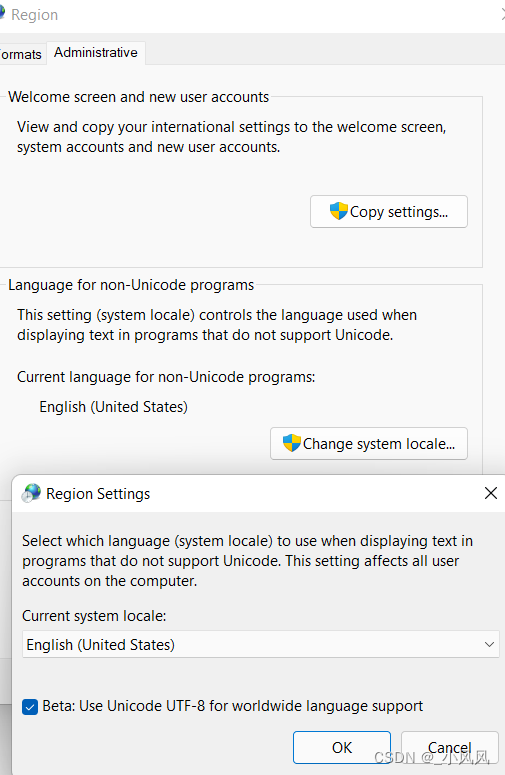
并且勾选beta使用utf-8编码
最好也把vs的语言改一下,也改成英文的,以免出现各种问题
并且截至本人这篇文章记录的时间,visual studio的编译版本有bug,需要更新到preview版本,要不然理论上不能编译webengine
对应的问题报告来自https://developercommunity.visualstudio.com/t/Internal-compiler-error-when-install-ang/10059040

重启电脑
编译webengine需要有
python2.17.5以后,不支持python3, 记得改一下环境变量
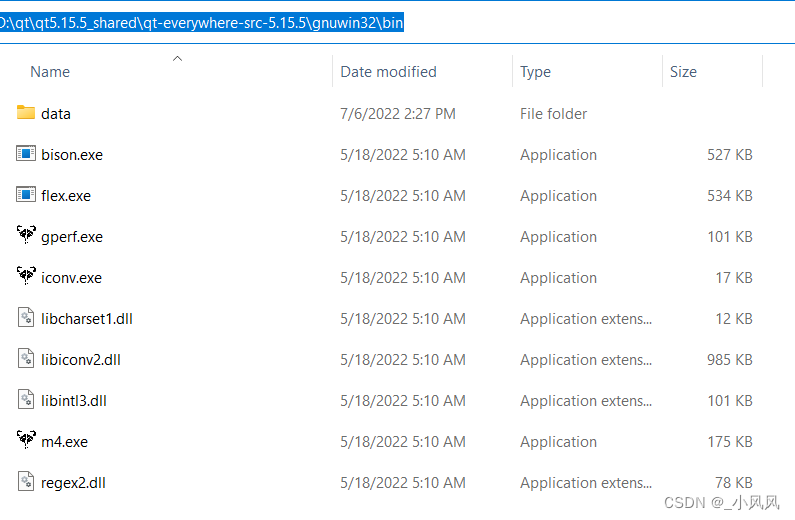
bison
gperf
flex
这些都不用下载的,在qt-everywhere-src-5.15.5中有的,添加到环境变量
还需要有nodejs, 如果没有的话需要到官网下载一下
https://nodejs.org/en/download/
nodejs需要怎么安装配置,可以搜一下。
记得把qmake.exe所在的bin目录添加到环境变量
我这里是参考了https://blog.csdn.net/yang_yangyang/article/details/121907688
之后按照硬件的具体配置选择msvc的命令行,如果是x64, 就用x64 native tool command prompt for visual studio2022, 如果是x86,好像这个版本的qt只能编译成x64版本的,就选x86_x64 cross native tool command prompt
移动到源码目录下:

最好建一个文件夹build,再移动到build下
D:\qt\qt5.15.5_shared\qtwebengine-everywhere-src-5.15.5\build
之后运行
qmake.exe ..\qtwebengine.pro -- -webengine-proprietary-codecs
成功完成后运行
nmake
nmake install
我这里nmake编译花了非常多的时间,不过还是能完成的
如果需要清理中间生成的obj什么的,运行
nmake clean
应该也可以把不需要的文件夹删掉,要不太占空间了
其实我在编译时是有报错的,我花了一段时间找到了解决方法。
需要改三个文件,实际上5.15.5的版本只需要改两个文件,可以参考https://codereview.qt-project.org/c/qt/qtwebengine-chromium/+/321741
具体也就是把qtwebengine-everywhere-src-5.15.5\src\3rdparty\chromium\third_party\blink\renderer\platform\graphics\dark_mode_lab_color_space.h 文件对应的位置改成
146  SkV3 ToXYZ(const SkV3& lab) const {
147    auto invf = [](float x) -> float {
148      return x > kSigma ? pow(x, 3) : 3 * kSigma2 * (x - 4.0f / 29.0f);
149    };
再把qtwebengine-everywhere-src-5.15.5\src\3rdparty\chromium\third_party\perfetto\src\trace_processor\timestamped_trace_piece.h文件对应的位置改成
191  TimestampedTracePiece& operator=(TimestampedTracePiece&& ttp) {
192    if (this != &ttp) {
193      // First invoke the destructor and then invoke the move constructor
194      // inline via placement-new to implement move-assignment.
195      this->~TimestampedTracePiece();
196      new (this) TimestampedTracePiece(std::move(ttp));
197    }
198    return *this;
199  }
200
201    TimestampedTracePiece& operator=(TimestampedTracePiece&& ttp) const {
202    if (this != &ttp) {
203      // First invoke the destructor and then invoke the move constructor
204      // inline via placement-new to implement move-assignment.
205      this->~TimestampedTracePiece();
206      new (const_cast<TimestampedTracePiece*>(this))
207          TimestampedTracePiece(std::move(ttp));
208    }
209
210    return const_cast<TimestampedTracePiece&>(*this);
211  }
212
213  TimestampedTracePiece(const TimestampedTracePiece&) = delete;
214  TimestampedTracePiece& operator=(const TimestampedTracePiece&) = delete;
215//#if PERFETTO_BUILDFLAG(PERFETTO_OS_WIN)
216//  TimestampedTracePiece& operator=(TimestampedTracePiece&& ttp) const {
217//    return (*const_cast<TimestampedTracePiece*>(this) = std::move(ttp));
218//  }
219//#endif
更改之后我的编译就没有问题了。编译成功,可以正常使用。
如果还是出现了各种各样的问题,可以输入:
nmake >compile.log 2>&1
来查看相关的日志,搜索错误内容,我其实也就是这样搞得。这个方法参考于https://blog.csdn.net/shada/article/details/97267721


 6463
6463


 被折叠的 条评论
为什么被折叠?
被折叠的 条评论
为什么被折叠?
 到【灌水乐园】发言


