


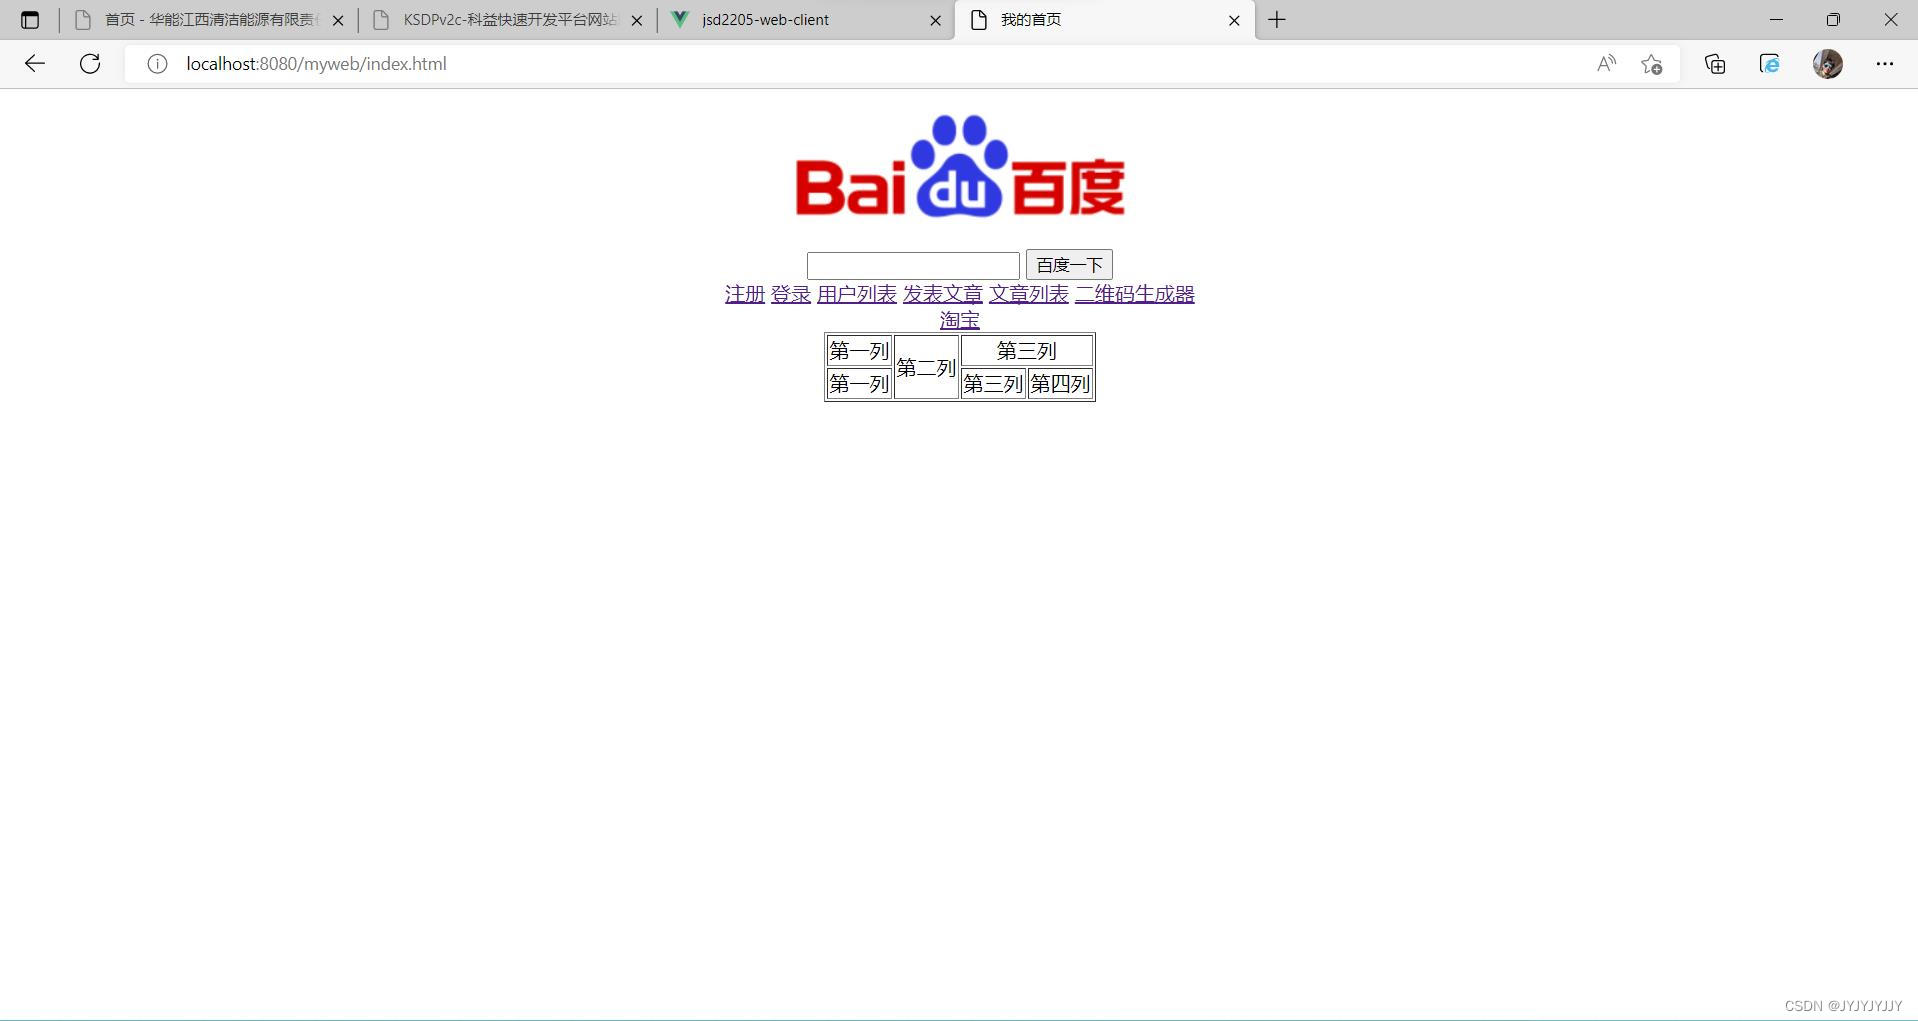
项目结果图


搭建springboot项目

package com.tedu.myboot.controller;


import com.tedu.myboot.entity.Article;
import org.springframework.stereotype.Controller;
import org.springframework.web.bind.annotation.RequestMapping;

import javax.servlet.http.HttpServletRequest;
import javax.servlet.http.HttpServletResponse;
import java.io.*;
import java.util.ArrayList;
import java.util.List;

/**
 * 处理与文章相关的业务
 */
@Controller
public class ArticleController {
    private static File articleDir;
    static {
        articleDir = new File("./articles");
        if(!articleDir.exists()){
            articleDir.mkdirs();
        }
    }


    /**
     * 发表文章
     * @param request
     * @param response
     */
    @RequestMapping("/myweb/writeArticle")
    public void writeArticle(HttpServletRequest request, HttpServletResponse response){
        //1获取表单数据
        String title = request.getParameter("title");
        String author = request.getParameter("author");
        String content = request.getParameter("content");
        System.out.println(title+","+author+","+content);

        //2保存文章内容
        Article article = new Article(title,author,content);
        File articleFile = new File(articleDir,title+".obj");
        try (
                ObjectOutputStream oos = new ObjectOutputStream(
                        new FileOutputStream(articleFile)
                )
        ){
            oos.writeObject(article);
            //3响应发表结果页面
            response.sendRedirect("/myweb/article_success.html");

        } catch (IOException e) {
            e.printStackTrace();
        }


    }

    @RequestMapping("/myweb/showAllArticle")
    public void showAllArticle(HttpServletRequest request,HttpServletResponse response) throws IOException {
        //1将articles目录下的所有obj文件进行反序列化,得到所有的文章信息
        List<Article> articleList = new ArrayList<>();
        File[] articles = articleDir.listFiles(f->f.getName().endsWith(".obj"));
        for(File articleFile : articles){
            try (
                    ObjectInputStream ois = new ObjectInputStream(
                            new FileInputStream(
                                    articleFile
                            )
                    )
            ){
                Article article = (Article)ois.readObject();
                articleList.add(article);
            } catch (Exception e) {
                e.printStackTrace();
            }

        }

        /*
            2生成一个HTML页面(动态页面)并包含所有文章数据
         */
        //添加响应头,用于将来告知浏览器该动态数据是一个html页面
        response.setContentType("text/html");

        PrintWriter pw = response.getWriter();
        pw.println("<!DOCTYPE html>");
        pw.println("<html lang=\"en\">");
        pw.println("<head>");
        pw.println("<meta charset=\"UTF-8\">");
        pw.println("<title>文章列表</title>");
        pw.println("</head>");
        pw.println("<body>");
        pw.println("<center>");
        pw.println("<h1>文章列表</h1>");
        pw.println("<table border=\"1\">");
        pw.println("<tr>");
        pw.println("<td>标题</td>");
        pw.println("<td>作者</td>");
        pw.println("</tr>");
        for(Article article : articleList) {
            pw.println("<tr>");
            pw.println("<td>"+ article.getTitle()+"</td>");
            pw.println("<td>"+ article.getAuthor()+"</td>");
            pw.println("</tr>");
        }
        pw.println("</table>");
        pw.println("</center>");
        pw.println("</body>");
        pw.println("</html>");
    }


}
package com.tedu.myboot.controller;

import org.springframework.stereotype.Controller;
import org.springframework.web.bind.annotation.RequestMapping;

import javax.imageio.ImageIO;
import javax.servlet.http.HttpServletResponse;
import java.awt.*;
import java.awt.image.BufferedImage;
import java.io.IOException;
import java.util.Random;

@Controller
public class ToolsController {
    /**
     * 生成验证码的
     * @param request
     * @param response
     */
    @RequestMapping("/myweb/random.jpg")
    public void createRandomImage(HttpServletResponse response){
        Random random = new Random();
        BufferedImage image = new BufferedImage(70,30,BufferedImage.TYPE_INT_RGB);
        Graphics g = image.getGraphics();
        Color bgcolor = new Color(random.nextInt(256),random.nextInt(256),random.nextInt(256));
        g.setColor(bgcolor);
        g.fillRect(0,0,70,30);
        String line = "abcdefghijklmnopqrstuvwxyzABCDEFGHIJKLMNOPQRSTUVWXYZ0123456789";
        g.setFont(new Font(null, Font.BOLD, 20));
        for(int i=0;i<4;i++) {
            String c = line.charAt(random.nextInt(line.length())) + "";
            g.setColor(new Color(random.nextInt(256), random.nextInt(256), random.nextInt(256)));
            g.drawString(c, i*15+5, 18+(random.nextInt(11)-5));
        }
        for(int i=0;i<5;i++) {
            g.setColor(new Color(random.nextInt(256), random.nextInt(256), random.nextInt(256)));
            g.drawLine(random.nextInt(71), random.nextInt(31),
                    random.nextInt(71), random.nextInt(31));
        }
        try {
            response.setContentType("image/jpeg");
            ImageIO.write(image,"jpg",response.getOutputStream());
        } catch (IOException e) {
            e.printStackTrace();
        }

    }
}
package com.tedu.myboot.controller;

import com.tedu.myboot.entity.User;
import org.springframework.stereotype.Controller;
import org.springframework.web.bind.annotation.RequestMapping;

import javax.servlet.http.HttpServletRequest;
import javax.servlet.http.HttpServletResponse;
import java.io.*;
import java.util.ArrayList;
import java.util.List;

@Controller
public class UserController {
    private static File userDir;

    static {
        userDir = new File("users");
        if (!userDir.exists()) {
            userDir.mkdirs();
        }
    }

    /*
        总结404情况:
        1:点击超链接直接404.或者业务处理完毕后重定向浏览器发生404.
        这一类请求页面出现404的情况都是因为target/classes/static下没有对应的页面文件。
        如果src/main/resources下有对应的文件,那么有可能是IDEA编译时出现的bug,导致没有复制过去。
        解决办法:
        1.1:在IDEA上方菜单栏依次选取:Build->rebuild project 重新编译一遍项目。
        1.2:手动将resources下的页面文件复制到target下对应的位置上。


        2:在注册,登录这类提交表单的页面上,点击按钮提交表单后发生404.
          原因:表单上action的值和UserController上对应业务方法上的@RequestMapping中指定的参数路径不一致。
          注意:这两个路径都应当使用“/”开始!例如:atcion="/myweb/reg",不要使用action="myweb/reg"

        点击按钮提交表单后出现404,如何区分是处理业务后重定向没有找到页面引起,还是没有找到对应的业务方法引起
        区别在于:查看地址栏上的路径。
        如果路径还是提交表单时的路径,则说明该404引起原因是上述第二个原因(没有找到处理业务方法)。
        如果路径已经改变为重定向指定的请求某个页面。则说明该404引起原因是上上述第一种原因。


        关于HttpServletResponse中的重定向方法sendRedirect():
        同一个响应对象只能调用一次该方法。否则会抛出异常。因此如果我们在做注册或登录时,由于用户输入信息有误等操作
        希望重定向到一个页面后,一定保证该处理方法后续不会再走到一个重定向的调用。通常可以用return结束方法。

     */
    @RequestMapping("/myweb/login")
    /*
        由于login.html页面上表单里只有两个输入框,分别是username,password
        因此这里User对象中应当也仅有username,password有值。
     */
    public void login(User user, HttpServletResponse response) {
        System.out.println(user);
        File userFile = new File(userDir, user.getUsername() + ".obj");
        if (userFile.exists()) {//该用户存在
            //反序列化该文件得到该注册用户信息进行密码比对
            try (
                    ObjectInputStream ois = new ObjectInputStream(
                            new FileInputStream(userFile)
                    );
            ) {
                User user1 = (User) ois.readObject();//user1表示的是注册用户信息
                if (user1.getPassword().equals(user.getPassword())) {
                    //密码对了,登录成功
                    response.sendRedirect("/myweb/login_success.html");
                    return;
                }
            } catch (IOException | ClassNotFoundException e) {
                e.printStackTrace();
            }
        }
        try {
            response.sendRedirect("/myweb/login_fail.html");
        } catch (IOException e) {
            e.printStackTrace();
        }
    }


    @RequestMapping("/myweb/showAllUser")
    public void showAllUser(HttpServletResponse response) {
     /*
        解决动态页面乱码问题:
        在调用response.getWriter()之前设置好ContentType并且指定字符集即可。
        操作如下:
        response.setContentType("text/html;charset=utf-8");
        PrintWriter pw = response.getWriter();//这句话要在setContentType()之后调用
     */
        //1将users目录下的所有obj文件进行反序列化,得到所有的注册用户
        List<User> userList = new ArrayList<>();
        //1.1获取users目录下的所有obj文件(文件过滤器)
        //1.2遍历每一个obj文件并利用对象输入流进行反序列化
        //1.3将反序列化的对象存入userList备用
        File[] users = userDir.listFiles(f -> f.getName().endsWith(".obj"));
        for (File userFile : users) {
            try (
                    ObjectInputStream ois = new ObjectInputStream(
                            new FileInputStream(
                                    userFile
                            )
                    )
            ) {
                User user = (User) ois.readObject();
                userList.add(user);
            } catch (Exception e) {
                e.printStackTrace();
            }

        }
        /*
            2生成一个HTML页面(动态页面)并包含所有用户数据
         */
        //添加响应头,用于将来告知浏览器该动态数据是一个html页面
        response.setContentType("text/html;charset=utf-8");//添加后半部分的字符集设定避免页面乱码
        try {
            PrintWriter pw = response.getWriter();
            pw.println("<!DOCTYPE html>");
            pw.println("<html lang=\"en\">");
            pw.println("<head>");
            pw.println("<meta charset=\"UTF-8\">");
            pw.println("<title>用户列表</title>");
            pw.println("</head>");
            pw.println("<body>");
            pw.println("<center>");
            pw.println("<h1>用户列表</h1>");
            pw.println("<table border=\"1\">");
            pw.println("<tr>");
            pw.println("<td>用户名</td>");
            pw.println("<td>密码</td>");
            pw.println("<td>昵称</td>");
            pw.println("<td>年龄</td>");
            pw.println("</tr>");
            for (User user : userList) {
                pw.println("<tr>");
                pw.println("<td>" + user.getUsername() + "</td>");
                pw.println("<td>" + user.getPassword() + "</td>");
                pw.println("<td>" + user.getNickname() + "</td>");
                pw.println("<td>" + user.getAge() + "</td>");
                pw.println("</tr>");
            }
            pw.println("</table>");
            pw.println("</center>");
            pw.println("</body>");
            pw.println("</html>");
        } catch (IOException e) {
            e.printStackTrace();
        }


    }


    /*
            我们使用一个对象作为参数时
            首先:spring会用User的【无参构造器】实例化User实例
            并将form表单中每个输入框的名字去寻找User中对应属性的set方法,将该输入框的值调用对应属性的set方法
            将值设置到user对象该属性上。
            例如:
            reg.html页面上表单里有4个输入框,名字分别是username,password,nickname,age
            此时spring实例化User对象后,就会分别调用setUsername(),setPassword(),setNickname(),setAge()将
            这四个输入框的值设置到User对象的这四个属性上。

            【因此注意:User对象上定义的属性名必须和页面表单上对应输入框的名字一致且这些属性都提供了get set方法。那么
            spring才会做上述操作!!!!】
    */
    @RequestMapping("/myweb/reg")
    public void reg(User user, HttpServletResponse response) {
        System.out.println(user);
        File userFile = new File(userDir, user.getUsername() + ".obj");
        try (
                ObjectOutputStream oos = new ObjectOutputStream(
                        new FileOutputStream(userFile)
                )
        ) {
            oos.writeObject(user);//不是userFile对象!!!!!!!!!!!!!!!!
            response.sendRedirect("/myweb/reg_success.html");
        } catch (IOException e) {
            e.printStackTrace();
        }
    }


//  还支持直接把表单输入框的名字作为参数定义在这里,那么此时调用该方法时会spring会自动对应并将表单数据传入对应参数
//    public void reg(String username,String password,String nickname,int age, HttpServletResponse response){
//        System.out.println(username+","+password+","+nickname+","+age);
//        User user = new User(username,password,nickname,age);
//
//        File userFile = new File(userDir,username+".obj");
//        try (
//                ObjectOutputStream oos = new ObjectOutputStream(
//                        new FileOutputStream(userFile)
//                )
//        ){
//            oos.writeObject(user);//不是userFile对象!!!!!!!!!!!!!!!!
//            response.sendRedirect("/myweb/reg_success.html");
//        } catch (IOException e) {
//            e.printStackTrace();
//        }
//    }


//    WebServer里处理业务方法的传参形式。spring也支持
//    public void reg(HttpServletRequest request, HttpServletResponse response){
//        String username = request.getParameter("username");
//        String password = request.getParameter("password");
//        String nickname = request.getParameter("nickname");
//        String ageStr = request.getParameter("age");
//        int age = Integer.parseInt(ageStr);
//        System.out.println(username+","+password+","+nickname+","+age);
//        User user = new User(username,password,nickname,age);
//
//        File userFile = new File(userDir,username+".obj");
//        try (
//                ObjectOutputStream oos = new ObjectOutputStream(
//                        new FileOutputStream(userFile)
//                )
//        ){
//            oos.writeObject(user);//不是userFile对象!!!!!!!!!!!!!!!!
//            response.sendRedirect("/myweb/reg_success.html");
//        } catch (IOException e) {
//            e.printStackTrace();
//        }
//
//
//    }
}
package com.tedu.myboot.entity;

import java.io.Serializable;

/**
 * 文章对象
 */
public class Article implements Serializable {
    public static final long serialVersionUID = 1L;
    private String title;//标题
    private String author;//作者
    private String content;//内容

    public Article(){}

    public Article(String title, String author, String content) {
        this.title = title;
        this.author = author;
        this.content = content;
    }

    public String getTitle() {
        return title;
    }

    public void setTitle(String title) {
        this.title = title;
    }

    public String getAuthor() {
        return author;
    }

    public void setAuthor(String author) {
        this.author = author;
    }

    public String getContent() {
        return content;
    }

    public void setContent(String content) {
        this.content = content;
    }

    @Override
    public String toString() {
        return "Article{" +
                "title='" + title + '\'' +
                ", author='" + author + '\'' +
                ", content='" + content + '\'' +
                '}';
    }
}
package com.tedu.myboot.entity;

import java.io.Serializable;

public class User implements Serializable {
    static final long serialVersionUID = 1L;

    private String username;
    private String password;
    private String nickname;
    private int age;

    public User(){}

    public User(String username, String password, String nickname, int age) {
        this.username = username;
        this.password = password;
        this.nickname = nickname;
        this.age = age;
    }

    public String getUsername() {
        return username;
    }

    public void setUsername(String username) {
        this.username = username;
    }

    public String getPassword() {
        return password;
    }

    public void setPassword(String password) {
        this.password = password;
    }

    public String getNickname() {
        return nickname;
    }

    public void setNickname(String nickname) {
        this.nickname = nickname;
    }

    public int getAge() {
        return age;
    }

    public void setAge(int age) {
        this.age = age;
    }

    @Override
    public String toString() {
        return "User{" +
                "username='" + username + '\'' +
                ", password='" + password + '\'' +
                ", nickname='" + nickname + '\'' +
                ", age=" + age +
                '}';
    }
}
<!DOCTYPE html>
<html lang="en">
<head>
    <meta charset="UTF-8">
    <title>成功</title>
</head>
<body>
    <center>
        <h1>文章发表成功了!</h1>
    </center>
</body>
</html>
<!DOCTYPE html>
<html lang="en">
<head>
<meta charset="UTF-8">
<title>二维码生成器</title>
</head>
<body>
<center>
<h1>二维码生成器</h1>
<form action="/myweb/createQR" method="post">
<table border="1">
<tr>
<td>内容</td>
<td><input type="text" name="content"></td>
</tr>
<tr>
<td align="center" colspan="2"><input type="submit" value="生成"></td>
</tr>
</table>
</form>
</center>
</body>
</html><!DOCTYPE html>
<html lang="en">
<head>
<meta charset="UTF-8">
<title>我的首页</title>
</head>
<body>
<!--
<h1>-<h6>:标题,分为1-6级标题。标题独占一行
<center>:居中,该标签在HTML5中已经不再建议使用了。没学习样式前临时使用
<input>:输入组件。它是一套组件,用来在页面上获取用户输入的。
属性type决定着该组件的样式。
常见的值有:
text:文本框
button:按钮
checkbox:多选框
radio:单选框
submit:提交按钮
password:密码框
<a>:超链接,标签中间的文本是超链接对应的文字,属性href用于指定跳转的路径
<br>:换行
<table>标签:表格。属性border用于指定边框。
<table>标签中包含<tr>标签用于表示行
<tr>标签中包含<td>标签用于表示列
<td>标签中常见属性:
align:对其方式。left左对齐,right右对齐,center剧中对其
colspan:跨列合并列,合并是从左向右合并列
rowspan:跨行合并列,合并是从上向下合并列
<img>:图片标签,src属性用于指定图片的路径
像超链接,图片它们都需要指定一个路径。在页面上路径有两种:
1:相对路径
例如:
<img src="./logo.png">或<img src="logo.png"> 两个路径都表示"当前目录"下的logo.png
当前目录:这里的当前目录与java中我们常在File实例化时指定路径时的当前路径不是一回事!!!!!!!!!!
本质区别是html页面是浏览器理解的。java程序是JVM理解的。所以当前路径不是一个位置!!!
在浏览器上,我们若页面指定了"./",浏览器理解的"./"当前目录是浏览器当前地址栏上URL地址该页面所在的目录
举例:
请求首页时,我们在浏览器地址栏输入的路径为:
http://localhost:8088/myweb/index.html
若该页面上有一张图片的引用,标签写的时:
<img src="./logo.png">
此时浏览器则理解为这里图片上"./"的位置就是:
http://localhost:8088/myweb/
因此,浏览器实际认为图片对应的路径时:
http://localhost:8088/myweb/logo.png
相对路径有一个弊端,比如我们在404.html页面上也加入一张图片,指定时<img src="./404.png">,并将该图片也放在
404页面所在的root目录下。
例如:我们请求如下路径:
http://localhost:8088/myweb/i123x.html
由于该页面不存在,服务端会响应404页面给浏览器。因此浏览器接收到的是404页面,并在页面上看到了图片的引用
<img src="./404.png">
此时浏览器理解该页面的实际路径是:
http://localhost:8088/myweb/404.png
因此图片下载会失败,因为该图片并非在myweb目录下!
总结:
"./"的位置:是当前浏览器地址栏上URL地址中最后一个"/"的位置
2:绝对路径
http://www.xxxx.com/xxxxx 一般用于引用其他网站的资源时使用。比如超链接跳转其他网站
"/"开始的路径,比如: /myweb/logo.png 一般用于引用本网站的其他资源使用。
例如:
在index.html页面上有一张图片,我们可以写作:<img src="/myweb/logo.png">
这里最开始的"/"表达的就是抽象路径中第一个"/"的位置
http://localhost:8088/myweb/index.html
^
这个“/”的位置
若页面上存在图片:<img src="/myweb/logo.png">
浏览器认为该图片src=""这里第一个"/"就是上述位置,因此浏览器理解该图片的实际位置为:
http://localhost:8088/myweb/logo.png
404页面上使用图片是,我们指定:<img src="/root/404.png">
例如:
http://localhost:8088/myweb/aa/bb/cc/dd/i123x.html
由于请求的页面不存在,服务端将404页面响应给了浏览器
浏览器看到404页面上指定的图片为:<img src="/root/404.png">
此时浏览器认为该图片:http://localhost:8088/root/404.png
总结:"/"表达的就是浏览器地址栏上URL中抽象路径里的第一个"/"
"./"表达的就是浏览器地址栏上URL中抽象路径里的最后一个"/"
-->
<center>
<!-- <h1>百度</h1> -->
<img src="/myweb/logo.png"><br>
<input type="text">
<input type="button" value="百度一下"><br>
<!--
http://localhost:8088/myweb/index.html
http://localhost:8088/myweb/showAllUser
-->
<a href="/myweb/reg.html">注册</a>
<a href="/myweb/login.html">登录</a>
<a href="/myweb/showAllUser">用户列表</a>
<a href="/myweb/writeArticle.html">发表文章</a>
<a href="/myweb/showAllArticle">文章列表</a>
<a href="/myweb/createQR.html">二维码生成器</a><br>
<a href="http://www.taobao.com">淘宝</a>
<table border="1">
<tr>
<td>第一列</td>
<td rowspan="2">第二列</td>
<td colspan="2" align="center">第三列</td>
</tr>
<tr>
<td>第一列</td>
<td>第三列</td>
<td>第四列</td>
</tr>
</table>
</center>
</body>
</html><!DOCTYPE html>
<html lang="en">
<head>
<meta charset="UTF-8">
<title>用户登录</title>
</head>
<body>
<center>
<h1>用户登录</h1>
<!--
v
http://localhost:8088/myweb/login.html
action="myweb/login" 最开始没有"/",则这是一个相对路径,默认前面是"./",即:当前目录,指的是地址栏路径中抽象路径部分的最后一个"/"
此时浏览器提交表单是的请求路径为:
http://localhost:8088/myweb/myweb/login
服务端解析请求后得到的请求路径就是:/myweb/myweb/login
此时和UserController的login方法上注解@RequestMapping("myweb/login")上的参数匹配时是不成功的!!
v
http://localhost:8088/myweb/login.html
action="/myweb/login" 最开始有"/",则这是一个绝对路径,这个"/"表示的位置是地址栏中抽象路径中的第一个"/"位置
此时浏览器提交表单是的请求路径为:
http://localhost:8088/myweb/login
服务端解析请求后得到的请求路径就是:/myweb/login
此时和UserController的login方法上注解@RequestMapping("/myweb/login")上的参数匹配就可以成功!!
-->
<form action="/myweb/login" method="post">
<table border="1">
<tr>
<td>用户名</td>
<td><input name="username" type="text"></td>
</tr>
<tr>
<td>密码</td>
<td><input name="password" type="password"></td>
</tr>
<tr>
<td colspan="2" align="center"><input type="submit" value="登录"></td>
</tr>
</table>
</form>
</center>
</body>
</html><!DOCTYPE html>
<html lang="en">
<head>
<meta charset="UTF-8">
<title>失败</title>
</head>
<body>
<center>
<h1>登录失败,用户名或密码不正确!请<a href="/myweb/login.html">重新登录</a></h1>
</center>
</body>
</html><!DOCTYPE html>
<html lang="en">
<head>
<meta charset="UTF-8">
<title>成功</title>
</head>
<body>
<center>
<h1>登录成功,欢迎回来!</h1>
</center>
</body>
</html><!DOCTYPE html>
<html lang="en">
<head>
<meta charset="UTF-8">
<title>用户注册</title>
</head>
<body>
<center>
<h1>用户注册</h1>
<form action="/myweb/reg" method="post">
<table border="1">
<tr>
<td>用户名</td>
<td><input type="text" name="username"></td>
</tr>
<tr>
<td>密码</td>
<td><input type="password" name="password"></td>
</tr>
<tr>
<td>昵称</td>
<td><input type="text" name="nickname"></td>
</tr>
<tr>
<td>年龄</td>
<td><input type="text" name="age"></td>
</tr>
<tr>
<td><img src="/myweb/random.jpg"></td>
<td><input type="text" name="code"></td>
</tr>
<tr>
<td colspan="2" align="center"><input type="submit" value="注册"></td>
</tr>
</table>
</form>
</center>
</body>
</html><!DOCTYPE html>
<html lang="en">
<head>
<meta charset="UTF-8">
<title>成功</title>
</head>
<body>
<center>
<h1>恭喜您,注册成功了!</h1>
</center>
</body>
</html><!DOCTYPE html>
<html lang="en">
<head>
<meta charset="UTF-8">
<title>发表文章</title>
</head>
<body>
<center>
<h1>发表文章</h1>
<form action="/myweb/writeArticle" method="post">
<table border="1">
<tr>
<td>标题</td>
<td><input name="title" type="text"></td>
</tr>
<tr>
<td>作者</td>
<td><input name="author" type="text"></td>
</tr>
<tr>
<td>内容</td>
<td><textarea cols="50" rows="10" name="content"></textarea></td>
</tr>
<tr>
<td colspan="2" align="center"><input type="submit" value="发表"></td>
</tr>
</table>
</form>
</center>
</body>
</html>后面会更新!
哪里有问题欢迎大家评论!


 1190
1190


 被折叠的 条评论
为什么被折叠?
被折叠的 条评论
为什么被折叠?
 到【灌水乐园】发言


