


代码如下:
import os
from colorama import Fore, Style, init
from tkinter import Tk, Label, Entry, Button, Text, Scrollbar, RIGHT, Y, END
# 初始化 colorama
init(autoreset=True)
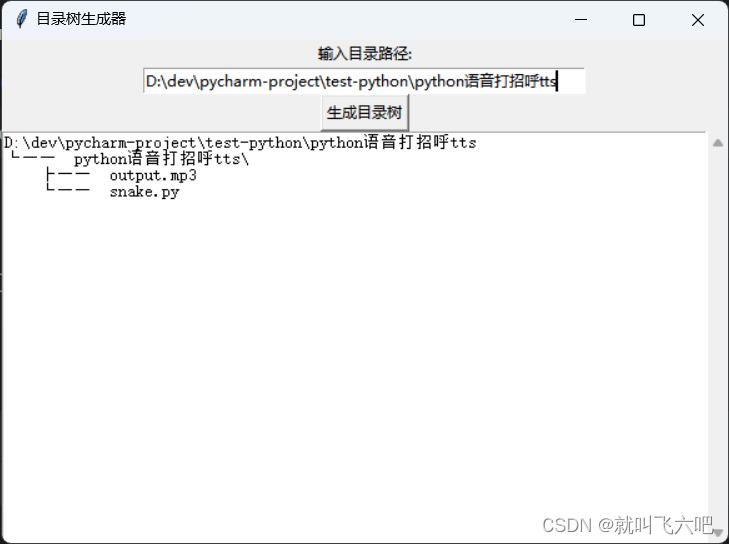
def print_directory_tree(root_dir, text_widget, indent='', last=True):
"""递归打印目录树并显示在文本框中"""
if os.path.isfile(root_dir):
text_widget.insert(END, f'{indent}{"└── " if last else "├── "} {os.path.basename(root_dir)}\n')
else:
text_widget.insert(END, f'{indent}{"└── " if last else "├── "} {os.path.basename(root_dir)}\\\n')
indent += ' ' if last else '│ '
items = os.listdir(root_dir)
for i, item in enumerate(items):
last = i == len(items) - 1
print_directory_tree(os.path.join(root_dir, item), text_widget, indent, last)
def generate_tree():
root_dir = entry.get()
text_widget.delete(1.0, END)
text_widget.insert(END, f'{root_dir}\n')
print_directory_tree(root_dir, text_widget)
# 创建主窗口
root = Tk()
root.title("目录树生成器")
# 创建标签、输入框和按钮
label = Label(root, text="输入目录路径:")
label.pack()
entry = Entry(root, width=50)
entry.pack()
button = Button(root, text="生成目录树", command=generate_tree)
button.pack()
# 创建文本框和滚动条
text_widget = Text(root, wrap='none', height=25, width=80)
scrollbar = Scrollbar(root, command=text_widget.yview)
text_widget.configure(yscrollcommand=scrollbar.set)
scrollbar.pack(side=RIGHT, fill=Y)
text_widget.pack(side=RIGHT, fill=Y)
# 运行主循环
root.mainloop()


 1213
1213

 被折叠的 条评论
为什么被折叠?
被折叠的 条评论
为什么被折叠?
 到【灌水乐园】发言


