参考资料:
设置高亮的样式写法是这样写的:
<template>
<div>
<el-container>
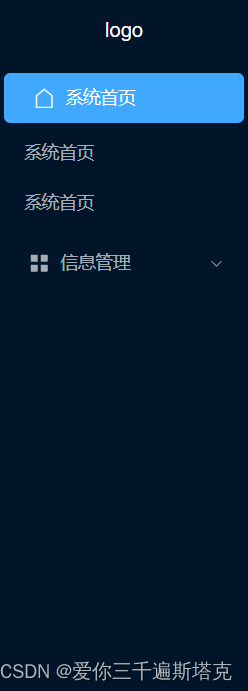
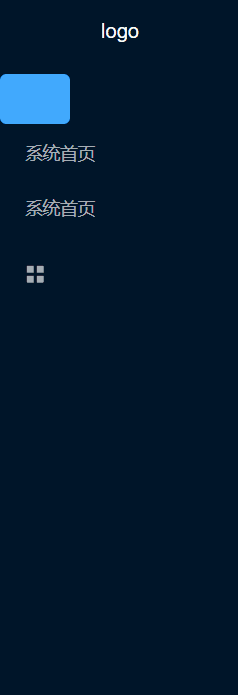
<el-aside style="width: 200px;min-height: 100vh;background-color:#001529">
<div style="height: 60px; color: white; display: flex; align-items: center; justify-content: center;">
logo
</div>
<el-menu style="border:none" background-color="#001529" text-color="rgba(255,255,255,0.65)"
default-active="$router.path">
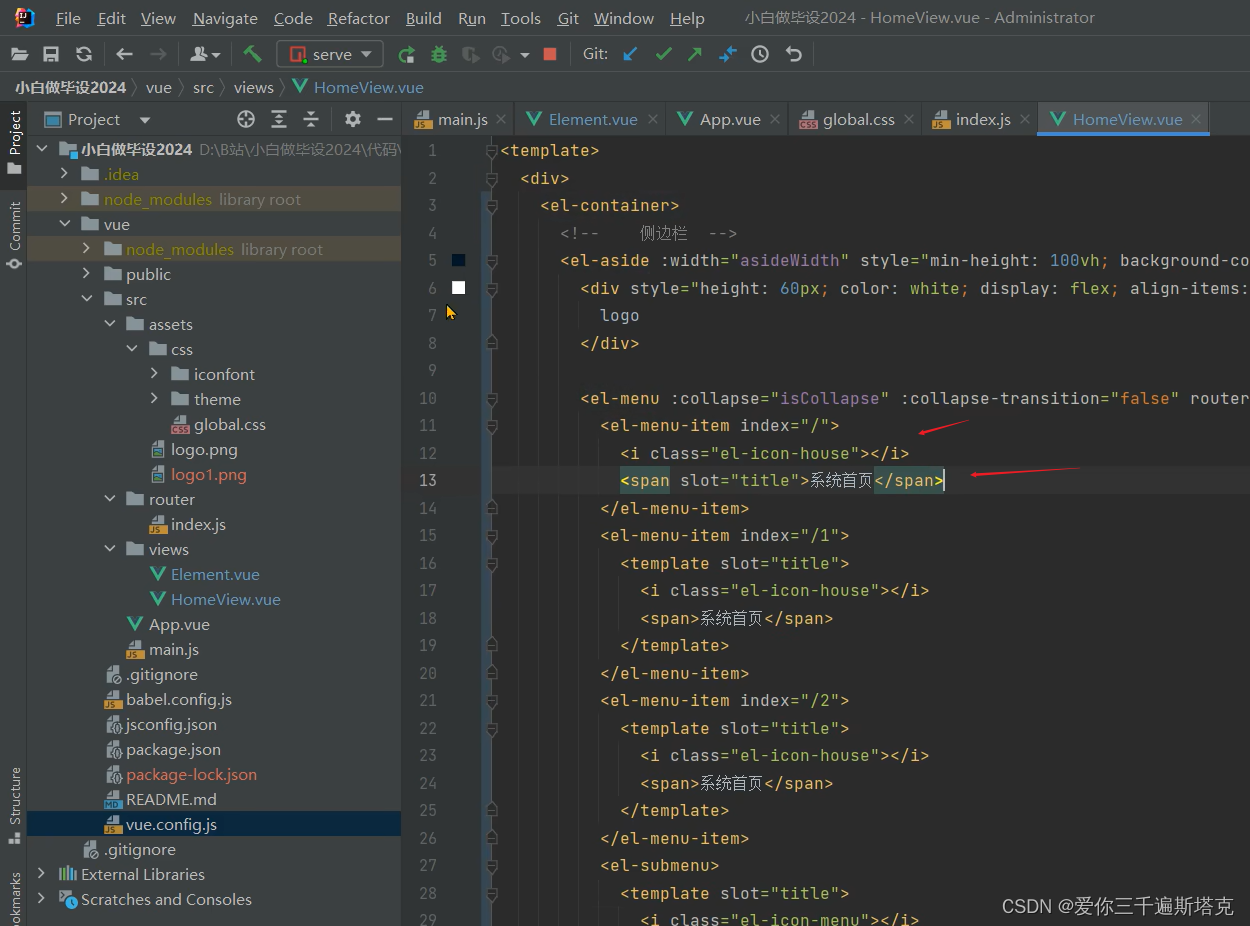
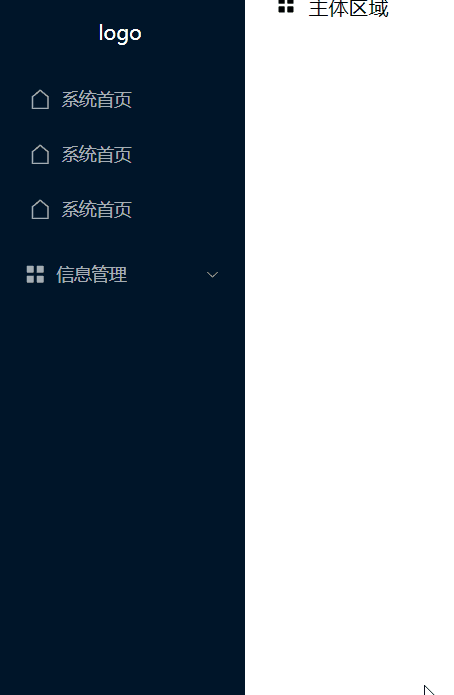
<el-menu-item index="/">
<template #title>
<el-icon>
<House />
</el-icon>
<span>系统首页</span>
</template>
</el-menu-item>
<el-menu-item>系统首页</el-menu-item>
<el-menu-item>系统首页</el-menu-item>
<el-sub-menu index="1-4">
<template #title>
<el-icon>
<Menu />
</el-icon>
<span>信息管理</span>
</template>
<el-menu-item index="1-4-1">用户信息</el-menu-item>
</el-sub-menu>
</el-menu>
</el-aside>
</el-container>
</div>
</template>
<style scoped>
.el-menu--inline .el-menu-item {
background-color: #000c17 !important;
}
</style>
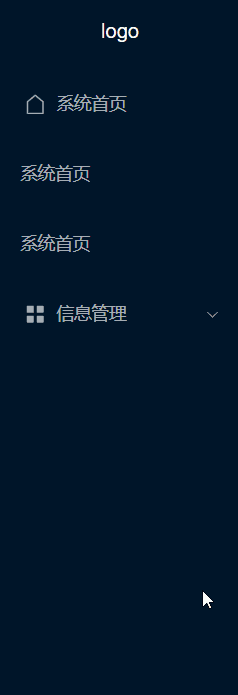
如何设置高亮效果
样式写成这样就行
.el-menu-item:hover {
    color: #fff;
}
如果二级标题和图标也想要发生改变,添加这段代码就行了
.el-menu-item:hover,
.el-sub-menu__title:hover span {
    color: #fff !important;
}

.el-sub-menu__title:hover i {
    color: #fff !important;
}
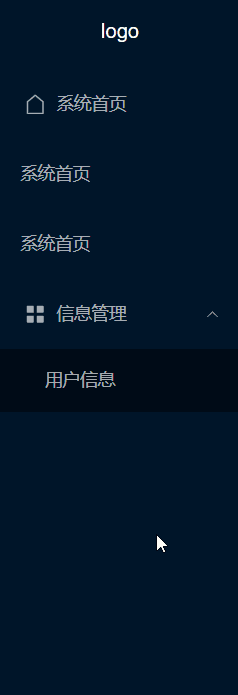
如果二级标题想要点击之后改变颜色,填这种样式就好了
.el-menu-item.is-active {
    background-color: #40a9ff !important;
    color: #fff;
    border-radius: 5px !important;
}
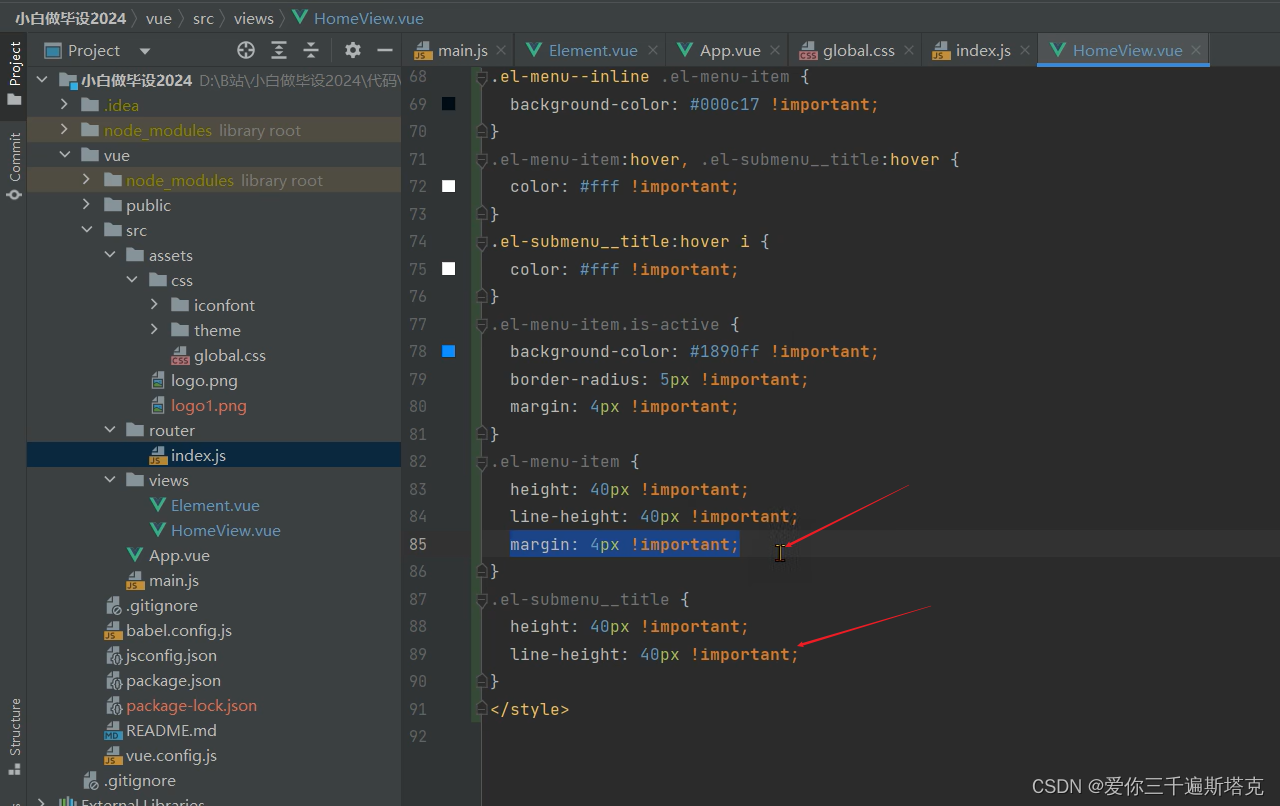
如果要修正长度
用这个代码就行
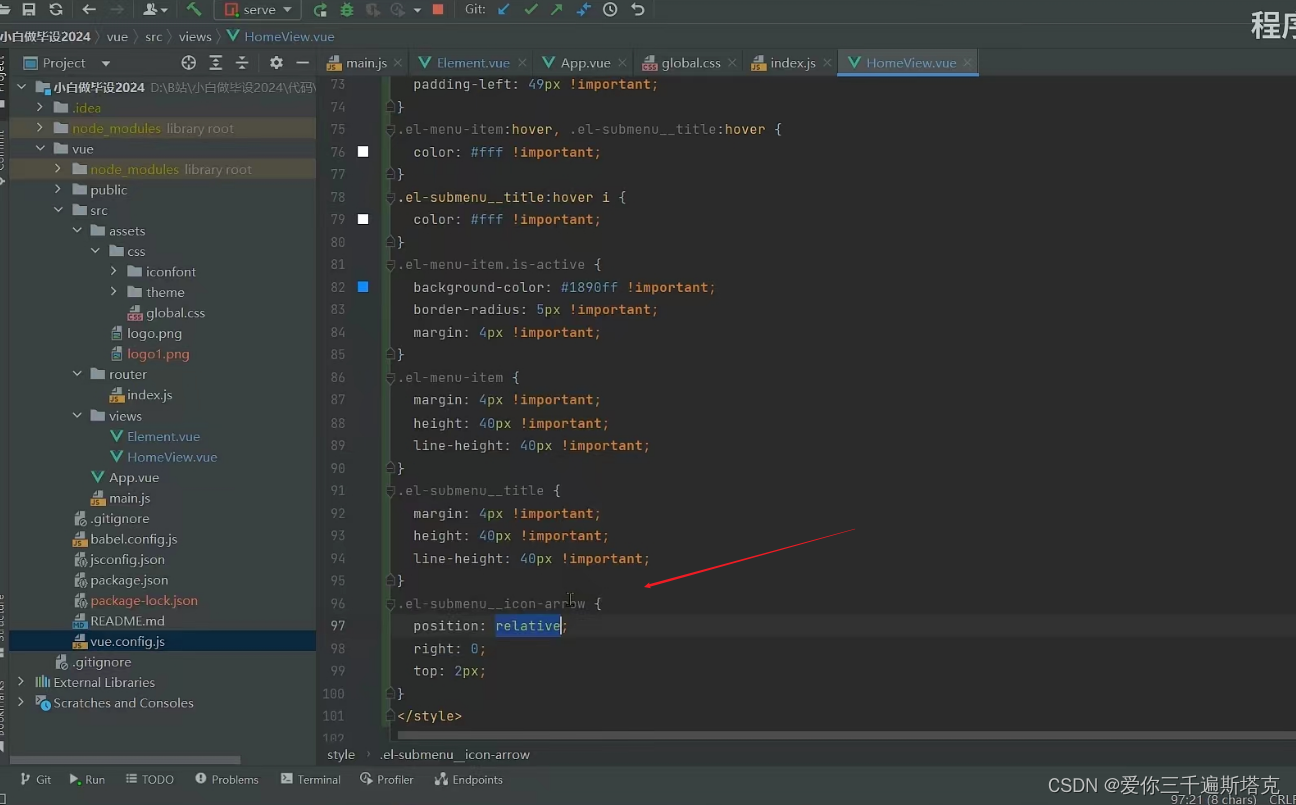
.el-menu-item {
    height: 40px !important;
    line-height: 40px !important;
}

.el-submenu__title {
    height: 40px !important;
    line-height: 40px !important;
}
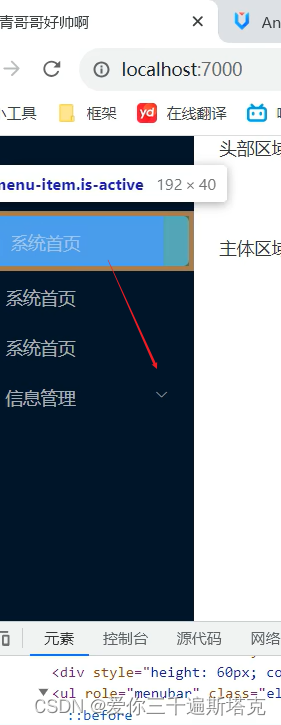
如果出现不对齐的情况
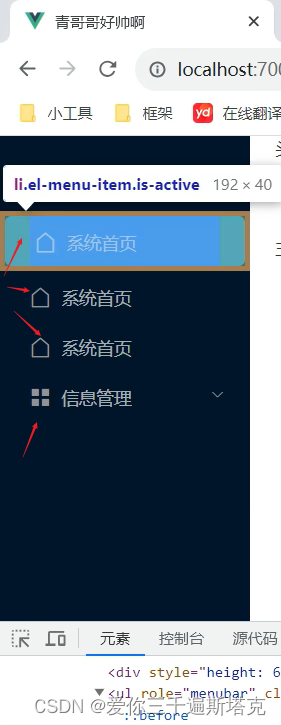
设置图标位置,点击三角符号
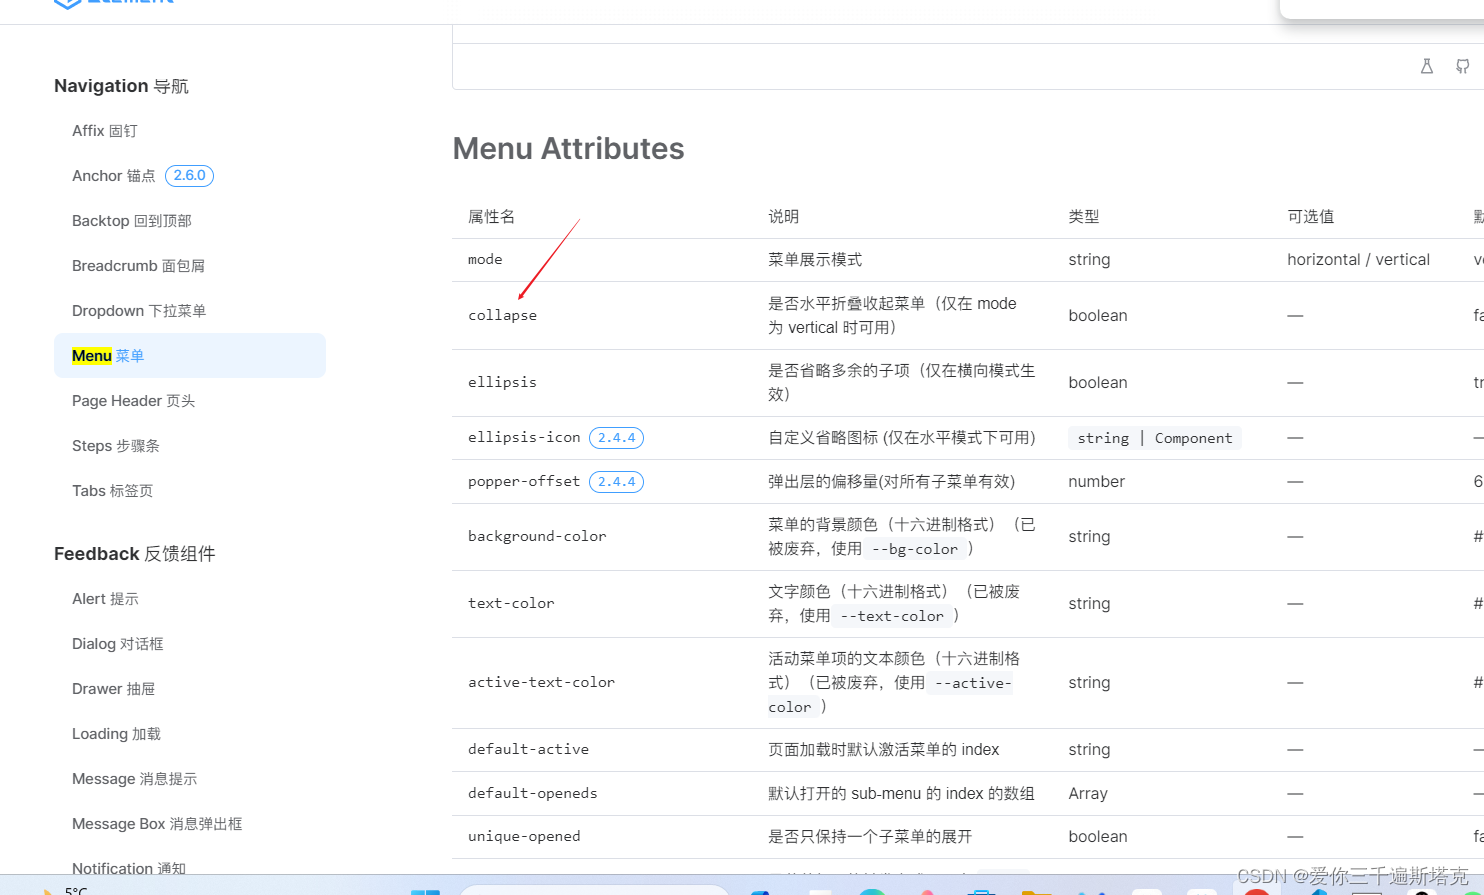
折叠水平菜单,用collapse
在el-menu中添加isCollapse,同时在data中定义字符串

这里:collapse=xxx要设置,data中也要设置
<el-menu :collapse="isCollapse" style="border:none" background-color="#001529"
                    text-color="rgba(255,255,255,0.65)" default-active="$router.path">
 </el-menu>
<script lang="ts">
export default {
    name: 'HomeView',
    data() {
        return {
            isCollapse: true
        }
    }
}
</script>
写成这样就出现了折叠效果的初步形状了
这里width不能写死,在el-aside中添加 :width="asideWidth"
<el-aside :width="asideWidth" style="min-height: 100vh;background-color:#001529">
<script lang="ts">
export default {
    name: 'HomeView',
    data() {
        return {
            isCollapse: true,
            asideWidth: '200px'
        }
    }
}
</script>

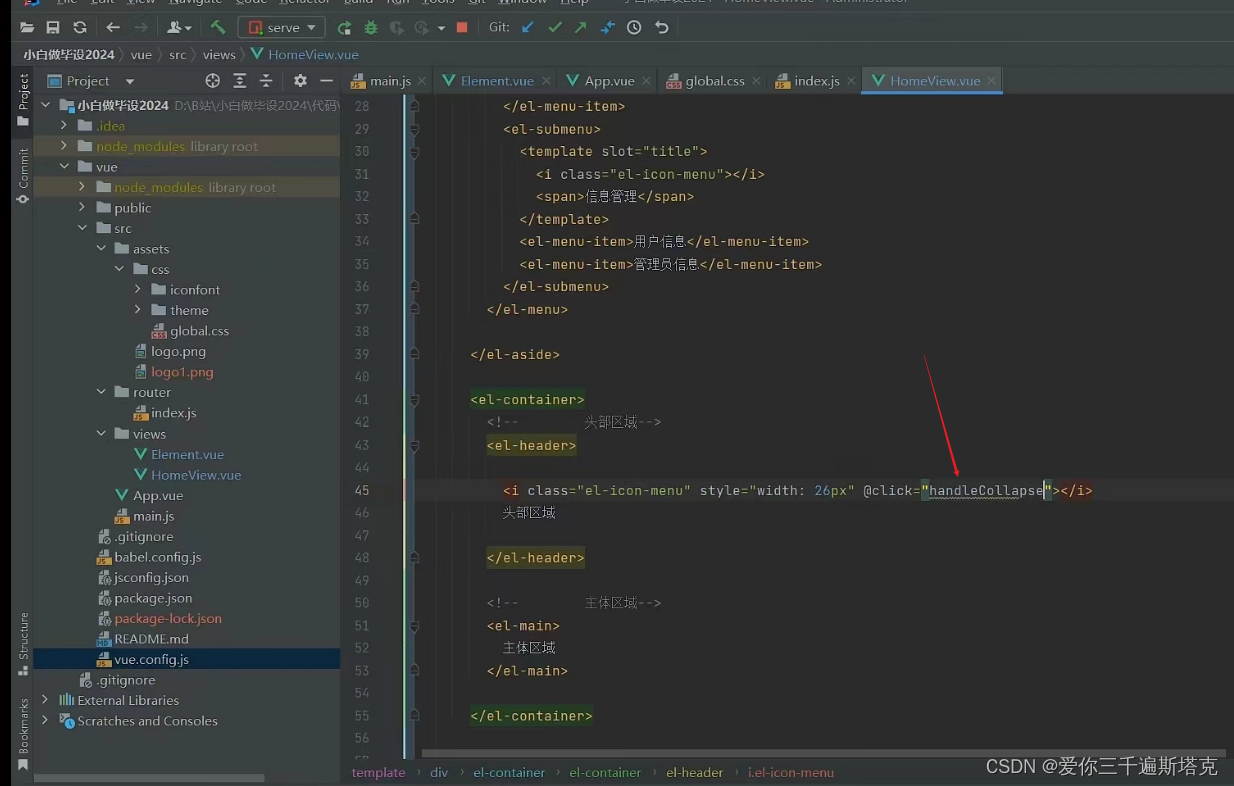
这里要在头部添加一个标签
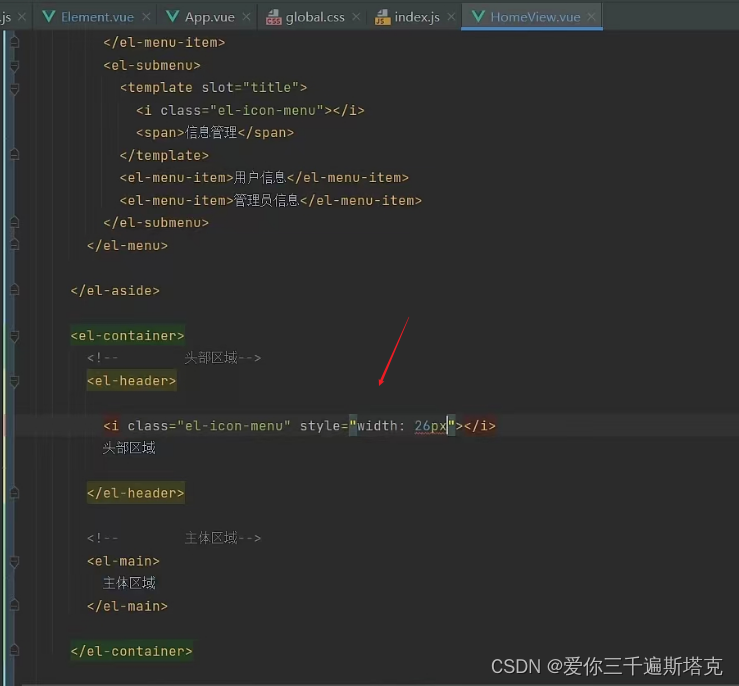
头部要有一个icon
绑定事件,@click="handleCollapse"
改成
.el-aside {
transition:width .3s;
}
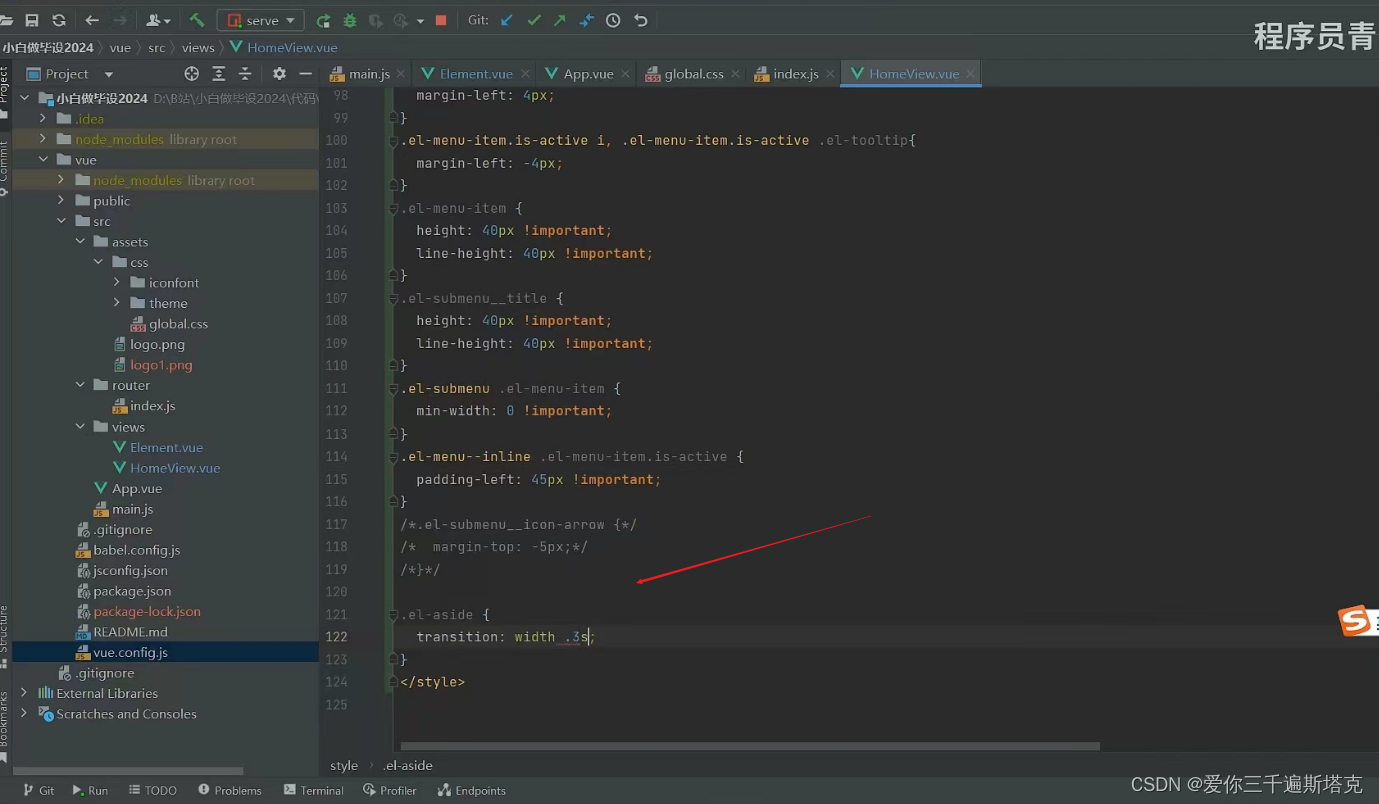
.el-aside {
    transition: width .30s;
}
伸缩图标如何做,这里图标消失不见了,该怎样设置
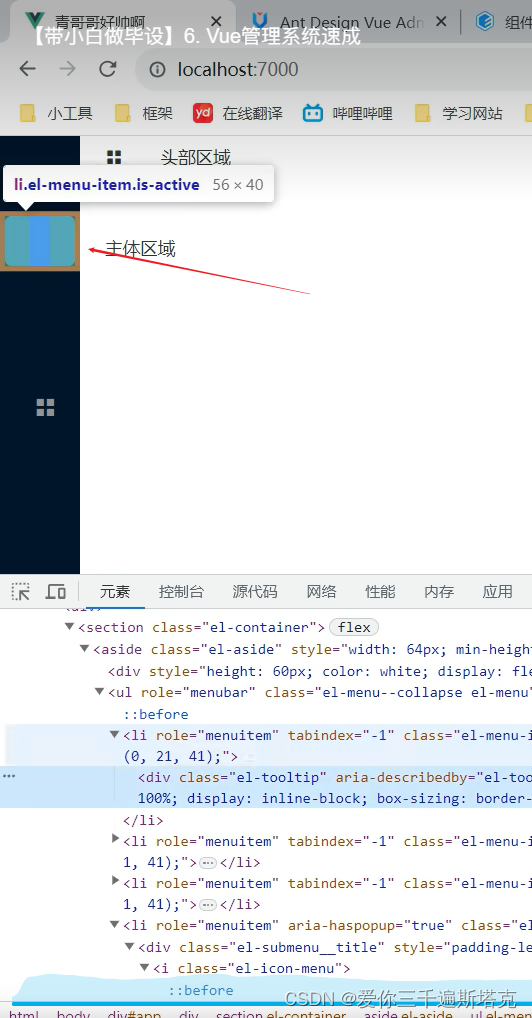
写成这样就行了
        <el-menu-item index="/">
                        <el-icon>
                            <House />
                        </el-icon>
                        <span>系统首页</span>
                    </el-menu-item>
效果
添加阴影
在.el-aside和.el-header中添加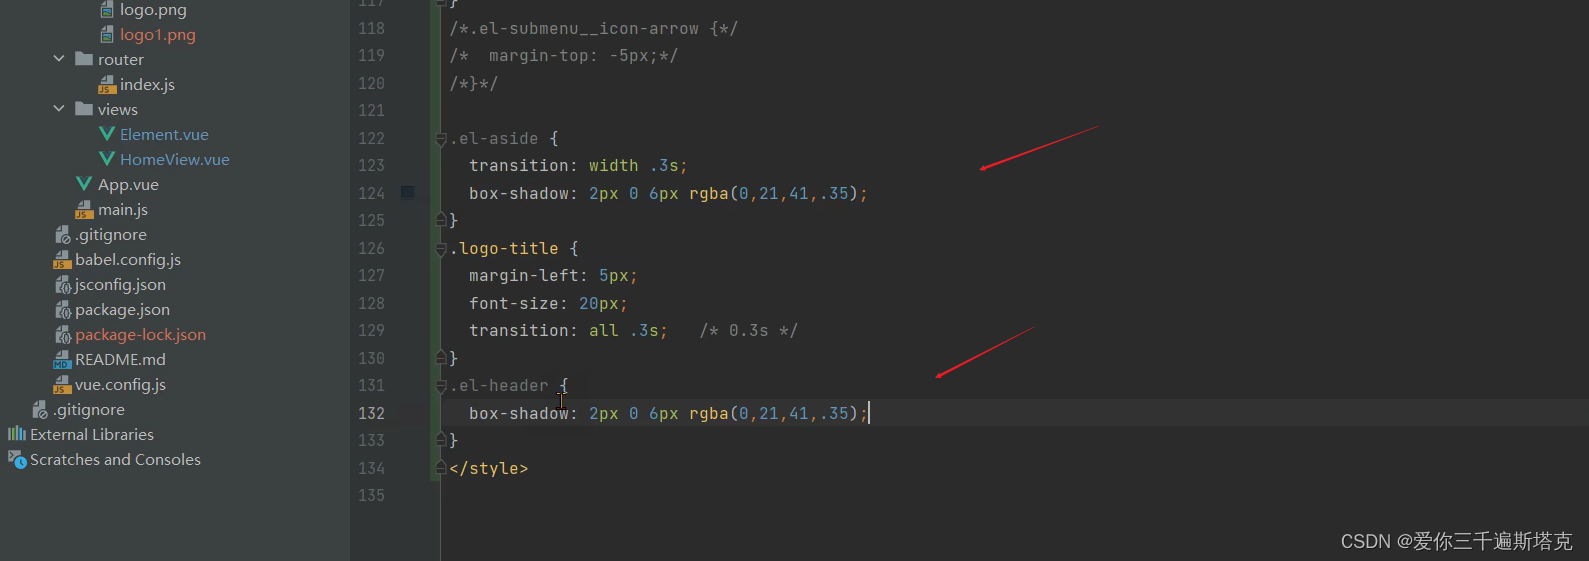
如何添加logo,可以利用行内样式直接填,再结合F12,设置宽度
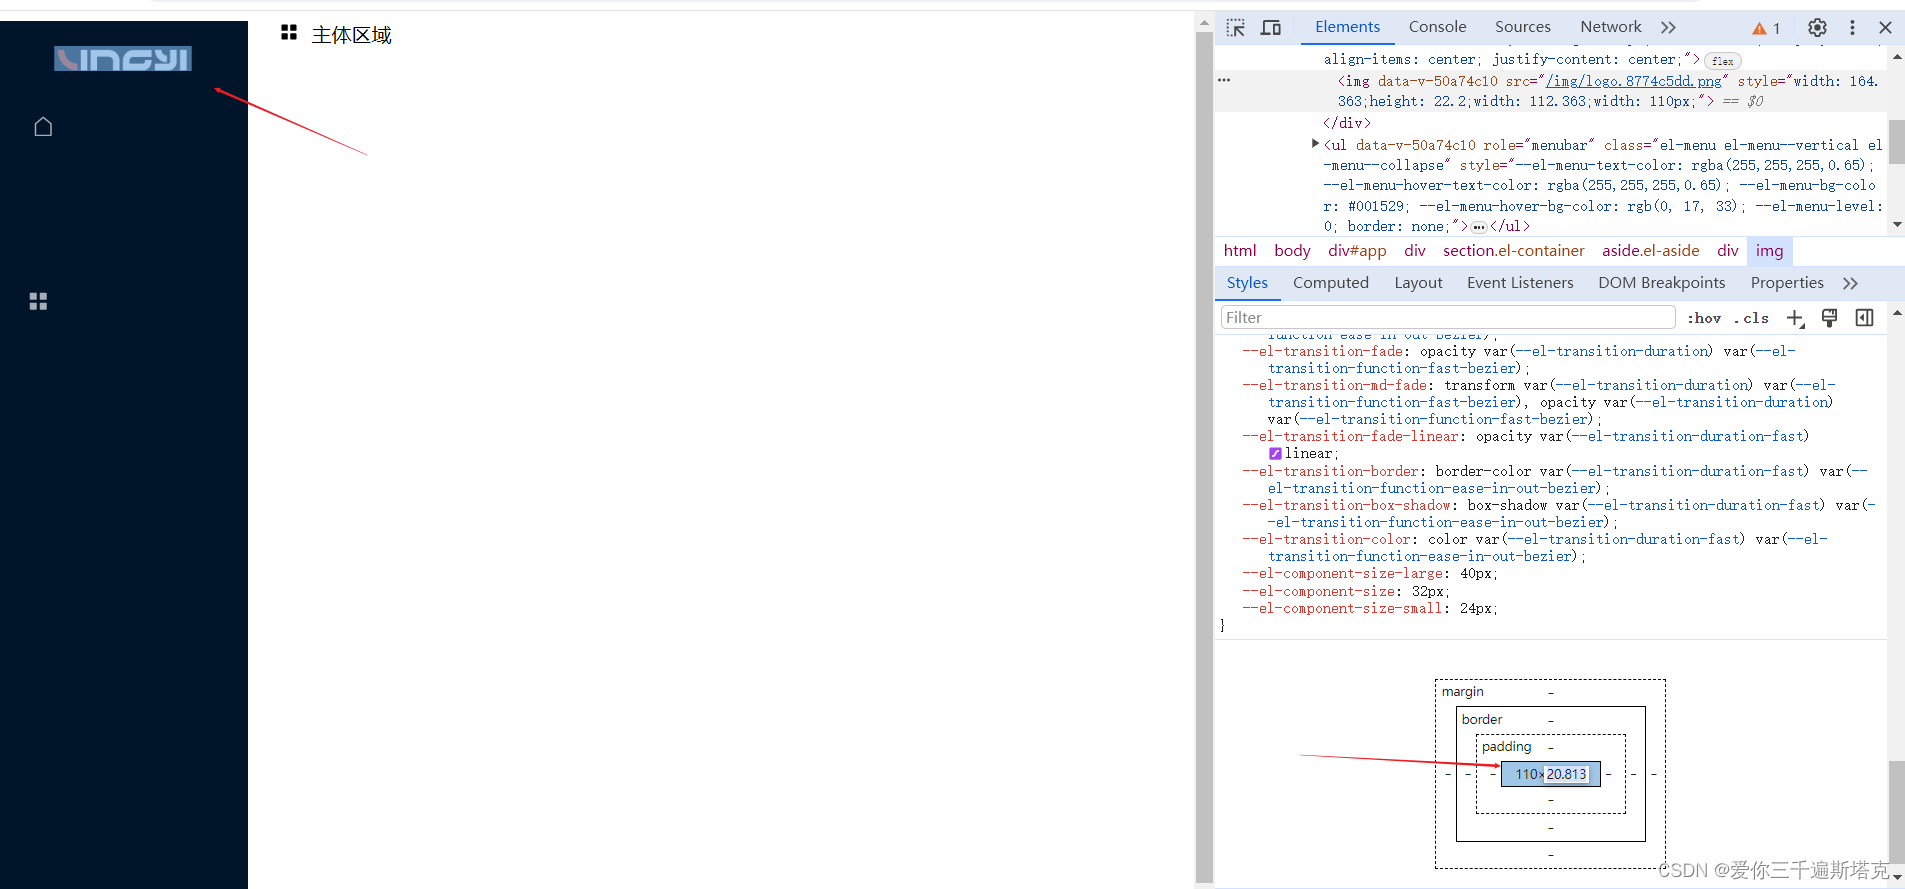
 <div style="height: 60px; color: white; display: flex; align-items: center; justify-content: center;">
    <img src="@/assets/logo.png" style="width: 40px;height: 40px;">
</div>


 本文详细介绍了如何在Vue项目中使用ElementUI的el-menu组件实现菜单高亮效果、二级标题样式调整、折叠功能以及设置logo和aside宽度。


 6557
6557


 被折叠的 条评论
为什么被折叠?
被折叠的 条评论
为什么被折叠?
 到【灌水乐园】发言


