


,前端路由的核心是什么呢?改变URL,但是页面不进行整体的刷新。
vue-router是基于路由和组件的
路由用于设定访问路径, 将路径和组件映射起来;
在vue-router的单页面应用中, 页面的路径的改变就是组件的切换;
使用router需要
1.在router文件夹内书写整个index.js文件
2.在View文件夹内书写具体的router文件内容
3.在App.vue文件夹想要替换内容的地方,写上路由占位符
4.main.js文件内import router from "./router",并且在mount app前app.use(router)
路由的使用步骤
◼ 使用vue-router的步骤:
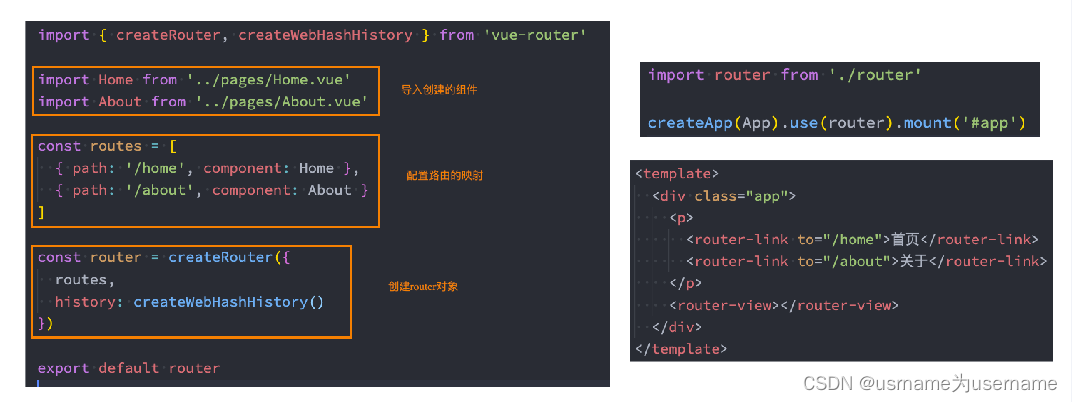
第一步:创建路由需要映射的组件(打算显示的页面);
第二步:通过createRouter创建路由对象,并且传入routes和history模式;
✓ 配置路由映射: 组件和路径映射关系的routes数组;
✓ 创建基于hash或者history的模式;
第三步:使用app注册路由对象(use方法);
第四步:路由使用: 通过<router-link>和<router-view>;
0.报错:无法正常渲染router
报错1:

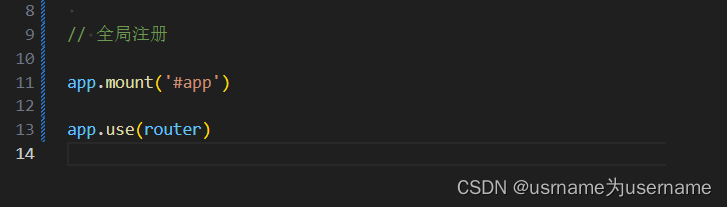
必须把use router写在mount前
报错2:
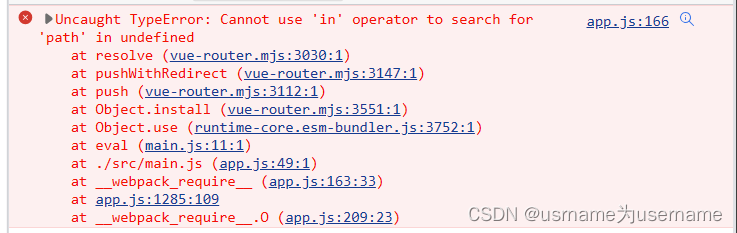
要么是router-link没写to的路径,要么是 history:createWebHistory,这里没写()
1.简单使用

router文件夹index.js
import { createRouter,createWebHashHistory } from "vue-router";

import Home from "../Views/Home.vue"
import About from "../Views/About.vue"


const router = createRouter({
	//指定采用的模式:hash
	history:createWebHashHistory(),
	//映射关系
	routes:[
		{path:"/home",component:Home},
		{path:"/about",component:About},
	]
})

export default router
Views文件夹下About与Home.vue文件
<template>
	<h2>about</h2>
</template>
<template>
<h2>home</h2>
</template>App.vue
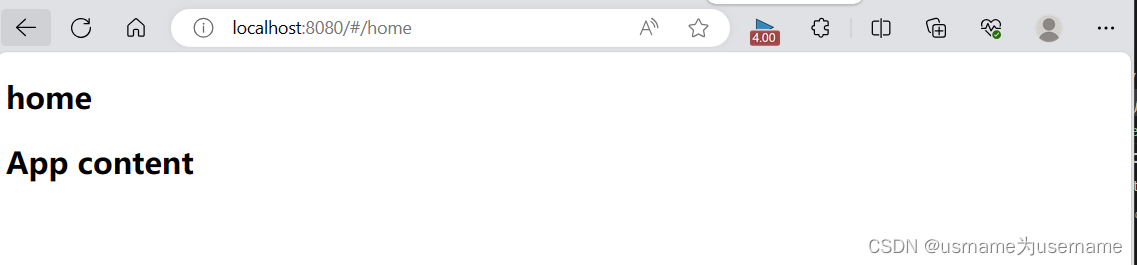
<template>
<div class="app">
	<router-view></router-view>
	<h2>App content</h2>
</div>
</template>

<script setup>


</script>

<style lang="less" scoped>

</style>
main.js
import { createApp } from 'vue'
// import "./assets/reset.css"
import router from "./router"

import App from './App.vue'

const app = createApp(App)

// 全局注册

app.use(router)

app.mount('#app')
2.如果希望点击某个区域进行跳转:router-link
<template>
<div class="app">
	<h2>App content</h2>
	<div class="nav">
			<router-link to="/home">首页</router-link>
			<router-link to="/about">关于</router-link>
	</div>
	<router-view></router-view>
</div>
</template>

<script setup>


</script>

<style lang="less" scoped>

</style>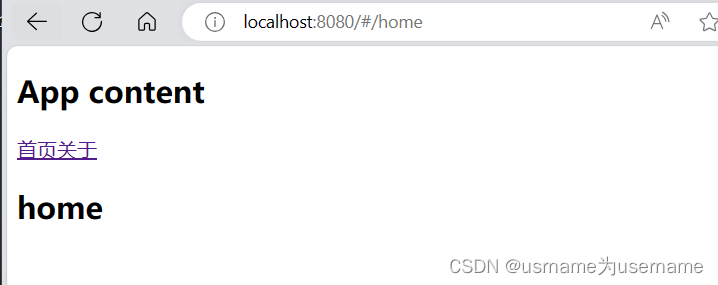
3.路由的默认路径
默认情况下, 进入网站的首页, 我们希望<router-view>渲染首页的内容;
但是我们的实现中, 默认没有显示首页组件, 必须让用户点击才可以;
◼ 如何可以让路径默认跳到到首页, 并且<router-view>渲染首页组件呢?
◼ 我们在routes中又配置了一个映射:
path配置的是根路径: /
redirect是重定向, 也就是我们将根路径重定向到/home的路径下, 这样就可以得到我们想要的结果了.
const router = createRouter({
//指定采用的模式:hash
history:createWebHashHistory(),
//映射关系
routes:[
{path:"/",redirect:"/home"},
{path:"/home",component:Home},
{path:"/about",component:About},
]
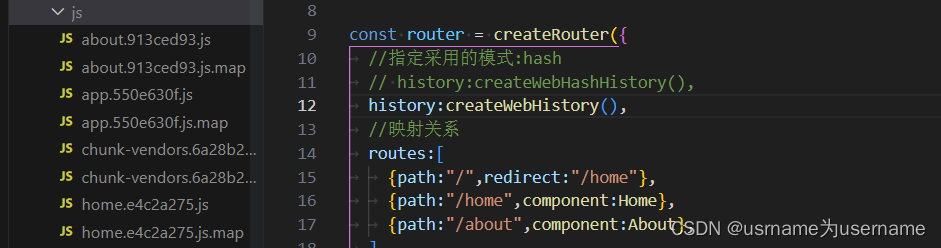
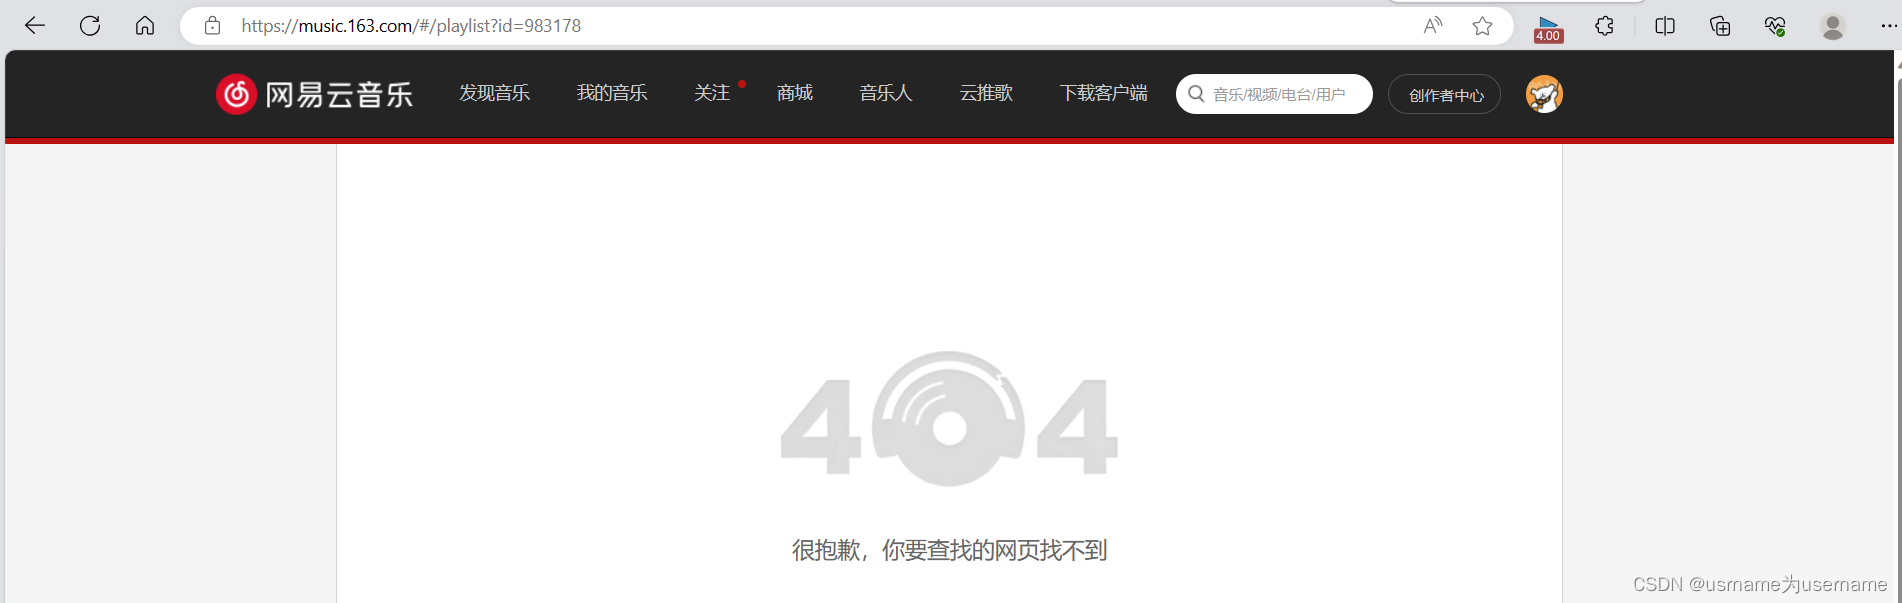
})4.history模式
使用WebHashHistory哈希模式,域名跳转时会有#,如果切成history则是日常的域名模式
import { createRouter,createWebHashHistory,createWebHistory } from "vue-router";

import Home from "../Views/Home.vue"
import About from "../Views/About.vue"


const router = createRouter({
	//指定采用的模式:hash
	// history:createWebHashHistory(),
	history:createWebHistory(),
	//映射关系
	routes:[
		{path:"/",redirect:"/home"},
		{path:"/home",component:Home},
		{path:"/about",component:About},
	]
})

export default router
5.router-link的属性:to/replace/active/name
◼ router-link事实上有很多属性可以配置:
◼ to属性:
是一个字符串,或者是一个对象
对象写法,记得:to,几乎不在to内使用对象写法
<router-link :to="{path:'/about'}">关于</router-link>
◼ replace属性:
设置 replace 属性的话,当点击时,会调用 router.replace(),而不是 router.push();
	<div class="nav">
			<router-link to="/home" replace>首页</router-link>
			<router-link to="/about" replace>关于</router-link>
	</div>
如果使用了replace属性,比如从百度进入8080页面,默认进入首页,此时点击进入关于界面,再点击返回,此时返回的不再是首页,而是百度页面
因为相当于百度→首页,关于页面替换了首页,此时百度→关于,所以点击返回按钮,返回百度界面
◼ active-class属性:
设置激活a元素后自动应用的class,默认是router-link-active

◼ exact-active-class属性:
链接精准激活时,应用于渲染的 <a> 的 class,默认是router-link-exact-active;
通过自动绑定的active类,可以对其进行样式操作
.router-link-active
{
	color: red;
}
◼ name属性:路由记录独一无二的名称;
◼ meta属性:自定义的数据

6.路由懒加载
◼ 当打包构建应用时,JavaScript 包会变得非常大,影响页面加载:
如果我们能把不同路由对应的组件分割成不同的代码块,然后当路由被访问的时候才加载对应组件,这样就会更加高效;
也可以提高首屏的渲染效率;
◼ 其实这里还是我们前面讲到过的webpack的分包知识,而Vue Router默认就支持动态来导入组件:
这是因为component可以传入一个组件,也可以接收一个函数,该函数 需要放回一个Promise;
而import函数就是返回一个Promise;
默认 npm run build不分包(此写法几乎被摒弃
import Home from "../Views/Home.vue"
import About from "../Views/About.vue"
如果想要分包:
const Home=()=>import ("../Views/About.vue")
const About=()=>import ("../Views/Home.vue")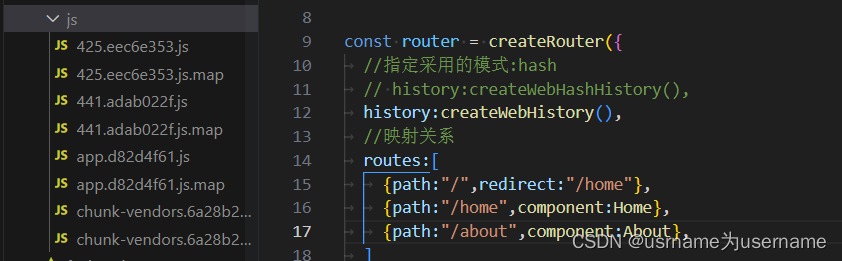
如果希望知道到底每个包对应的内容
使用webpack的魔法注释,webpack从3.x开始支持对分包进行命名(chunk name)
const Home=()=>import (/* webpackChunkName: 'home' */"../Views/About.vue")
const About=()=>import (/* webpackChunkName: 'about' */"../Views/Home.vue")
但是现在最广泛的写法是:
import { createRouter,createWebHashHistory,createWebHistory } from "vue-router";

// import Home from "../Views/Home.vue"
// import About from "../Views/About.vue"
// const Home=()=>import (/* webpackChunkName: 'home' */"../Views/About.vue")
// const About=()=>import (/* webpackChunkName: 'about' */"../Views/Home.vue")


const router = createRouter({
	//指定采用的模式:hash
	// history:createWebHashHistory(),
	history:createWebHistory(),
	//映射关系
	routes:[
		{path:"/",
		redirect:"/home"
	},
		{path:"/home",
		component:()=>import ("../Views/Home.vue")
	},
		{path:"/about",
		component:()=>import ("../Views/About.vue")
	},
	]
})

export default router
7.动态路由基本匹配
◼ 很多时候我们需要将给定匹配模式的路由映射到同一个组件:
例如,我们可能有一个 User 组件,它应该对所有用户进行渲染,但是用户的ID是不同的;
在Vue Router中,我们可以在路径中使用一个动态字段来实现,我们称之为 路径参数;
如果进入user页面,一般user界面会跟着id,但是我们默认的时user,此时无法匹配,无法进入user页面
![]()
{path:"/user/:id",
const router = createRouter({
	history:createWebHistory(),
	//映射关系
	routes:[
		{path:"/",
		redirect:"/home"
	},
		{path:"/home",
		component:()=>import ("../Views/Home.vue")
	},
		{path:"/about",
		component:()=>import ("../Views/About.vue")
	},
	{path:"/user/:id",
	component:()=>import ("../Views/User.vue")
	},
	]
})

export default router
<template>
<div class="app">
	<h2>App content</h2>
	<div class="nav">
			<router-link to="/home">首页</router-link>
			<router-link to="/about">关于</router-link>
			<router-link to="/user">用户</router-link>

			<router-link to="/user/321">用户321</router-link>
			<router-link to="/user/123">用户123</router-link>
	</div>
	<router-view></router-view>
</div>
</template>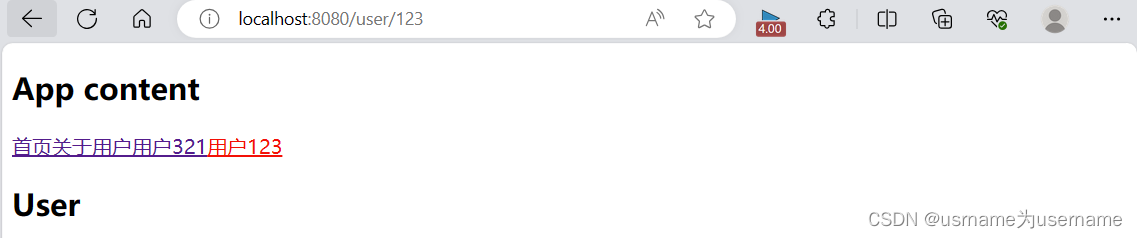
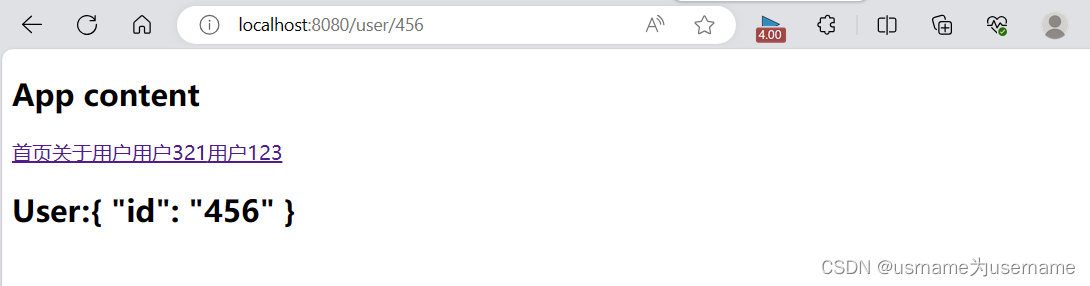
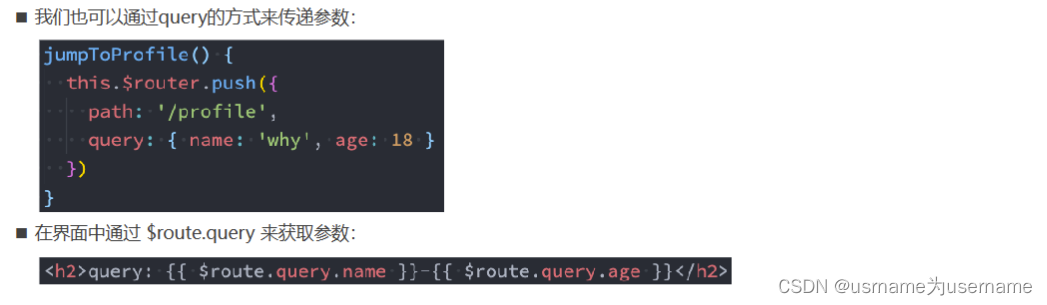
8.获取动态路由的值
◼ 那么在User中如何获取到对应的值呢?
在template中,直接通过 $route.params获取值;
✓ 在created中,通过 this.$route.params获取值;
✓ 在setup中,我们要使用 vue-router库给我们提供的一个hook useRoute;
➢ 该Hook会返回一个Route对象,对象中保存着当前路由相关的值;
法一:在template中,直接通过 $route.params获取值;
<template>
	<h2 class="user">User:{{$route.params}}</h2>
</template>
{path:"/user/:id",
component:()=>import ("../Views/User.vue")
},
<template>
	<h2 class="user">User:{{$route.params.id}}</h2>
</template>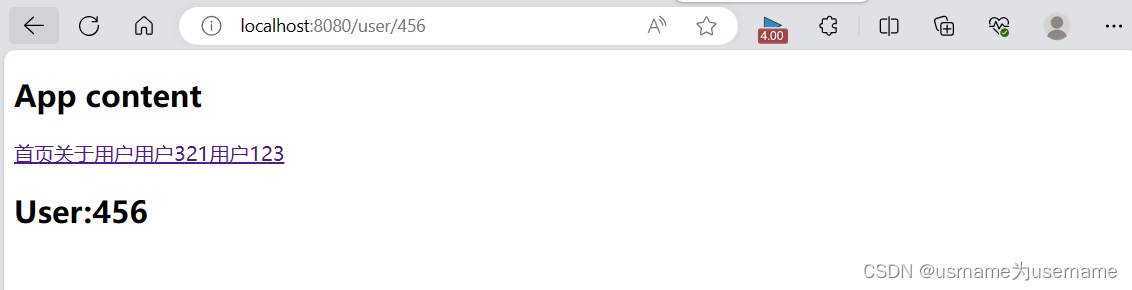
法二:在setup中,我们要使用 vue-router库给我们提供的一个hook useRoute;
<template>
	<h2 class="user">User:{{$route.params.id}}</h2>
</template>

<script setup>
	import {useRoute} from 'vue-router'
	const route =useRoute()
	console.log(route.params.id)
</script>
但是这种写法在
			<router-link to="/user/321">用户321</router-link>
			<router-link to="/user/123">用户123</router-link>
切换时不会控制台输出
如果想要改变:(很少用到)
<template>
	<h2 class="user">User:{{$route.params.id}}</h2>
</template>

<script setup>
  import { useRoute, onBeforeRouteUpdate } from 'vue-router'

  const route = useRoute()
  console.log(route.params.id)

  // 获取route跳转id
  onBeforeRouteUpdate((to, from) => {
    console.log("from:", from.params.id)
    console.log("to:", to.params.id)
  })

</script>
法三:

9.notfound
对于哪些没有匹配到的路由,我们通常会匹配到固定的某个页面
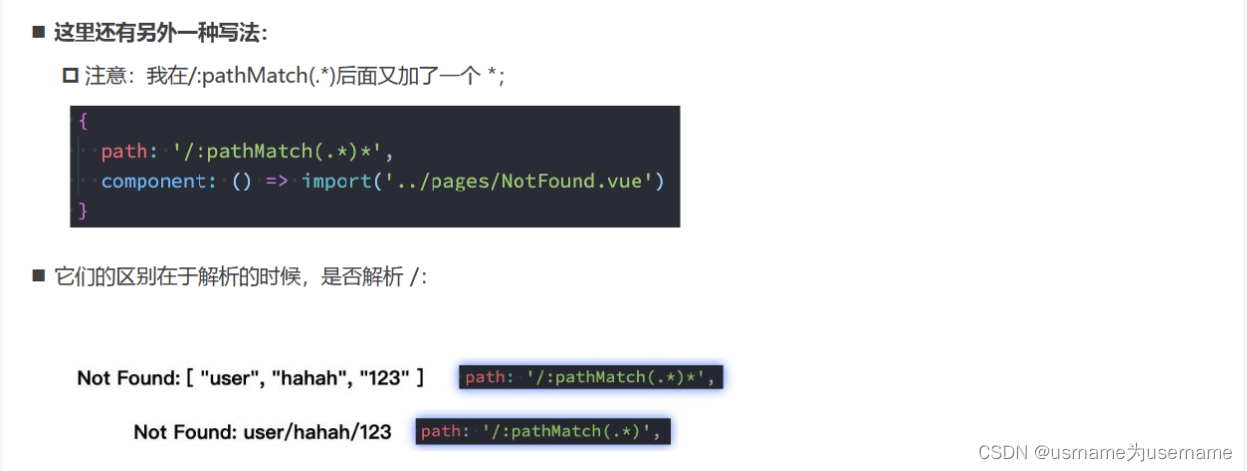
比如NotFound的错误页面中,这个时候我们可编写一个动态路由用于匹配所有的页面;
这里path:"/:patMatch(.*)"意味着匹配到所有路径
但是home/user/about这种还是会正常跳转的
	{
		path:"/:patMatch(.*)",
		component:()=>import ("../Views/NotFound.vue")
	}
<template>
<div class="not-found">
<h2>NotFound:您当前的路径不正确</h2>
</div>
</template>
<script setup>
</script>
<style scoped>
</style>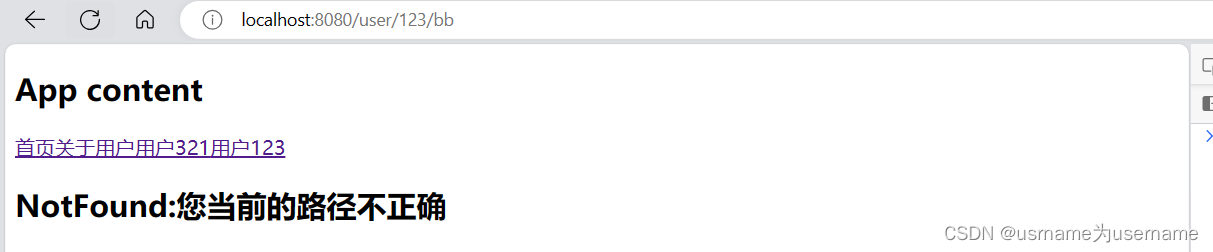
获得具体不正确的路径
<template>
	<div class="not-found">
		<h2>NotFound:您当前的路径不正确{{$route.params.patMatch}}</h2>
	</div>
</template>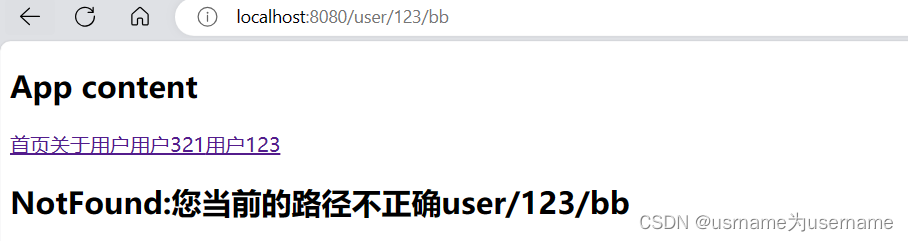
10.编程式路由跳转

使用费router-link跳转需要用到编程式
使用push的特点是压入一个新的页面,那么在用户点击返回时,上一个页面还可以回退,但是如果我们希望当前页面是一个替换操作,那么可以使用replace:
<template>
<div class="app">
	<h2>App content</h2>
	<div class="nav">
			<span @click="homeSpanClick">首页</span>
			<button @click="aboutBtnClick">关于</button>
		</div>
	<router-view></router-view>
</div>
</template>

<script setup>
		import {useRouter} from 'vue-router'
		const router=useRouter()

		function homeSpanClick(){
			router.push("/home")
		}
		function aboutBtnClick()
		{
			router.push("/about")
		}
</script>
		import {useRouter} from 'vue-router'
		const router=useRouter()

		function homeSpanClick(){
			router.push("/home")
		}
获取当前正在使用的router

		function homeSpanClick(){
			router.push({
				path:"/home"
			})
		}
这样写可以写更多参数
11.页面的前进后退
<template>
	<h2 class="about">about</h2>
	<button @click="backBtnClick">返回</button>
</template>

<script setup>
	import {useRouter} from 'vue-router'

	const router=useRouter()
	function backBtnClick()
	{
		router.back()
	}
</script>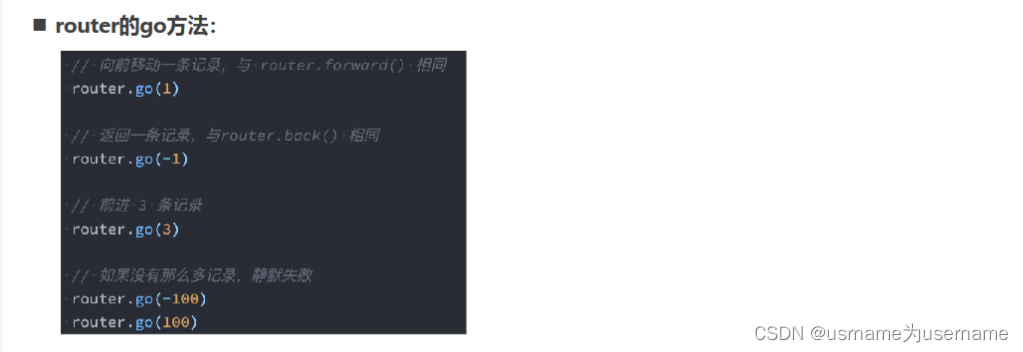
12.动态添加路由
◼ 某些情况下我们可能需要动态的来添加路由:
比如根据用户不同的权限,注册不同的路由;
这个时候我们可以使用一个方法 addRoute;
let isAdmin=true
if(isAdmin)
{
	router.addRoute(	{path:"/admin",
	component:()=>import ("../Views/Admin.vue")
	},)
}

export default router
//动态管理路由
let isAdmin=true
if(isAdmin)
{
router.addRoute(
{path:"/admin",
component:()=>import ("../Views/Admin.vue")
},)
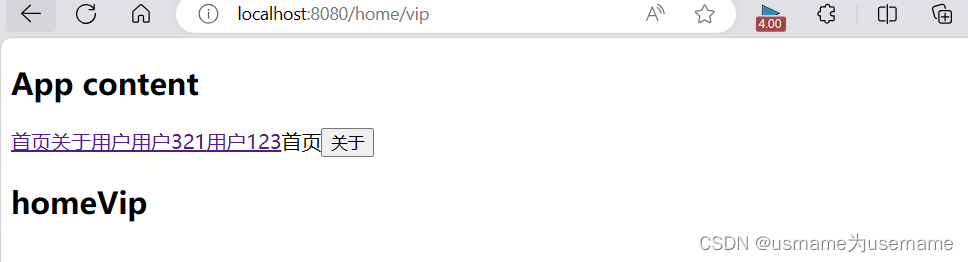
//添加vip页面
router.addRoute(
{path: "/home/vip",
component: () => import("../Views/HomeVip.vue")
});
}动态添加二级路由
13.删除路由
name必须是唯一的
14.路由导航守卫
◼ vue-router 提供的导航守卫主要用来通过跳转或取消的方式守卫导航。
◼ 全局的前置守卫beforeEach是在导航触发时会被回调的:
◼ 它有两个参数:
to:即将进入的路由Route对象;
from:即将离开的路由Route对象;
◼ beforeEach有返回值:
false:取消当前导航;
不返回或者undefined:进行默认导航;
返回一个路由地址:跳转到对应地址
✓ 可以是一个string类型的路径;
✓ 可以是一个对象,对象中包含path、query、params等信息;
◼ 可选的第三个参数:next(不推荐使用)
在Vue2中我们是通过next函数来决定如何进行跳转的;
但是在Vue3中我们是通过返回值来控制的,不再推荐使用next函数,这是因为开发中很容易调用多次next;
比如在首页点击order按钮,需要进行拦截,如果已经登录则放行,否则跳转到登录页面
console.log(from,to)

需求1:任何页面都跳转到login页面
// 路由导航守卫
router.beforeEach((to,from)=>
{
	if(to.path!=="/login")
	{return "/login"}
})
此处需要加条件:如果不是login页面则跳转,否则永远在跳转,陷入死循环
需求2:需求: 进入到订单(order)页面时, 判断用户是否登录
// 情况一: 用户没有登录, 那么跳转到登录页面, 进行登录的操作
// 情况二: 用户已经登录, 那么直接进入到订单页面
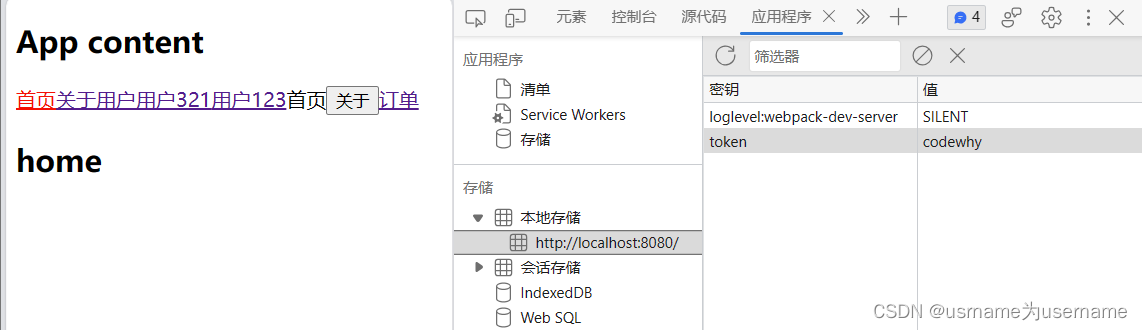
因为第一次保存了,验证没token时需要 手动删除
模拟实现登录
点击登录后,服务器返回token接着跳转到order页面
<script setup>

 import { useRouter } from 'vue-router'

 const router = useRouter()

	function loginClick()
{
      // 向服务器发送请求, 服务器会返回token
      localStorage.setItem("token","codewhy")
      // 跳转到order页面
      router.push("/order")
}

</script>
退出登录
<template>
	<h2 class="home">home</h2>
	<button @click="logoutClick">退出登录</button>
</template>

<script setup>

  function logoutClick() {
    localStorage.removeItem("token")
  }

</script>
Vue还提供了很多的其他守卫函数,目的都是在某一个时刻给予我们回调,让我们可以更好的控制程序的流程或者功能:
https://next.router.vuejs.org/zh/guide/advanced/navigation-guards.html
◼ 完整的导航解析流程:
导航被触发。
在失活的组件里调用 beforeRouteLeave 守卫。
调用全局的 beforeEach 守卫。
在重用的组件里调用 beforeRouteUpdate 守卫(2.2+)。
在路由配置里调用 beforeEnter。
解析异步路由组件。
在被激活的组件里调用 beforeRouteEnter。
调用全局的 beforeResolve 守卫(2.5+)。
导航被确认。
调用全局的 afterEach 钩子。
触发 DOM 更新。
调用 beforeRouteEnter 守卫中传给 next 的回调函数,创建好的组件实例会作为回调函数的参数传入。


 518
518


 被折叠的 条评论
为什么被折叠?
被折叠的 条评论
为什么被折叠?
 到【灌水乐园】发言


