


1.下载
下载地址
https://repo.spring.io/ui/native/release/org/springframework/spring/这里选择5.2.6.RELEASE版本就可以了,最新版本的话大家都懂,总会出现一些网上搜不到的问题
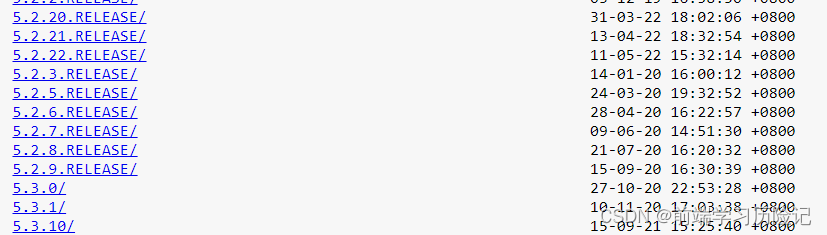
点击后进入下一个页面,选择第一个.dist.zip,点击右侧链接下载
 下载完成后解压至你想存储的目录下,打开它,进入libs文件夹,发现里面有很多的jar包
2.导入jar包
我们可以直接先创建一个普通的java工程,在工程目录下创建一个lib文件夹,为满足基础操作(在未来再逐步导入所需jar包就行了),选中libs文件夹中的这四个复制到创建的lib文件夹中(注意文件后缀)(最下方的jar包可以去这个网址下载点我进入下载页面!,进入这个页面找下载Jar包,点击下载就行了,然后也放到lib里就行)
spring-beans-5.2.6.RELEASE.jar
spring-context-5.2.6.RELEASE.jar
spring-core-5.2.6.RELEASE.jar
spring-expression-5.2.6.RELEASE.jar
commons-logging-1.1.1.jar
然后我们点击左上角File -> Project Structure -> Modules -> Dependencies -> 加号 -> JARs or Directories... 找到lib文件夹,将这5个jar包导入(长按ctrl可以多选)
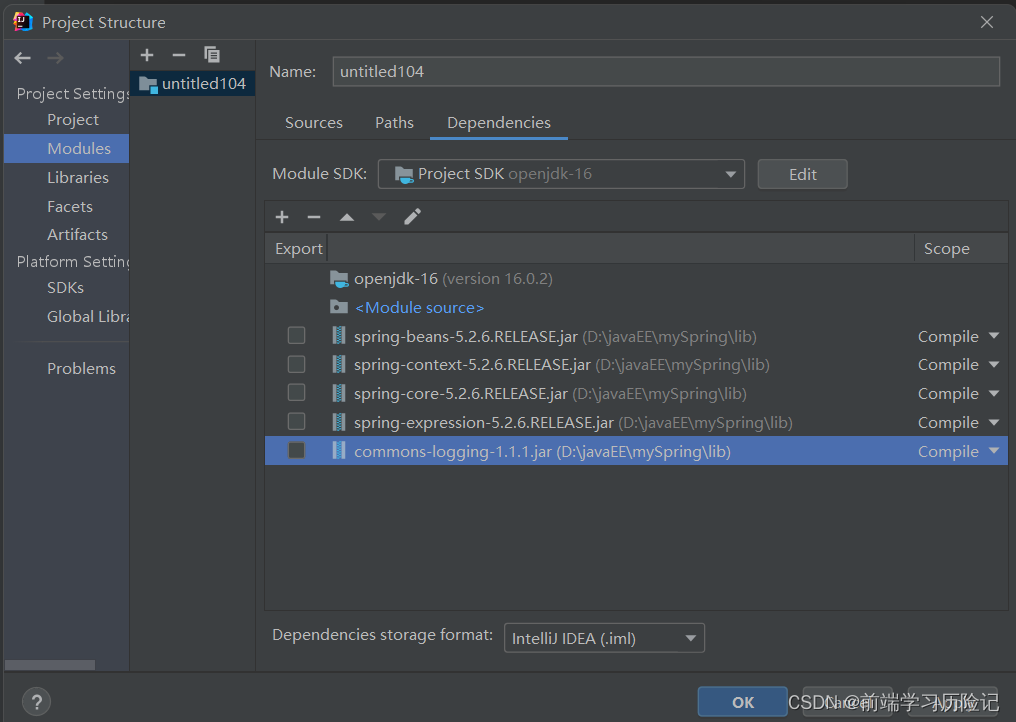
接着Apply -> OK
3.创建一个普通类
随便创建一个普通的测试类
package test;

public class test {
    public void test1() {
        System.out.println("测试1");
    }
}
4.创建Spring配置文件,在配置文件中配置创建的对象
Spring配置文件使用的是xml格式
这里为了方便直接把配置文件创建在src中
对准src鼠标右键,New -> XML Configuration File -> Spring Config,随意命名,这里命名为bean1.xml
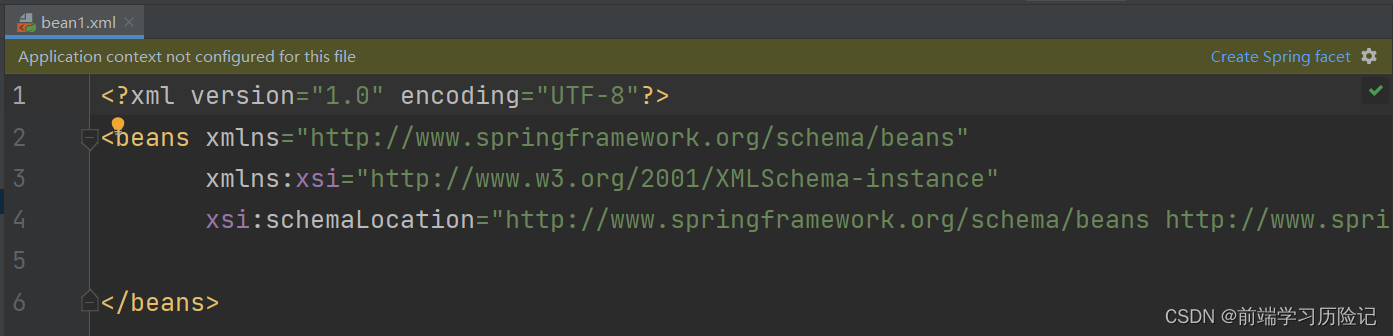
在上图的空白处写以下代码
<!--配置test对象创建-->
<!--id为这项配置的名,确保唯一的情况下可随意命名-->
<!--class中写明包名.类名-->
<bean id="test" class="test.test"></bean>
这个样子
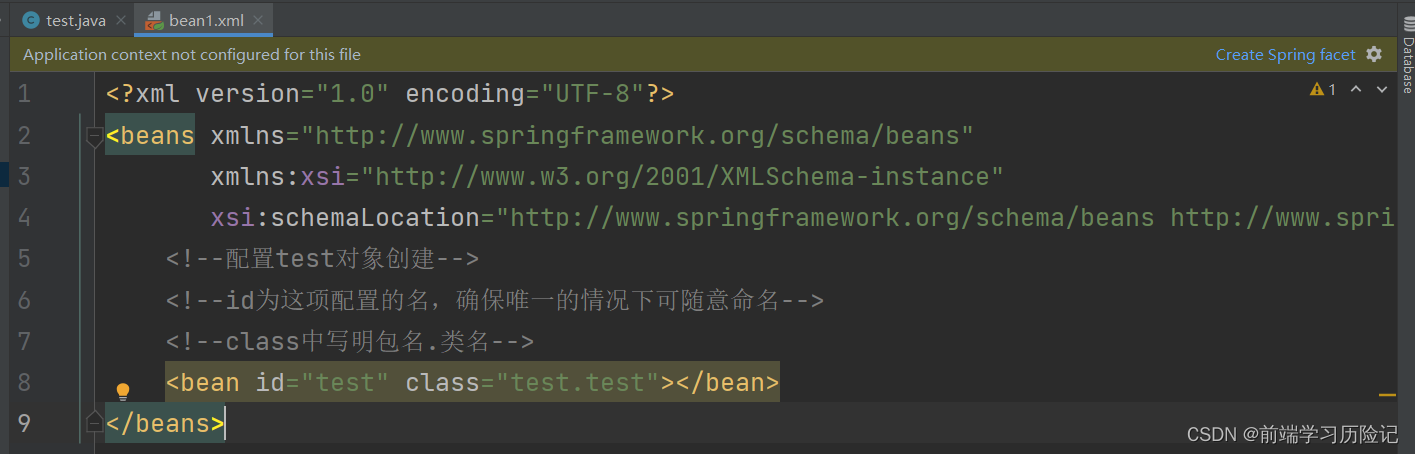
到此为止就配置完成了
5.测试
注意,以下内容只是用于测试,实际开发中一般不会使用
再创建一个测试类testSpring
package test;

import org.junit.Test;
import org.springframework.context.ApplicationContext;
import org.springframework.context.support.ClassPathXmlApplicationContext;

public class testSpring {
    @Test
    public void test2() {
        // 1. 加载Spring配置文件
        ApplicationContext context = new ClassPathXmlApplicationContext("bean1.xml");

        // 2. 获取配置创建的对象
        test t = context.getBean("test", test.class);

        System.out.println(t);
        t.test1();
    }
}
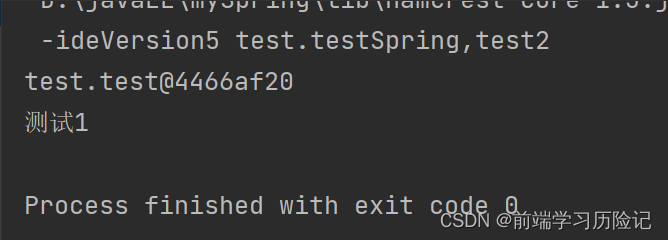
运行结果


 3629
3629


 被折叠的 条评论
为什么被折叠?
被折叠的 条评论
为什么被折叠?
 到【灌水乐园】发言


