


目录
简介
Spring Security 是一个提供身份验证、授权和针对常见攻击的保护的框架,spring security 在程序启动时,向spring中注入一个默认的filterChian,按照顺序,依次执行filter,对用户信息进行认证,授权。
官网链接: Spring Security :: Spring Security
spring security 中包含的filter如下:
-
ChannelProcessingFilter
-
WebAsyncManagerIntegrationFilter
-
SecurityContextPersistenceFilter
-
HeaderWriterFilter
-
CorsFilter
-
CsrfFilter
-
LogoutFilter
-
OAuth2AuthorizationRequestRedirectFilter
-
Saml2WebSsoAuthenticationRequestFilter
-
X509AuthenticationFilter
-
AbstractPreAuthenticatedProcessingFilter
-
CasAuthenticationFilter
-
OAuth2LoginAuthenticationFilter
-
Saml2WebSsoAuthenticationFilter
-
OpenIDAuthenticationFilter
-
DefaultLoginPageGeneratingFilter
-
DefaultLogoutPageGeneratingFilter
-
ConcurrentSessionFilter
-
BearerTokenAuthenticationFilter
-
RequestCacheAwareFilter
-
SecurityContextHolderAwareRequestFilter
-
JaasApiIntegrationFilter
-
RememberMeAuthenticationFilter
-
AnonymousAuthenticationFilter
-
OAuth2AuthorizationCodeGrantFilter
-
SessionManagementFilter
-
SwitchUserFilter
spring security 中提供的认证方式有:
-
Username and Password - how to authenticate with a username/password
-
OAuth 2.0 Login - OAuth 2.0 Log In with OpenID Connect and non-standard OAuth 2.0 Login (i.e. GitHub)
-
SAML 2.0 Login - SAML 2.0 Log In
-
Central Authentication Server (CAS) - Central Authentication Server (CAS) Support
-
Remember Me - how to remember a user past session expiration
-
JAAS Authentication - authenticate with JAAS
-
OpenID - OpenID Authentication (not to be confused with OpenID Connect)
-
Pre-Authentication Scenarios - authenticate with an external mechanism such as SiteMinder or Java EE security but still use Spring Security for authorization and protection against common exploits.
-
X509 Authentication - X509 Authentication
其中,默认的认证过滤器为 UsernamePasswordAuthenticationFilter。
源码解析
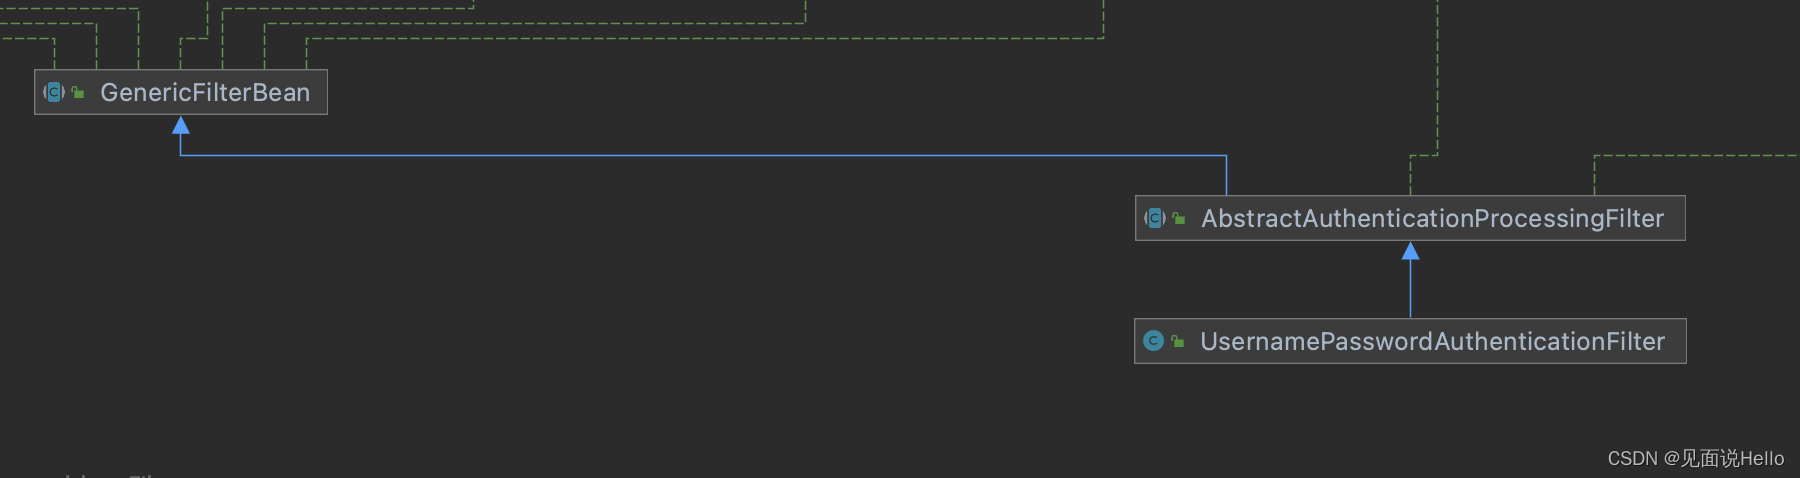
通过类图我们可以看出UsernamePasswordAuthenticationFilter继承了AbstractAuthenticationProcessingFilter,但是UsernamePasswordAuthenticationFilter并没有重写doFilter方法,因此,UsernamePasswordAuthenticationFilter是通过父类的doFilter进行认证的。
private void doFilter(HttpServletRequest request, HttpServletResponse response, FilterChain chain) throws IOException, ServletException {
        if (!this.requiresAuthentication(request, response)) {
            chain.doFilter(request, response);
        } else {
            try {
                Authentication authenticationResult = this.attemptAuthentication(request, response);
                if (authenticationResult == null) {
                    return;
                }

                this.sessionStrategy.onAuthentication(authenticationResult, request, response);
                if (this.continueChainBeforeSuccessfulAuthentication) {
                    chain.doFilter(request, response);
                }

                this.successfulAuthentication(request, response, chain, authenticationResult);
            } catch (InternalAuthenticationServiceException var5) {
                this.logger.error("An internal error occurred while trying to authenticate the user.", var5);
                this.unsuccessfulAuthentication(request, response, var5);
            } catch (AuthenticationException var6) {
                this.unsuccessfulAuthentication(request, response, var6);
            }

        }
    }
doFilter中真正执行认证的方法是attemptAuthentication
public Authentication attemptAuthentication(HttpServletRequest request, HttpServletResponse response) throws AuthenticationException {
        if (this.postOnly && !request.getMethod().equals("POST")) {
            throw new AuthenticationServiceException("Authentication method not supported: " + request.getMethod());
        } else {
            String username = this.obtainUsername(request);
            username = username != null ? username.trim() : "";
            String password = this.obtainPassword(request);
            password = password != null ? password : "";
            UsernamePasswordAuthenticationToken authRequest = UsernamePasswordAuthenticationToken.unauthenticated(username, password);
            this.setDetails(request, authRequest);
            return this.getAuthenticationManager().authenticate(authRequest);
        }
    }
该方法中获取用户的username和password,生成一个未认证的UsernamePasswordAuthenticationToken,然后交给AuthenticationManager去认证,
所以真正认证的方法是AbstractUserDetailsAuthenticationProvider.authenticate()
public Authentication authenticate(Authentication authentication) throws AuthenticationException {
        Assert.isInstanceOf(UsernamePasswordAuthenticationToken.class, authentication, () -> {
            return this.messages.getMessage("AbstractUserDetailsAuthenticationProvider.onlySupports", "Only UsernamePasswordAuthenticationToken is supported");
        });
        String username = this.determineUsername(authentication);
        boolean cacheWasUsed = true;
        UserDetails user = this.userCache.getUserFromCache(username);
        if (user == null) {
            cacheWasUsed = false;

            try {
                user = this.retrieveUser(username, (UsernamePasswordAuthenticationToken)authentication);
            } catch (UsernameNotFoundException var6) {
                this.logger.debug("Failed to find user '" + username + "'");
                if (!this.hideUserNotFoundExceptions) {
                    throw var6;
                }

                throw new BadCredentialsException(this.messages.getMessage("AbstractUserDetailsAuthenticationProvider.badCredentials", "Bad credentials"));
            }

            Assert.notNull(user, "retrieveUser returned null - a violation of the interface contract");
        }

        try {
            this.preAuthenticationChecks.check(user);
            this.additionalAuthenticationChecks(user, (UsernamePasswordAuthenticationToken)authentication);
        } catch (AuthenticationException var7) {
            if (!cacheWasUsed) {
                throw var7;
            }

            cacheWasUsed = false;
            user = this.retrieveUser(username, (UsernamePasswordAuthenticationToken)authentication);
            this.preAuthenticationChecks.check(user);
            this.additionalAuthenticationChecks(user, (UsernamePasswordAuthenticationToken)authentication);
        }

        this.postAuthenticationChecks.check(user);
        if (!cacheWasUsed) {
            this.userCache.putUserInCache(user);
        }

        Object principalToReturn = user;
        if (this.forcePrincipalAsString) {
            principalToReturn = user.getUsername();
        }

        return this.createSuccessAuthentication(principalToReturn, authentication, user);
    }
这里边有两个非常重要的方法:
1.user = this.retrieveUser(username, (UsernamePasswordAuthenticationToken)authentication);
 protected final UserDetails retrieveUser(String username, UsernamePasswordAuthenticationToken authentication) throws AuthenticationException {
        this.prepareTimingAttackProtection();

        try {
            UserDetails loadedUser = this.getUserDetailsService().loadUserByUsername(username);
            if (loadedUser == null) {
                throw new InternalAuthenticationServiceException("UserDetailsService returned null, which is an interface contract violation");
            } else {
                return loadedUser;
            }
        } catch (UsernameNotFoundException var4) {
            this.mitigateAgainstTimingAttack(authentication);
            throw var4;
        } catch (InternalAuthenticationServiceException var5) {
            throw var5;
        } catch (Exception var6) {
            throw new InternalAuthenticationServiceException(var6.getMessage(), var6);
        }
    }
这个方法是获取用来进行认证的用户信息,具体获取方法是:this.getUserDetailsService().loadUserByUsername(username);
2.this.additionalAuthenticationChecks(user, (UsernamePasswordAuthenticationToken)authentication);
protected void additionalAuthenticationChecks(UserDetails userDetails, UsernamePasswordAuthenticationToken authentication) throws AuthenticationException {
        if (authentication.getCredentials() == null) {
            this.logger.debug("Failed to authenticate since no credentials provided");
            throw new BadCredentialsException(this.messages.getMessage("AbstractUserDetailsAuthenticationProvider.badCredentials", "Bad credentials"));
        } else {
            String presentedPassword = authentication.getCredentials().toString();
            if (!this.passwordEncoder.matches(presentedPassword, userDetails.getPassword())) {
                this.logger.debug("Failed to authenticate since password does not match stored value");
                throw new BadCredentialsException(this.messages.getMessage("AbstractUserDetailsAuthenticationProvider.badCredentials", "Bad credentials"));
            }
        }
    }
这个方法是用来校验用户密码是否正确,具体校验方法为:this.passwordEncoder.matches(presentedPassword, userDetails.getPassword())
自定义认证
因此,想要自定义认证只需要两步即可
1.引入依赖(我的版本是5.7.2,springboot的版本是2.7.2)
        <dependency>
            <groupId>org.springframework.boot</groupId>
            <artifactId>spring-boot-starter-security</artifactId>
        </dependency>
2.配置passwordEncoder和自定义getUserDetailsService
passwordEncoder只需要以bean的形式注入到spring中即可,spring security 会自动引用
 @Bean
    public PasswordEncoder customPasswordEncoder() {
        return new BCryptPasswordEncoder();
    }
自定义UserDetailsService的实现类
package com.study.security.service;

import com.study.security.config.CustomUser;
import com.study.security.config.CustomUserDetails;
import org.springframework.security.core.userdetails.UserDetails;
import org.springframework.security.core.userdetails.UserDetailsService;
import org.springframework.security.core.userdetails.UsernameNotFoundException;
import org.springframework.security.crypto.bcrypt.BCryptPasswordEncoder;
import org.springframework.stereotype.Service;

import java.util.*;

/**
 * @author Say Hello
 * @version 1.0.0
 * @Date 2023/7/26
 * @Description
 */
@Service
public class CustomUserDetailsService implements UserDetailsService {

    protected static final Map<String, CustomUser> map = new HashMap<>();

    public static Map<String, CustomUser> getMap() {
        return map;
    }

    static {
        String pwd = new BCryptPasswordEncoder().encode("userPwd");
        map.put("user", new CustomUser(1L, "user", pwd));
        map.put("admin", new CustomUser(2L, "admin", pwd));
    }


    @Override
    public UserDetails loadUserByUsername(String username) throws UsernameNotFoundException {
        CustomUser customUser = map.get(username);
        if (customUser == null) {
            throw new UsernameNotFoundException("username " + username + " is not found");
        }
        return new CustomUserDetails(customUser);
    }


}
@RestController
public class TestController {
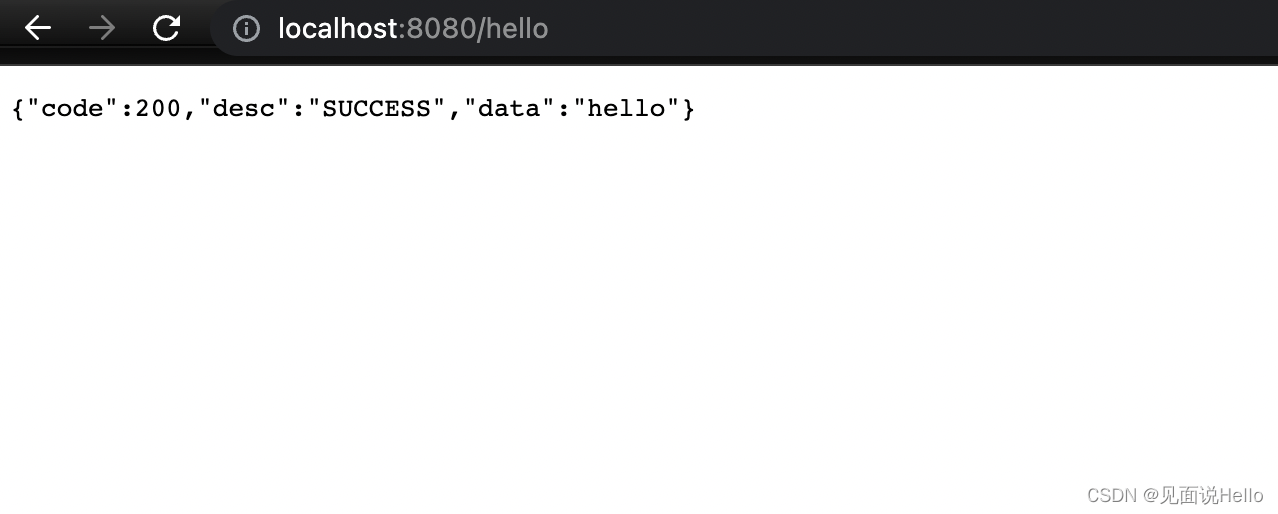
@GetMapping("/hello")
public WebResponse<String> hello() {
return WebResponse.success("hello");
}
}测试
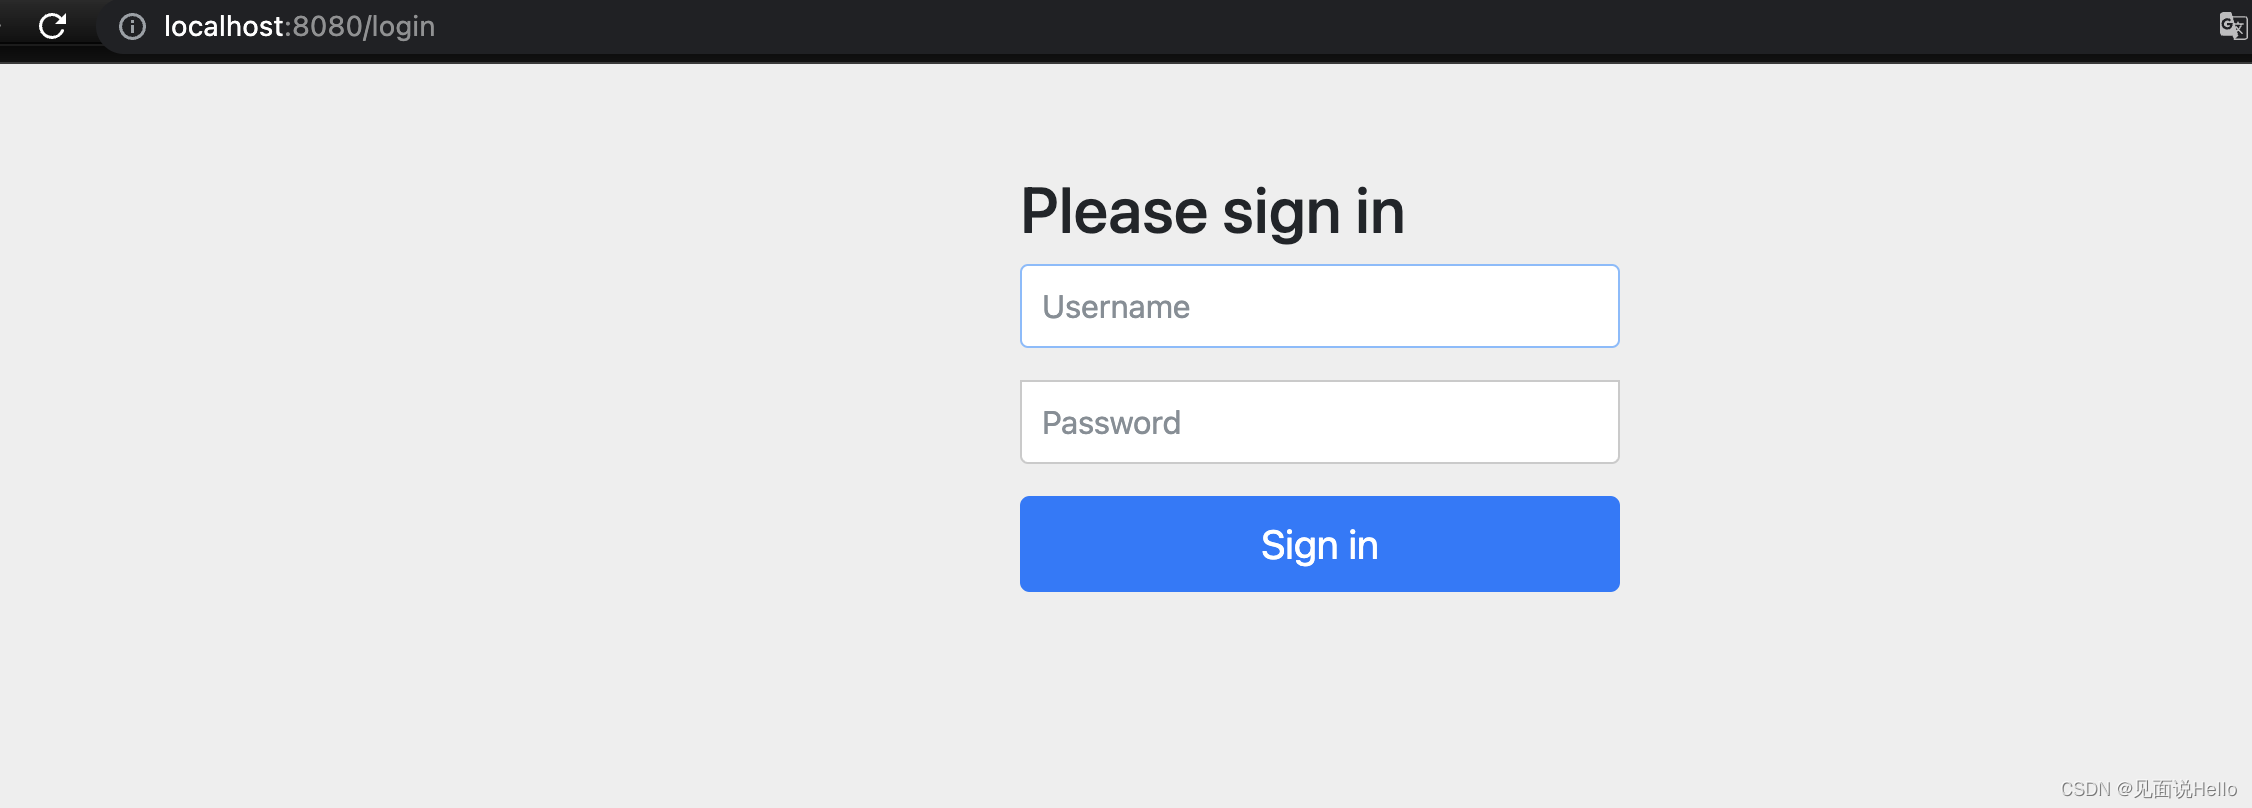
浏览器中输入地址,就会自动重定向到登陆页面
输入用户名密码就能认证成功啦


 907
907


 被折叠的 条评论
为什么被折叠?
被折叠的 条评论
为什么被折叠?
 到【灌水乐园】发言


