


。1.配置ntp时间服务器,确保客户端主机能和服务主机同步时间
server端:
[root@server ~]# yum install chrony -y
[root@server ~]# vim /etc/chrony.conf
server ntp.aliyun.com iburst
allow 192.168.136.134/24
[root@server ~]# systemctl restart chronyd # 重启chronyd服务
node端:
# 首先修改错误时间
[root@node1 ~]# date -s 12:00
[root@node1 ~]# vim /etc/chrony.conf
server 192.168.136.133 iburst
[root@node1 ~]# systemctl restart chronyd # 重启服务
[root@node1 ~]# date
2023年 07月 18日 星期二 14:47:47 CST # 验证时间是否正确
[root@node1 ~]# chronyc sources -v

2.配置ssh免密登陆,能够实现客户端主机通过服务器端的redhat账户进行基于公钥验证方式的远程连接
客户端
root@node1 ~]# ssh-keygen -t rsa
[root@node1 ~]# ssh-copy-id root@192.168.136.133
/usr/bin/ssh-copy-id: INFO: Source of key(s) to be installed: "/root/.ssh/id_rsa.pub"
The authenticity of host '192.168.136.133 (192.168.136.133)' can't be established.
ED25519 key fingerprint is SHA256:bKJv8yFCPbEZqeIGGUVIGIixVKl2N09LgkPnDM/qcGg.
This key is not known by any other names
Are you sure you want to continue connecting (yes/no/[fingerprint])? yes
/usr/bin/ssh-copy-id: INFO: attempting to log in with the new key(s), to filter out any that are already installed
/usr/bin/ssh-copy-id: INFO: 1 key(s) remain to be installed -- if you are prompted now it is to install the new keys
root@192.168.136.133's password:
Number of key(s) added: 1
Now try logging into the machine, with: "ssh 'root@192.168.136.133'"
and check to make sure that only the key(s) you wanted were added.
[root@node1 ~]# cd ~
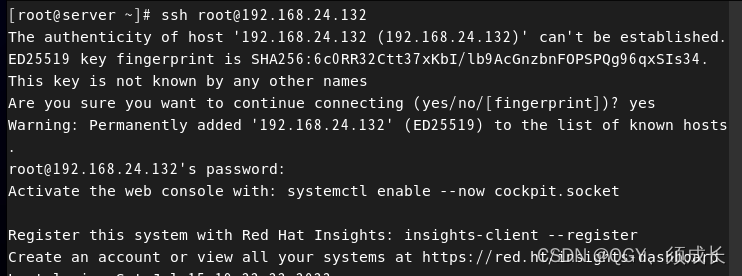
[root@node1 ~]# ssh root@192.168.24.131
2.server端(node)
[root@server ~]# ssh-keygen -t rsa
[root@server ~]# ssh-copy-id root@192.168.24.132
客户端制作公钥

上传公钥到服务端
定位node1,测试


 3384
3384


 被折叠的 条评论
为什么被折叠?
被折叠的 条评论
为什么被折叠?
 到【灌水乐园】发言


